Canna lilies grow from thick underground stems called rhizomes that multiply rapidly over a single growing season. Left alone year after year, these underground structures become a dense, tangled mat that competes for water and nutrients. This overcrowding eventually leads to weaker stalks and fewer flowers as the plant struggles to sustain itself. Dividing canna rhizomes is a practical way to rejuvenate the plant while multiplying your garden stock for free. You will need to understand what a healthy rhizome looks like and how to identify the growth points before making any cuts. The process requires a bit of patience and a sharp blade, but it is highly forgiving if you follow the basic rules of plant anatomy. Once you learn how to read the root structure, you can easily turn one massive clump into several vigorous new plants.
Timing the division for spring growth
The best time to divide your cannas depends entirely on how you overwinter them and when your local growing season begins. If you live in a climate with cold winters, you likely dug your rhizomes up in the fall and stored them in boxes or crates. You should bring these stored clumps out of their resting place about a month before your last expected spring frost. Gardeners in warmer zones who leave their plants in the ground year-round should wait until the soil begins to warm and new green shoots are just barely visible at the soil surface. At this stage, the plant is waking up from dormancy but has not yet expended too much energy on tall foliage. If you divide them too early in cold, wet soil, the fleshy roots are highly susceptible to rot. Waiting for daytime temperatures to consistently stay above sixty degrees Fahrenheit ensures the soil is warm enough to trigger active root growth.
Reading the rhizome and making the cuts
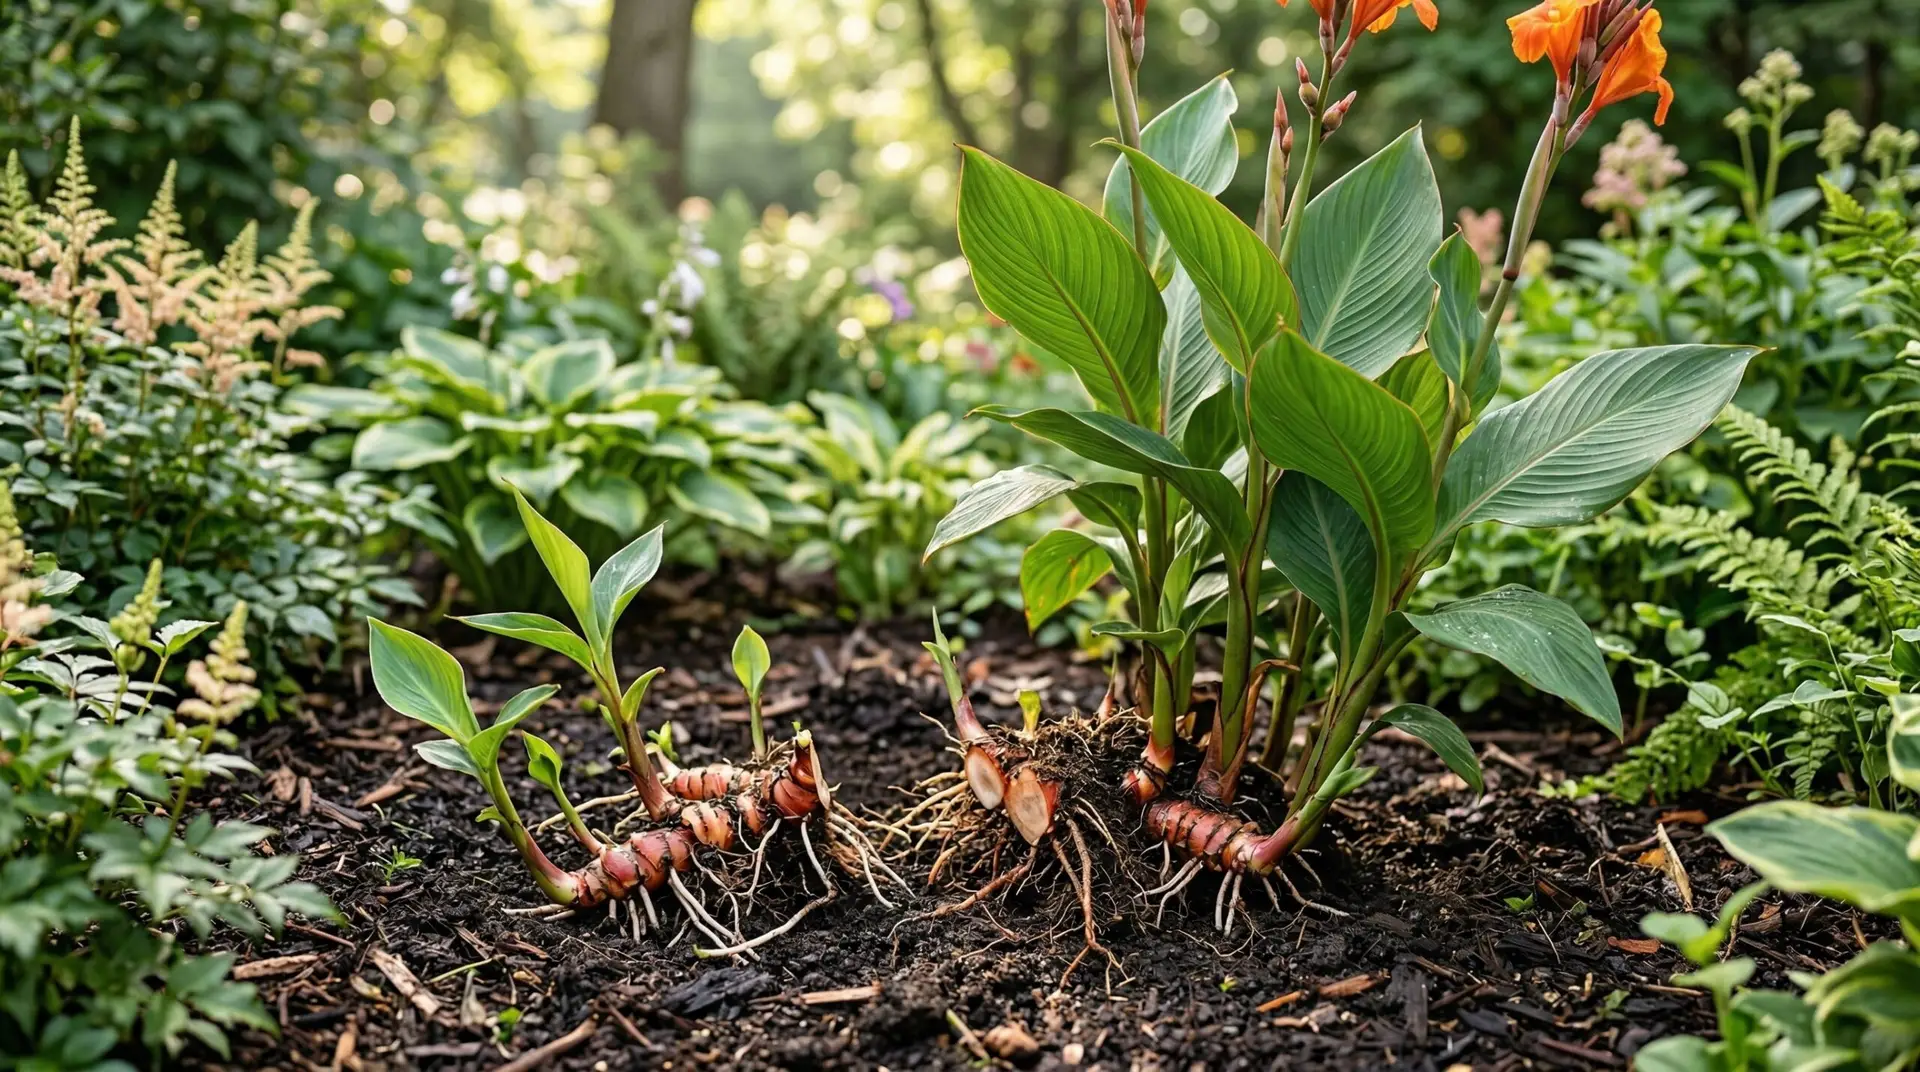
Before you start slicing, take a close look at the structure of the rhizome clump. You will see thick, fleshy sections that look somewhat like ginger roots, covered in fine feeder roots and old papery stems. Wash the clump off with a garden hose if it is covered in dirt so you can clearly see the surface details. You are looking for small, pointed bumps or swollen nodes called “eyes,” which are the exact spots where new stalks will emerge. Similar to the way you might divide an iris, you need to ensure every new section has viable growth points. A good division should contain at least three to five healthy eyes and a solid chunk of the fleshy rhizome to provide energy for the new shoots. Divisions that are too small might survive, but they will take much longer to produce flowers and often result in weak, spindly plants during their first year.
Once you have identified the eyes, you can begin the physical work of dividing the clump. You will need a heavy garden knife, a clean pair of bypass pruners, or even a small handsaw for particularly woody, older clumps. Wipe your cutting tool with rubbing alcohol before you begin to prevent spreading any fungal spores or bacteria into the fresh plant tissue. Look for natural weak points or narrow joints in the rhizome structure where the clump seems to naturally separate. Cut cleanly through the starchy flesh, making sure your target division retains its cluster of eyes and a good portion of the thick storage root. As you cut, you might notice the interior of the rhizome is crisp and white, which is a sign of healthy, hydrated tissue. If you encounter any sections that are mushy, black, or smell sour, cut those parts away completely and throw them in the trash.
Curing the cuts to prevent rot
A fresh cut on a canna rhizome leaves the moist, starchy interior completely exposed to the elements. If you plant these freshly cut sections directly into wet soil, soil-borne fungi and bacteria will quickly invade the wound and rot the entire piece. To prevent this, you must let the divisions cure in a warm, dry, and well-ventilated area for a few days before planting. Lay the cut pieces out on newspaper or cardboard in a garage or covered porch where they are protected from direct sunlight and rain. Check the cut surfaces every day by touching them lightly with your finger. You are waiting for the wet, white tissue to dry out and form a tough, leathery skin called a callus. This callus is a natural scab that seals the moisture inside the rhizome while keeping soil pathogens out.
Planting and pre-sprouting techniques
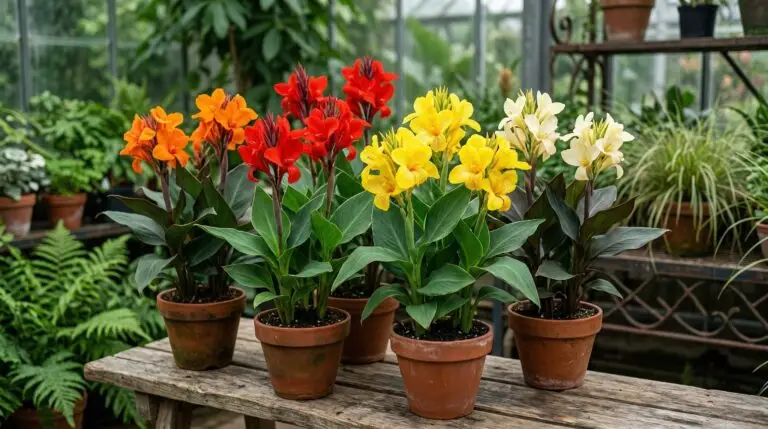
When the cuts are fully callused, you have to decide whether to plant them directly in the garden or pre-sprout them indoors. Pre-sprouting gives you a massive head start on the season, especially in regions with short summers. To pre-sprout, fill shallow nursery pots with a standard potting mix, lay the rhizomes horizontally on the surface, and cover them with two inches of soil. Keep the pots in a warm room or greenhouse, watering very sparingly until you see green shoots break the surface. If you prefer to plant directly outside, wait until the danger of frost has completely passed and the garden soil is warm to the touch. Cannas demand well-drained soil, so if your garden beds hold standing water after a rainstorm, you will need to mix in generous amounts of compost to improve the drainage. Poorly drained soil suffocates the roots and causes the underground structures to disintegrate before they ever send up a leaf.
Dig a shallow trench or individual holes about three to four inches deep for your cured divisions. Place each rhizome horizontally in the hole with the eyes pointing up toward the sky. If you cannot tell which way the eyes are pointing, just lay the rhizome flat on its side, and the plant will naturally correct its growth direction as it seeks the sun. Space the divisions about eighteen to twenty-four inches apart to give the broad leaves plenty of room to unfurl without crowding each other. Much like planting a dahlia tuber, you should cover the rhizome with soil and wait to water heavily until the first green shoots appear. Watering heavily before the plant has active top growth often leads to rotting in the ground.
Within two to three weeks of planting in warm soil, you will see tightly rolled, spear-like leaves pushing through the dirt. At this point, the roots are actively growing and the plant will begin to demand more water and nutrients. You should start watering deeply once a week, soaking the soil completely to encourage the roots to reach further down into the earth. As the weeks pass, the foliage will rapidly expand into large, tropical-looking leaves that anchor the garden bed. By midsummer, your newly divided plants will send up thick flower stalks topped with brightly colored blooms. Because you took the time to divide the congested clumps, each new plant will have the space and energy it needs to grow taller and flower more prolifically than it did the year before.
More About Canna Lily
Dwarf canna varieties perfect for small gardens and front-of-border planting
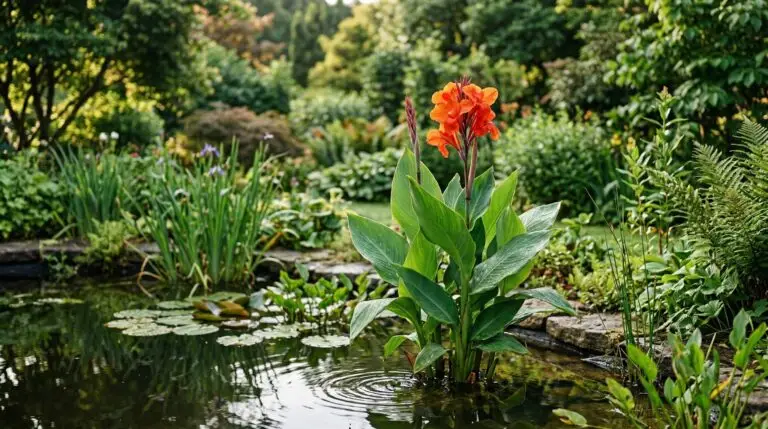
Growing cannas in water gardens and bog conditions for a lush waterside display
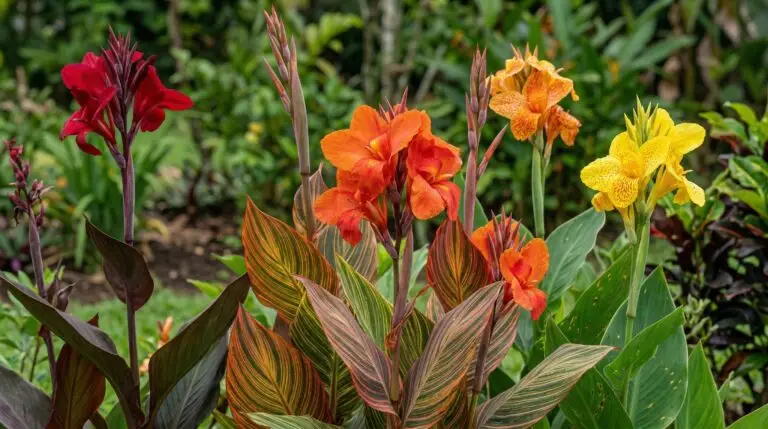
Best canna lily varieties for stunning foliage including dark-leaved and striped types
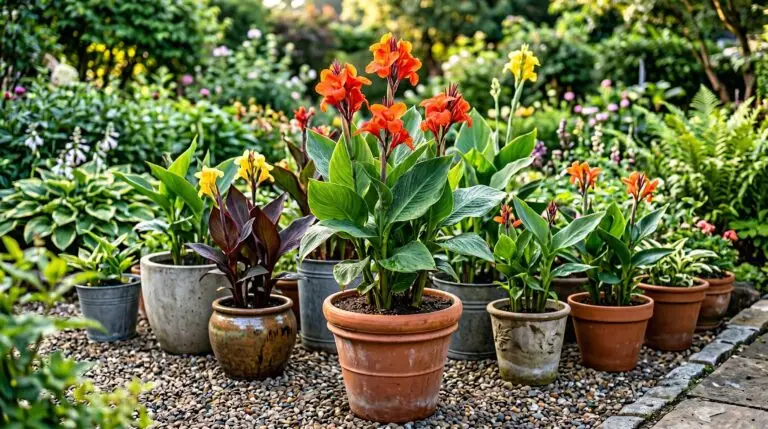
Growing cannas in containers for instant tropical impact on decks and patios
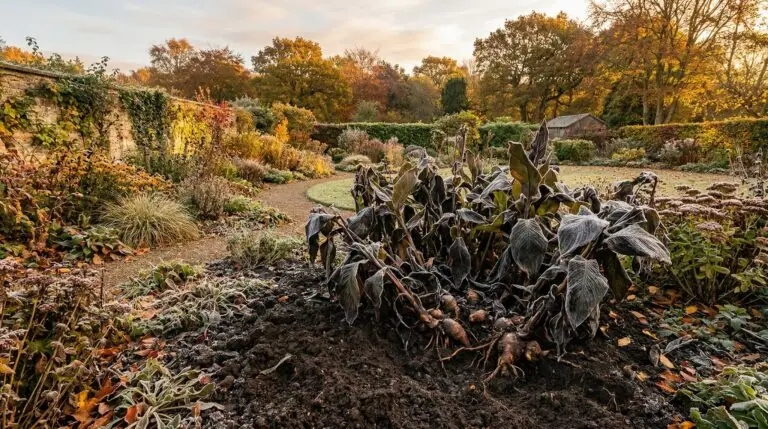
How to overwinter canna lily bulbs in cold climates and replant them in spring

Canna lily flower meaning and its tropical symbolism of beauty and confidence
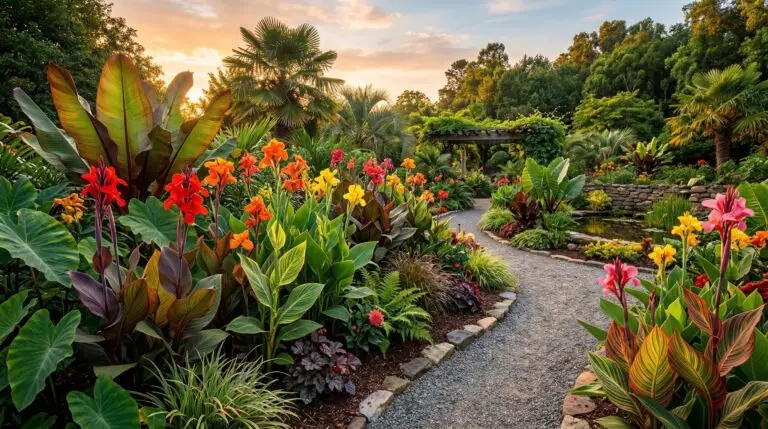
How to create a tropical garden look with cannas as the dramatic centerpiece
Canna and dahlia combinations for a bold late-summer garden border