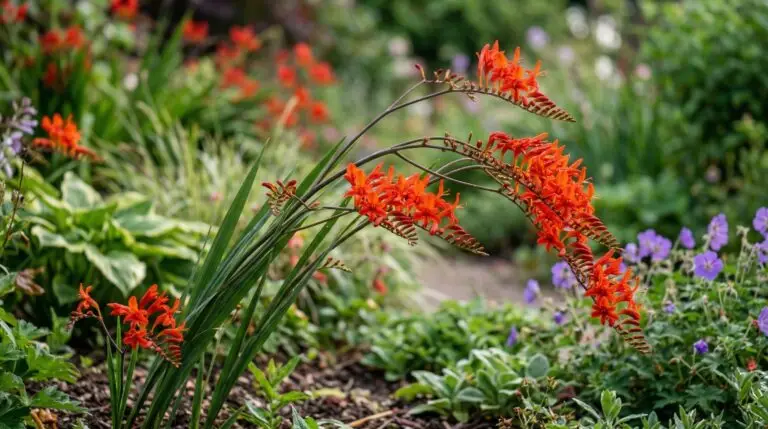
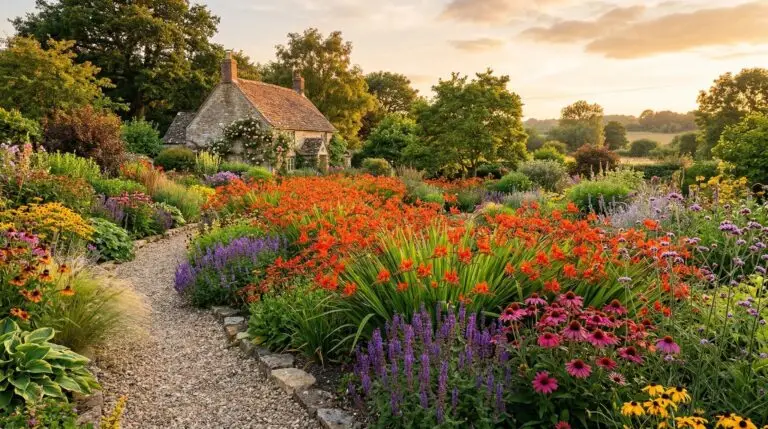
Start with the familiar sight of crocosmia taking over a perennial bed. The sword-like leaves are beautiful until they swallow the plants next door. Growing crocosmia in pots solves the problem of their aggressive multiplying habit while bringing those bright red and orange blooms right up to the seating area. A crocosmia patio display offers that lush, tropical feeling without the worry of digging up hundreds of rogue corms from the garden beds every spring. After wrestling with overgrown clumps for several years, moving these vigorous growers into large containers proved to be the most practical solution. The arching stems look beautiful against a brick wall or wooden deck railing, and the hummingbirds will follow the nectar right up to your back door.
Choosing the right pot and soil for crocosmia
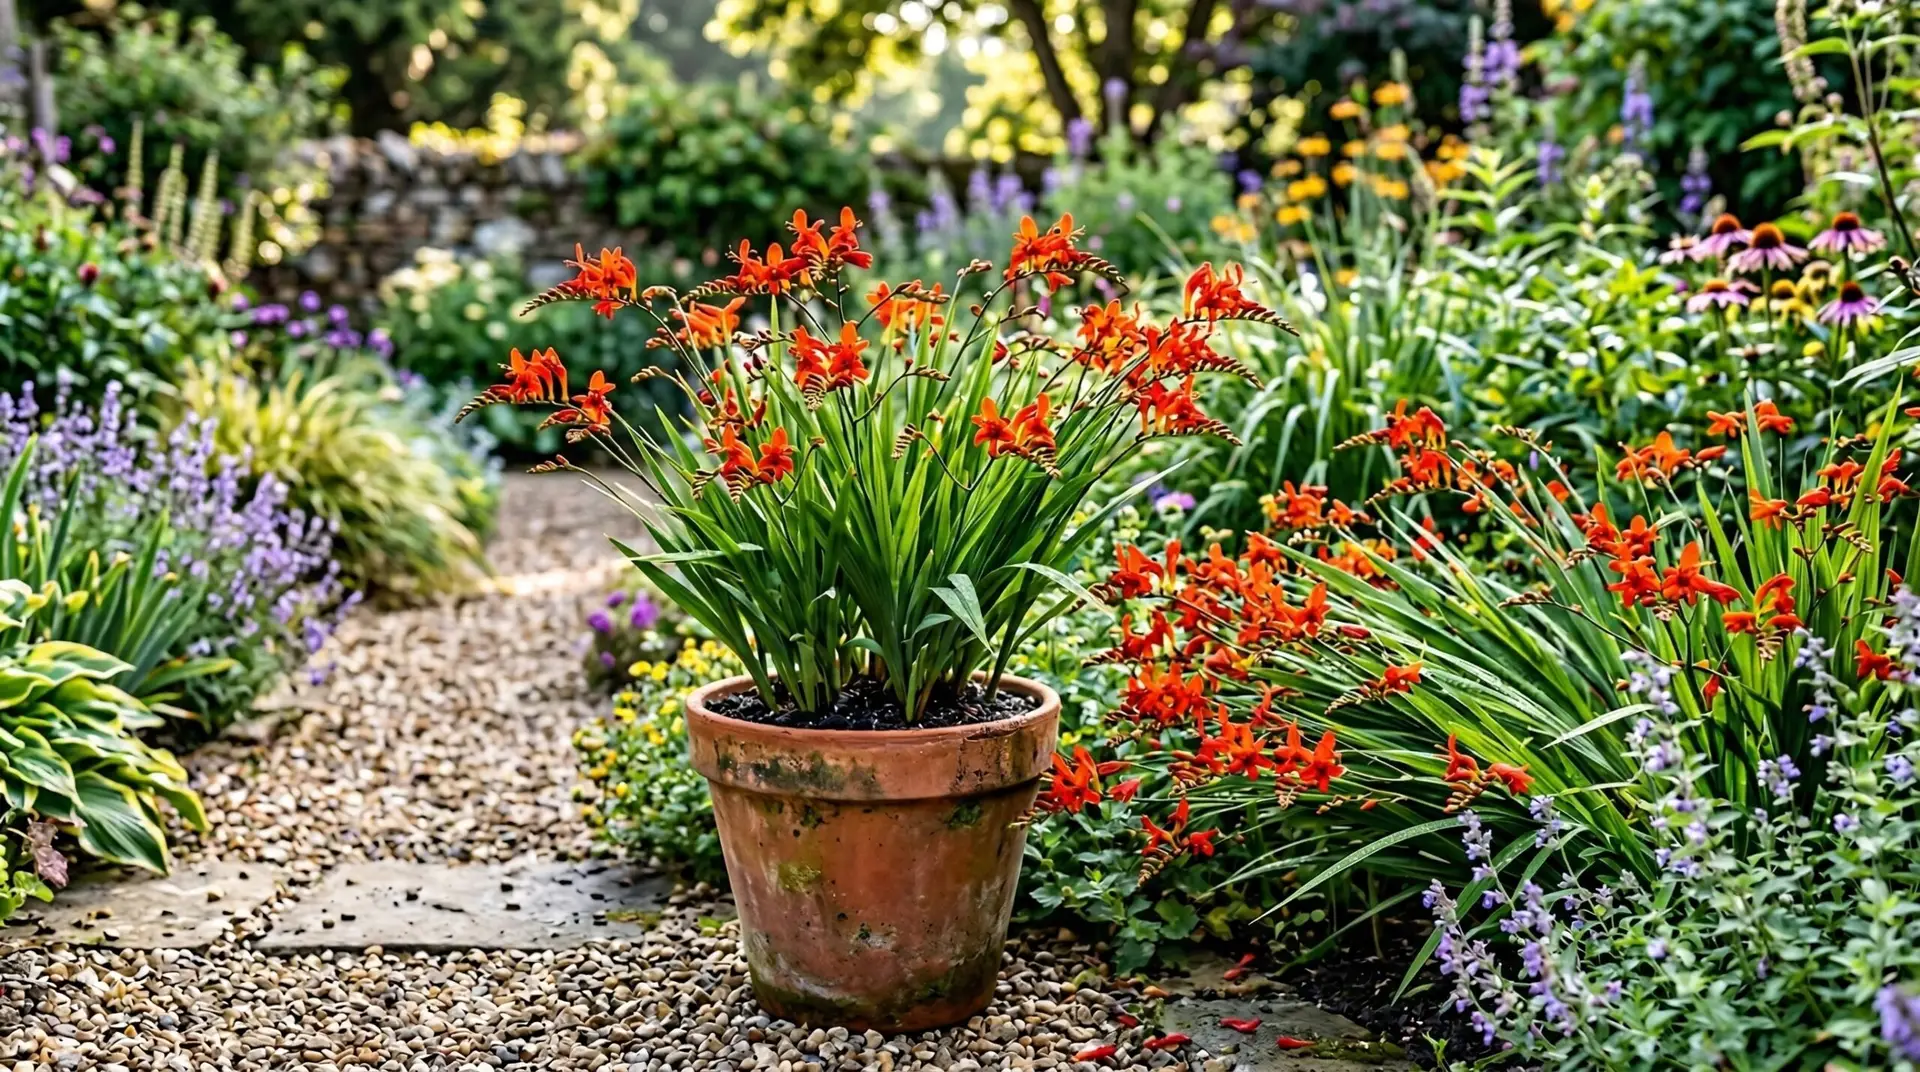
Selecting the container is the first step, and size matters heavily when dealing with plants that multiply rapidly underground. A container that is at least fourteen to sixteen inches wide provides enough room for the corms to reproduce without choking each other out by midsummer. Deep pots are better than shallow bowls because crocosmia roots like to reach down, and the tall foliage needs a heavy base to prevent the whole arrangement from tipping over in a stiff wind. Heavy ceramic pots are excellent for stability, but thick plastic nursery pots slipped inside decorative outer baskets work just as well and save quite a bit of money. Just make sure whatever holds the soil has at least three large drainage holes at the bottom, as these plants will rot quickly in standing water.
The soil mix needs to strike a balance between holding moisture and draining fast enough to keep the underground corms healthy. A standard potting mix mixed with a generous handful of perlite or coarse builder sand creates the perfect texture for container crocosmia. Skip the expensive specialty soils and just buy the basic store brand, modifying it yourself for a fraction of the cost. Adding a scoop of compost provides some slow-release nutrition, but avoid anything with heavy water-retaining crystals that keep the soil too soggy. The goal is a loose, friable mix that allows water to run right through, mimicking the well-draining sandy soils where these plants naturally thrive.
Planting corms for maximum blooms
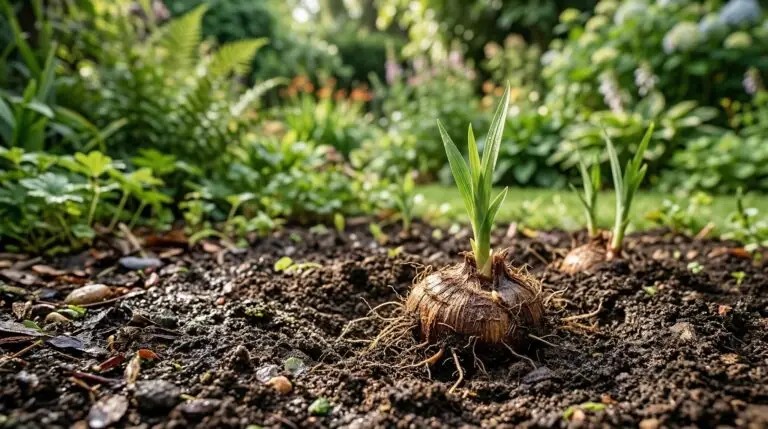
Getting the planting density right is the secret to a container that looks full and lush rather than sparse and sad. When planting crocosmia in pots, space the corms about two to three inches apart, which is much closer than the spacing recommended for ground planting. Bury them about three to four inches deep, making sure the pointy side faces up toward the sky. If the corms look like dry, lifeless husks when they come out of the bag, do not worry, as that is exactly how healthy dormant corms are supposed to look. Give them a good soaking right after planting, and then leave them alone until the first green shoots break through the surface of the soil.
The waiting period tests the patience of every home gardener, as crocosmia can take anywhere from three to five weeks to emerge depending on the spring temperatures. The pots might look like they contain nothing but dirt for almost a month. They are not dead, so resist the urge to dig them up to check on their progress. Once the soil warms up consistently, the sword-like leaves will push up rapidly, sometimes growing an inch a day under the right conditions. Placing the freshly planted pots in the warmest, sunniest spot on the patio will speed up the process considerably.
Watering and feeding container crocosmia
Plants grown in containers dry out much faster than those in the ground, making watering the most demanding part of the summer maintenance routine. During the hottest weeks of July and August, a large pot of crocosmia will likely need a deep soaking every single day. The best way to check is to stick a finger into the soil up to the second knuckle, and if it feels dry, it is time to drag the hose over. Water the base of the plant rather than spraying the foliage to prevent fungal issues from developing in the dense cluster of leaves. If the leaf tips start turning brown and crispy, the plant is usually asking for more water, while yellowing leaves at the base indicate the roots are sitting in mud.
Feeding these vigorous plants requires a light touch, as too much fertilizer produces massive amounts of foliage at the expense of the flowers. A weak dose of a basic liquid tomato fertilizer applied once a month when the flower spikes begin to form is plenty. High-nitrogen lawn fertilizers will ruin the bloom cycle completely, leaving you with a pot of green leaves and zero color. The corms store a lot of their own energy, so they are not heavily dependent on constant chemical feeding to put on a good show. A top-dressing of fresh compost at the beginning of the season often provides all the nutrients they need for the entire summer.
Companion planting for a tropical patio display
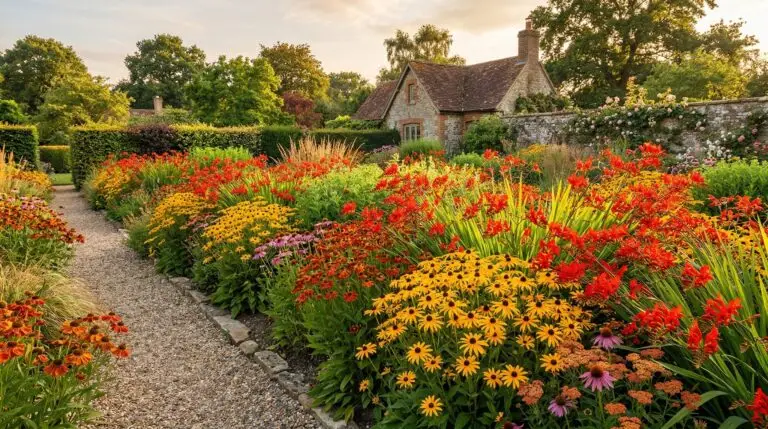
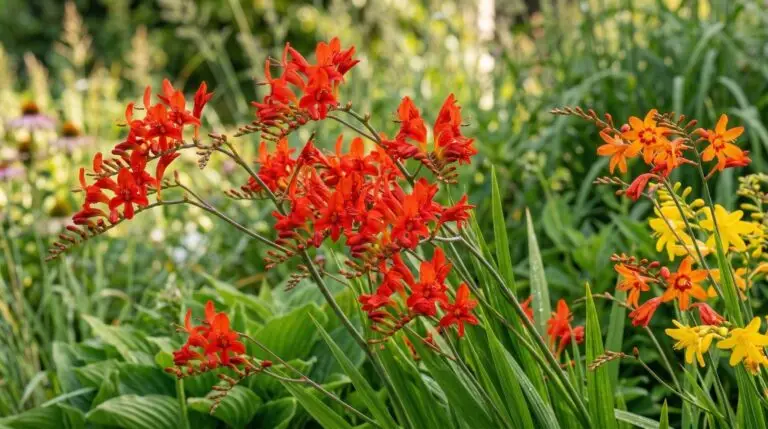
Designing a mixed container or clustering pots together turns a simple plant into a full patio oasis. The bright reds, oranges, and yellows of crocosmia look beautiful when paired with other heat-loving plants that thrive in full sun. Adding a Canna Lily to the center of an oversized pot creates a dramatic, large-leaved backdrop for the delicate, arching sprays of the crocosmia flowers. The contrasting textures of the broad canna leaves and the grassy crocosmia foliage make the arrangement look interesting even before anything starts blooming. Keep in mind that both plants are heavy drinkers, so combining them means committing to a strict watering schedule during dry spells.
Trailing plants and bushy fillers help soften the edges of the pots and complete the tropical look. A brightly colored Lantana spilling over the side of the container creates a continuous blanket of blooms that lasts from early summer right up until the first frost. The lantana handles the intense heat radiating off a concrete or brick patio beautifully, acting as a living mulch that shades the soil and keeps the crocosmia roots slightly cooler. Alternatively, clustering a pot of crocosmia next to a large, bold Dahlia provides a heavy late-summer flush of color. The stiff, formal blooms of the dahlia contrast perfectly with the loose, wild appearance of the crocosmia stems.
Overwintering your potted crocosmia
What happens at the end of the season depends entirely on the local climate and how cold the winters get. Gardeners in the South, typically in hardiness zones seven and above, can simply leave the pots right where they are on the patio. The corms will safely sleep through the mild winter as long as the pots have good drainage and do not fill with freezing rain. In northern zones, the approach changes because the soil in a container freezes much harder and faster than the ground, which will turn the corms to mush. The easiest method for cold climates is to wait until a hard frost kills the foliage, cut the leaves back to the soil line, and drag the entire pot into an unheated garage or basement.
Storing the whole pot is much less work than digging up and cleaning individual corms, and it keeps the cluster intact for a bigger display next year. The dormant pots need to stay completely dry in storage, receiving just a tiny splash of water once a month to keep the soil from turning into dust. When spring returns and the danger of heavy frost passes, bring the pots back out into the sun and resume regular watering. Every three years or so, the corms will become too crowded and flower production will slow down noticeably. That is the time to dump the pot out on a tarp, separate the tight clumps of corms, and start the whole rewarding process over again with fresh soil.
More About Crocosmia
Crocosmia companion plants: what to grow, what to avoid

Overwintering crocosmia corms in cold climates zones 5 and below
How to grow crocosmia for fiery arching sprays of color in midsummer gardens
Designing a late summer garden with crocosmia that peaks when spring flowers are gone
Best crocosmia varieties from fiery Lucifer to golden Emily McKenzie
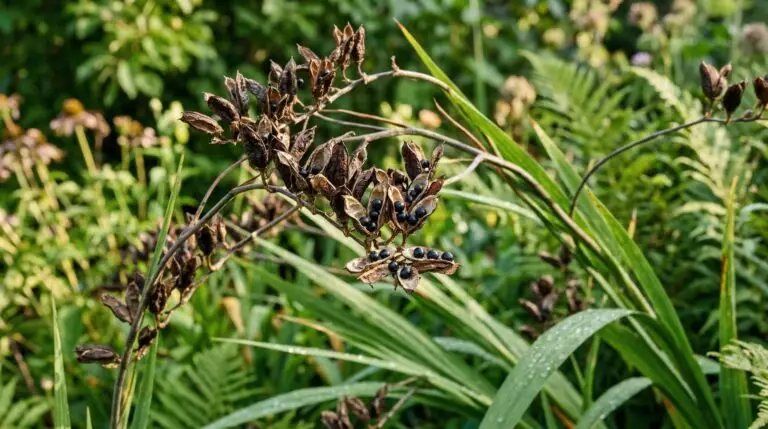
Crocosmia seed pods and how to propagate new plants from seed for unique varieties
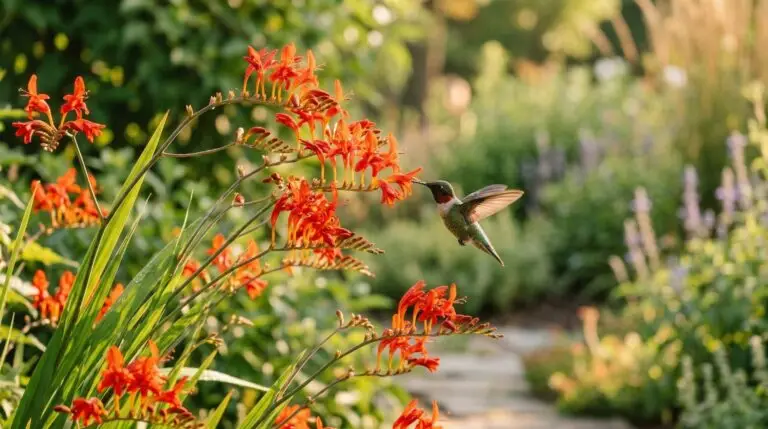
Crocosmia as a hummingbird magnet and why they prefer these tubular flowers