How to Grow and Care for Ranunculus
Contents
Ranunculus are cool season geophytes prized for rose like, tissue paper blooms in saturated colors. The accepted botanical name for florist forms is Ranunculus asiaticus, commonly sold as Persian buttercup and florist ranunculus. In most of the United States this plant is grown as a spring annual from corms that look like a small cluster of claws. In very mild winter regions it behaves as a tender perennial. Plants typically reach 10 to 18 inches tall with tidy mounds of divided leaves and many strong stems for cutting. Ranunculus care starts with sun and drainage. Give full sun in spring and provide afternoon shade where spring warms early. In northern or mountain climates they race to bloom before summer heat. In maritime or coastal areas they hold longer in bloom. With the right planting window and a sharp focus on soil aeration and moisture control, home gardeners can enjoy florist quality flowers at home for borders, containers, and cutting patches.
Plant sound corms in sharply drained soil, keep evenly moist during active growth, and protect from saturated conditions. Space for airflow and deadhead promptly to keep flowers coming. In cold winter climates lift and store corms after foliage yellows. In hot spring climates plant early and use light mulch to keep roots cool. Pair with other cool season bulbs and annuals for a full display and to hide foliage as it fades after bloom. This plan serves both display beds and small backyard cutting gardens and works equally well in raised beds and sturdy containers. When you follow these steps, Ranunculus care is repeatable year after year.
Soil & Bed Preparation
Ranunculus thrive in well structured soil that is loose and fast draining. A sandy loam or loam with plenty of aggregate is ideal. Heavy clay or compacted sites cause poor emergence and early rot of the claws. Before planting, loosen the bed 8 to 10 inches deep and blend in two to three inches of finished compost to improve tilth. In clay soils add coarse horticultural sand or fine gravel to increase porosity. Avoid manure heavy blends during planting because excess nitrogen and salts can lead to soft growth and disease. If you garden where spring rains are frequent or soils stay wet, choose raised beds that sit at least 6 to 8 inches above grade to keep crowns out of saturated zones.
Drainage Test and pH Targets
Run a simple infiltration test several weeks before planting. Dig a hole 12 inches deep and 12 inches wide, fill with water, let it drain, then refill. The second fill should drop about 1 inch per hour. Faster is fine. Slower means you need a taller raised bed or more coarse material worked in. Aim for soil pH between 6.0 and 6.8. If pH tests above 7.0, elemental sulfur can gradually nudge it down. If pH is below 6.0, a light application of garden lime raises it. Use a home test kit for a first pass and submit a soil sample to your state Cooperative Extension if readings are outside the target range. Retesting every two to three seasons keeps nutrition steady and prevents micronutrient lockout that can show as pale or stunted growth.
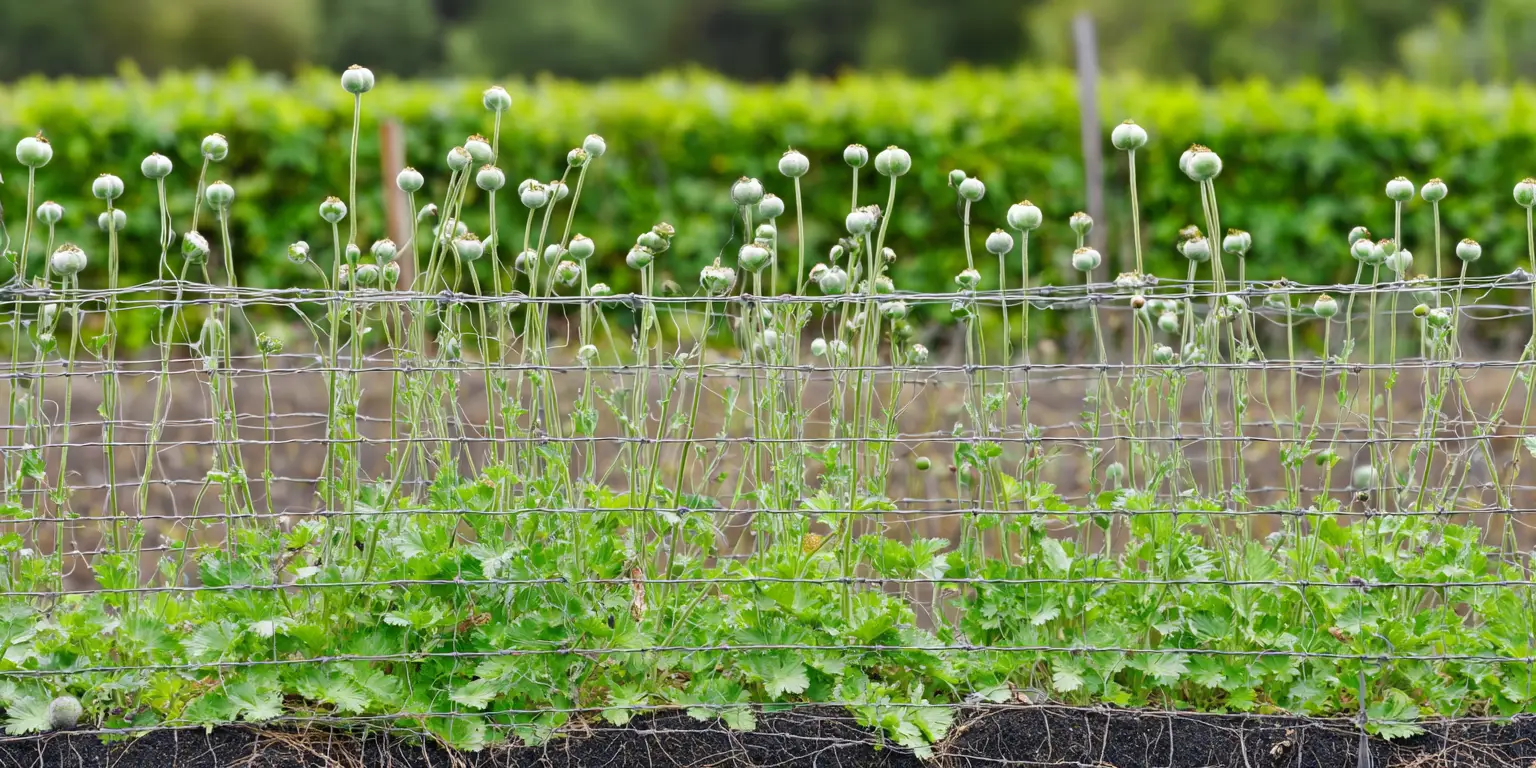
Special notes for corms
Ranunculus grow from corms that are often called tubers in the trade. The claws sit just below the soil surface and must have air around them. In heavy soils set corms slightly shallower and rake a low ridge over the row so the crown sits above surrounding grade. If your bed crusts after rain, add a light topdressing of fine compost to prevent sealing and to buffer soil temperature. Avoid peat only mixes in the ground since they hold too much water during cool weather. For containers use a high quality potting mix with perlite or pumice to keep pore spaces open. Good structure at planting is the foundation of reliable Ranunculus care.

Planting Calendar by USDA Zone
Ranunculus prefer cool roots and mild days. They perform best when planted so that vegetative growth happens during cool weather and flowering arrives before true heat. In mild winter climates gardeners plant in fall for late winter to spring bloom. In cold winter climates gardeners plant in very early spring for late spring bloom. The exact timing is mapped to your USDA hardiness zone and to the pattern of local frost dates and spring warm up. Where the ground stays cold and wet for a long time, wait until soil is workable and drains well. Where spring turns warm fast, plant as early as the ground can be worked so buds set before early summer arrives.
Zones 3 to 5
Treat Ranunculus as an annual. Plant corms after danger of hard frost and when soil can be worked, often late April to early May. For an earlier start, pre sprout in trays in a bright, cool room and transplant after the last frost date. Space transplants on a cloudy day to reduce shock. If a late frost threatens, protect young growth with frost cloth supported on hoops. Expect bloom from late May to June depending on your latitude and spring warmth. In short seasons choose early blooming strains and smaller flower forms that color up fast. Good drainage is critical in these zones because snowmelt can saturate the topsoil. Raised beds warm and dry sooner, which extends the window for vegetative growth.
Zones 6 to 7
Plant corms in very early spring just as the soil becomes workable, often late February to March in zone 7 and March in zone 6. If your winters are consistently mild, an experimental fall planting in the warmest microclimates of zone 7 can succeed, especially in sheltered urban gardens that stay a bit warmer. Cover fall plantings lightly with straw in early winter and pull it aside slowly in late winter as sprouts appear. Spring planted ranunculus in these zones will generally bloom from April to May. In windy locations use low hoops or short twine grids so stems stay upright and unbruised. Watch the forecast and shade new plantings if temperatures jump above the upper 70s Fahrenheit for several days.
Zones 8 to 10
Plant ranunculus in fall once night temperatures drop, usually October to November. This schedule lets a strong root system develop through winter and brings flowers from late winter to mid spring. In coastal zone 10 and frost free pockets, a late fall or early winter planting can still bloom well. Provide a light winter mulch that breathes and does not smother crowns. Pull mulch back gradually as growth accelerates so bases of stems dry quickly after rain. If an unusual cold snap threatens, cover with frost cloth overnight and ventilate during the day. The fall schedule is the key to long stems and many buds in these zones.
Special climates and microclimates
In hot humid Gulf Coast areas, schedule the earliest practical planting window and focus on airflow. In arid high desert regions the night to day swing can be large in spring, which ranunculus tolerate well, but dry winds can stress new growth. Water deeply but infrequently so moisture reaches the rooting zone rather than just wetting the surface. In foggy coastal belts bloom can last a bit longer, although Botrytis can spot petals during long wet spells. Gardeners in high elevation towns should plant as soon as ground is workable and be ready to cover when late freezes arrive. The same calendar works for container plantings on balconies and patios if you watch soil temperature and watering closely.
Planting: Depth & Spacing
Plant corms with the claws pointing down and the slightly rounded side up. Set them about 2 inches deep (5 cm) in loose, warmed soil. If your soil is heavy or tends to crust after rain, plant 1 inch deep (2.5 cm) and rake a low ridge of soil over the row so the crown sits a bit higher than the surrounding bed. Space plants 6 to 8 inches apart (15 to 20 cm) in all directions, or plant in offset rows with 8 to 12 inches between rows (20 to 30 cm) for a cutting patch. Water the bed once to settle soil, then wait to water again until you see the first signs of new growth. Early overwatering invites rot while the corms are still dormant and have not yet produced feeder roots.
Container grown plants
Nursery grown ranunculus in small pots are convenient in short spring windows. Choose compact, not rootbound, plants with several buds. Plant at the same depth they were growing in the pot and firm soil gently to remove air pockets. Water to settle and place in bright light out of strong wind for a week to help roots knit into the new soil. A light shade cloth or placement that avoids late afternoon sun during the first week reduces stress. For containers group three to five corms in a 12 inch wide pot (30 cm) that holds at least 2 to 3 gallons of mix. Ensure the pot has wide drainage holes and elevate the base on pot feet so water moves freely.
Bare root or divisions
Ranunculus are not commonly sold bare root in the home trade and they are seldom divided the way clumping perennials are. In mild winter gardens established clumps can be lifted after foliage yellows and the dormant corm clusters separated gently by hand once dry. Replant the best pieces the next fall in fresh soil. Discard any soft or wounded pieces. Handle gently so eyes and basal plates are not damaged. Always label stored corms by cultivar so your spring display matches your plan.
Minimizing transplant shock
Harden off indoor started trays for 7 to 10 days before planting outside. Place trays outdoors in bright shade at first, then give a few hours of morning sun, then extend the time every day. Keep media just moist and avoid waterlogged flats. Plant on a cloudy, calm day if possible. Water in with plain water. If you use a starter solution, choose a dilute, balanced formulation and avoid high nitrogen. After planting, check within a day to firm any plants that have heaved in wind or after a heavy rain.

Watering & Mulching
Ranunculus want steady moisture once growth begins. After the first watering to settle the bed, wait for shoots, then irrigate to keep the root zone evenly moist. Use your finger as a gauge. The top inch should dry slightly between waterings while the soil below stays cool and damp. In spring, rainfall often helps, but roofs, fences, and tree canopies can create dry shadows. Adjust zones within the same bed so edges do not dry out while the middle stays wet. Deep, less frequent irrigation trains roots down and produces stronger stems. Avoid overhead watering during bloom because wet petals spot and Botrytis can advance during stretches of cool wet weather.
Mulch choices and thickness
Mulch moderates temperature, buffers moisture, and keeps soil from crusting. A one to two inch layer (2.5 to 5 cm) of shredded leaves, pine fines, straw, or composted bark works well. Keep mulch one inch back from crown bases to improve air movement and allow the crown to dry quickly after dew or rain. In very wet springs, pull mulch aside temporarily until soil dries, then replace it in a thin layer to shade the soil. In containers a thin topdressing is helpful, but avoid thick layers that trap water around the base. A light colored mulch reflects sun and keeps roots cooler as days warm.
Heat spikes, drought, and water quality
If a warm front pushes temperatures into the upper 80s Fahrenheit, use temporary shade cloth in early afternoon and water in the morning so leaves are dry by evening. Plants tend to shut down as sustained heat builds. Your goal is to protect buds already set and harvest the remaining stems cleanly. During dry, windy spells add a light mulch and check pots daily since containers lose moisture quickly. If your tap water is very alkaline and your soil tends to drift above pH 7.0, schedule a soil test to confirm, then adjust pH in fall before the next planting window so mineral balance is restored.
Feeding
Ranunculus respond to modest fertility and good organic matter. If your soil test shows adequate phosphorus and potassium, a balanced, slow release fertilizer in the 5 5 5 to 10 10 10 range at planting is sufficient. In lean soils or in raised beds filled with new mix, a bloom forward analysis such as 5 10 10 applied lightly at planting and again as buds appear supports stem length and flower count. Avoid high nitrogen because it drives soft leaf growth at the expense of blooms and increases disease risk in cool, wet periods. In containers feed with a slow release prill product at planting, then supplement with a dilute liquid feed every two to three weeks while buds are forming.
Organic matter and soil biology
Aim for a bed that includes two to three inches of compost incorporated before planting. The goal is not rich, soggy soil but one with a lively structure and a steady trickle of nutrients. Side dress with a thin ring of compost as foliage expands if growth appears pale and your soil test shows low nutrient reserves. If plants look vigorous and leaves are a healthy green, skip extra feeding. Overfertilizing produces lush foliage that flops and invites aphids. Retest your soil every couple of seasons so you have numbers rather than guessing with the fertilizer bag. Consistent Ranunculus care is about measured inputs, not heavy feeding.
Pruning & Support
Remove spent flowers promptly to keep the plant in a reproductive cycle. Cut stems at their base near the crown rather than snapping them. This keeps the clump tidy and reduces the chance of disease entering through torn tissue. Harvest for the vase when buds are colored and petals just begin to loosen. The stems will continue to open indoors. After the main flush, plants naturally slow down as temperatures rise. Allow foliage to remain until it yellows since the leaves photosynthesize and recharge the corm for next season in mild climates or for storage in cold climates. When foliage is mostly yellow, reduce water and either leave corms in place in zones 8 to 10 or prepare to lift them elsewhere.
Support and spacing
Compact bedding forms stay upright in calm conditions, but taller strains and cutting patch plantings benefit from a simple grid. Stretch soft garden twine across short, low stakes in a net pattern or use a single layer of low crop support netting. Place the support early before stems stretch. Good spacing is also a form of support because it encourages thicker stems and lowers humidity in the canopy. Crowded plants are more prone to mildew and Botrytis spotting on blooms. Keep a small path in cutting beds so you can reach stems without leaning into the plants.
Tool hygiene
Clean snips and pruners before you begin and between beds to limit disease spread. Dip in a solution of 70 percent isopropyl alcohol, allow tools to stay wet for at least thirty seconds, and wipe clean. Remove and discard any severely spotted leaves to the trash rather than compost if conditions have favored disease. This habit is especially important in cool, wet springs when fungal problems advance quickly.
Overwintering
In zones 3 to 7, ranunculus are not reliably hardy. Treat them as annuals or lift and store corms. When foliage has mostly yellowed, stop watering and allow soil to dry. On a dry day lift clumps with a fork, shake off loose soil, and spread them in a single layer in a shaded, airy spot for a week. Once surface dry, clip stems, brush away remaining soil, and sort. Store sound corms in a labeled paper bag or mesh sack with a bit of dry peat or vermiculite at 45 to 50 degrees Fahrenheit (7 to 10 degrees Celsius) in a dry place. Do not seal in plastic. Check monthly and discard any that soften or mold. Replant in the next window for your zone.
In mild winter climates
In zones 8 to 10, many gardeners leave corms in the ground. After foliage dies back, top the bed with a thin, breathable mulch such as pine fines or shredded leaves to buffer winter temperature swings. Avoid heavy, wet mulches that mat. In areas with frequent winter rain, ensure beds shed water freely. If rodents are a problem, line beds or planting holes with half inch hardware cloth that forms a basket to keep corms safe from burrowing pests. Pull mulch back gradually in late winter as new growth resumes so crowns dry quickly after rain or heavy dew.
Containers and frost events
In cold zones move pots into an unheated garage or porch before hard freezes arrive. Keep them almost dry so the mix does not freeze and crack pots. In mild zones, slide pots under eaves during prolonged winter rains since containers have less buffering capacity and corms are closer to the surface. Return them to sun after the wet period passes. These simple steps prevent freeze thaw heaving and reduce rot during long, wet spells.
Growing Environments
Ranunculus are excellent in pots and boxes if you pay attention to media and volume. A 12 to 14 inch wide container (30 to 35 cm) that holds at least 2 to 3 gallons gives roots enough room and keeps moisture stable. Use a peat and bark based potting mix amended with perlite or pumice for extra drainage. Ensure large, clear drainage holes and place the pot on feet. Plant three to five corms per 12 inch pot for a full look, offset like the five on a die. Water when the top inch of mix is dry and feed lightly as buds develop. Combine with cool season companions like stock and pansies for layered color on porches and balconies.
Microclimates, shade, wind, and reflected heat
Give full sun in spring, which usually means six or more hours of direct light. In regions that warm fast, place beds where plants receive morning sun and light afternoon shade from a fence or shrub line. Avoid walls that reflect heat. Wind can shorten stems and bruise petals, so a low hedge, a picket fence, or a temporary mesh windbreak pays dividends. In deep, narrow side yards where air is stagnant, thin surrounding vegetation or widen spacing to encourage airflow. In front yards with neighborhood lighting, petals may open faster. Harvest earlier in the day for the vase to capture the tightest stage.
Companion Planting & Design
Ranunculus mix beautifully with other cool season bulbs and annuals. Design combinations around one or two colors and repeat them through a bed. White, apricot, and light pink cultivars soften mixed plantings and pair well with stock, snapdragons, and Iceland poppies. Deep red and berry tones make a strong focal point when massed with larkspur and ornamental kale. Plant in groups of five or more for a full look. As ranunculus fade, warm season plants can slide in to cover the softening foliage. Small ornamental grasses, compact salvias, or coleus can be ready in small pots to tuck in spaces as you remove spent plants.
Hiding dieback and creating layers
Because ranunculus are cool season, their foliage declines as heat settles in. Plan a second layer to take over. Low growing perennials like hardy geranium or dwarf daylilies can fill the gap. In mild climates, plant ranunculus behind a row of summer annuals that will surge forward as spring ends. In cutting gardens, organize narrow beds with access on both sides and stagger plantings by two weeks to extend the harvest window. Space generously for airflow since petals are dense and can trap moisture. Think about the view from your most used windows and place your highest value colors where you will see them most often.
References
- North Carolina State Extension Gardener Plant Toolbox.
- ASPCA Toxic and Non Toxic Plants: Buttercup (Ranunculus spp.).
- Royal Horticultural Society. Ranunculus: growing guide.


Written by: Your Flowers Guide editorial team
We are a small independent group of flower lovers who research and review each guide using trusted horticultural and educational sources. Learn more about us