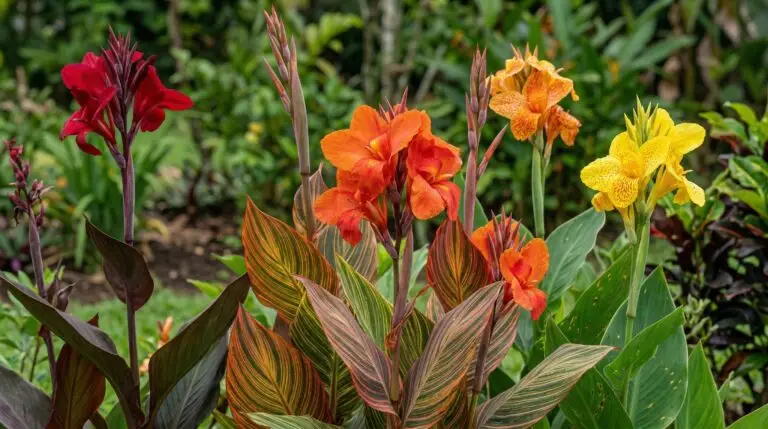
People plant cannas specifically for that massive tropical foliage, so it is incredibly frustrating when those giant leaves emerge shredded, stitched together, or covered in ugly brown spots. You walk out to the garden expecting a lush display and instead find your plants looking like they went through a paper shredder. This happens because the exact same broad leaves that make cannas attractive to us also make them a massive target for specific pests and diseases. The most notorious culprit is the canna leaf roller, but gardeners also frequently battle rust, viruses, and opportunistic beetles. I see people throw their hands up and abandon cannas entirely after a bad infestation, but you do not have to do that. Fixing these canna lily problems requires understanding what is actually attacking the plant and intervening before the damage becomes permanent. When you know exactly what to look for, you can keep those leaves pristine and healthy throughout the growing season.
Identifying and stopping the canna leaf roller
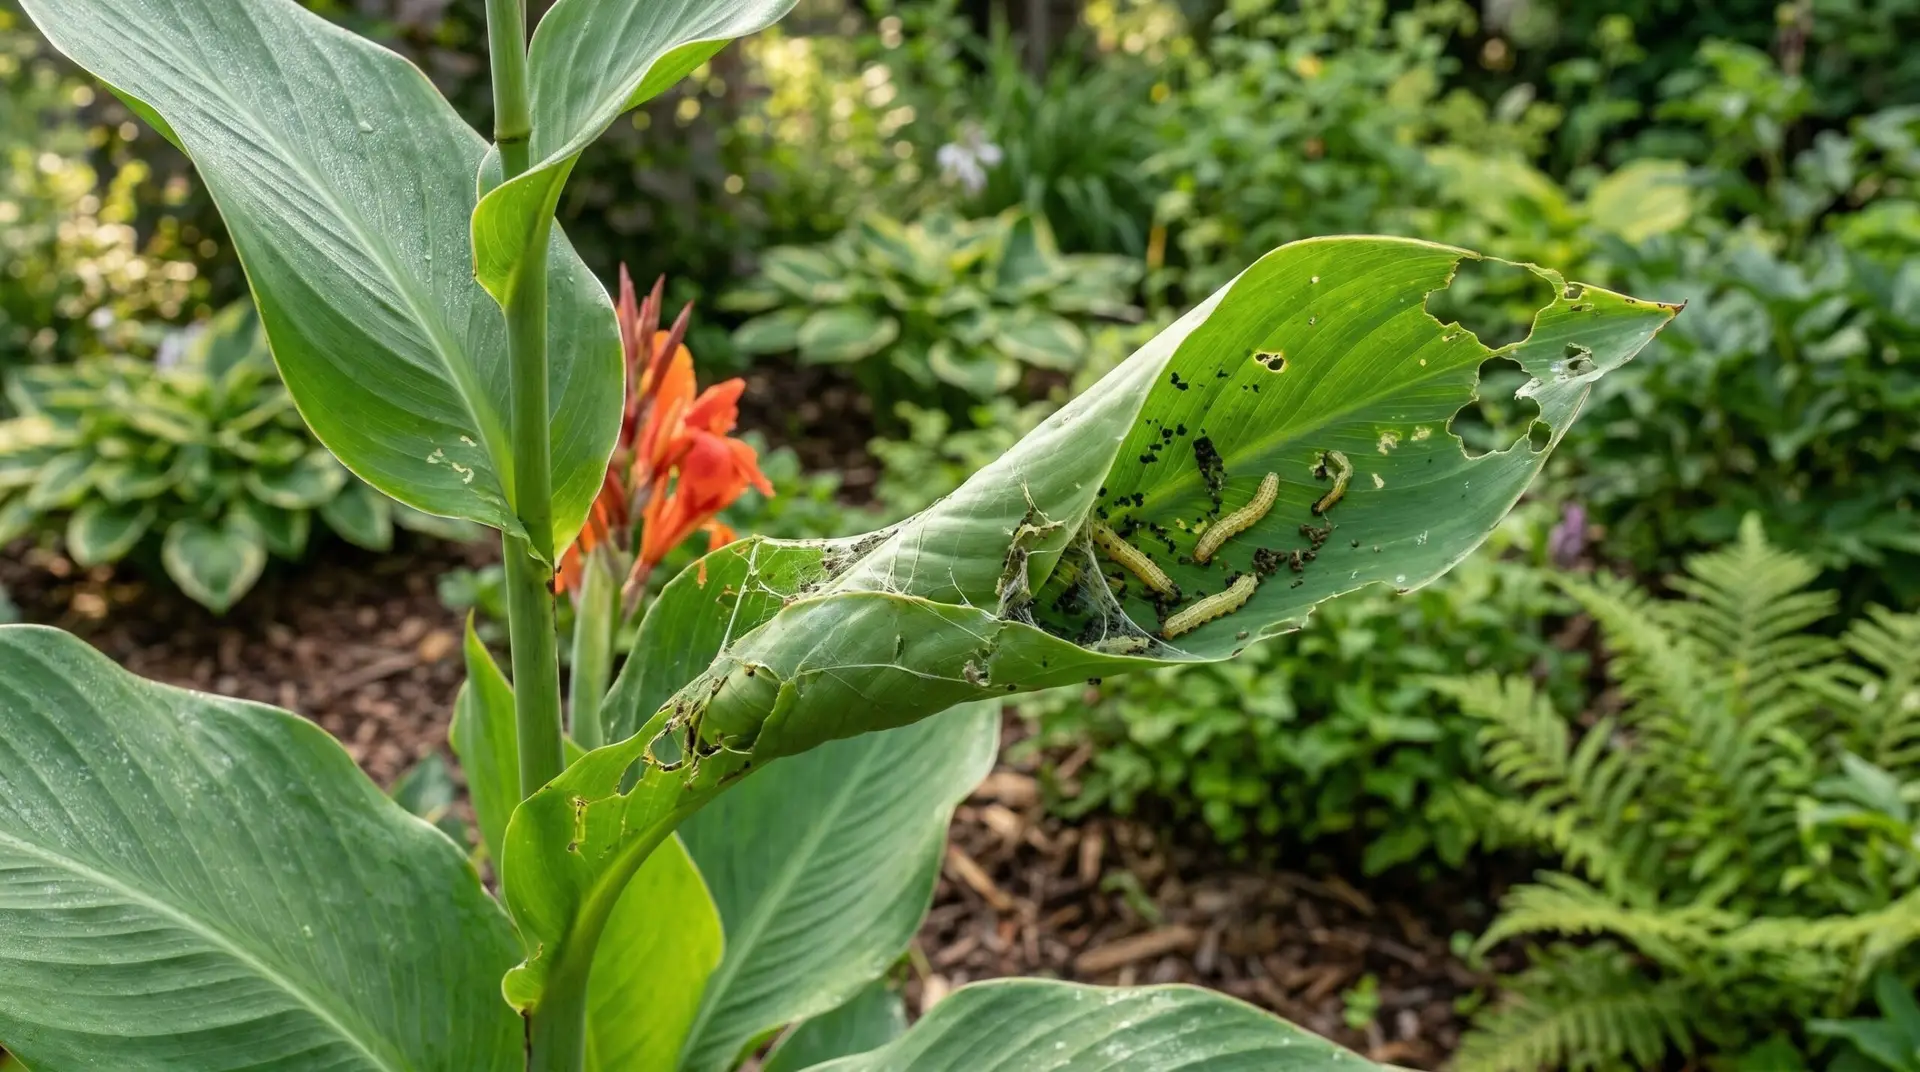
When you see leaves that are stuck together with fine silk webbing or unrolling leaves that have perfectly straight rows of holes across them, you are dealing with the canna leaf roller. The adult is a small brown moth that lays eggs in the folds of emerging foliage. Once those eggs hatch, the caterpillars immediately begin eating the leaf surface and spinning silk to tie the leaf edges shut. This creates a protected little tube where the caterpillar can feed safely hidden from birds and predators. If you try to pull the rolled leaf apart, you will usually find a translucent green caterpillar and a mess of dark frass inside. The damage is largely cosmetic, but a severe infestation will stunt the plant and make the entire bed look terrible.
The fix for leaf rollers requires a combination of physical intervention and targeted organic sprays. You cannot just spray the outside of the plant because the caterpillar is completely shielded inside its rolled-up leaf fortress. You have to physically unroll the affected leaves and squish the caterpillars or cut off the heavily infested leaves entirely and throw them in the trash. Once you have removed the visible caterpillars, you can apply Bacillus thuringiensis, commonly called Bt, to the foliage. Bt is a naturally occurring soil bacterium that only kills caterpillars when they eat it, making it perfectly safe for bees and beneficial insects. You have to spray Bt down into the funnels of the new, unrolling leaves where the young caterpillars are feeding. You will need to reapply this after heavy rain or every week during peak moth season to keep the new growth protected.
Recognizing canna rust and fungal issues
Fungal diseases are the second most common reason canna leaves start looking terrible by midsummer, and canna rust is the primary offender. When rust strikes, you will notice tiny yellow or orange powdery pustules forming on the undersides of the leaves, eventually causing the tops of the leaves to turn brown and dry out. This happens because the plant is sitting in an environment with high humidity, poor air circulation, and moisture lingering on the foliage. Gardeners often make the mistake of watering their cannas with overhead sprinklers late in the evening. That practice guarantees the leaves stay wet all night, creating the perfect breeding ground for fungal spores. If you are also growing a Lily nearby, you might notice similar moisture-related fungal issues if your watering habits are not dialed in.
To stop canna rust from ruining your display, you have to change how and when you water your plants. Switch to drip irrigation or water the soil directly with a hose at the base of the plant, keeping the foliage entirely dry. If you must use overhead watering, do it early in the morning so the sun can quickly dry the leaves. When you spot early signs of rust, prune off the infected leaves immediately and dispose of them away from the garden to prevent the spores from spreading. You can apply a copper fungicide early in the season as a preventive measure if you live in a very humid climate. However, spacing your cannas properly when planting is the most effective prevention method. Giving the plants enough room for wind to move through the bed dries out the microclimate and stops rust before it starts.
Dealing with Japanese beetles and other chewers
Japanese beetles are another major headache for canna growers, as these metallic green pests love to chew large, jagged holes through the foliage and flowers. Unlike the stealthy leaf roller, Japanese beetles feed right out in the open during the hottest parts of the day. When a few beetles find your cannas, they release pheromones that attract dozens more, quickly turning a minor nuisance into a feeding frenzy. You might have seen this exact same swarming behavior if you grow a Dahlia in your summer garden. Chemical sprays are generally ineffective against adult Japanese beetles because new beetles will just fly in to replace the ones you killed. The most reliable control method is simply going out in the early morning when the beetles are sluggish and knocking them into a bucket of soapy water.
You have to be consistent with this physical removal to break the pheromone cycle and convince the beetles to move elsewhere. Try to avoid using Japanese beetle traps anywhere near your cannas or your garden beds. Those traps use highly concentrated pheromones that will attract beetles from blocks away, bringing more pests into your yard than the trap can actually catch. If you have a massive canna bed and hand-picking is impossible, you can use floating row covers early in the season, though this ruins the visual appeal of the garden. Some gardeners use neem oil as a deterrent, but it washes off quickly and only provides mild protection. Accepting a small amount of beetle damage is often necessary, but aggressive hand-picking during the first week you see them will keep the leaves mostly intact.
Spotting the signs of canna virus
Sometimes the problem with your canna leaves has nothing to do with bugs or fungi, but rather an incurable systemic virus. Canna yellow mottle virus and bean yellow mosaic virus are incredibly common in both nursery stock and passed-along rhizomes. When a canna is infected, the leaves will emerge with pale yellow streaks, distorted veins, or a crinkled, stunted appearance. Unlike caterpillar damage or rust spots, these viral symptoms are built into the tissue of the leaf itself and cannot be scraped off or sprayed away. The plant will slowly lose its vigor, produce smaller flowers, and eventually stop growing entirely. Pests like aphids spread these viruses by feeding on an infected plant and then moving to a healthy one.
There is absolutely no cure for a virused canna, and keeping an infected plant in your garden puts all your other healthy cannas at risk. When you positively identify viral symptoms, you must dig up the entire plant, including the rhizome, and throw it in the garbage. Do not put virused plant material in your compost bin, as the virus can survive and spread when you use that compost later. To prevent bringing viruses into your garden, inspect the foliage of any potted cannas carefully before buying them at the nursery. If you are ordering dormant rhizomes, buy from reputable suppliers who test their stock for viruses. Sanitize your pruning shears with rubbing alcohol between cuts when you are deadheading or trimming your cannas to avoid mechanically transferring infected sap.
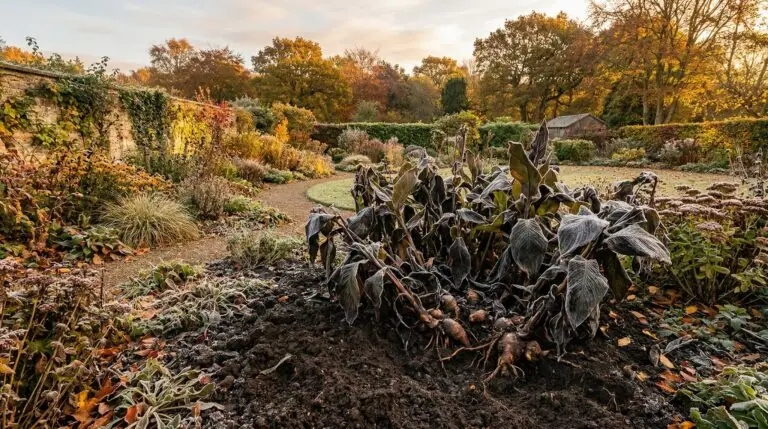
The single most important piece of advice I give gardeners struggling with canna pests and diseases is to practice ruthless autumn sanitation. The canna leaf roller overwinters as a pupa rolled up in the dead foliage left standing in the garden. If you live in a cold climate and dig your rhizomes, or if you live in a warm climate and leave them in the ground, you must cut all the dead foliage down to the soil line after the first frost. Remove all of that debris from the property completely. By destroying the dead leaves, you eliminate the overwintering generation of leaf rollers and remove the resting spores for canna rust. Starting with a completely clean slate in the spring is the easiest and most effective way to guarantee your cannas emerge with perfect, pristine leaves.
More About Canna Lily
Dwarf canna varieties perfect for small gardens and front-of-border planting
Growing cannas in water gardens and bog conditions for a lush waterside display
Best canna lily varieties for stunning foliage including dark-leaved and striped types
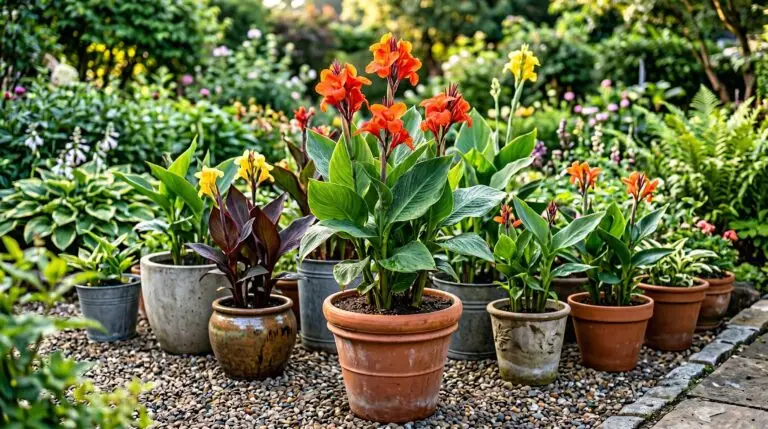
Growing cannas in containers for instant tropical impact on decks and patios
How to overwinter canna lily bulbs in cold climates and replant them in spring

Canna lily flower meaning and its tropical symbolism of beauty and confidence

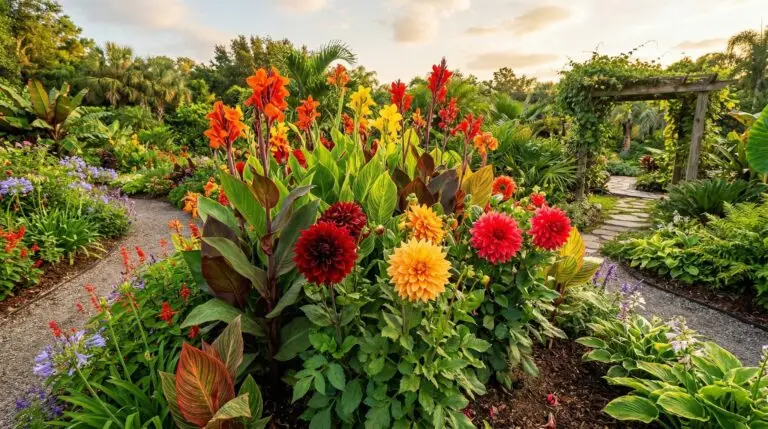
How to create a tropical garden look with cannas as the dramatic centerpiece
Canna and dahlia combinations for a bold late-summer garden border