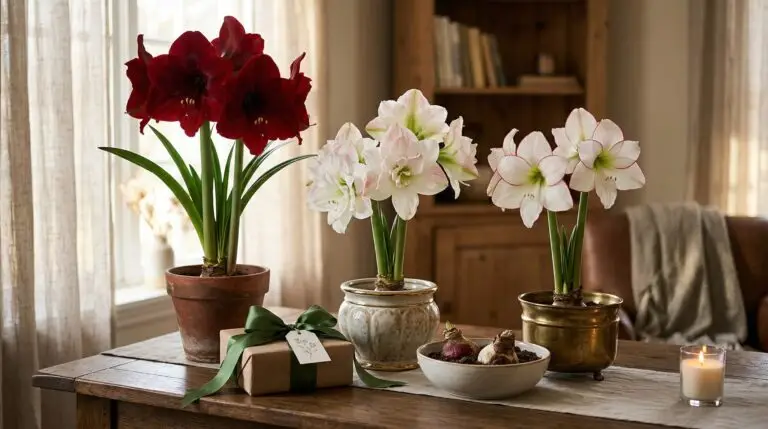
Growing an amaryllis indoors provides a bright burst of color right when the days grow short and the garden outside sleeps. Forcing amaryllis simply means convincing a dormant bulb to wake up and flower inside your home ahead of its natural spring schedule. Unlike forcing other spring bulbs that require a long chilling period in a refrigerator or unheated garage, the amaryllis is ready to grow almost as soon as you give it warmth and moisture. You do not need a greenhouse or specialized equipment to achieve colorful holiday blooms, just a bit of planning and an understanding of what the bulb needs to break dormancy. Before you begin the process of forcing amaryllis, you should know that the size and quality of the bulb directly dictate the size and number of the flowers you will get. Taking the time to select a heavy, firm bulb and plant it properly will reward you with large, trumpet-shaped blossoms that last for weeks. Understanding the natural life cycle of this tropical plant helps you mimic the conditions it needs to thrive on your windowsill.
Selecting the right bulb and container
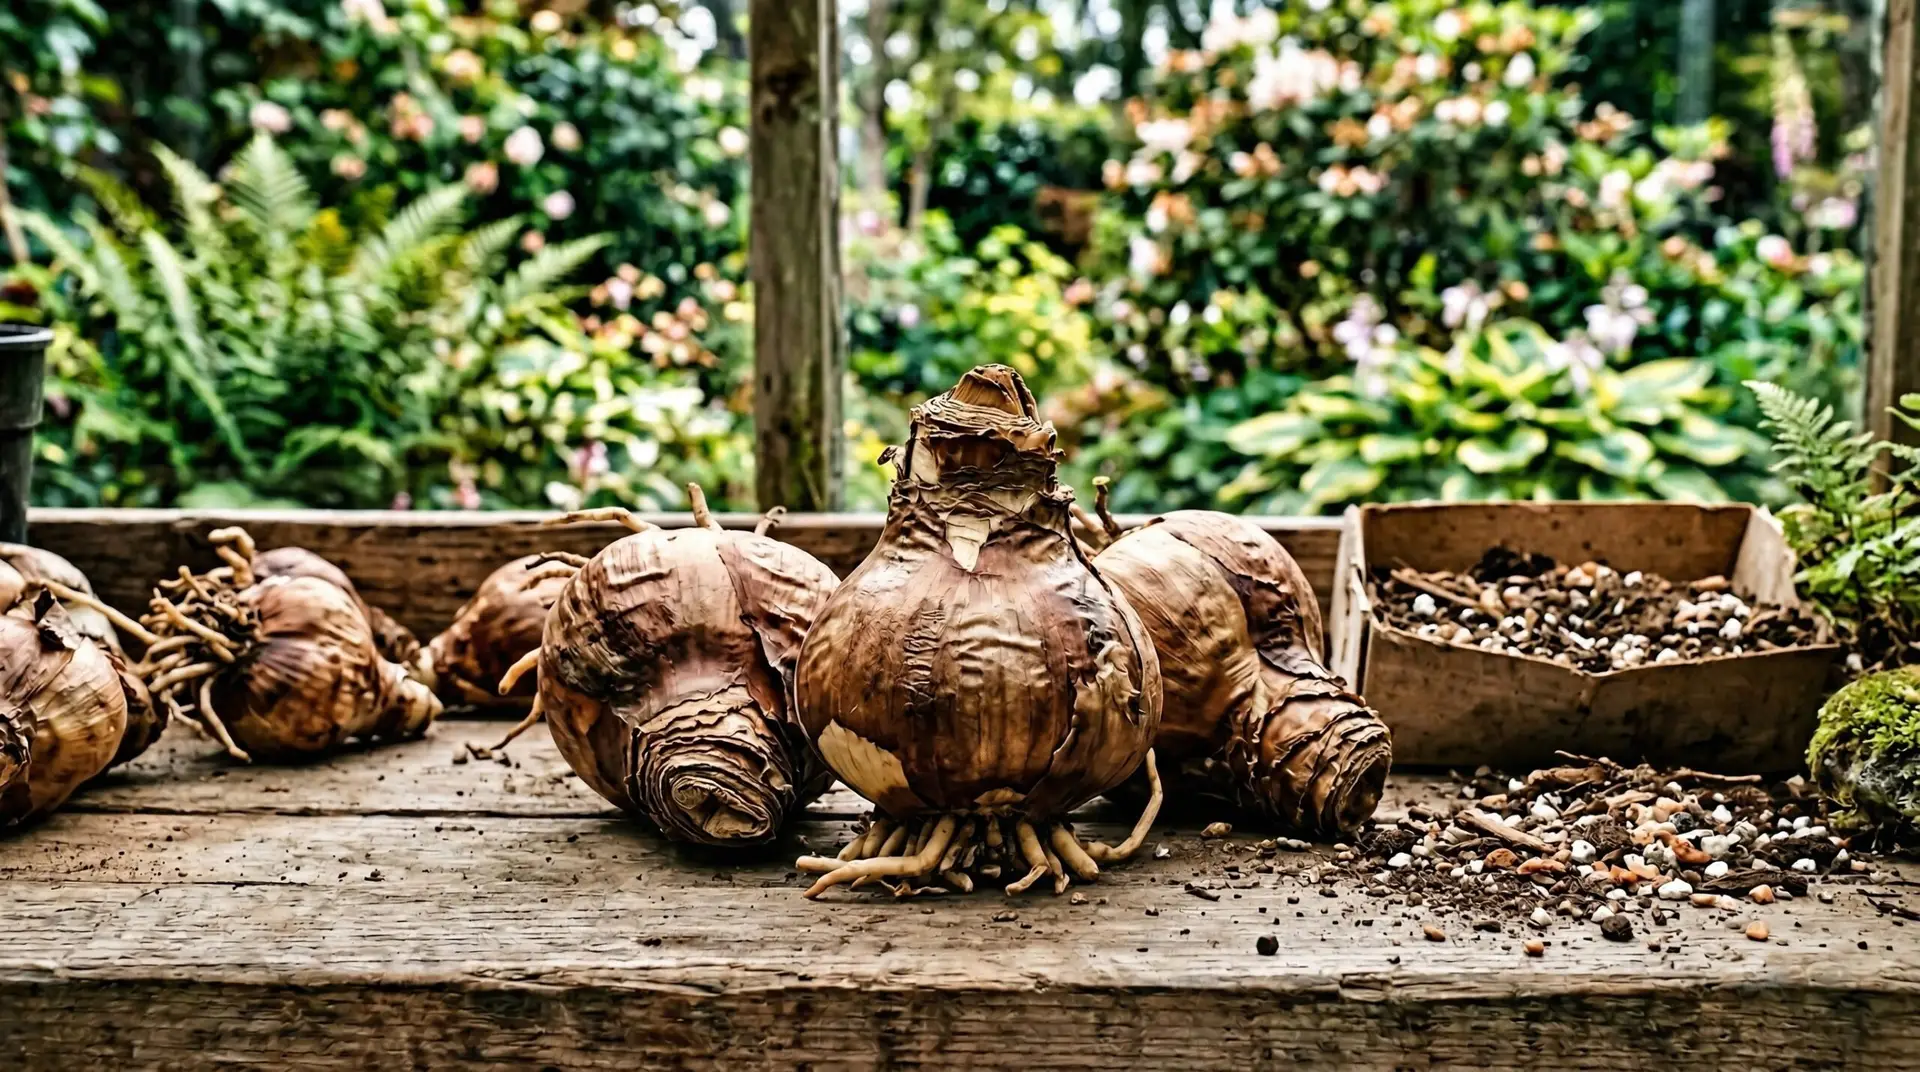
When you shop for amaryllis bulbs at a local nursery or order them from a catalog, look for the largest bulbs you can find that feel dense and heavy for their size. A larger bulb holds more stored energy, which translates directly into multiple flower stalks and a higher total count of individual blossoms. You want to avoid any bulbs that feel squishy, have large patches of blue mold, or show signs of shriveling, as these conditions indicate rot or extreme dehydration. Once you have your bulb, you will need to find a pot that provides a fairly snug fit. Amaryllis plants prefer to be slightly root-bound, so choose a heavy clay or ceramic pot that leaves only an inch or two of space between the edge of the bulb and the rim of the container. The pot must have at least one drainage hole at the bottom because sitting in stagnant water will quickly rot the fleshy roots and the basal plate of the bulb. Choosing a pot with a saucer will protect your furniture from moisture while ensuring the roots never sit in standing water.
Potting the bulb for healthy growth
Fill the bottom third of your chosen container with a standard, well-draining commercial potting soil. You can test the drainage of your soil mix by squeezing a damp handful of it; the soil should hold together loosely but easily crumble apart when you poke it, rather than forming a tight mud ball. Set the bulb onto the soil with the pointed end facing up and gently spread any existing dry roots out over the surface of the dirt. Add more soil around the sides of the bulb, pressing it down firmly to eliminate large air pockets and provide a stable base for the heavy plant. Pressing the soil down firmly also prevents the bulb from shifting or leaning as the heavy flower stalk eventually begins to grow. You must leave the top third to half of the bulb exposed above the soil line rather than burying it completely. Leaving the top portion of the bulb exposed prevents water from settling into the neck of the plant, which is a common cause of fungal rot that can kill the flower stalk before it ever emerges.
Managing light and water during dormancy
After potting the bulb, water the soil thoroughly until you see moisture escaping from the drainage hole at the bottom of the pot. This initial watering signals to the dormant bulb that the dry season has ended and it is time to begin pushing out new roots and shoots. Place the pot in a warm spot in your home, ideally somewhere the temperature stays consistently between 70 and 75 degrees Fahrenheit. You do not need to provide bright light at this early stage, as the bulb is relying entirely on its stored energy to initiate growth. For the next few weeks, you should withhold water completely until you see the thick green tip of the flower stalk or the first leaves emerging from the neck of the bulb. Checking the soil with your finger every few days will help you resist the urge to water before the plant is actually ready to drink. Watering the soil while the bulb is still inactive will almost certainly lead to rot, so patience during this waiting period is necessary for your success.
As soon as you spot green growth pushing up from the center of the bulb, move the pot into the brightest window you have available. Bright, direct sunlight encourages the plant to develop a thick, sturdy flower stalk that can support the heavy weight of the opening blossoms. If you place the growing amaryllis in a dim room, you will notice the stalk stretching rapidly toward the nearest light source, becoming thin, pale, and weak. A weak stalk will inevitably flop over and break under the weight of the flowers, requiring you to stake it heavily or cut the blooms for a vase. Once the stalk begins growing, you can start watering the plant regularly, allowing the top inch of soil to dry out completely before adding more water. Keeping the soil evenly moist but never soggy will support the rapid cellular expansion happening inside that thick green stem. Rotate the pot a quarter turn every few days to keep the stalk growing straight up, as it will naturally lean toward the window glass over time.
Timing the bloom for holiday displays
Timing your amaryllis indoor blooming requires counting backward from your target date and making small adjustments to the room temperature along the way. On average, a newly potted amaryllis bulb takes six to eight weeks to go from a dry state to full flower. If you want blossoms open on the table for a late December gathering, you should aim to pot the bulb in early to mid-November. You can manipulate the speed of the growth by moving the plant between warmer and cooler rooms in your house. Watching the daily progress of the stem will give you all the clues you need to decide if the plant needs more heat or a slight chill. If the stalk is growing too slowly and you worry the buds will not open in time, move the pot to a warmer room to accelerate the process. Conversely, if the buds are swelling rapidly and you want to hold them back for a few days, placing the plant in a cooler area will slow the development and delay the opening of the flowers.
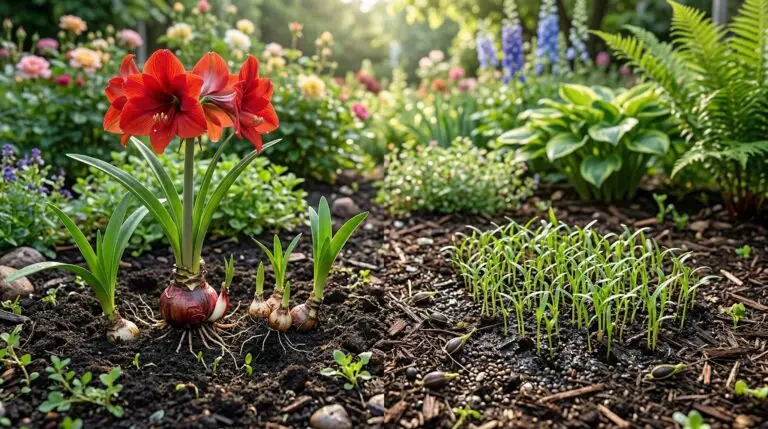
The process of forcing amaryllis indoors is significantly more straightforward than working with bulbs that require an artificial wintering period. For instance, if you want to force a tulip inside your home, you have to subject the potted bulbs to cold temperatures for up to fifteen weeks before bringing them into the warmth. Similarly, getting a delicate snowdrop to bloom indoors requires careful temperature management to mimic the freezing and thawing cycles of early spring. The amaryllis bypasses all of this chilling requirement because it originates from tropical and subtropical regions where cold dormancy does not exist. This tropical nature makes the amaryllis the most reliable choice for indoor winter color, especially for gardeners who want guaranteed results without dedicating refrigerator space to pots of dirt. You simply pot them up, provide basic care, and watch them turn your windowsill into an indoor garden.
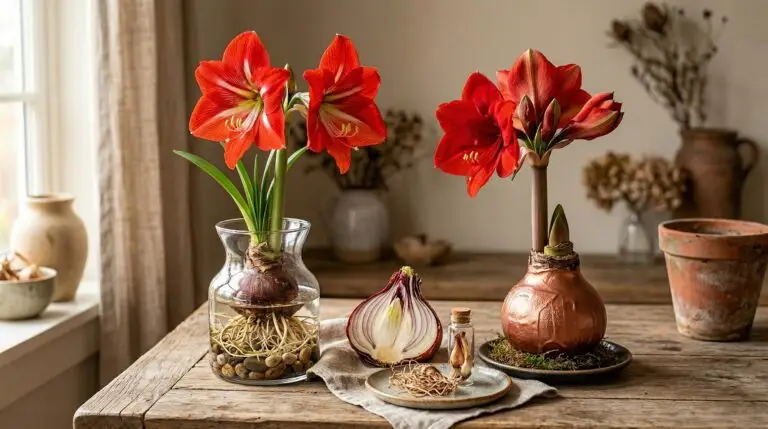
As the weeks pass and your amaryllis holiday bloom nears its peak, you will see the swollen bud casing at the top of the stalk begin to split open. At this point, you might notice a clear, sticky sap forming on the outside of the buds. That is normal and simply a natural secretion the plant produces as the large petals prepare to unfurl. When the first flower finally opens, move the pot out of direct sunlight and into a cooler spot in your living area to prolong the life of the blossoms. The cooler temperatures and lower light will help the flowers last for several weeks rather than fading quickly in a hot, sunny window. You can expect each stalk to produce four to six large blooms depending on the initial size of the bulb. A large, healthy bulb will often send up a second or even third stalk just as the first one finishes its display, extending your indoor flower show well past the holidays.