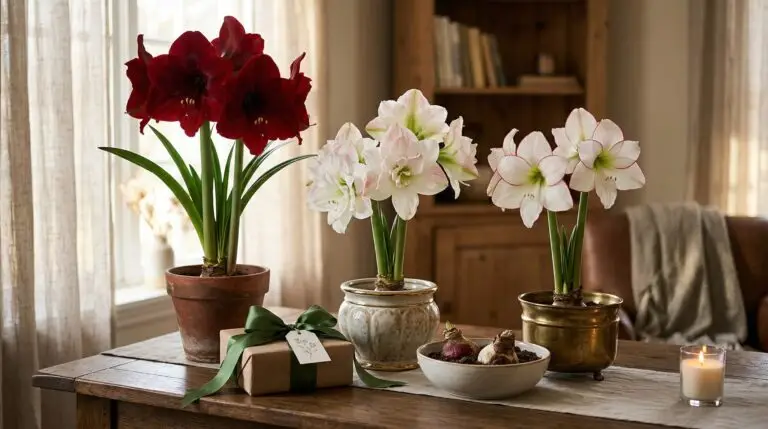
By the time you finish reading this, you will understand exactly how a single amaryllis bulb can eventually become a windowsill full of blooming plants. We often treat these large, impressive bulbs as solitary performers that bloom once or twice and then sit quietly in their pots. But plants are programmed to multiply, and amaryllis have two completely different strategies for creating the next generation. One method creates exact copies of the parent plant in a relatively short time, while the other method takes years and produces entirely new, unpredictable flower variations. Understanding how both of these reproduction cycles work allows you to guide the process and turn one plant into a lifelong collection.
Understanding the anatomy of amaryllis propagation
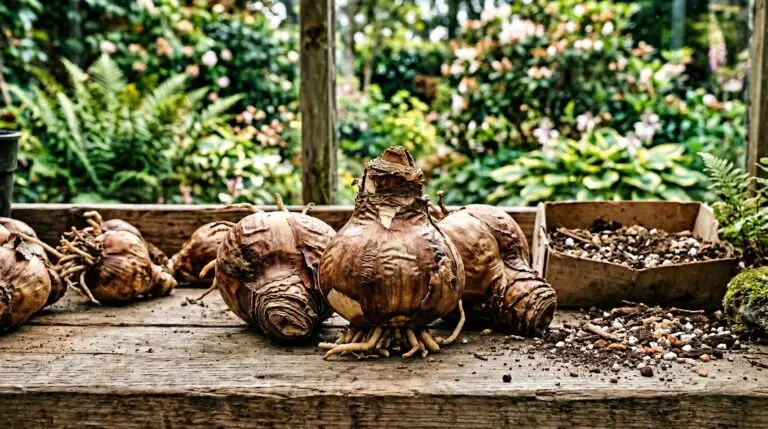
To understand amaryllis propagation, we need to look at the anatomy of the bulb itself. The most important part of the plant is not the fleshy scales you see above the soil, but rather the flat, hardened disc at the very bottom called the basal plate. This basal plate is the biological engine of the bulb. It is the exact point where roots grow downward and leaves grow upward. As an amaryllis matures and stores energy over several seasons, this basal plate will occasionally develop small buds on its outer edges. These buds eventually grow into miniature bulbs called offsets, which share the exact same genetic material as the parent plant. This is a form of vegetative reproduction, meaning any flower produced by these offsets will look identical to the original bloom. Think of an offset as a clone that simply needs time to reach full size.
The second method of reproduction happens at the completely opposite end of the plant. When an amaryllis flower is successfully pollinated, the base of the flower swells into a large, green seed pod. This is sexual reproduction, which requires the mixing of genetic material from pollen and an egg. Because commercial amaryllis are heavily hybridized, the seeds inside that pod carry a random assortment of genetic traits from their ancestors. Growing amaryllis from seed is a genetic lottery, and the resulting flowers might be red, pink, white, or striped, regardless of what the parent flower looked like. Both methods require patience, but they offer completely different rewards for the home gardener.
Separating and planting amaryllis offsets
Working with amaryllis offsets is the most reliable way to expand your collection quickly. You will usually notice these small bulblets poking through the soil right next to the main bulb during the active growing season. While it is tempting to pull them away immediately, you need to leave them attached to the mother bulb until they have developed their own independent root system. The mother bulb is a nurse plant, feeding the small offset through a shared connection on the basal plate until the young bulb is strong enough to survive alone. This shared connection is vital for the early growth stages when the offset is too small to photosynthesize enough energy for itself. You should wait until the offset is at least a third of the size of the parent bulb and has several distinct leaves of its own. This takes a season or two to get a feel for, and that is completely normal.
The best time to separate these offsets is during the plant’s dormant period or right before you repot it for a new growing cycle. Remove the entire root ball from the pot and gently brush away the soil so you can see exactly where the offset connects to the main basal plate. Sometimes the offset will snap off easily with a gentle twist, but other times you might need to use a clean, sharp knife to slice downward through the connecting tissue. You want to make sure the offset takes a portion of the basal plate and a few of its own roots with it. Plant the newly separated bulblet in its own small pot, keeping the top third of the bulb above the soil line just as you would with a mature amaryllis. Because this young bulb already has a head start, it will typically reach blooming size in just one or two years of proper care.
Harvesting and preparing amaryllis seeds
If you decide to try growing amaryllis from seed, you are committing to a much longer but deeply rewarding process. The process begins while the parent plant is still blooming, when you must transfer pollen from the anthers of one flower to the sticky stigma of another. If the pollination is successful, the flower petals will drop off and the green swelling behind the flower will begin to grow into a pod about the size of a walnut. This pod needs to remain on the plant for several weeks to allow the seeds inside to fully mature. You will know the seeds are ready when the green pod begins to turn yellow and eventually splits open along its seams. Inside, you will find dozens of flat, papery black seeds stacked tightly together.
These papery seeds are delicate and have a relatively short shelf life compared to the hard seeds of many garden vegetables. The black, papery casing is actually a protective wing that helps the seed catch the wind in a natural environment, while the actual embryo is a tiny bump located near the center of the wing. Because they lose viability quickly, it is best to start the germination process within a few weeks of harvesting the pod. Unlike thick, fleshy bulbs such as daffodils that can sit in a paper bag for months, amaryllis seeds need moisture to trigger their growth cycle almost immediately. You do not need to dry them out or store them in a refrigerator. They are programmed to fall to the damp forest floor and begin growing right away before the dry season arrives.
The three year timeline for growing from seed
There are two common ways to sprout these fresh seeds, and both rely on providing consistent moisture to soften the papery casing. The water method involves floating the seeds in a shallow dish of room temperature water, changing the water every few days to prevent bacterial growth. Within two to four weeks, you will see a tiny white root emerge from the center of the seed, followed shortly by a single green shoot. Once the root is about half an inch long, you must carefully move the sprouted seed to a pot filled with light, well-draining potting mix. Alternatively, you can plant the papery seeds directly on the surface of moist potting soil, covering them lightly with a sprinkle of sand or vermiculite to hold them in place. Both methods work well, but the water method allows you to see exactly which seeds are viable before you commit pot space to them.
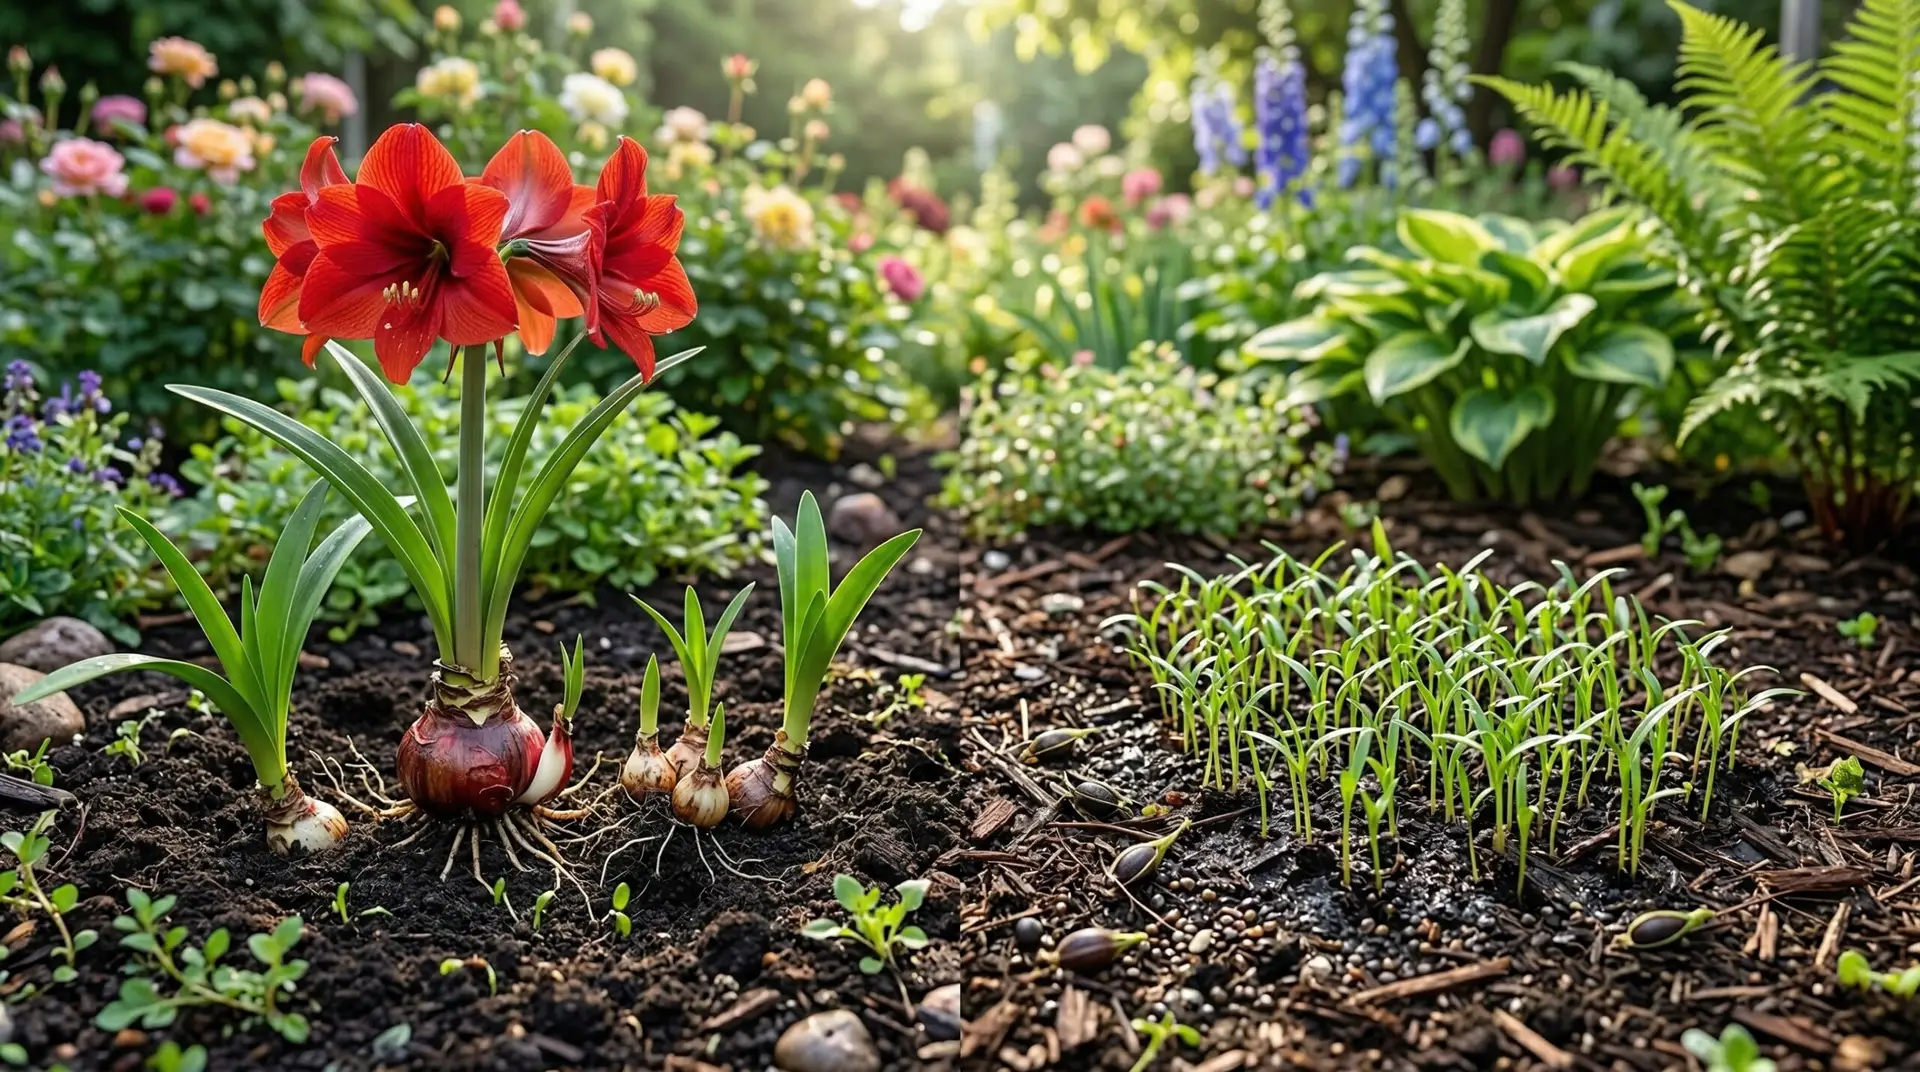
The first year of growing amaryllis from seed is a test of patience. The seedlings will look like single blades of grass for many months, and you might wonder if they are growing at all. During this time, the plant is directing almost all of its energy downward into the soil to construct a miniature bulb from scratch. This tiny bulb needs to expand layer by layer, storing carbohydrates generated by those few grassy leaves. You must keep the soil lightly moist and provide bright, indirect light, treating them much like a young lily seedling that needs steady conditions to establish its roots. Do not try to force them into dormancy during their first year of life. They need continuous growth to build enough mass to survive a future dormant period.
As your seedlings enter their second and third years, the process becomes much more familiar. You will notice the base of the leaves swelling as the bulb finally becomes large enough to push above the soil line. You can now begin treating them like miniature adult amaryllis, providing regular fertilizer and allowing the soil to dry out slightly between waterings. By the end of the third year, the bulbs should be roughly the size of a tennis ball and capable of producing their first flower stalk. The core principle to take away from this entire process is that bulb propagation is simply the management of stored energy. Whether you are slicing away an offset that borrowed energy from its mother or nurturing a seed that must build its energy reserves from nothing, you are guiding the plant through its natural cycle of gathering and storing light.