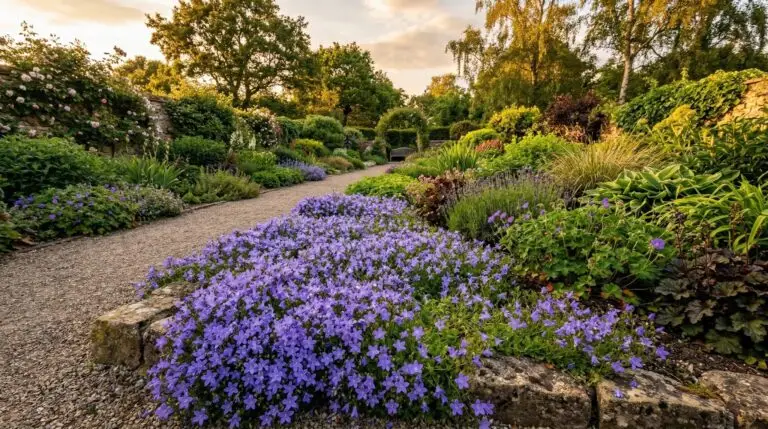
The single most critical factor in keeping bellflowers blooming all summer is matching your deadheading technique to the specific growth habit of the plant. Campanula species fall into two distinct categories requiring completely different maintenance approaches. Upright varieties produce tall floral spikes that need precise, individual attention throughout the season. Mounding or creeping varieties form dense mats of foliage and flowers that demand bulk shearing to trigger a second flush of bloom. Treating a creeping bellflower like an upright variety wastes time, while shearing an upright bellflower destroys its architectural form and prevents further blooming. Identifying whether your bellflower builds height or spreads horizontally dictates every maintenance decision you make from June through September.
Deadheading upright bellflower varieties
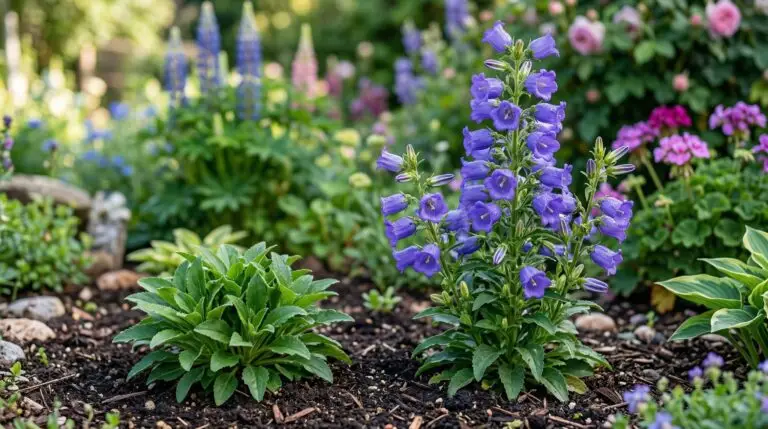
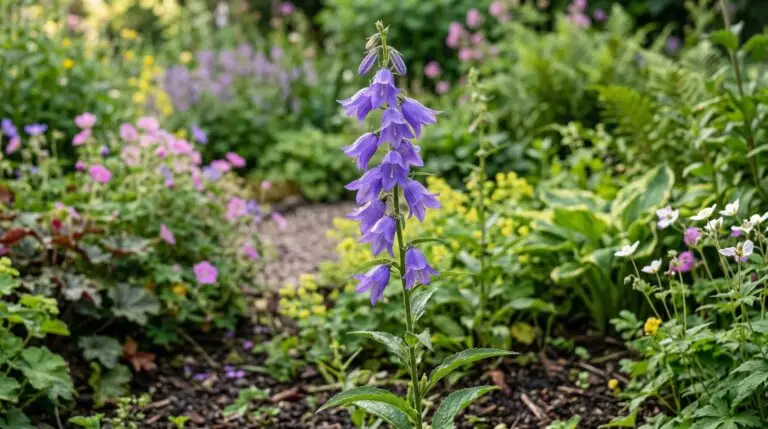
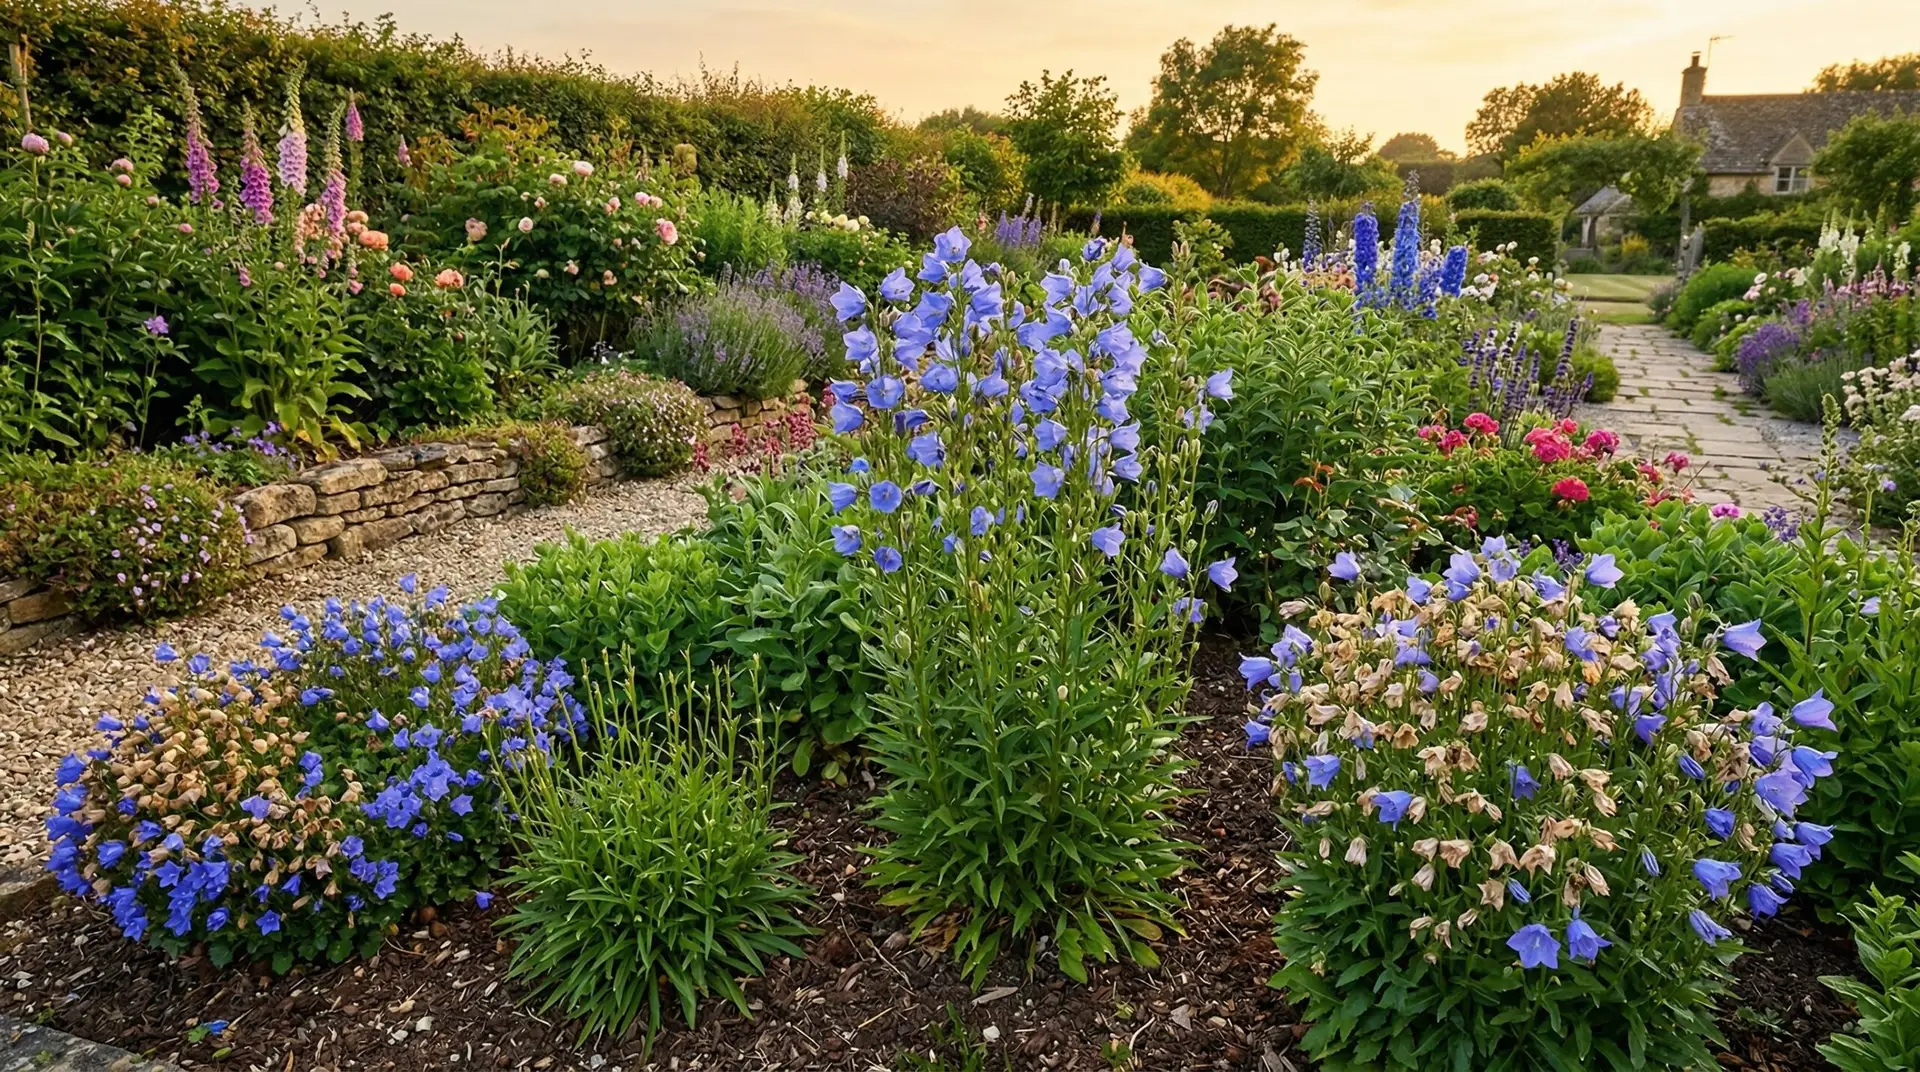
Upright species like the peach-leaved bellflower require a precise two-step process when deadheading bellflowers to maximize their floral output. As the bell-shaped blooms fade along the main vertical stem, pinch them off individually just behind the base of the flower. This prevents the plant from spending energy on seed production while allowing the remaining buds on the stalk to open fully. To guarantee your campanula more blooms throughout the season, you must distinguish between a spent flower and an unopened bud, as both can look like small green pods at a quick glance. Spent flowers feel soft and hollow, while new buds are firm and pointed. Once all the flowers on a specific stem have finished blooming, trace that stalk all the way down to the basal rosette of leaves. Cut the entire spent stalk off at the base using sharp bypass pruners to cleanly sever the thick stem. Removing the primary stalk entirely redirects the plant’s resources into developing secondary side shoots for late-summer blooms.
Timing plays a major role in how effectively upright bellflowers respond to this maintenance. The initial deadheading of individual blooms should occur every three to four days during the peak June flush. Waiting until the entire stalk turns brown means the plant has already exhausted its energy reserves on seed development. Clean cuts are essential, as crushing or tearing the main stems invites bacterial rot into the crown of the plant. Disinfect your pruners with rubbing alcohol before moving between different bellflower clumps to prevent the spread of soil-borne pathogens. If you execute this stem-removal technique early enough in the season, the resulting side shoots will begin blooming within three weeks.
Shearing mounding and trailing types
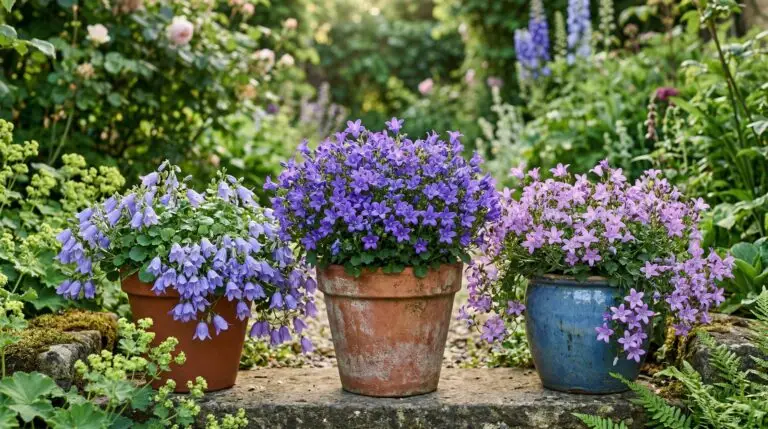
Low-growing species like Carpathian and Dalmatian bellflowers require an aggressive shearing technique rather than careful individual deadheading. These plants produce hundreds of small flowers simultaneously, making single-flower removal impossible for any practical gardener. When the first massive flush of early summer blooms begins to turn brown and dry, take a pair of hedge clippers and cut the entire plant back by one third to one half of its total height. This bulk removal cuts away the developing seed heads and forces the plant to push out fresh basal foliage. The technique is identical to the midseason maintenance required for plants like coreopsis, which also rely on mass shearing to reset their bloom cycle. Within two to three weeks of this hard cut, the bellflower will generate new buds and deliver a second round of flowers. Water the plant deeply immediately after shearing to support the rapid growth of new stems and foliage.
Proper bellflower maintenance for creeping varieties requires attention to the debris left behind after shearing. Rake your fingers gently through the remaining foliage to remove the severed stems and dead leaves trapped in the center of the mound. Leaving this dense layer of clippings sitting on top of the plant blocks sunlight from reaching the new growth emerging at the soil line. It also creates a damp, stagnant environment where slugs and fungal diseases thrive during humid summer weather. If the center of the mounding bellflower appears woody or entirely dead after you shear it, the plant has likely become overcrowded. This central die-out indicates that the root system needs division the following spring, regardless of how well you handle the summer deadheading.
Watering and fertilization schedule
Despite what many sources claim, bellflowers do not need heavy fertilization to produce continuous blooms. Overfeeding actually encourages weak, floppy foliage at the expense of flower production, resulting in fewer blooms overall. Use a balanced 10-10-10 liquid fertilizer at half strength every three weeks during active growth, stopping entirely by the middle of August. Apply the fertilizer directly to the soil around the base of the plant to keep the foliage and flowers dry. Granular slow-release fertilizers are less effective for bellflowers because the plants require immediate nutrient access right after a hard shearing. Liquid feeding provides the exact temporary boost needed to push out the second flush of foliage and buds without overloading the soil with excess nitrogen.
Consistent soil moisture directly impacts the plant’s ability to recover from deadheading and produce new flowers. Bellflowers require a steady supply of water to support repeat blooming, but they will rot quickly in standing water. Water deeply once a week, providing about one inch of moisture, rather than giving the plants frequent shallow sprinklings. Shallow watering encourages the roots to stay near the soil surface, making the plant highly susceptible to heat stress during July and August. Applying a two-inch layer of shredded bark mulch around the base helps regulate soil temperature and retain moisture between waterings. Keep the mulch pulled back at least an inch from the actual stems to prevent crown rot during heavy summer rainstorms.
Managing late summer decline and fall cleanup
By late August, even the most diligently maintained bellflowers will begin to slow their flower production and look tired. Allow the final round of flowers to remain on the plant and develop seeds if you want the bellflowers to self-sow in the surrounding soil. Once the foliage begins to yellow and die back after the first frost, cut all remaining stems down to about two inches above the soil line. Much like the late-season care required for a shasta daisy, removing this dead material prevents fungal diseases and pest eggs from overwintering in the crown of the plant. Do not cover the remaining basal rosette with heavy layers of whole leaves or dense mulch, as this traps moisture and causes winter rot. A light layer of pine needles provides adequate insulation while allowing air to circulate around the dormant crown.
Fall cleanup also provides the best opportunity to evaluate the overall health and placement of your bellflowers. Inspect the base of the cut stalks for signs of crown rot, which presents as mushy, blackened tissue near the soil line. If you find diseased sections, dig them out immediately and discard them in the trash rather than the compost bin. Healthy bellflowers will maintain a tight, green basal rosette well into the winter months in milder climates. Mark the edges of the plant with small stakes before the snow falls so you know exactly where the fragile new shoots will emerge in early spring. True perennial vigor relies on proper root division every three years, not just surface maintenance.