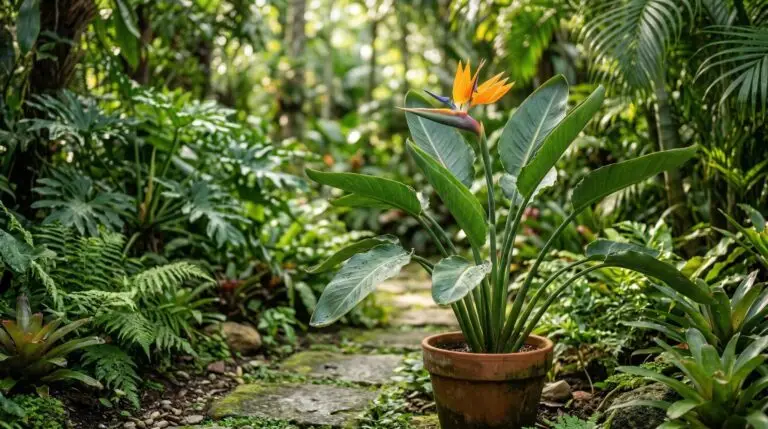
Repotting a mature bird of paradise is a significant physical task that requires careful planning and an understanding of how this specific plant grows. These plants develop massive, fleshy root systems that store water and nutrients, making them incredibly heavy and somewhat stubborn to move. Many indoor gardeners feel intimidated by the sheer size of the plant and put off repotting for years. While you certainly do not want to disturb the plant unnecessarily, there comes a point where fresh soil and a bit more space are necessary for continued health. Before you gather your supplies, you should understand the root-bound bloom trick that dictates how we treat this species. A bird of paradise actually produces its best and most frequent flowers when its roots are slightly crowded inside the container. If you move the plant into a massive new pot with endless room, it will redirect all its energy into growing new roots and lush foliage, abandoning any plans to flower for several years. You must strike a balance between giving the plant enough room to survive and keeping it snug enough to encourage those iconic blooms.
Recognizing the right time to move your plant
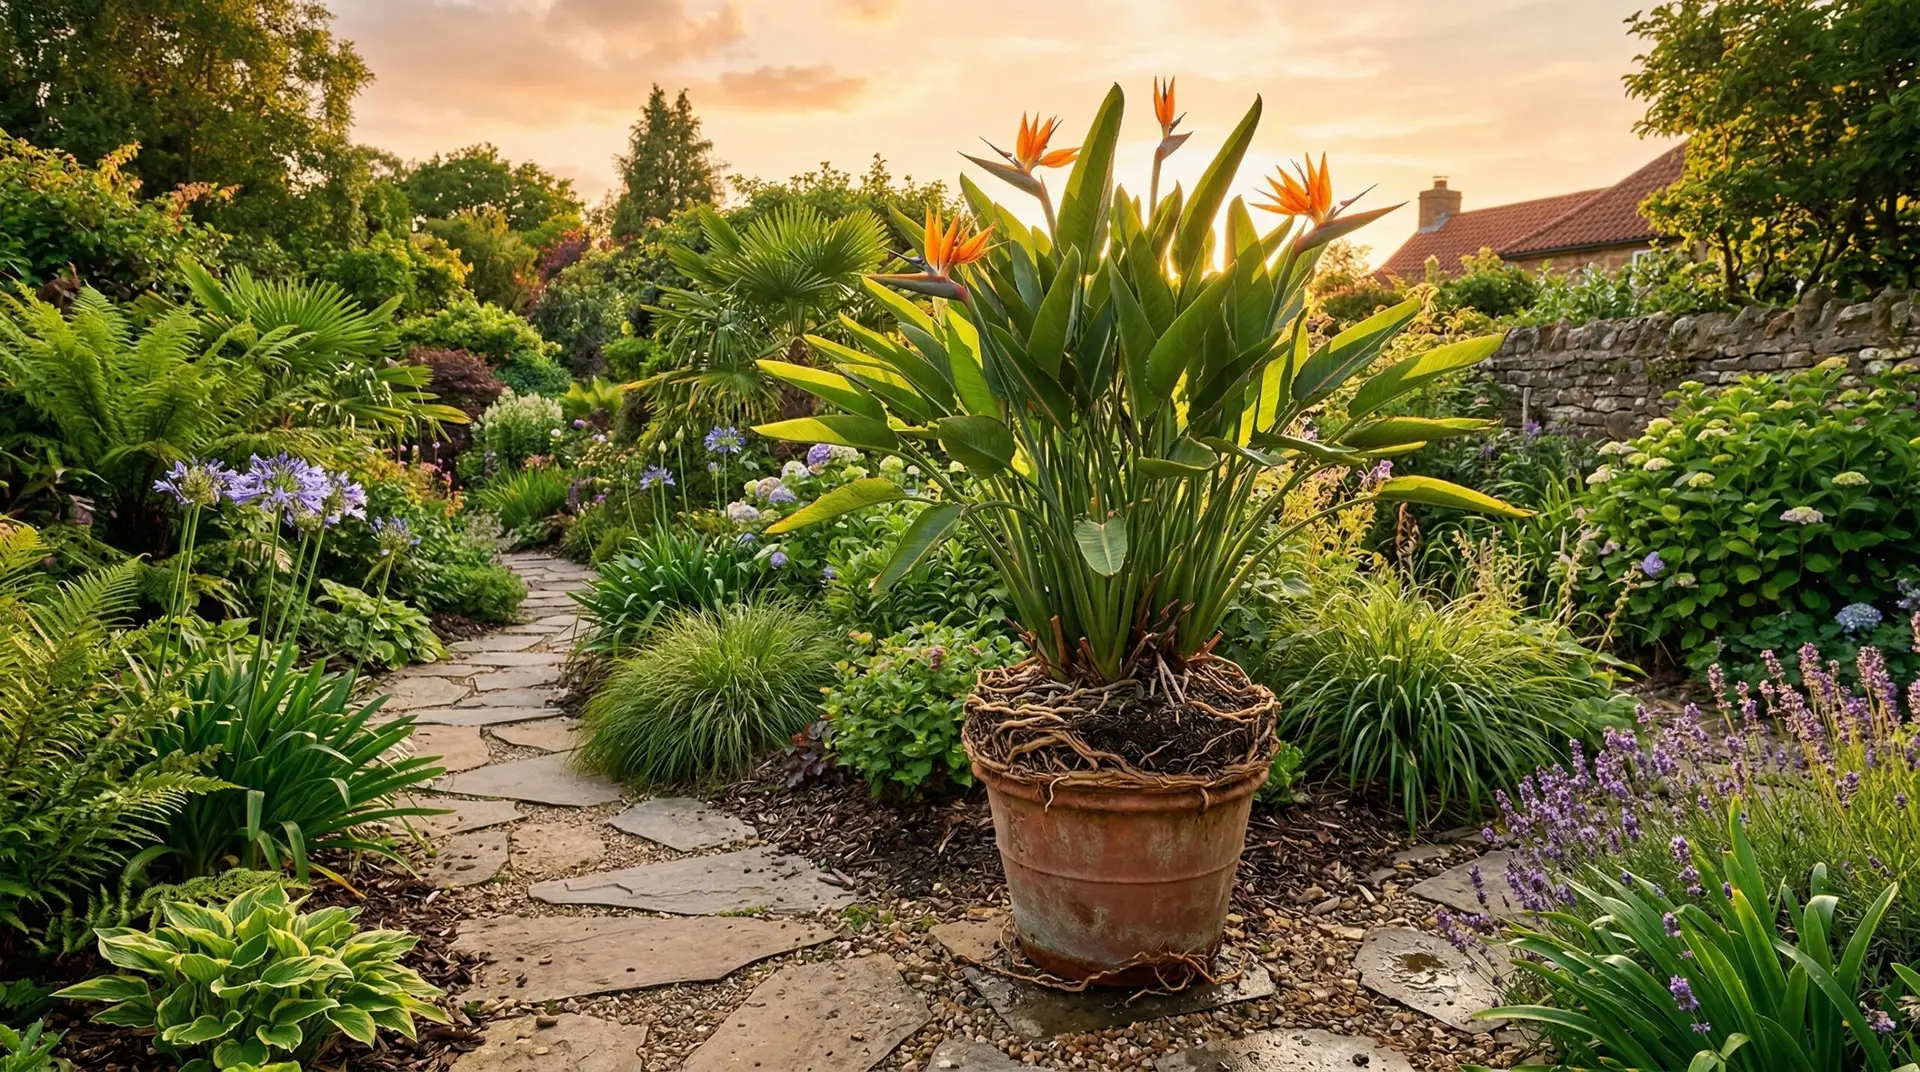
Timing your repotting project correctly makes a massive difference in how quickly the plant recovers from the shock of the move. You should wait to tackle a strelitzia repot until the days begin to lengthen and daytime temperatures consistently stay above 60F. Moving the plant just as it enters its active spring and summer growth phase gives it the energy needed to repair broken roots and push into the new soil. You will know it is definitively time to repot when the root system physically alters the shape of the container or begins escaping. Thick, tuberous roots will often crack the sides of rigid plastic pots or bulge out of the bottom drainage holes. In severe cases, the dense mat of roots will literally lift the entire plant upward, leaving a noticeable gap between the soil surface and the rim of the pot. If your plant is simply large but the pot remains intact and the soil still absorbs water well, you can safely wait another season. Waiting until the plant is truly cramped is the best way to guarantee you do not disrupt its natural blooming cycle.
Choosing the right container and soil mix
Selecting the right bird of paradise pot size is the most common place where well-meaning gardeners make a mistake. You should choose a new container that is only two inches wider in diameter than the current pot. Upgrading to a much larger pot leaves a vast volume of wet soil surrounding the root ball, which takes far too long to dry out between waterings. This persistent moisture suffocates the thick roots and inevitably leads to root rot, which can quickly kill a mature plant. Make sure your chosen container has multiple large drainage holes at the bottom, as these plants absolutely cannot sit in stagnant water. For the potting medium, you need a blend that retains some moisture but drains rapidly, so mixing a standard high-quality potting soil with generous scoops of coarse perlite and orchid bark creates an ideal environment. This chunky, aerated texture mimics the loose, breathable mixes you might prepare for an Anthurium or other plants that require excellent airflow around their roots. Prepare this soil mixture in a large wheelbarrow or tub before you even touch the plant, as having your materials ready prevents the exposed roots from drying out.
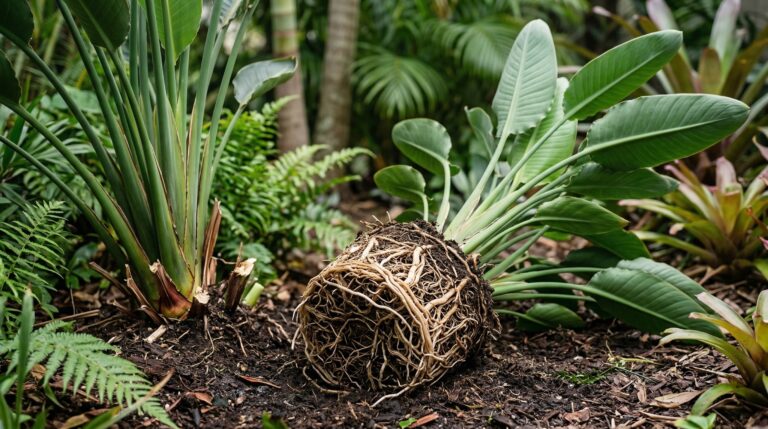
Extracting and handling the heavy root ball
Extracting a heavy, top-heavy plant from its old container requires patience and a gentle approach to avoid snapping the stems. Lay a large tarp down in a garage or shaded outdoor area to catch the inevitable mess of old soil and water. Instead of trying to pull the heavy plant straight up by its stalks, gently tip the entire container onto its side on the tarp. You can strike the outside of the pot firmly with the heel of your hand to loosen the grip the roots have on the interior walls. If the plant is housed in a flexible plastic nursery pot and refuses to budge, use a sharp utility knife to carefully slice down the side of the plastic. Pulling forcefully on the base of the stems will often cause them to snap, leaving you with a damaged plant, so let the pot slide away from the roots instead. As you finally slide the root ball free, you might hear a crisp snap or notice a few broken roots, but because these fleshy roots are quite brittle, minor breakage is completely normal and will not harm the plant in the long run. Simply use a clean, sharp pair of pruning shears to trim away any badly crushed root ends before you move the plant to its new home.
Settling the plant into its new home
Begin by placing a few inches of your freshly prepared soil mix at the bottom of the new container, then stand the heavy plant upright in the center to check the soil level against the rim. The base of the stems must sit at the exact same depth it experienced in the old pot. Planting the stems too deeply exposes the sensitive crown to constant moisture, which invites fungal diseases and stem rot. Once you have the height adjusted perfectly, begin scooping your soil mix into the empty space around the sides of the root ball. Use your fingers or a wooden dowel to gently press the soil down, eliminating any large air pockets that could dry out the roots. Water the plant thoroughly until a steady stream of moisture pours out of the bottom drainage holes, which settles the fresh soil around the root system and provides immediate hydration after the stress of handling. Similar to the care required after repotting a Moth Orchid, you should place your newly potted bird of paradise in a warm, bright spot shielded from harsh, direct sunlight. Over the next few weeks, you might observe a slight drooping in the older foliage, but the plant will soon stabilize and begin producing tightly rolled, spear-like new leaves.
More About Bird of Paradise
Growing bird of paradise outdoors in zones 9 through 11 for year-round tropical color

Using bird of paradise flowers in dramatic tropical floral arrangements
Bird of paradise leaf splitting and curling and what your plant is trying to tell you
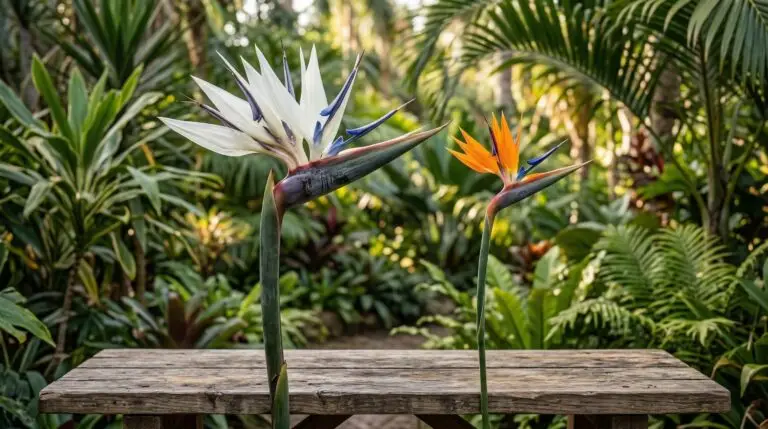
Giant white bird of paradise versus orange bird of paradise and which to choose
How to divide bird of paradise to share with friends or fill your garden
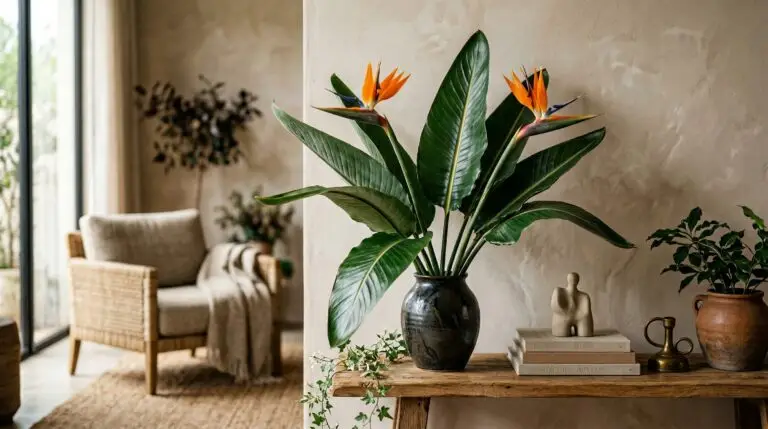
Bird of paradise in modern interior design as a living sculptural statement
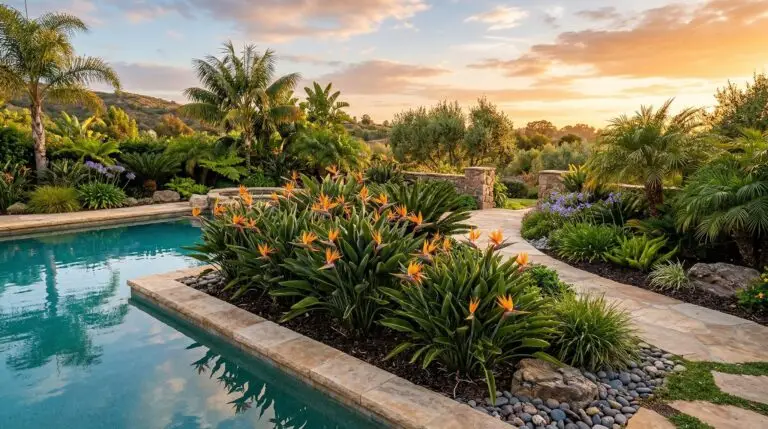
Bird of paradise in tropical landscape design for a resort-style backyard
Bird of paradise flower meaning and its connection to freedom and paradise