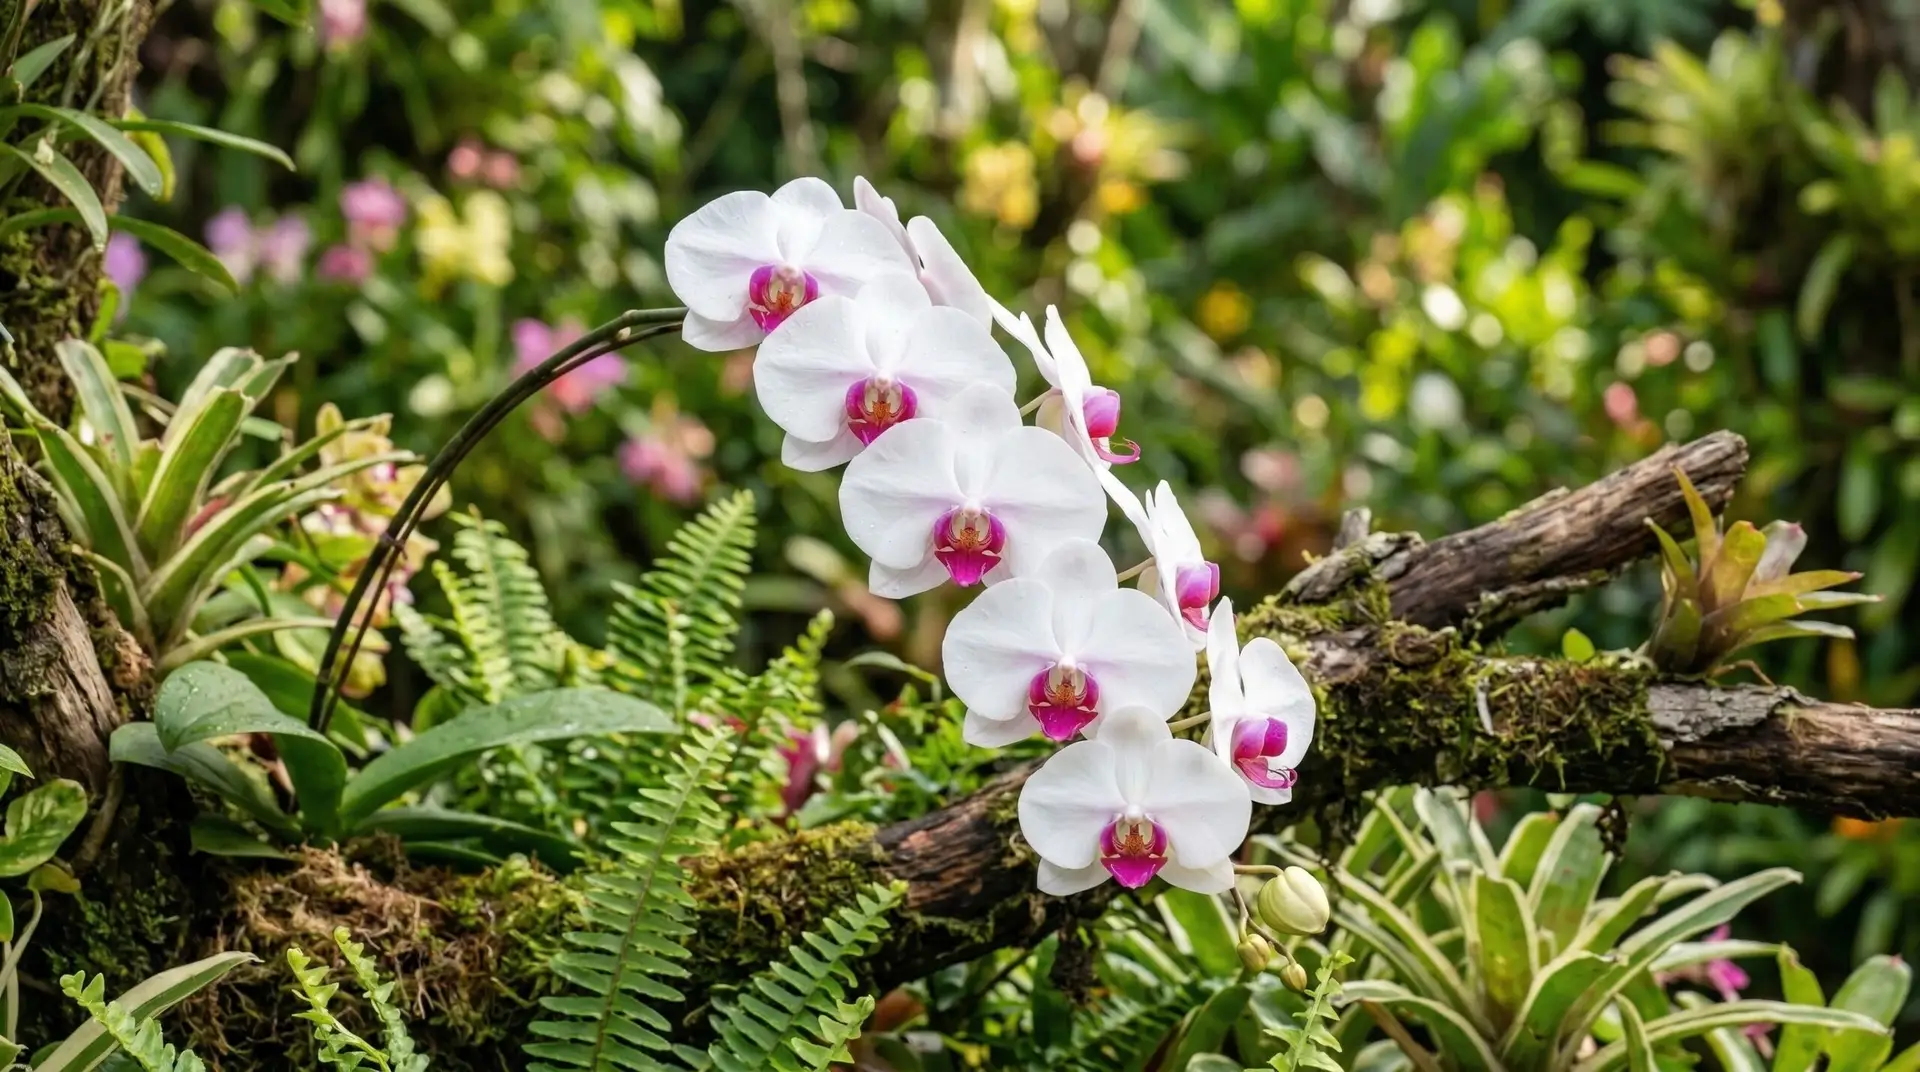
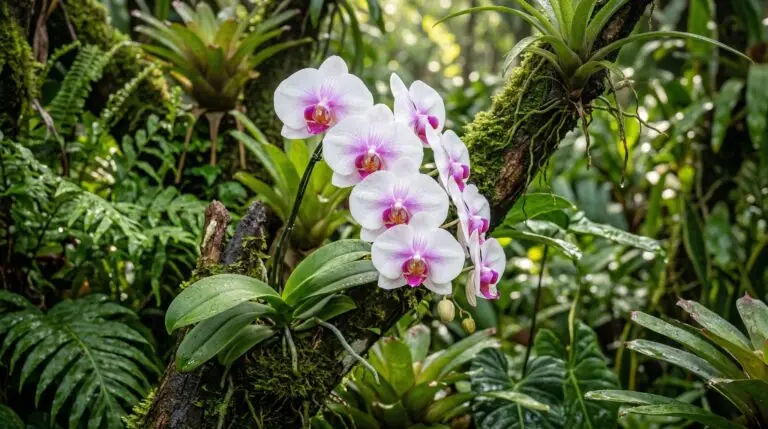
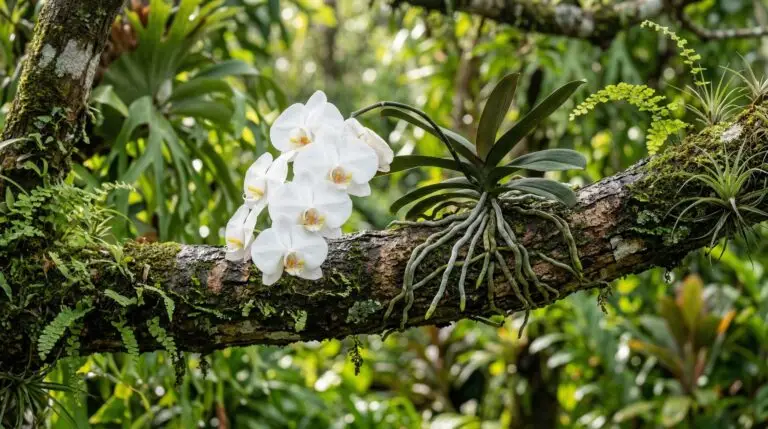
I have watched countless gardeners bring home a moth orchid with a mix of excitement and mild dread. Phalaenopsis orchids are currently the most cultivated houseplant orchids in the world, yet they are frequently misunderstood by indoor growers who treat them like standard terrestrial plants. In their native habitats across Southeast Asia, these plants are epiphytic, meaning they cling to tree branches rather than rooting in soil. This single botanical fact dictates almost everything about proper phalaenopsis care, from how we water them to the type of pot they require. When we try to force them into a heavy peat mix and keep them constantly wet, their fleshy roots suffocate and rot rapidly. Success with these plants comes down to mimicking their natural arboreal environment as closely as possible within the constraints of a modern home.
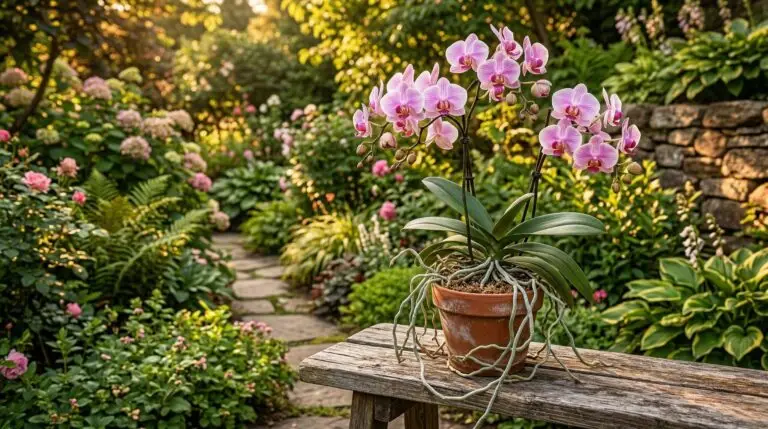
Getting a moth orchid to survive its first year is a matter of basic hydration, but teaching it to thrive requires a deeper understanding of its growth cycle. A healthy plant will produce one or two new leaves each summer while shedding an older, lower leaf in the process. The root system will expand actively during the warm months, sending out thick, silvery roots covered in a spongy tissue called velamen. This velamen acts like a sponge to absorb moisture from the humid air and sudden tropical downpours. Understanding how this specialized tissue functions is the foundation of effective moth orchid care. If you can keep the velamen healthy, the plant will reward you with strong foliage and eventually a spectacular floral display.
Managing moisture and root health
The most common debate among indoor growers centers on the correct watering method for moth orchids. Many commercial growers pack these plants in tightly compressed sphagnum moss for shipping, which holds moisture for weeks and often leads to overwatering in a home environment. I prefer to transition my plants to a chunky fir bark mix, which provides the rapid drainage and air circulation the roots demand. If you keep the plant in bark, you will need to water it thoroughly by running room-temperature water over the roots for several minutes or soaking the pot in a basin for fifteen minutes. The roots will turn from a silvery gray to a bright green when they are fully hydrated. You must let the potting medium dry out almost completely before watering again, as constant moisture will inevitably cause the velamen to break down and rot.
Water quality and fertilizer application also play significant roles in the long-term vigor of your plant. Phalaenopsis orchids prefer a slightly acidic environment, ideally with a pH resting between 5.5 and 6.5. Tap water in many municipalities is quite alkaline and heavily treated with chlorine, which can slowly burn the sensitive root tips over time. I recommend using collected rainwater or filtered water if your local tap water is particularly hard. For nutrition, orchids are light feeders that respond best to a “weakly, weekly” approach, where a balanced, water-soluble fertilizer is diluted to one-quarter strength and applied during routine watering. You should flush the pot with plain water once a month to wash away any accumulated fertilizer salts that could damage the root system.
Reading the leaves for light exposure
Light is the primary energy source for any plant, and moth orchids are quite communicative about whether they are receiving the correct amount. The ideal location is usually an east-facing window where the plant receives gentle morning sun and bright, indirect light for the remainder of the day. You can easily assess the light levels by looking at the color and texture of the foliage. A perfectly situated phalaenopsis will have firm, upright leaves that are a medium apple-green color. If the leaves become dark forest green and floppy, the plant is not getting enough light to produce the energy required for flowering. Conversely, leaves that develop a reddish or purplish tint along the edges are receiving the maximum amount of light they can tolerate before burning.
Direct, intense sunlight will quickly scorch the broad leaves, leaving large, sunken black patches that never heal. If you only have south-facing or west-facing windows, you will need to diffuse the intense afternoon light with a sheer curtain. The light requirements for moth orchids are quite similar to those of an Anthurium, which also evolved under the dappled shade of a tropical forest canopy. Both plants thrive when they are protected from harsh midday rays but given enough ambient brightness to fuel their slow, steady growth. Rotating the pot a quarter turn every week will ensure the plant grows straight rather than leaning heavily toward the light source. Proper light management is often the missing piece of the puzzle for growers who have healthy but flowerless plants.
The mechanics of orchid rebloom
Achieving a successful orchid rebloom is entirely dependent on a specific environmental trigger that tells the plant the seasons are changing. In their native range, the onset of the monsoon season brings a noticeable drop in temperature, which signals the plant to initiate a flower spike. To replicate this indoors, you must expose your moth orchid to nighttime temperatures that drop into the low 60s Fahrenheit for about two to four weeks in the early autumn. Daytime temperatures should remain warm, ideally in the 70s, to create a clear differential between day and night. Without this temperature drop, the plant will simply continue to produce vegetative growth indefinitely. Once you see a new flower spike emerging from the base of the leaves, you can return the plant to its normal, consistent room temperature.
Growers frequently disagree on what to do with the flower spike once the original blooms have finally faded. Some horticulturists advocate for cutting the spike just above a lower node, which often forces a secondary, branching spike to develop. This secondary spike will produce flowers much sooner, but the blooms are typically smaller and fewer in number, and the effort draws significant energy from the plant. I generally advise cutting the spent spike all the way down to the base. This approach allows the orchid to rest and direct its resources into growing new roots and a larger leaf, which will ultimately support a much more spectacular display the following year. Patience is a fundamental requirement for orchid cultivation, and allowing the plant its natural dormant period yields the best long-term results.
Long-term maintenance and repotting
Even with perfect watering and lighting, your moth orchid will eventually need fresh potting media to survive over the long haul. Bark chips naturally decompose over a period of one to two years, breaking down into a fine compost that retains too much water and smothers the roots. You should plan to repot your phalaenopsis every other spring, immediately after it has finished blooming and is beginning to push out new root tips. Carefully remove the plant from its old pot, gently tease away the degraded bark, and use sterilized snips to cut off any mushy, hollow, or dead roots. Healthy roots will feel firm to the touch, regardless of whether they are green, white, or pale yellow from being buried in the center of the pot. Repotting is a stressful event for the plant, but it is absolutely necessary to prevent root rot and bacterial infections.
The physical structure of a moth orchid dictates how it should sit in its new container. Phalaenopsis exhibit a monopodial growth habit, meaning they grow upward from a single central stem, unlike an Oncidium orchid that spreads horizontally via a creeping rhizome. As the moth orchid grows taller and sheds its lowest leaves, it is natural for the plant to lean to one side and develop a bare lower stem. When repotting, you can bury this bare stem slightly deeper in the fresh bark to encourage new roots to emerge higher up on the plant. Select a pot that just barely accommodates the root mass, as orchids prefer to be somewhat restricted rather than swimming in excess media. Your immediate task is to evaluate the potting mix of your current orchids, feel the weight of the pot to judge moisture, and adjust your watering routine to ensure those vital roots are breathing properly.
More About Moth Orchid
Growing orchids in bathrooms and why humidity-loving phalaenopsis thrive near showers
Why your orchid is not blooming and the simple temperature trick that triggers new flowers
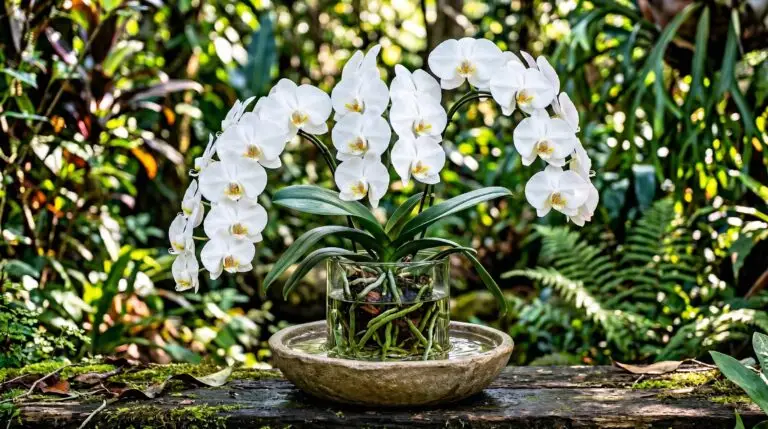
Orchid arrangements and centerpieces that make any room feel luxurious and elegant

Orchid meaning, by colour and tradition, honestly explained
Repotting orchids step by step without killing the plant or damaging aerial roots
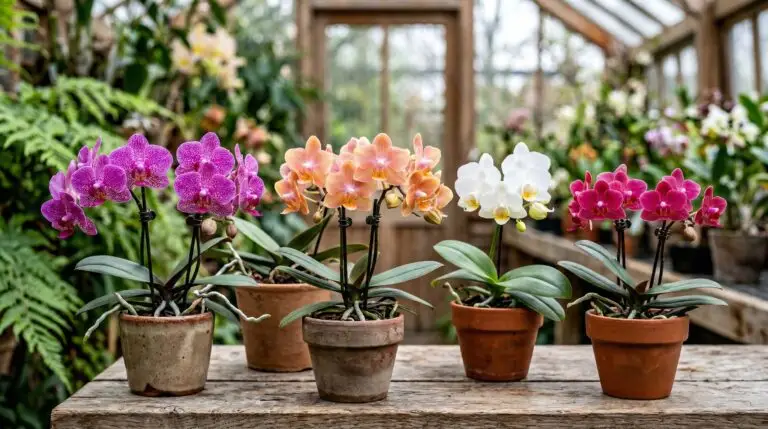
Best moth orchid varieties and the incredible range of phalaenopsis colors and patterns
Watering orchids correctly and the ice cube myth versus what actually works
Orchid roots growing out of the pot and why aerial roots are a sign of a healthy plant
