How to Grow and Care for Lily (Lilium )
Contents
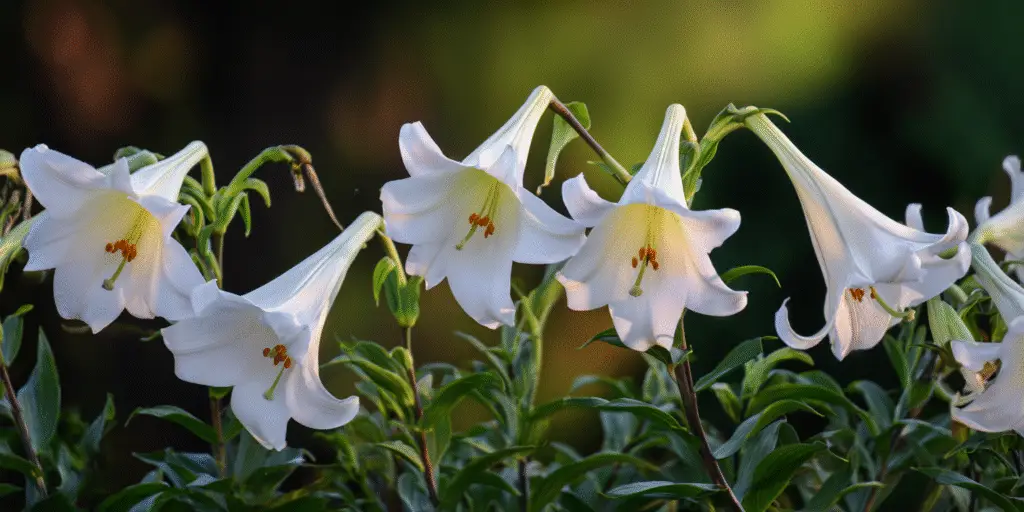
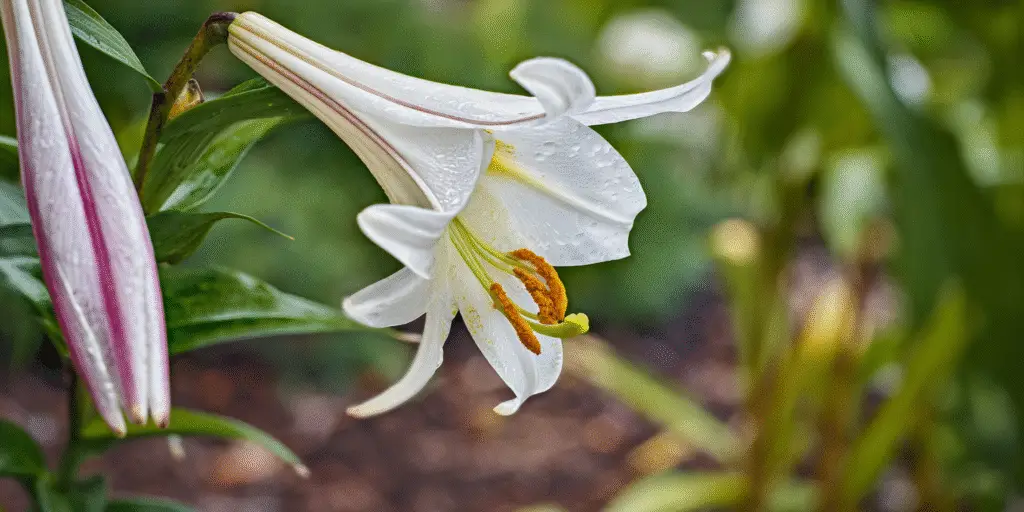
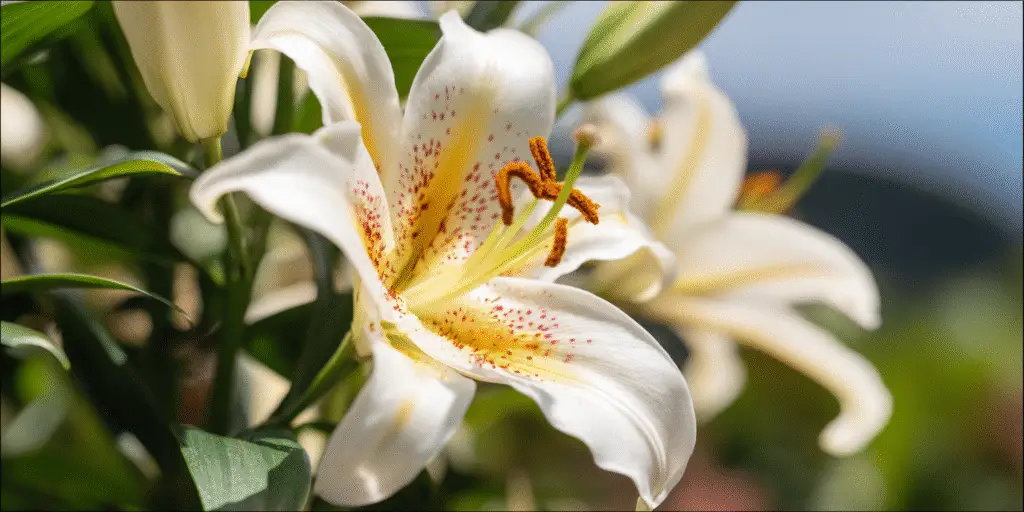
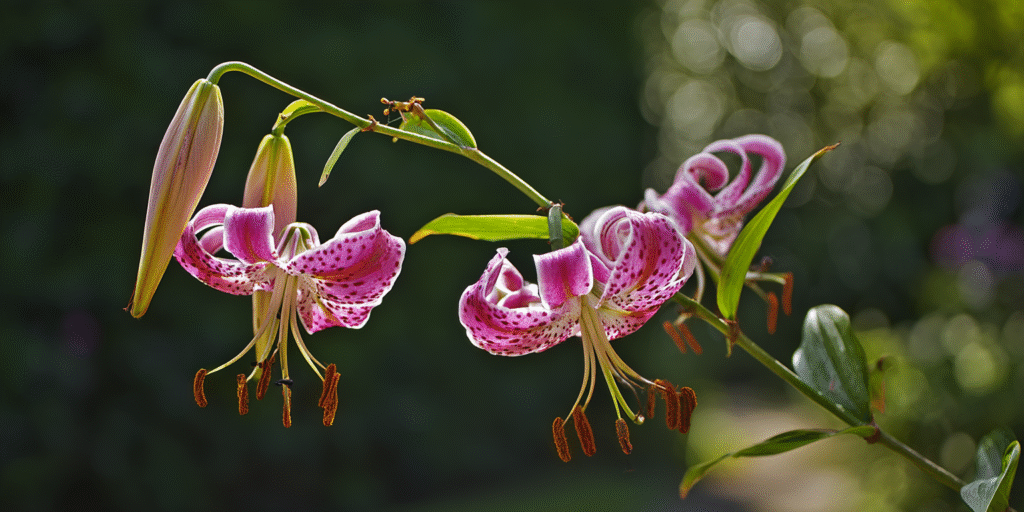
Lily is the common name for the true lilies in the genus Lilium in the lily family Liliaceae. Do not confuse them with daylilies Hemerocallis or calla lilies Zantedeschia, which are entirely different plants. True lilies grow from scaly, layered bulbs and send up sturdy stems topped with trumpet, bowl, or recurved flowers in many colors including white, pink, yellow, and purple. Many kinds are fragrant. Most garden lilies such as Asiatic, Oriental, Trumpet and Orienpet hybrids are hardy through much of the United States, broadly from USDA Zones 3 to 8 or 9 depending on type and cultivar. Lilies bloom best in full sun with at least six hours of direct light, although certain types such as martagon lilies enjoy partial shade. For reliable results, give lilies good drainage, consistent moisture through the growing season, and a two to three inch mulch to keep the root zone cool. With the basics right, lilies reward you with month after month of showy stems that work in mixed borders and in cutting gardens. If you keep cats, know that all parts of Lilium are highly toxic to them. Keep garden and cut stems away from cats indoors.
Snapshot for success: Plant firm, healthy bulbs as soon as you get them. Choose a site in full sun in the North and with afternoon shade in hotter Southern climates. Plant most bulbs 6 to 8 inches deep and 8 to 12 inches apart in well drained, organically enriched soil at pH 6.0 to 7.0. Water one inch per week during active growth. Deadhead but leave stems and leaves to yellow naturally so the bulb can recharge. Stake tall types for wind and rain. Mulch in summer for cool roots and again in winter where freeze and thaw is severe.
Soil & Bed Preparation
Lilies need soil that drains well yet holds even moisture through the growing season. A loam or sandy loam is ideal, but you can have success on heavier soils if you raise the bed and add organic matter. Before planting, loosen the bed 12 inches deep and blend in two to three inches of finished compost. Avoid working very wet clay, which smears and forms a hard pan. Good drainage is nonnegotiable for lily bulbs, which can rot if they sit in cold, wet soil. If your soil is heavy or your site is flat, build a raised bed 6 to 8 inches high to move excess water away from the bulbs. Soil reaction should sit slightly acidic to neutral, roughly pH 6.0 to 7.0 for most lilies. Martagon lilies tolerate neutral to slightly alkaline soils, while Oriental types are happiest in slightly acidic ground. If your soil test suggests lime or elemental sulfur, amend months ahead of planting so pH changes can stabilize.
Lilies are scaly bulbs rather than papery tunicate bulbs like tulips. The scales are alive and can dehydrate, so never leave bulbs exposed to air. Handle gently and plant promptly. If planting must wait, store bulbs in a cool place in barely moist peat or sawdust so they do not shrivel. Avoid fresh manure and avoid burying uncomposted wood chips in the planting hole. In sandy soils, add compost and leaf mold to increase water holding capacity. In tight clays, lift the planting depth with a raised bed and lighten the top 8 inches with coarse bark fines and compost. Do not bury a layer of gravel under the bulbs; it can trap water at the interface rather than drain it.
Drainage Test and pH Targets.
To check drainage, dig a hole at least 12 inches deep and 4 to 12 inches wide in the intended bed. Fill it with water and let it drain, then refill and time the drop. Rates near one inch per hour are acceptable for most ornamentals, including lilies. If water stands for many hours or remains overnight, plant on raised beds or choose a different site. Confirm pH with a soil test. For most lilies aim for pH 6.0 to 7.0. If the pH is too low, apply the recommended lime and retest in six months. If pH is high and you need to lower it, elemental sulfur is the usual fix. Always follow your extension lab’s report for amounts.

Planting Calendar by USDA Zone
Lilies can be planted in fall or in spring. Fall planting establishes roots and improves next year’s bloom, especially in the Midwest and Northeast. Spring planting is the better choice where fall is short or soils stay wet. Use these windows as a practical guide.
Zones 3 to 4.
Plant hardy types such as Asiatic and martagon lilies in early fall from late August to late September so roots can grow before the ground freezes. In very cold microclimates or wind swept sites, spring planting as soon as soil is workable from April to early May is safer. When planting in fall, water in well and apply a four inch winter mulch after the ground begins to freeze to buffer freeze and thaw. Orientals are less reliable in the coldest zone 3 gardens and do best in a protected microclimate with deep winter mulch.
Zones 5 to 6.
Fall is prime. Plant from late September through October, finishing about four weeks before the ground freezes. Spring planting works well too. Plant in April through May when the soil can be worked without sticking to a shovel. Container grown lilies can be planted later, but keep them watered and mulched through summer heat. In coastal regions with long falls, you can plant through November if the soil remains workable.
Zones 7 to 8.
Plant in fall from October to December in the South and Mid Atlantic so roots settle before winter. In humid summers, choose heat tolerant classes like Trumpet, Orienpet, and LA hybrids, and provide afternoon shade. In the South, March is the last call for spring planting of chilled bulbs. In parts of the Pacific Northwest, spring may be cool and damp, which increases Botrytis risk; plant with extra spacing for airflow and water at the soil line, not over the foliage.
Zone 9.
Plant in late fall into winter from November through January. Use raised beds and excellent drainage. Choose heat tolerant lilies such as Orienpet and some Trumpet types, and situate them where they get morning sun and afternoon shade. In arid or high elevation parts of the West, schedule planting to match local frost patterns and plan on regular irrigation from spring through bloom. Where intense sun and reflected heat are common, provide light afternoon shade and two to three inches of organic mulch to keep roots cool.
Planting: Depth & Spacing
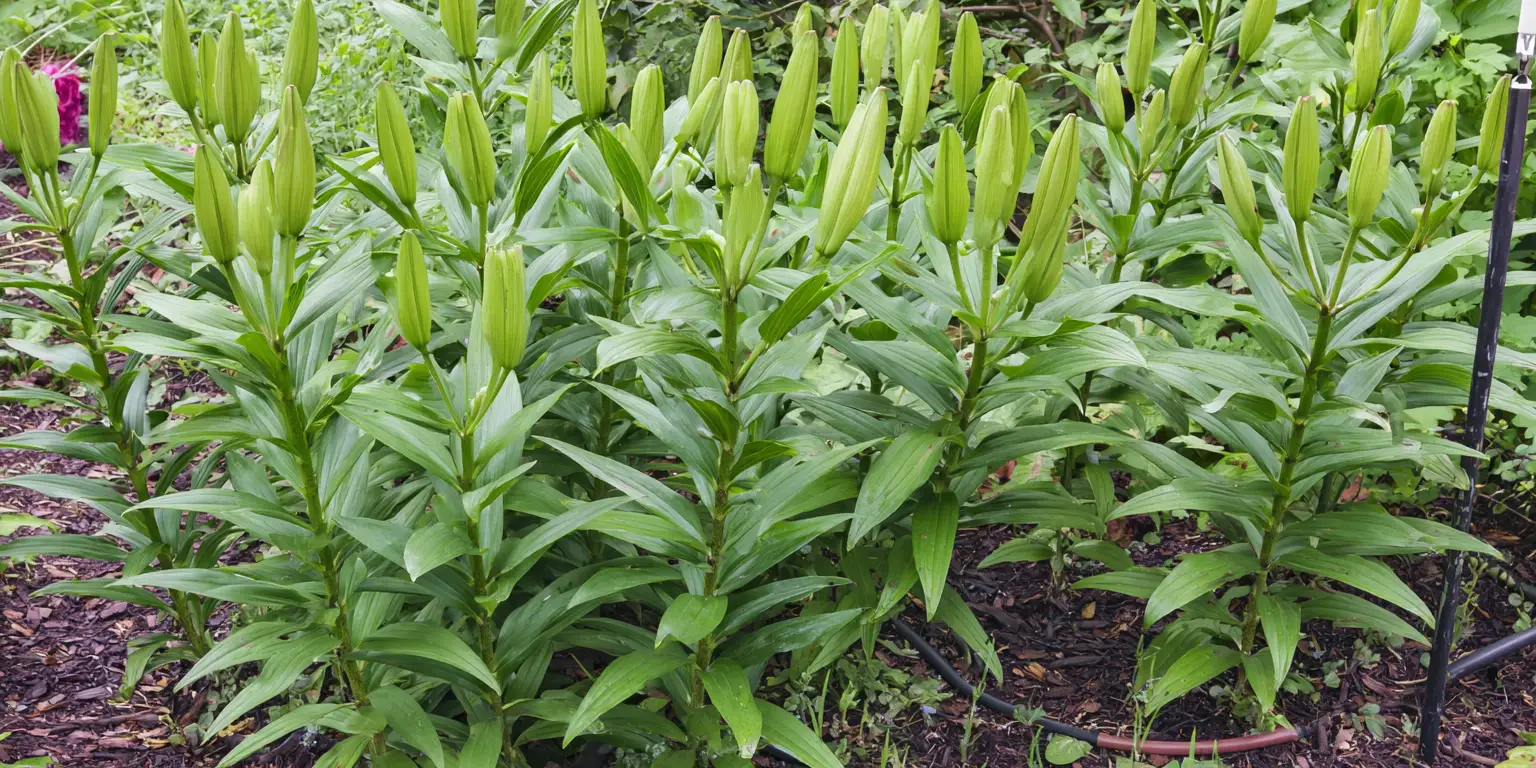
Plant depth, spacing, and orientation are simple but important to long term performance. The general rule for true lilies is to plant the bulb three times as deep as the bulb is tall, measured from the bulb shoulder to the soil surface.
Bulbs.
For average sized lily bulbs, set the basal plate down and plant 6 to 8 inches deep in cultivated soil. In heavy clay, a depth closer to 6 inches is often adequate; in sandy soils, 8 inches helps with stability and stem rooting. Space bulbs 8 to 12 inches apart for most garden hybrids. For large Trumpet and Orienpet hybrids that carry tall stems, give 15 to 18 inches where you can, which increases airflow and reduces disease pressure. Plant in groups of three to five bulbs for the strongest visual impact and easier staking. Backfill with the prepared soil, water to settle, then mulch. Label the positions so you do not forget where bulbs were planted during winter cleanup.
Bare root or divisions.
In established clumps, you can dig and divide in early fall a few weeks after bloom. Gently separate large bulbs and plant them at 4 to 6 inches deep. Replant smaller offsets shallower at 1 to 2 inches deep, where they will size up, then sink deeper naturally as they mature. Work on a cloudy day and keep bulbs shaded and covered while you reset them so the scales do not dry out. If you propagate by scaling, plant bulblets shallow in a nursery row until they reach blooming size. When transplanting, handle the bulbs by the base rather than squeezing the scales.
Container grown.
Plant potted lilies a touch deeper than they sat in the nursery pot to encourage stem rooting and to stabilize tall stems. Aim to have two to three inches of mix above the bulb shoulder. Slide the root ball out gently, loosen circling roots, and set at the new depth. Water thoroughly, then shade the plant for three to five days in bright open shade to reduce transplant shock. In windy sites, install a slender stake at planting so you can tie as the stem grows rather than forcing a stake through the roots later.

Watering & Mulching
Lilies need even moisture during the period from shoot emergence through bloom and for a few weeks after flowering as the bulbs recharge. Provide the equivalent of about one inch of water per week from rain and irrigation during active growth, delivered in a single deep soaking or in two moderate waterings. Water the soil at the base instead of the foliage. Overhead irrigation encourages Botrytis leaf spots in humid climates. In containers, check moisture more often because pots warm and dry quickly in wind and sun. Allow the top inch of mix to dry slightly between waterings, then water thoroughly until you see flow through the drain holes.
Mulch helps lilies in three ways: it keeps roots cool, it reduces swings in soil moisture, and it suppresses weed competition. After planting and settling the soil, apply a two to three inch layer of shredded leaves, composted bark, pine needles, or similar organic mulch across the bed, keeping mulch pulled back one inch from the stems. In summer heat, mulch can be the difference between short lived stem growth and strong, upright stems that keep feeding the bulb. In very light sandy soils, mulch also helps retain water. In very heavy soils, mulch helps moderate surface crusting and erosion while you work long term to improve structure with organic matter.
During heat waves or prolonged droughts, deepen the watering rather than increasing frequency. A slow soak from a hose set to a trickle often works better than a quick spray. In arid regions and in coastal gardens exposed to salt spray, rinse salt laden dust from foliage with fresh water in the morning and keep roots under mulch. Do not irrigate with sodium softened household water; it can raise salinity in containers and beds over time. If your only option is softened water, alternate with collected rain or bypassed tap water and leach containers thoroughly so salts move out of the root zone. If you grow lilies in pots, know that superphosphate and perlite can add fluoride, which can cause leaf tip burn on sensitive lilies, especially at low potting mix pH. Choose mixes without added perlite if you have had tip burn in the past and keep container pH near the mid sixes.
Feeding
Lilies appreciate fertile soil, but you get the best results when you feed the soil rather than chasing the plant with frequent fertilizer. Incorporate a two to three inch layer of compost before planting, then use a soil test to decide whether to fertilize. Where a test is not practical, a light application of a balanced, low to moderate nitrogen fertilizer in early spring is a sound default. Garden bulletins for bulbs commonly suggest 5 10 10 or 10 10 10 applied at one to two pounds per 100 square feet, raked into the top few inches before or just as shoots emerge. In the North, one application in spring is often enough. In long season climates, a second light side dress right after bloom can help bulbs recover and size up for the next year. Keep fertilizers off the leaves and stems and water after applying.
Organic options such as composted poultry manure, alfalfa meal, and bulb formulated organic fertilizers can be used as well. The goal is steady nutrition, not a burst of soft growth that flops. Skip fertilizer entirely if your soil test shows phosphorus and potassium at adequate levels, and avoid high nitrogen formulas that can promote lush, disease prone foliage. In containers, use a slow release controlled fertilizer mixed into the potting medium at label rates, or feed with a dilute liquid every three to four weeks from shoot emergence until a few weeks after bloom. If you grow lilies professionally in containers, monitor electrical conductivity and pH in the medium and keep EC in the recommended range so salts do not accumulate and burn tender roots.
As part of good soil biology, maintain organic matter in the topsoil near five percent by weight if you can. That usually means adding a couple of inches of compost annually to beds that get heavy use and moderate cultivation. Retest soil every three to five years so you can adjust pH and nutrients before problems show up in the plants.
Pruning & Support
Deadhead promptly as flowers fade so the plant does not spend energy forming seed pods. Cut or snap off the spent blooms just below the flower but leave as much green stem and foliage as possible. The leaves are solar panels that feed the bulb; they should remain until they turn yellow in late summer or fall. In autumn, after hard frost and once stems have browned, cut them to ground level and remove the debris. Good sanitation reduces overwintering sites for fungi such as Botrytis. If Botrytis leaf spots appear as brown flecks in wet weather, improve airflow by spacing and by thinning nearby perennials that crowd the lily stems.
Tall lilies may benefit from staking. Place a slender stake at planting or early in the season, then tie stems loosely with soft ties in two or three places as they grow. A discreet hoop or grow through ring placed in spring also works in windy gardens. In heavy rain, trumpet and Orienpet stems can lean. Staking early simplifies the job and avoids skewed stems.
Tool hygiene to limit disease spread.
When you cut stems or divide bulbs, clean your pruners and knives. Wipe blades with 70 percent isopropyl alcohol between plants, or dip tools in a 10 percent bleach solution mixed fresh and then rinse and dry to prevent corrosion. Clean off soil first since disinfectants work on clean metal, not mud. These simple steps reduce the spread of fungi, bacteria, and viruses on your tools.
Common problems to watch.
The scarlet lily leaf beetle is an invasive pest in parts of the United States and Canada. Adults chew leaves and buds and the slug like larvae can strip foliage. Hand pick adults and clusters of orange eggs from the leaf undersides, and squish or drop them into soapy water. In larger plantings, botanical products such as azadirachtin or spinosad are options when timed to young larvae, but always follow labels and avoid spraying open flowers that attract pollinators. Botrytis leaf blight is more common in cool, wet weather; plant where air moves, water at soil level, and remove infected debris. Basal bulb rot and root rots occur in poorly drained soil or where infected bulbs were planted. Buy high quality bulbs, plant in well drained soil, and discard suspicious soft bulbs or plants that yellow early rather than trying to nurse them along. Viruses can cause mottled, streaked, or distorted foliage and flowers; rogue out suspect plants and control aphids that spread viruses.
Overwintering
Most garden lilies are hardy where they are rated, but winter strategy depends on your zone and your soil. In cold climates where freeze and thaw can heave bulbs, apply a winter mulch after the ground has started to freeze. A four inch layer of shredded leaves or pine needles helps hold a steady temperature in the root zone. In spring, pull mulch back gradually as shoots emerge so the growing points do not stretch in darkness. In windy, exposed gardens, a windbreak of burlap on stakes or the shelter of evergreen boughs on top of the winter mulch can reduce desiccation of soil and stems.
Rodents sometimes chew bulbs in winter. In gardens with vole pressure, line planting holes or bed bottoms with quarter inch hardware cloth to form a simple basket, set the bulbs inside, then backfill and fold the mesh over the top before finishing with soil. This approach keeps rodents out while allowing roots to grow through. Physical barriers are the most reliable protection. Repellents help only for short periods and need frequent reapplication. Deer relish lily buds and stems in spring and summer; fences are the surest control and repellent sprays can help if you stay ahead of feeding.
Lilies in containers need special care because the roots in a pot experience colder temperatures than the same plant in the ground. In zones colder than the lily’s rating, move containers after frost to an unheated but not freezing space where winter temperatures stay roughly 25 to 45 degrees Fahrenheit. An attached but unheated garage, a cold room, or a sheltered corner sunk in a pile of leaves against a foundation can work. Check pots monthly and water lightly if the mix is bone dry. In very cold regions, set containers inside larger insulating tubs packed with leaves or sawdust to buffer swings. In spring, move pots back outdoors as soon as sustained hard freezes end and resume regular watering.
Growing Environments
Lilies grow well in containers if you give them enough volume and sharp drainage. A 12 inch diameter pot that is at least as deep is a good starting point for three average sized bulbs. Larger Trumpet or Orienpet lilies need a still deeper pot. Choose a potting mix that drains freely and contains a portion of bark fines and coarse material so air reaches the root zone. Standard depth pots are better than shallow azalea pots because lilies form stem roots above the bulbs and they appreciate a few inches of medium above the bulb shoulder. Ensure the container has generous drain holes and do not let pots sit in saucers of water.
Set containers in full sun in the North, and give afternoon shade in hot summer regions. Where reflected heat from walls or pavement is strong, pull the pot 2 to 3 feet away from the surface to prevent overheating. In windy exposures, cluster pots and anchor stakes to prevent tipping. Water more often than in beds and fertilize as a light, steady feed as described earlier. If your municipal water is fluoridated and you see tip burn on sensitive varieties, consider a potting mix without perlite and leach the pot monthly with plain water to move salts through the container.
In the ground, create microclimates by tucking lilies behind lower perennials that shade the soil without crowding stems. In hot regions, plant where they get morning sun and shade after midafternoon. In cool summer climates, full sun promotes strong stems and the most buds. Wind breaks help in open sites and in coastal gardens.
Companion Planting & Design
Pair lilies with companions that hide the lower stems as the season advances and that keep the soil surface shaded without smothering the bulbs. Neat, mounding perennials such as hardy geraniums, catmint, and dwarf ornamental grasses are dependable. Silver foliage such as artemisia and lamb’s ears can make the saturated lily colors pop. For fragrant borders, lilies blend beautifully with lavender and other sun lovers, and for a four season border you can follow spring tulips with early summer Asiatics and later summer Trumpet or Orienpet stems. In lightly shaded mixed borders, martagons thread well among ferns and hostas, and their whorled foliage is handsome even out of bloom. For summer drama, large flowered Orientals read well alongside hydrangeas such as hydrangea macrophylla in partial shade where soils are consistently moist.
References
- North Carolina State University Extension. “Lilium (Lilies, Lily).”
- North Carolina State University Extension. “Lilium Asiatic Hybrids.”
- North Carolina State University Extension. “Lilium regale.”
- Iowa State University Extension. “When is the best time to plant lilies?”


Written by: Your Flowers Guide editorial team
We are a small independent group of flower lovers who research and review each guide using trusted horticultural and educational sources. Learn more about us