
One of the first things gardeners ask when they start growing amaryllis is how these massive bulbs can produce such enormous flowers without a single speck of dirt. You see them sitting on store shelves dipped in wax or suspended over a simple vase of water, seemingly defying the basic rules of plant care. The secret lies entirely inside the bulb itself, which is a complete biological storage unit that spent the previous summer packing away starches and moisture. By the time an amaryllis bulb goes dormant in the fall, it already contains the fully formed embryonic flower stalks and enough energy to push them out into the world. When exposed to warm indoor temperatures, the bulb simply wakes up and begins spending those stored reserves to create its famous winter display. This built-in energy reserve makes the amaryllis uniquely suited for soil-free growing methods that would starve a typical houseplant.
Setting up an amaryllis bulb in glass
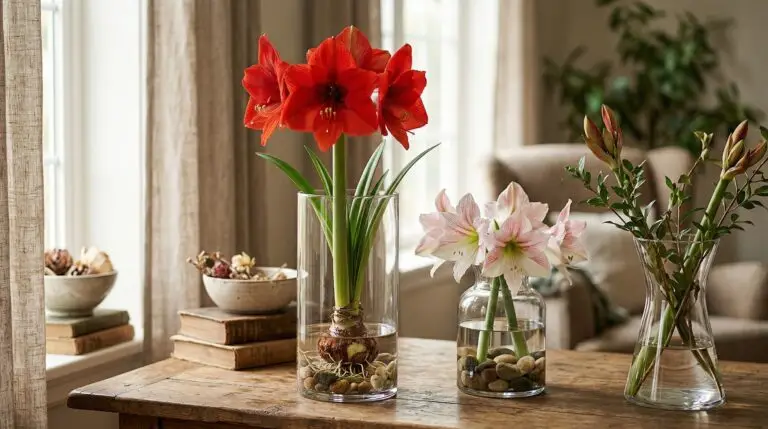
The natural follow-up question is whether you can just drop any bulb into a container of water and wait for the magic to happen. Growing an amaryllis bulb in glass requires a bit more precision than simply filling a jar from the tap. The absolute most critical factor is keeping the water level just below the basal plate, which is the flat bottom section where the roots emerge. If the actual bulb sits in water, it will quickly rot and turn into a foul-smelling mush before a single flower bud can open. Instead, you want the water to hover a fraction of an inch below the bulb, encouraging the roots to reach downward for moisture. As the roots grow into the water, they will drink up what they need while the bulb itself stays perfectly dry and safe from fungal diseases. If you have ever forced a tulip in a specialized forcing vase, you will recognize this exact same principle of keeping the bulb dry while the roots dive deep.
People often wonder how to maintain a water-grown amaryllis once it starts growing rapidly and producing those tall, heavy stalks. The water will need to be changed every week to prevent algae buildup and keep the roots healthy. You simply lift the bulb out carefully, rinse the glass vase, fill it with fresh room-temperature water, and set the bulb back in place. Sometimes the water gets cloudy quickly, which is a sign that a broken root might be decaying and needs to be snipped off with clean scissors. Because the top of the plant becomes incredibly top-heavy when the massive trumpet-shaped flowers open, you need a vase with a wide, stable base to prevent the whole display from tipping over. Adding decorative stones or glass marbles to the bottom of the vase can provide extra weight and give the roots something to anchor around. This setup offers a very clean, minimalist aesthetic that looks beautiful on a dining table or kitchen island.
The science behind the waxed amaryllis
This leads to something many growers wonder about when they see a waxed amaryllis in a gift shop, completely sealed and requiring absolutely zero water. The concept seems impossible until you realize that the wax coating forms a perfect moisture barrier for the bulb’s internal water supply. Before being dipped in wax, these bulbs are specially prepared by having their basal plates trimmed and their existing roots completely removed. The bulb is then soaked in water to ensure it is fully hydrated before being dipped into layers of melted wax to seal that moisture inside. The wax prevents any evaporation, allowing the plant to recycle its own internal water to push up the flower stalks. You literally just place the waxed bulb on a bright windowsill and rotate it every few days to keep the stalks growing straight. The care is almost as minimal as keeping a dormant moth orchid alive, requiring nothing but indirect light and standard room temperatures.
Making your own waxed bulbs at home
A “by the way” moment that catches many people off guard is discovering that you can actually create these waxed bulbs yourself at home. You start by purchasing a large, firm, dormant amaryllis bulb and using a sharp knife to cleanly slice off the roots and a thin layer of the basal plate. You then soak the bottom of the bulb in water for a few hours to maximize its hydration before drying the outside completely with a paper towel. The waxing process involves melting paraffin or soy wax in a double boiler and carefully dipping the bottom half of the bulb multiple times to build up a thick shell. Some people like to stick a coiled piece of wire into the basal plate before the final wax dip to create a flat, stable stand for the bulb to rest on. You can get creative with the final layer by using colored wax or rolling the warm wax in glitter for a festive holiday look. It is a fun weekend project that yields beautiful gifts, provided you work quickly and do not expose the bulb to hot wax for more than a second per dip.
What happens when the blooming stops
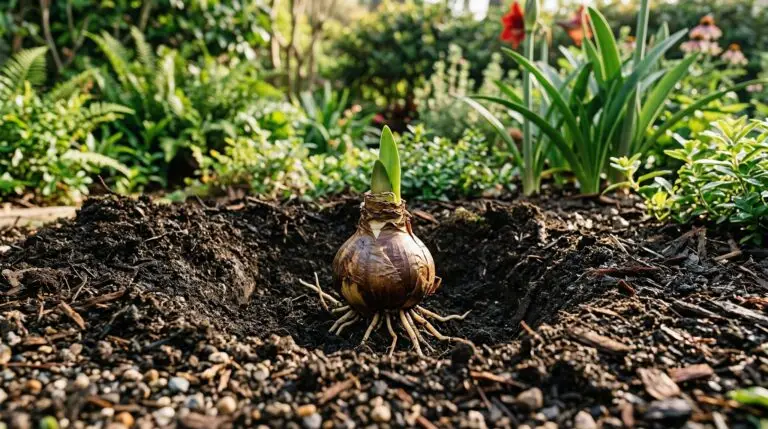
The harsh reality of the no soil amaryllis method becomes apparent when the blooming cycle finally finishes and the flowers wither away. Because the bulb has been entirely cut off from external nutrients, it has completely exhausted its internal reserves to produce those spectacular blooms. Just like a forced tulip bulb, it will feel noticeably lighter and somewhat squishy by the end of the season because it has literally consumed its own mass. In the vast majority of cases, a waxed amaryllis is designed to be a temporary, disposable decoration that goes straight into the compost bin once the show is over. Bulbs grown in water have a slightly better survival rate, but they are still severely depleted compared to bulbs grown in rich potting mix. If you want to keep an amaryllis year after year, growing it in soil is the only practical way to help it recharge its energy for the following winter. Soil-free methods are best viewed as long-lasting cut flowers rather than permanent additions to your houseplant collection.
One final question you might not have considered is whether you can peel the wax off a bulb and force it to grow roots again to save its life. While it is technically possible to rescue a waxed amaryllis, the rehabilitation process is long, difficult, and often ends in failure. You would have to carefully chip away every piece of wax without damaging the plant tissue, plant the shriveled bulb in a high-quality potting mix, and wait months for it to slowly regenerate a new basal plate and root system. Even if it survives this traumatic transition, the bulb will usually need two or three years of leafy growth in a sunny spot before it builds up enough energy to produce flowers again. Most people find that the effort required to nurse a severely dehydrated bulb back to health far outweighs the cost of simply buying a fresh bulb next season. Appreciating the waxed or water-grown amaryllis for the fleeting, brilliant display it provides is often the most rewarding way to enjoy this unique growing method.
More About Amaryllis
Creative ways to display amaryllis bulbs as winter home decor

The fascinating history of amaryllis from South American wildflower to holiday tradition
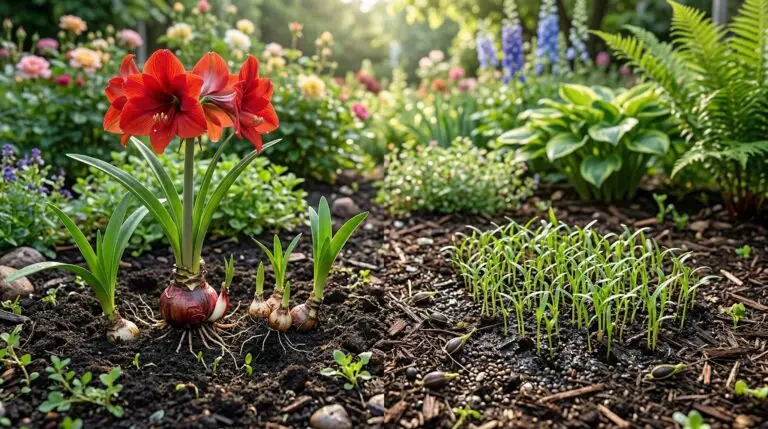
How to grow amaryllis outdoors in warm climates for year-round garden color
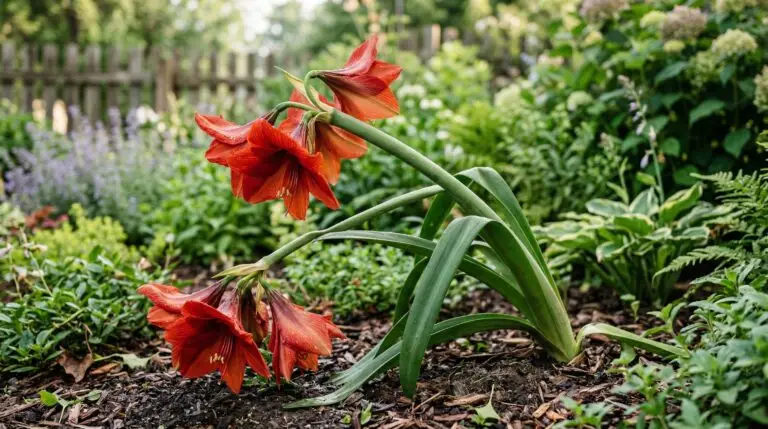
Common amaryllis problems including leaning stalks and split bulbs
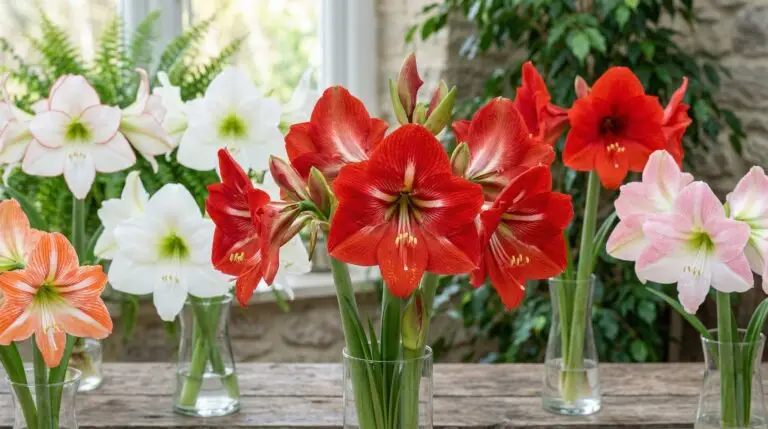
Amaryllis color guide and the most striking varieties to grow at home

How to force amaryllis bulbs to bloom indoors for the holidays
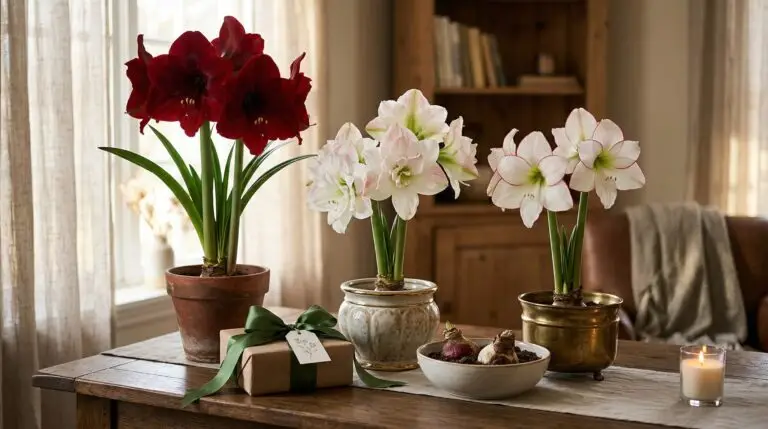
Amaryllis gift ideas and how to choose the perfect bulb for someone special
How to propagate amaryllis from offsets and seeds for a growing collection
