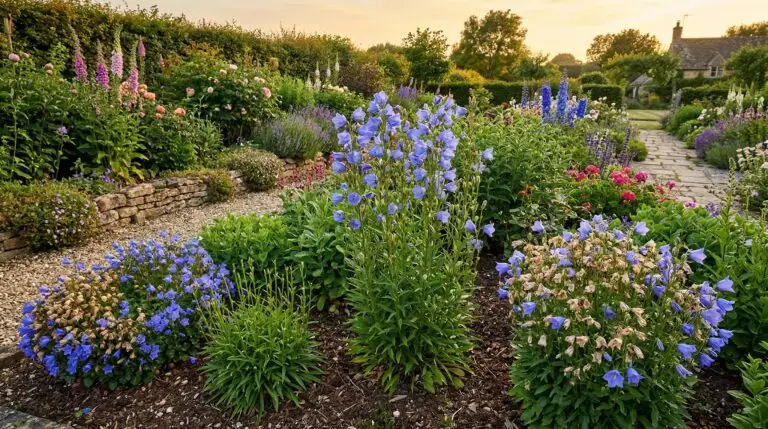
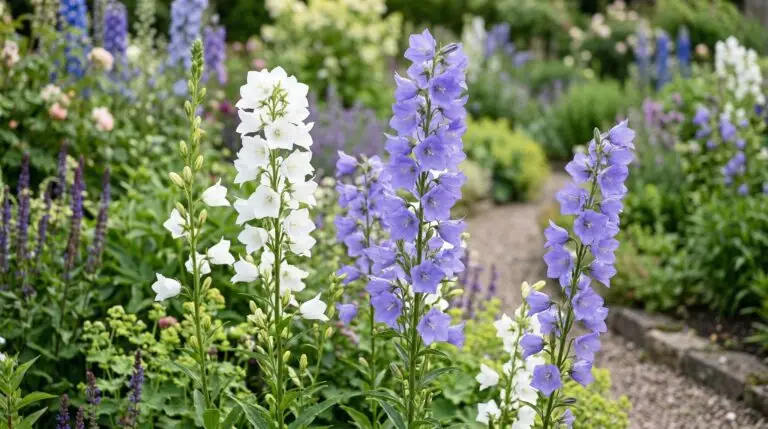
Many gardeners buy a house, see pretty purple, bell-shaped flowers popping up in the spring, and think they have inherited a wonderful perennial garden. By mid-summer, those same gardeners are watching helplessly as every other plant in the bed gets choked out by an aggressive green mat. This is the reality of dealing with invasive bellflower, specifically a plant known as creeping bellflower. You probably tried pulling it up by the handful, only to see it return thicker and faster a few weeks later. The frustration is completely justified because this specific plant is engineered to survive almost any standard weeding technique. When you just yank the green stems off the surface, you are actually signaling the massive underground root system to send up multiple new shoots. To actually solve this problem, you have to understand exactly what is happening beneath the soil line.
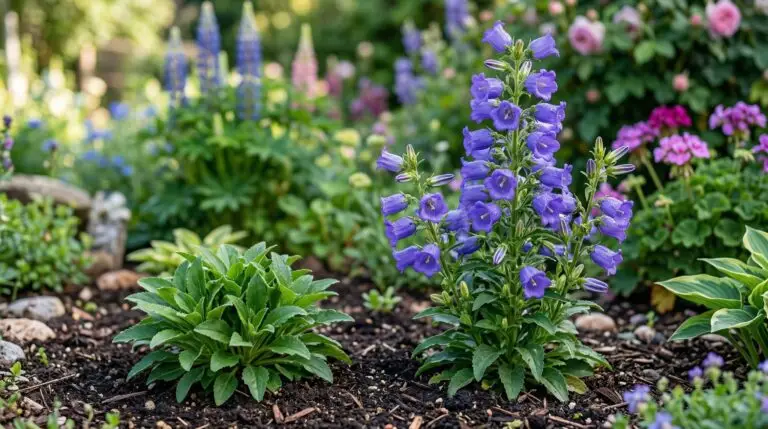
The true enemy here is not the flower itself, but the root structure of Campanula rapunculoides. Beneath the soil, creeping bellflower produces thick, fleshy taproots that look a bit like pale carrots, connected by a sprawling network of horizontal white threads. When you pull the plant from the top, the stems easily break away from these deep tubers. The root simply sits in the soil, completely unharmed, storing enough energy to push up new growth almost immediately. Effective creeping bellflower removal requires getting those deep storage tubers out of the ground completely. If you leave even a small piece of the white horizontal root or a single tuber behind, the infestation will start all over again. This makes casual weeding worse than useless, as it breaks up the roots and spreads the plant further through your garden beds.
How to dig out creeping bellflower successfully
The most direct approach to campanula rapunculoides control is physical removal, but it requires the right tools and a lot of patience. You cannot use a standard short hand trowel for this job. You need a long, narrow transplanting spade or a deep root digger that can penetrate at least eight to ten inches into the soil. Start a few inches away from the visible stem and dig straight down to loosen the surrounding dirt before you try to lift anything. Once the soil is loose, gently lift the entire clump of dirt and sift through it with your hands to find every piece of the white root and the thick tuber. Do not throw this excavated dirt directly back into the bed without checking it thoroughly. Place all the root fragments into a heavy garbage bag, because throwing them in your compost pile will just give the bellflower a highly nutritious place to multiply.
Digging is highly effective for small beds or early infestations, but you will inevitably miss some root fragments. When new shoots appear a few weeks after your deep digging session, do not get discouraged. This is a normal part of the eradication process and just means a few small root pieces had enough stored energy to try again. Grab your deep digging tool and immediately remove these new shoots along with the root piece attached to them. If you stay on top of these secondary sprouts, the plant will eventually exhaust its energy reserves and die off completely. You must check the bed every week throughout the growing season to catch these survivors before they can send energy back down to the root system. Consistency is the only way to win a physical battle against a weed with deep storage tubers.
Starving the root system through smothering and cutting
If the invasive bellflower has completely taken over a large area or woven itself through the roots of established shrubs, digging might be impossible. In these situations, your best option is to starve the underground tubers by denying them the sunlight they need to photosynthesize. You can achieve this through a process called smothering, which involves cutting all the bellflower to the ground and covering the entire bed. Lay down thick layers of plain brown cardboard, making sure the edges overlap by at least six inches so no light can penetrate the seams. Cover the cardboard with four to six inches of heavy wood mulch to weigh it down and block out the sun completely. The tubers will send up shoots under the cardboard, but without sunlight, those shoots cannot produce food, and the roots will eventually starve. This process takes at least one full growing season, and often two, so you have to be willing to wait it out.
If smothering an entire bed is not practical because you have too many desirable plants you want to save, you have to rely on repeated cutting. This method requires extreme vigilance because you are trying to exhaust the plant’s energy reserves one cut at a time. Every single time a bellflower shoot breaks the surface of the soil, you must cut it off right at the ground level using sharp clippers or a hoe. Do not let the plant develop leaves, because even a few days of photosynthesis will send valuable energy back down to the tuber. When you constantly sever the top growth, the root is forced to use its stored energy to make a new shoot, getting slightly weaker each time. This is a tedious process that will require weekly walkthroughs of your garden from spring until fall. It will take a few years to completely kill a mature patch of creeping bellflower this way, but it works if you never let the plant see the sun.
Choosing safe alternatives and preventing future spread
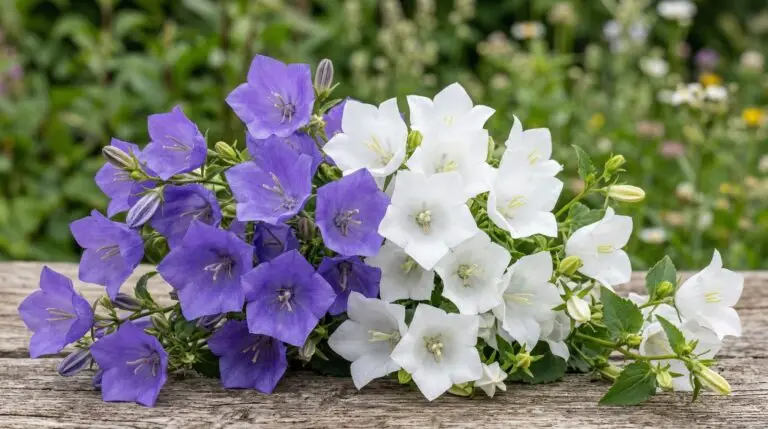
Once you clear an area of this aggressive weed, you might still want that classic purple or blue color in your garden. There are plenty of well-behaved members of the Campanula family that will stay exactly where you plant them. Look for varieties like peach-leaved bellflower or clustered bellflower, which grow in neat clumps and do not produce those aggressive underground runners. If you want a spreading plant that is much easier to manage, catmint provides a similar wash of cool purple and blue tones without the hostile takeover tactics. Catmint grows quickly to suppress weeds but has a shallow, fibrous root system that is very easy to pull if it creeps too far. Filling the newly cleared space with thick, healthy, desirable plants is a great defensive strategy. Dense planting shades the soil and makes it much harder for any stray bellflower seeds to germinate and establish a new colony.
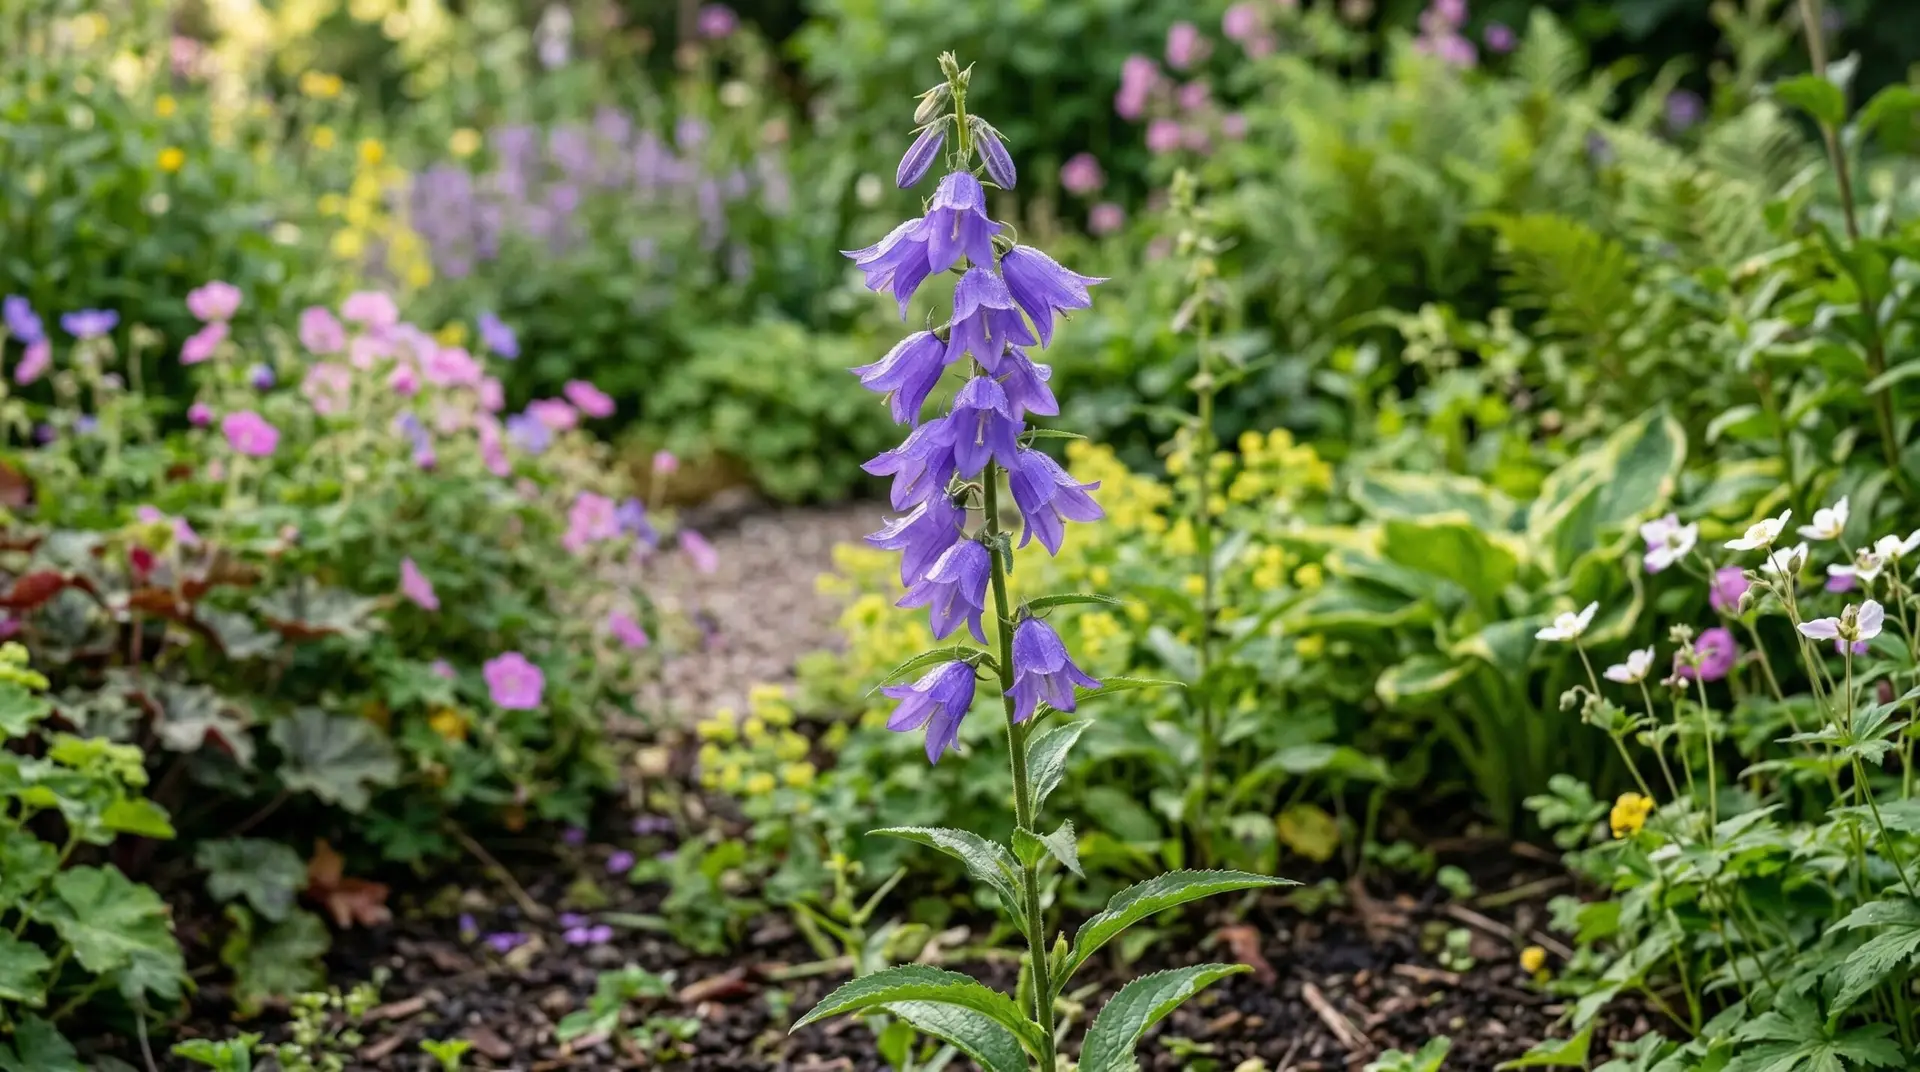
The single most useful piece of advice for dealing with invasive bellflower is to act immediately when you see the first unfamiliar purple flower. Many gardeners wait a season or two to see what the plant will do, which gives the deep tuber network time to establish a massive footprint. If you catch creeping bellflower in its first year, you can usually dig out the single taproot in five minutes and be done with it forever. Learn to identify the heart-shaped lower leaves and the one-sided spike of purple bells so you recognize the threat early. Never accept divisions of perennials from a friend’s garden without inspecting the soil for those telltale white, thread-like roots. A little bit of paranoia about what comes into your garden beds will save you years of exhausting eradication work down the line.
More About Bellflower
Bellflower meaning across European folklore and its place in wedding traditions
Carpathian bellflower as the perfect low-growing perennial for rock gardens

Bellflower and lavender planted together for a dreamy purple and blue summer garden
Using bellflowers as cut flowers for charming cottage-style arrangements

Bellflower ground covers that spread beautifully between stepping stones and rock walls
How to grow Canterbury bells from seed for old-fashioned garden charm
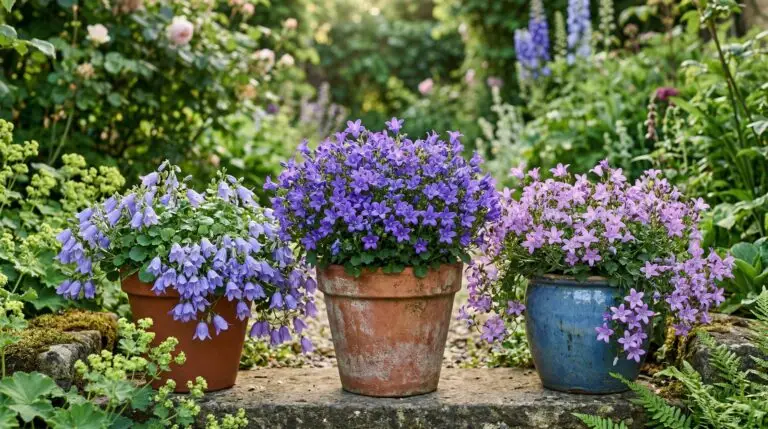
Growing bellflowers in containers for balconies and small urban gardens