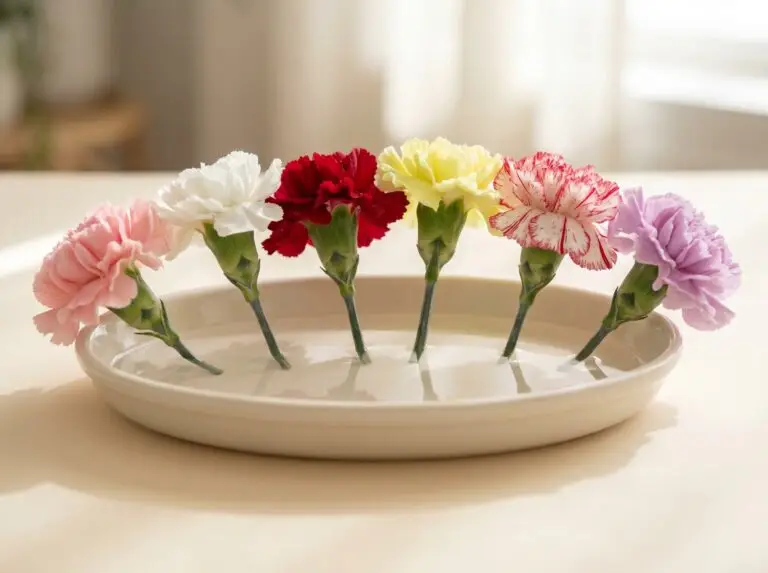
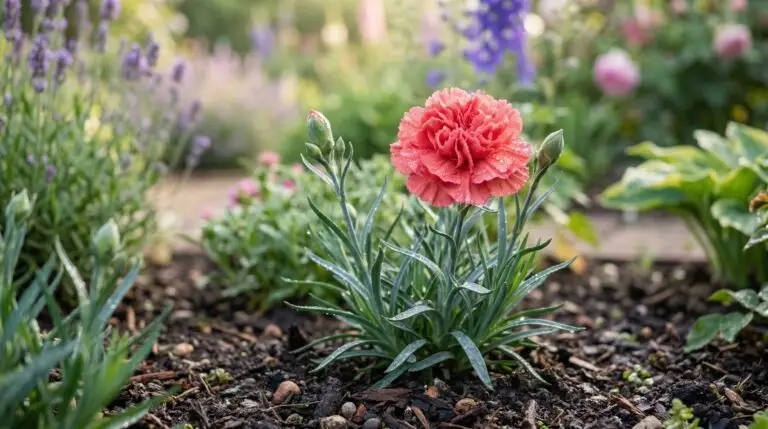
Growing carnations brings a classic, spicy clove fragrance back to garden borders where it truly belongs. Many gardeners assume these flowers only come from florist shops, but raising them at home is entirely achievable and often results in much stronger scents. Before you begin, you need to understand that carnations, like all members of the dianthus family, absolutely demand excellent drainage. If you plant them in heavy clay that holds water, their crowns will rot before they ever produce a single bud. You can test your drainage by digging a hole about a foot deep, filling it with water, and waiting to see how long it takes to empty. If the water sits there for more than a few hours, you will need to build raised beds or amend your garden soil heavily with coarse sand and compost. Once you have the right soil conditions, you can propagate these plants endlessly through seeds or vegetative cuttings.
Starting carnations from seed indoors
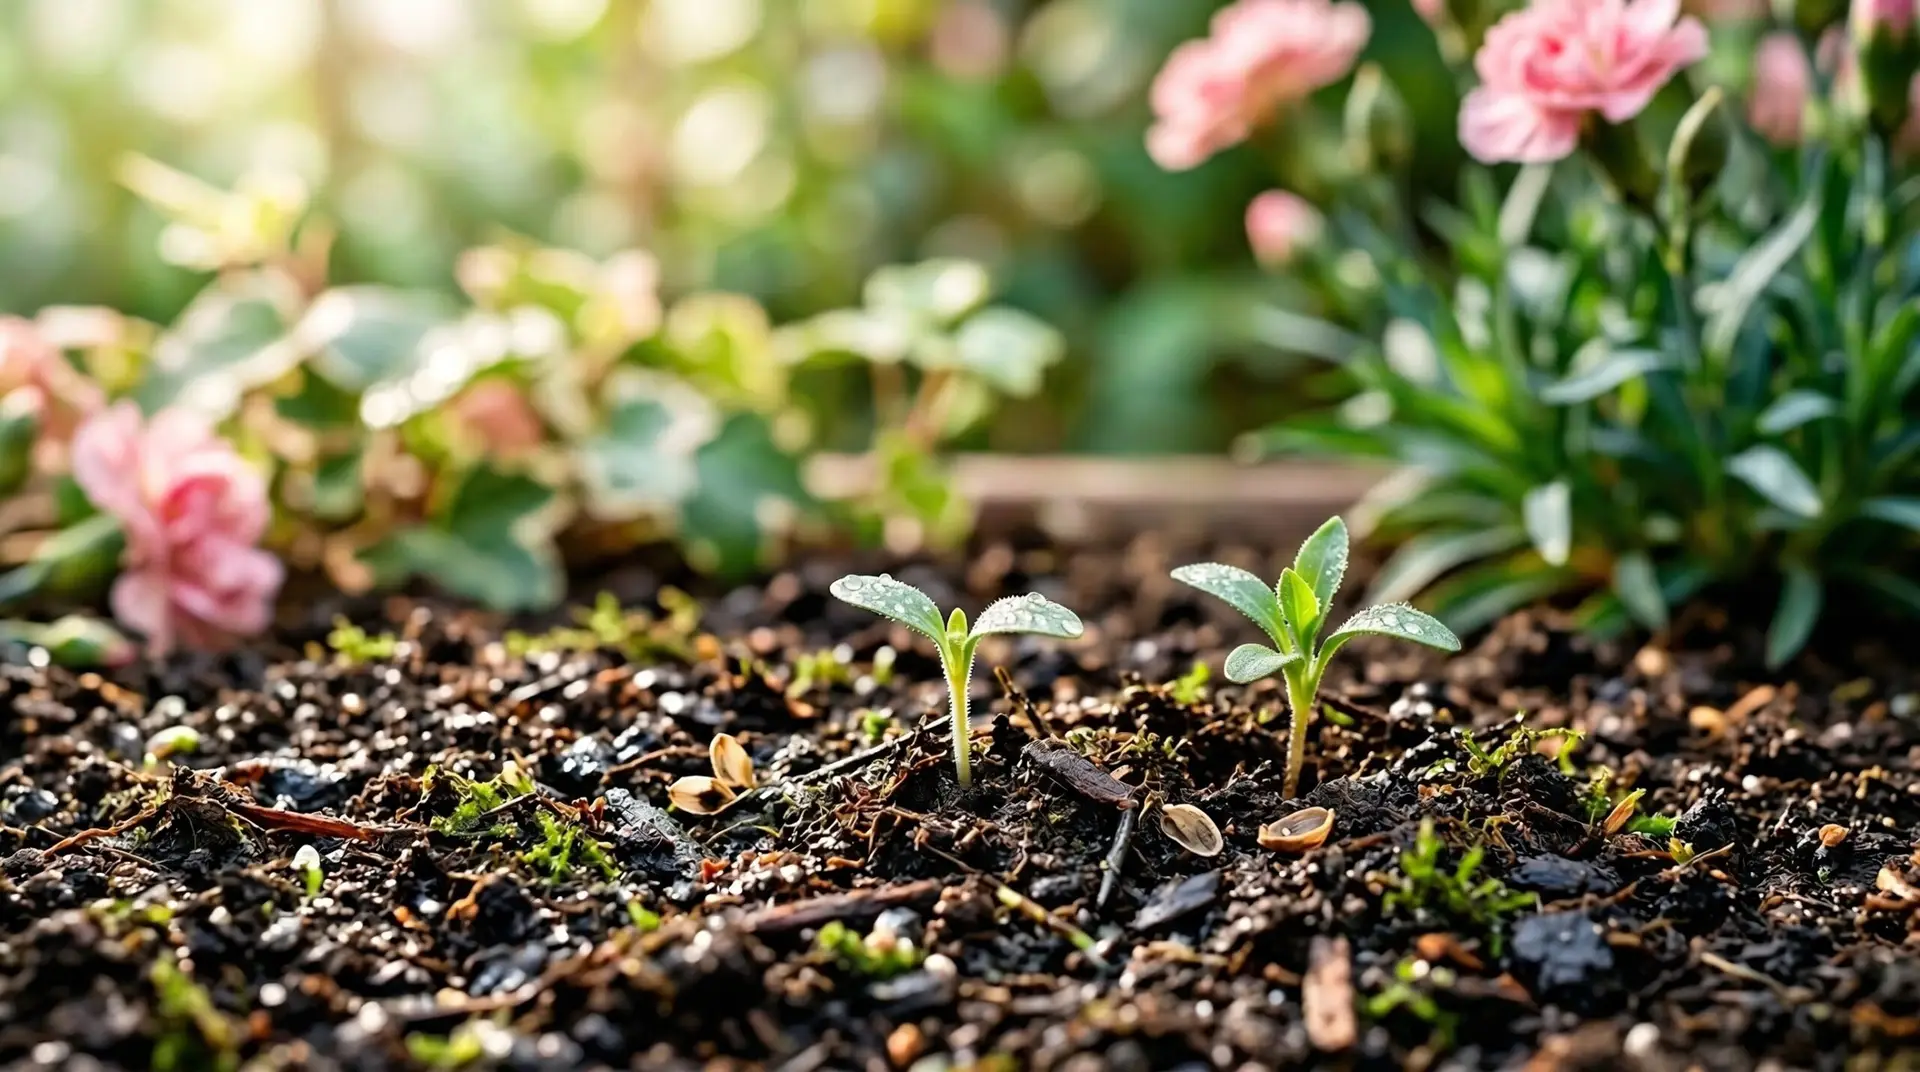
Growing carnations from seed is the most economical way to fill a large border with color. You will want to start your seeds indoors about eight to ten weeks before your region expects its last frost. Fill a flat plastic tray with a sterile, lightweight seed starting mix, pressing it down lightly so there are no large air pockets. Carnation seeds need light to germinate, so you should simply press the tiny black seeds onto the surface of the soil rather than burying them. Mist the surface gently with a spray bottle filled with water so you do not wash the seeds into the corners of the tray. Place a clear plastic dome over the tray to hold in the humidity and set the whole setup under bright fluorescent or LED grow lights. Within a week or two, you will see tiny green shoots emerging from the soil surface. At this point you might notice the seedlings stretching and looking thin, which means they are not getting enough light and you need to lower your bulbs closer to the plants.
Moving seedlings to the garden
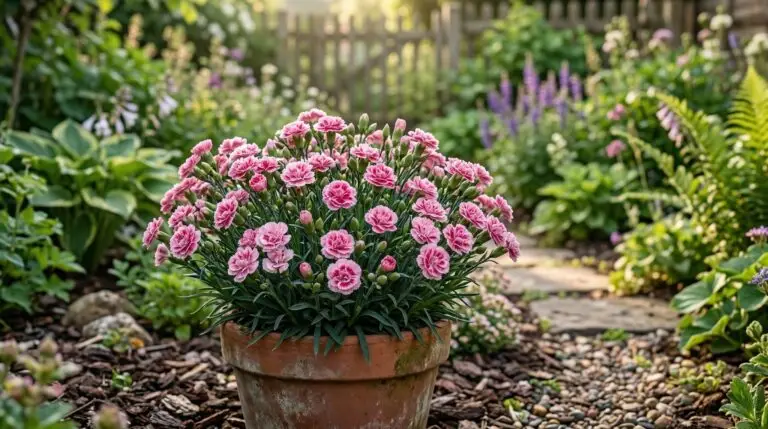
When the last frost has passed and daytime temperatures consistently stay above sixty degrees, your seedlings are ready to move outside. You cannot simply move them from a warm house directly into the bright sun, or their tender leaves will scorch and die. Instead, place the trays in a shaded, sheltered spot outdoors for a few hours a day, gradually increasing their exposure to direct sunlight over the course of a week. Once they are acclimated, dig small holes in your well-drained garden border, spacing the plants about twelve inches apart to allow for good air circulation. Good airflow prevents fungal diseases that often plague tightly packed plants in humid weather. As you design your border, you might consider planting them alongside low-growing companions like Sweet Alyssum to create a continuous carpet of fragrance. They also look beautiful planted in front of taller perennials like Phlox, which will bloom later in the season and keep the garden colorful after the first flush of carnation flowers fades. Water the newly planted seedlings deeply at the base to settle the soil around their roots.
Propagating through simple layering
Another highly effective method for propagating your favorite carnations is a technique called simple layering, which you can do directly in the garden bed. This approach works perfectly for established plants that have long, flexible stems resting near the soil surface. In mid-summer, select a healthy side shoot that easily bends down to touch the ground without snapping. About halfway down the stem, make a small, shallow slit on the underside using a sharp knife, being careful not to cut all the way through. This small wound interrupts the flow of sap and forces the plant to form new roots at the cut site. Pin the wounded section of the stem into the soil using a piece of bent wire, leaving the leafy tip of the shoot exposed above the ground. Cover the pinned section with a handful of compost and keep that specific spot moist for several weeks. The parent plant will continue to support the shoot with water and nutrients while the new roots form, and once you see active top growth, you can sever the connection to the mother plant and transplant your new carnation.
Taking stem cuttings for exact clones
While growing carnations from seed is wonderful for variety, the resulting flowers will often be a surprise mix of colors and forms. If you find a specific plant with an exceptional fragrance or a perfect ruffled bloom, you will need to take stem cuttings to create an exact clone. The best time to take cuttings is in the early summer when the plant is growing vigorously but before it has exhausted itself by flowering. Use a pair of sharp, clean scissors to snip off a four-inch section of a healthy, non-flowering side shoot. Strip the narrow leaves off the bottom half of the cutting so you have a bare stem to insert into your rooting medium. A small terracotta pot filled with coarse builder’s sand makes the perfect rooting environment because it holds just enough moisture without encouraging rot. Push the bare stem into the damp sand, firm it up around the base, and place the pot in a bright spot out of direct sunlight. Keep the sand consistently moist but never soggy while the cutting develops its own root system, and after about four weeks, you can give the stem a very gentle tug to check for the resistance that indicates successful rooting.
Care and expectations for first year blooms
Proper dianthus care throughout the summer requires attention to watering practices and regular deadheading. Carnations prefer their soil to dry out slightly between waterings, so you should always check the soil moisture with your finger before reaching for the hose. If the top inch of soil feels dry, provide a deep, thorough soaking at the base of the plant rather than spraying water over the foliage. Wet foliage invites rust and other fungal issues that will cause the leaves to turn yellow and drop off. As the plants begin to bloom, you must remove the spent flowers by snapping or cutting the stems back to the nearest set of healthy leaves. This process stops the plant from putting its energy into seed production and encourages it to push out another round of flower buds. During this first year of growth, seed-grown plants may start blooming a bit later in the summer than mature nursery plants, but they will establish strong root systems that help them survive the winter. By the end of the season, you should expect to see a robust, blue-green mound of foliage that will serve as the foundation for an even more abundant floral display the following year.
More About Carnation
Growing carnations in containers for a fragrant windowsill or balcony garden
The rich history of carnations from ancient Greek garlands to Mother’s Day flowers
How to dye carnations with food coloring for fun science projects and party decor
How to make carnations last over two weeks in a vase with proper care
Carnation wedding bouquets making a comeback with modern elegant designs
Best garden pinks and border carnations for fragrant perennial cottage gardens
Carnation leis corsages and boutonnieres for proms graduations and celebrations
Why carnations deserve more respect as garden flowers beyond their grocery store reputation