Growing conditions dictate how any plant behaves, and understanding your local context is the absolute foundation of success with amaryllis. Most gardeners know this bulb as a potted holiday gift forced into winter bloom on a windowsill, but outdoor cultivation in warm climates requires a completely different approach. What works for a potted bulb in Zone 4 Minnesota will lead to rot and failure when planting amaryllis in the garden in Zone 9 Florida. In the humid Southeast, this plant faces heavy summer rainfall and intense pest pressure that gardeners in the dry, mild coastal regions of Southern California never encounter. Recognizing your specific climate zone, soil type, and rainfall patterns allows you to transition these bulbs from temporary indoor decorations to permanent, naturalizing fixtures in the garden. When grown outdoors in Zones 8 through 11, amaryllis revert to their natural spring blooming cycle and can live for decades if sited correctly.
Soil chemistry and drainage across regions
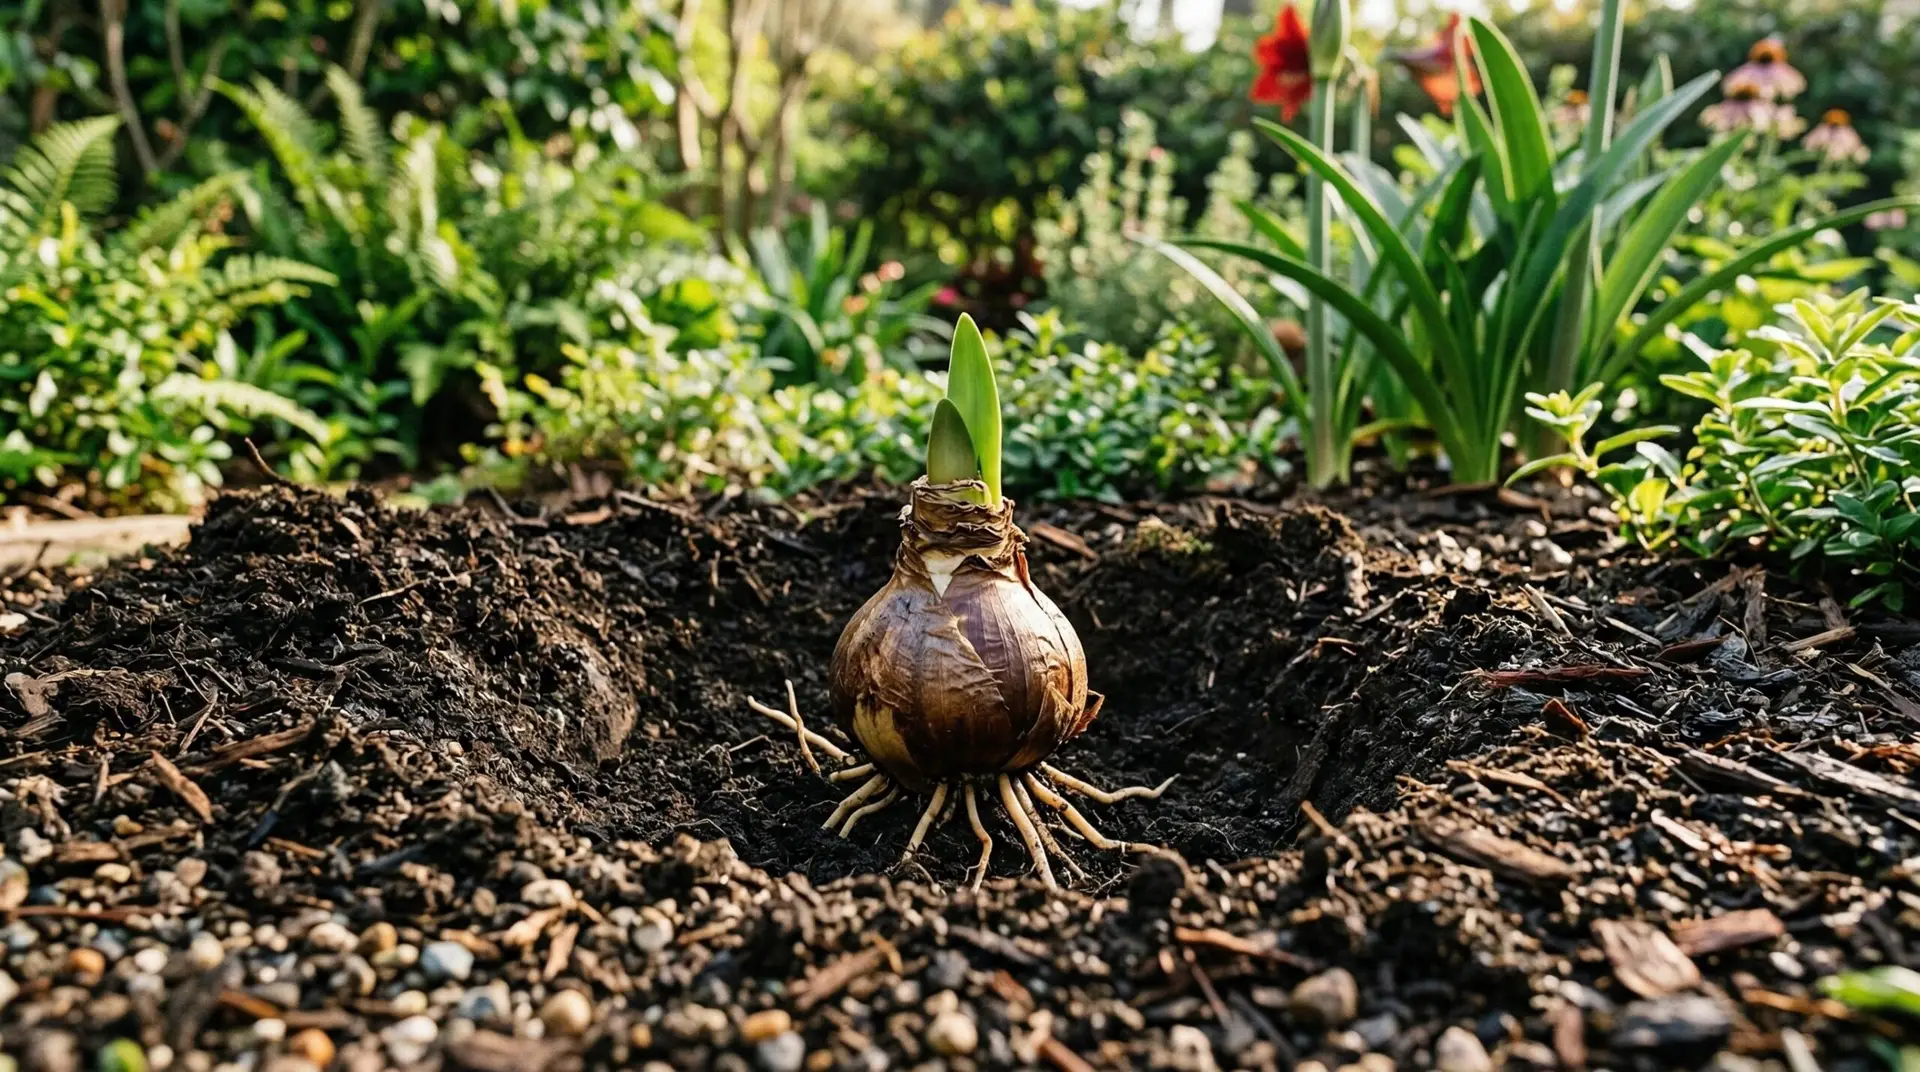
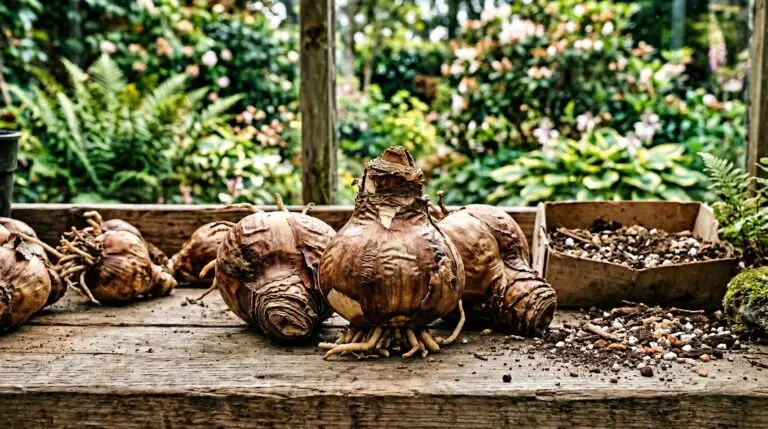
The single most critical factor for amaryllis outdoor growing is soil drainage, which varies wildly across the southern United States. Gardeners in the sandy, well-draining soils of the Florida peninsula often have a natural advantage, as excess water moves rapidly away from the bulb. In contrast, those gardening in the heavy, alkaline clay soils of central Texas or the compacted soils of the Piedmont region must actively modify their planting sites to prevent the bulbs from rotting. If you are dealing with dense clay, you must plant amaryllis in raised beds or significantly amend the native soil with coarse sand and pine bark to ensure water does not pool around the roots. Planting depth also requires regional adjustment based on your winter temperatures and soil type. In the frost-free regions of amaryllis zone 9 10, the bulbs should be planted with the top third of the bulb, or the neck, exposed above the soil line. For gardeners pushing the limits in Zone 8, where winter freezes occur, the bulb should be planted slightly deeper with the neck just at the soil surface. You should then cover the area with a thick layer of winter mulch that is removed in early spring.
Managing rainfall patterns and natural dormancy
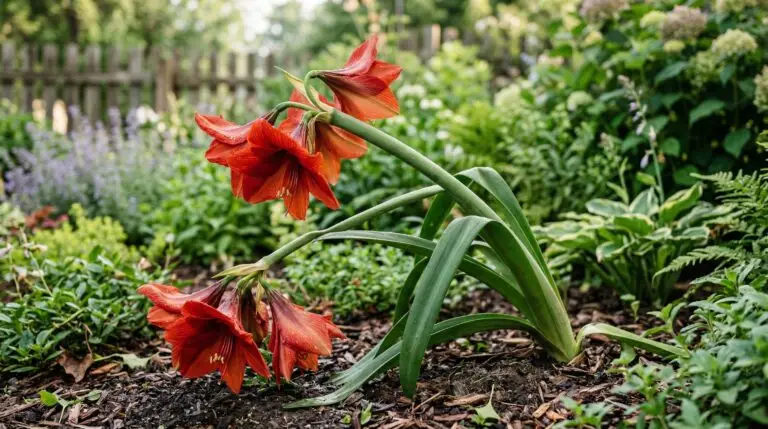
Amaryllis follow a distinct growth cycle that responds directly to local rainfall and temperature patterns rather than a calendar. After their reliable spring bloom, the bulbs produce large, strappy leaves that gather energy throughout the summer months to fuel the next year of flowers. In the humid Gulf Coast region, abundant summer thunderstorms provide more than enough moisture to keep this foliage healthy and vigorous. Gardeners in the arid Southwest face a completely different reality, where intense dry heat and lack of summer rain will force the bulbs into early dormancy if supplemental water is not provided. You must water deeply once a week in dry climates during the active growth phase, allowing the soil to dry out completely between applications. As fall approaches, amaryllis naturally begin to die back and enter a period of dormancy, which is triggered by dropping temperatures and shorter days. In areas with wet winters, such as the Pacific Northwest or parts of Northern California, winter rain falling on dormant bulbs is a primary cause of basal rot. To combat this, you can plant the bulbs under the eaves of a house or use a south-facing wall to create a drier microclimate that protects the resting bulbs from constant winter moisture.
Companion planting for microclimate control
Integrating amaryllis into a mixed border requires an understanding of how companion plants can manipulate the immediate environment to benefit the bulbs. In the intense summer heat of Zone 10, amaryllis foliage often scorches if left exposed to the afternoon sun, making strategic shading necessary. You can plant them on the eastern side of larger, sun-loving tropicals that provide a canopy of dappled shade during the hottest part of the day. A mature Bird of Paradise creates an excellent windbreak and casts the perfect amount of afternoon shadow for an underplanting of amaryllis bulbs. Similarly, positioning your bulbs near a sprawling Hibiscus shrub helps regulate soil temperature, keeping the root zone cooler in July and August while still allowing enough morning light for the amaryllis to thrive. When selecting companions, you must choose plants that share the same water requirements to prevent overwatering the bulbs during their dormant phase. Pairing them with a bold Canna Lily works well in regions where both plants can handle summer irrigation. You must ensure the aggressive canna rhizomes do not crowd out the slower-growing amaryllis bulbs by leaving ample space between the root zones.
Regional pest pressure and naturalization
Outdoor cultivation exposes amaryllis to a specific set of regional pests that require localized management strategies. In the humid Southeastern states, the Eastern lubber grasshopper emerges in spring exactly when amaryllis foliage is most tender, and these insects can defoliate a mature clump in a matter of days. Gardeners in this region must hand-pick the black nymphs early in the season before they grow into voracious, pesticide-resistant adults. On the West Coast, particularly in foggy coastal California, snails and slugs are the primary threat, drawn to the damp microclimates around the base of the strappy leaves. Applying iron phosphate baits around the perimeter of the amaryllis bed shortly after the first spring rains will protect the emerging flower stalks from nocturnal grazing. When protected from these regional threats and sited in appropriate soil, amaryllis will naturalize readily in Zones 8 through 11. Over several seasons, a single bulb will produce numerous offsets, eventually forming a dense, permanent clump that provides reliable spring color year after year. To maintain vigor in these established colonies, you should dig and divide the clumps every four to five years during their late fall dormancy, resetting the largest bulbs into freshly amended soil.
Successful gardening always comes down to observing how a plant interacts with the specific environment you provide. You cannot force a bulb adapted to seasonal dry periods and well-drained soils to thrive in a soggy, low-lying depression that holds winter rain. By evaluating your local soil chemistry, understanding your regional rainfall patterns, and using companion plants to modify harsh sunlight or wind, you build an environment where the plant can function according to its natural biology. The process of adapting general planting instructions to fit the reality of your specific backyard is the true work of horticulture. Applying this principle of regional adaptation allows you to grow healthier, longer-lived plants of every variety across your entire garden.
More About Amaryllis
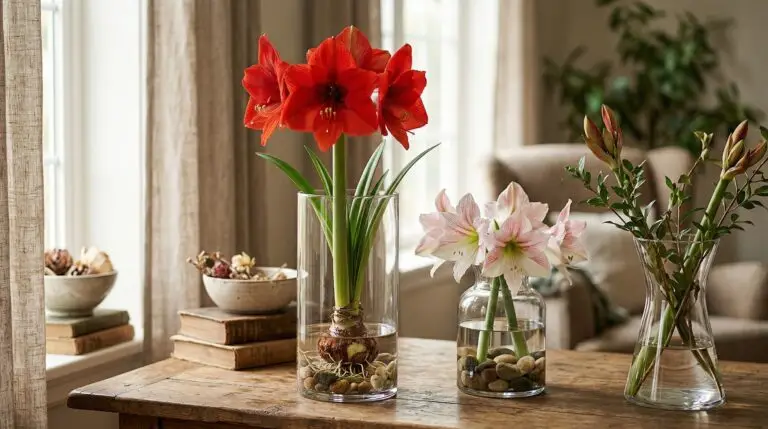
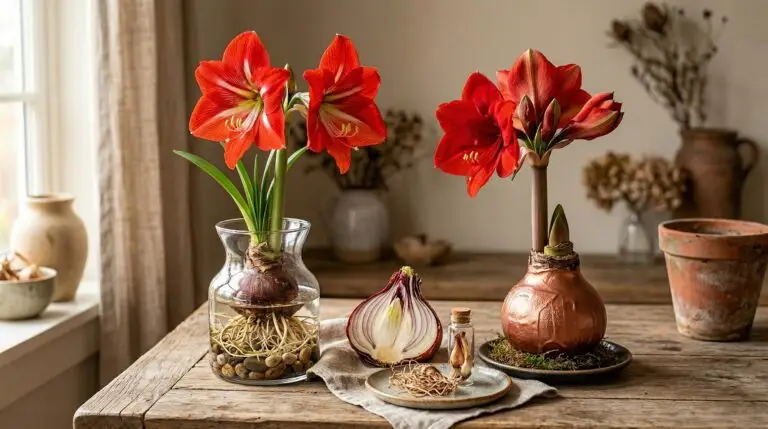
Creative ways to display amaryllis bulbs as winter home decor
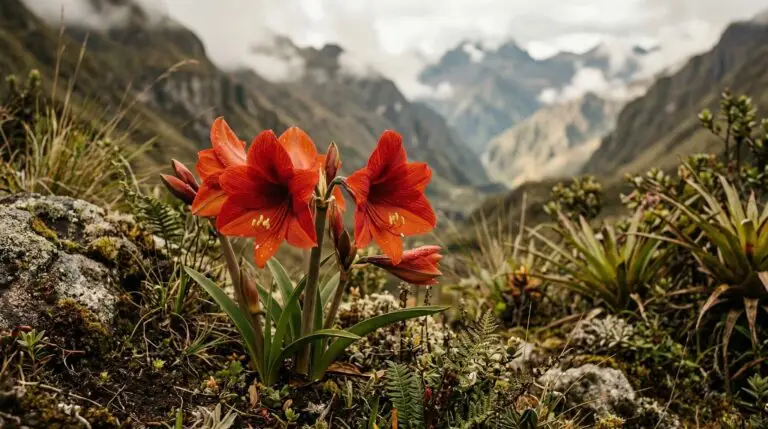
The fascinating history of amaryllis from South American wildflower to holiday tradition
Common amaryllis problems including leaning stalks and split bulbs
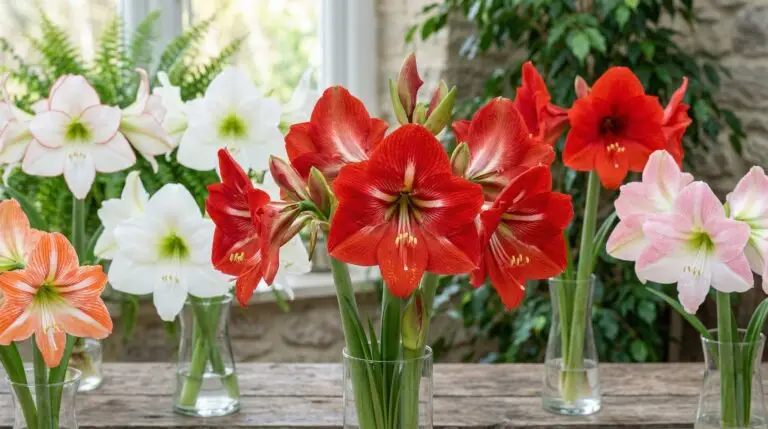
Amaryllis color guide and the most striking varieties to grow at home
How to force amaryllis bulbs to bloom indoors for the holidays
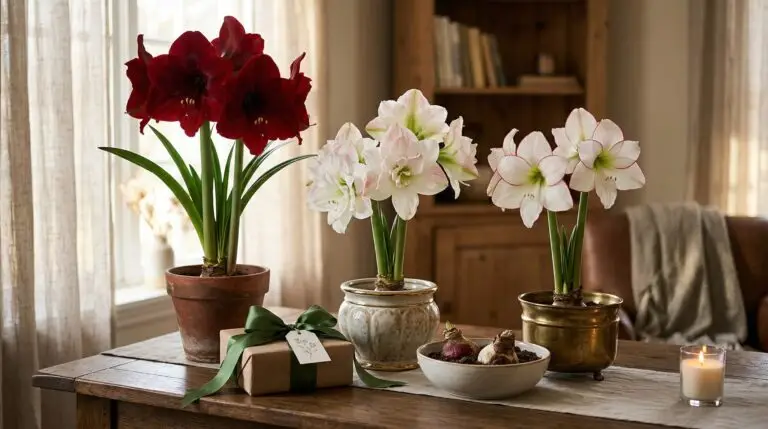
Amaryllis gift ideas and how to choose the perfect bulb for someone special
How to propagate amaryllis from offsets and seeds for a growing collection

What to do with amaryllis after it finishes blooming so it flowers again next year