Gardeners often come to me completely baffled when their carefully planted spring flowers fail to appear. You buy these strange, shriveled little corms, follow the basic instructions on the bag, and wait for weeks only to find bare soil where your blooms should be. Dealing with an anemone not growing is one of the most common frustrations I see early in the season. These plants require a very specific set of conditions to break dormancy, and they are completely unforgiving if you get the moisture levels wrong. When you dig around in the dirt and find mushy remains or absolutely nothing at all, it usually means the corms succumbed to rot before they ever had a chance to root. The good news is that anemone planting problems are entirely preventable once you understand exactly how these corms behave underground. I am going to walk you through exactly what went wrong and how you can fix your process for the next planting round.
Identifying the signs of rot and moisture failure
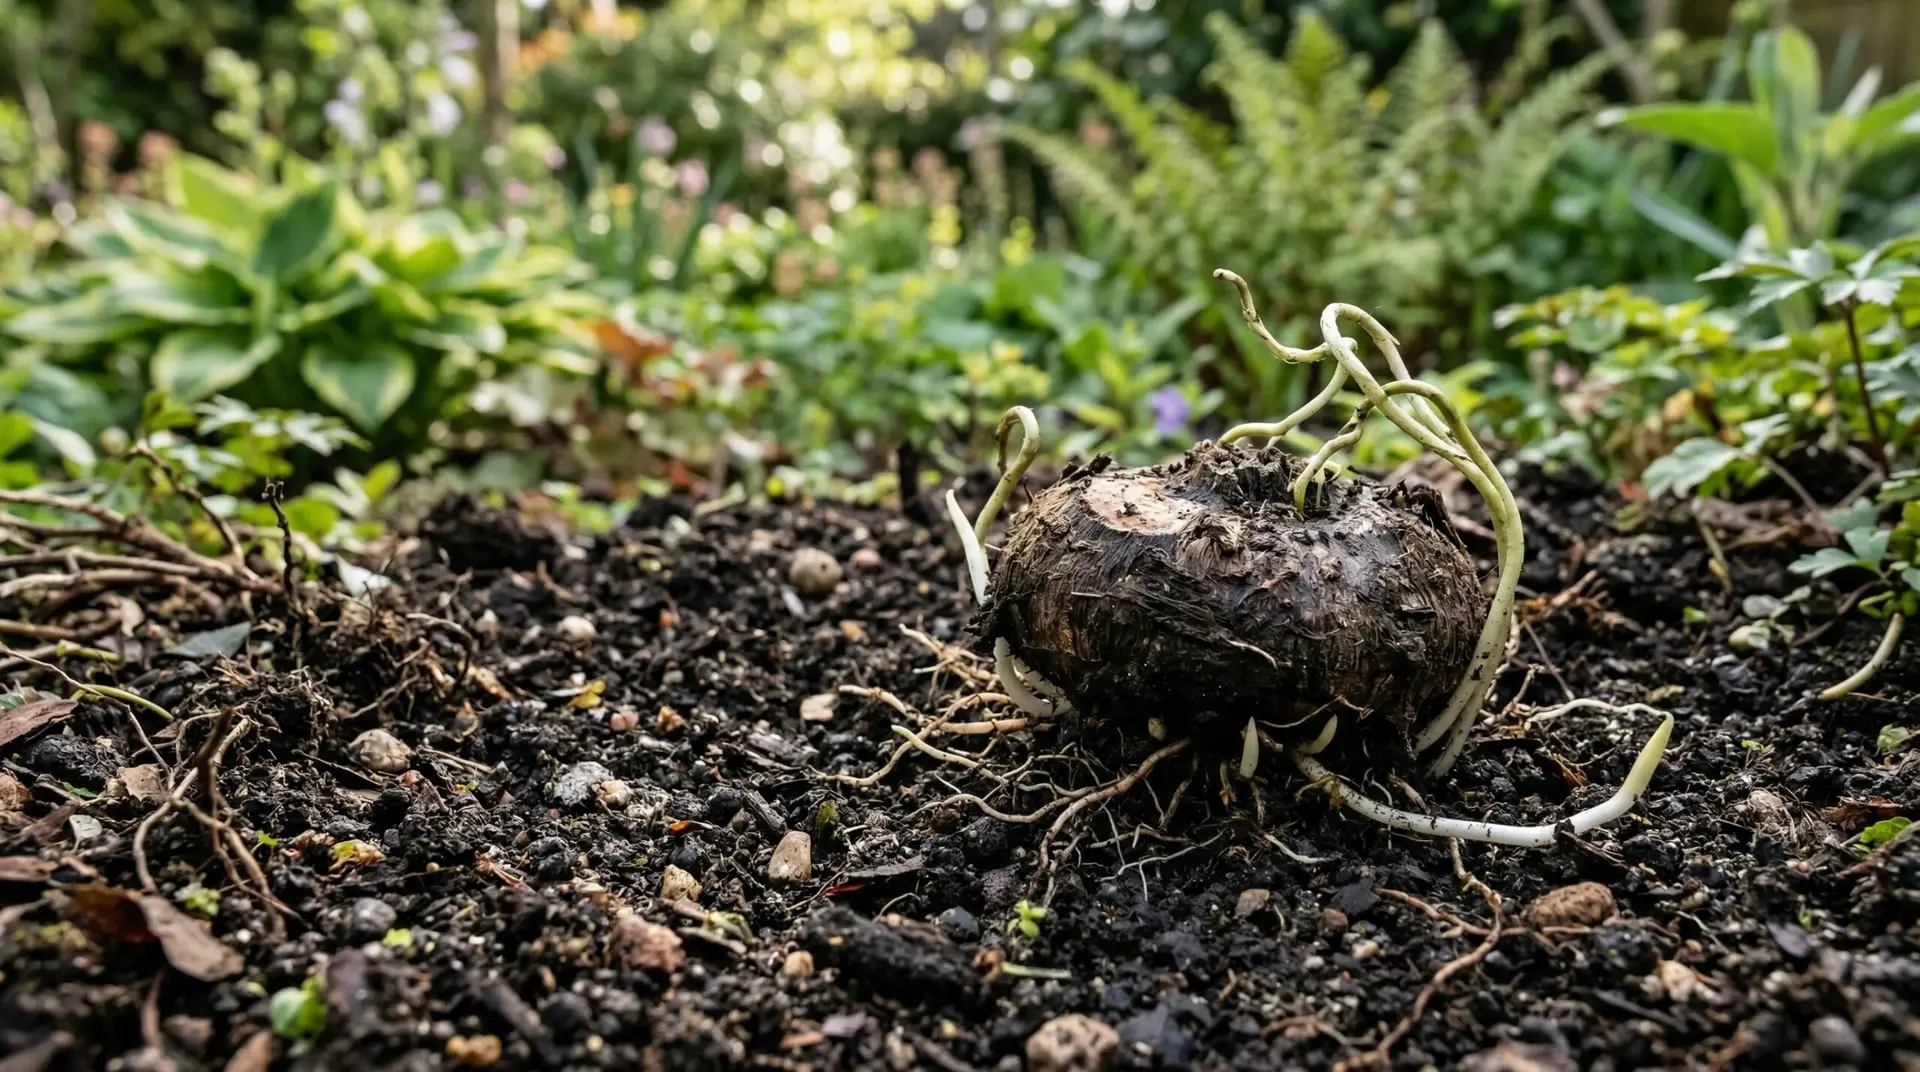
The single biggest reason you end up with anemone corms not sprouting is poor moisture management during the first two weeks in the ground. When people see a hard, dry corm, their first instinct is to drown it in water to wake it up. If you soak the corms for too long before planting or put them into heavy, waterlogged soil, they will turn to mush within days. Anemones need just enough moisture to plump up and signal that it is time to grow, but they have zero tolerance for sitting in wet dirt. When soil stays wet rather than slightly damp, the lack of oxygen allows fungal and bacterial rot to consume the corm from the outside in. If you suspect this happened, gently dig up the spot where you planted them and squeeze the corm. A healthy corm feels firm like a potato, while a rotted one will collapse between your fingers and smell like swamp mud.
Fixing heavy soil to prevent future rotting
If you found rotted corms in your garden beds, you cannot simply buy a new batch and put them in the exact same spot. Heavy clay soils trap water right at the root zone, creating the perfect environment for rot to take hold again. You need to physically alter the texture of your planting area by mixing in generous amounts of coarse sand and well-rotted compost. This creates air pockets in the soil structure, allowing excess rain or irrigation water to drain away quickly before it suffocates the plants. Raised beds are often the easiest solution for gardeners struggling with dense, poorly draining native soil. Elevating the planting area even six inches above the ground level drastically improves drainage and warms the soil faster in the spring. Taking the time to fix the soil profile guarantees your next batch of corms will actually have a fighting chance.
How planting depth and orientation stop growth
Even if you get the moisture exactly right, putting the corm in the ground incorrectly will stop your flowers in their tracks. Anemone corms look like irregular, lumpy little acorns, making it incredibly difficult for beginners to tell which side is up. If you plant them upside down, the new shoots have to expend all their stored energy trying to navigate around the corm to reach the surface. By the time the shoot makes that U-turn, it often runs out of energy and dies under the soil line. The pointy end of the corm is actually the bottom where the roots grow, while the flatter, slightly scarred side is the top. Planting too deep creates a similar exhaustion problem for the emerging shoots. These corms should only be buried about two inches deep, as placing them any further down forces the plant to struggle against the weight of the soil.
Temperature and timing mistakes that ruin corms
Another major hurdle is treating anemones like summer bulbs when they actually prefer cool weather to establish their roots. Many gardeners try planting them in late spring when the soil is already warming up, which is a guaranteed way to trigger dormancy instead of growth. When soil temperatures rise above sixty degrees, the corms receive a biological signal to shut down and conserve energy rather than send up vulnerable new shoots. This is very similar to the temperature sensitivity you might experience when trying to grow a ranunculus crop in the wrong season. If you live in a mild climate with warm winters, you need to plant your corms in the fall so they can slowly develop roots over the winter months. Gardeners in colder zones with freezing winters should start them in early spring as soon as the soil can be worked safely. Getting the timing right ensures the roots have plenty of time to anchor the plant before the heat of summer arrives.
Preparing anemone corms properly for planting
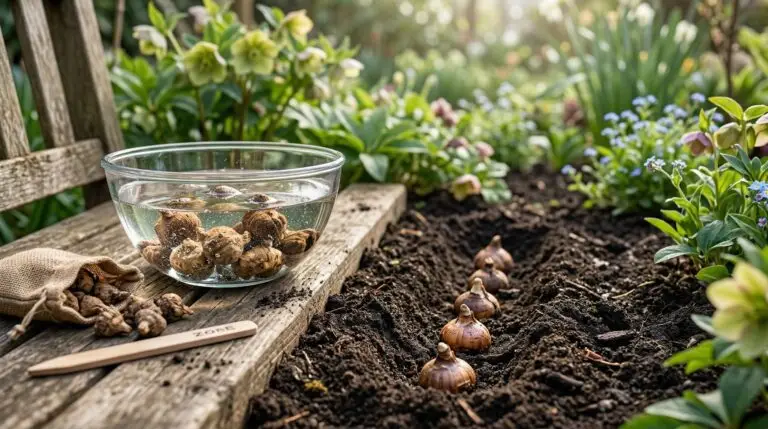
Success with these flowers starts before the corms ever touch the garden soil. You have to wake them up gently through a process called pre-sprouting, which gives you complete control over their environment during the most vulnerable stage. Start by soaking the dry corms in room temperature water for exactly three to four hours, changing the water once or twice to provide fresh oxygen. Do not leave them in water overnight, as this is a guaranteed way to invite the rot we discussed earlier. After soaking, place the plumped corms in a shallow tray filled with slightly damp potting soil and keep them in a cool, dark place for about two weeks. You will soon see little white root nubs forming on the bottom and tiny green shoots emerging from the top. Once you see this active growth, you know exactly which way to orient them in the garden, and you guarantee you are only planting viable corms.
Taking the time to pre-sprout completely eliminates the guesswork and frustration of waiting for empty beds to bloom. It might seem like an annoying extra step when you just want to get your garden planted, but it is the only way to ensure a high success rate. Just like you might chill a tulip bulb to force a reliable bloom, anemones demand specific preparation to perform well. If you only take away one piece of advice for your next attempt, let it be this strict rule about moisture management. Keep the soil around your newly planted corms barely damp, like a wrung-out sponge, until you see actual green leaves break the surface. Once the foliage is up and actively photosynthesizing, the plants can handle regular watering, but until then, restraint is your best tool.
More About Anemone
How to plant anemone corms in fall for a spectacular spring flower display
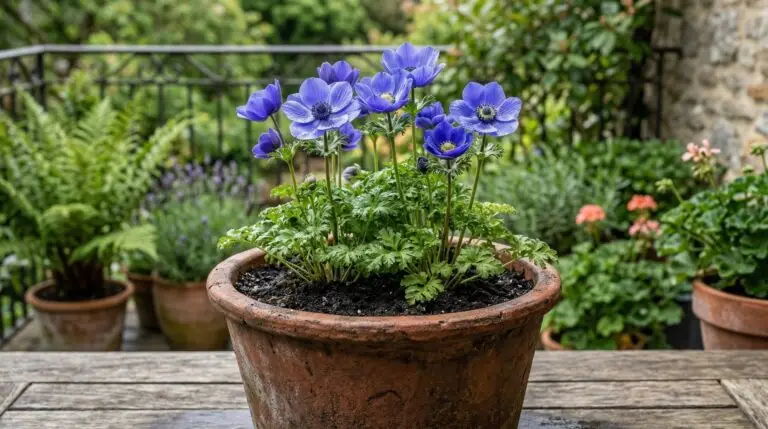
How to grow anemones in containers for a colorful spring balcony garden

Naturalizing anemones in woodland gardens for wild-looking spring carpets

Anemone flower meaning and the mythological story behind the windflower

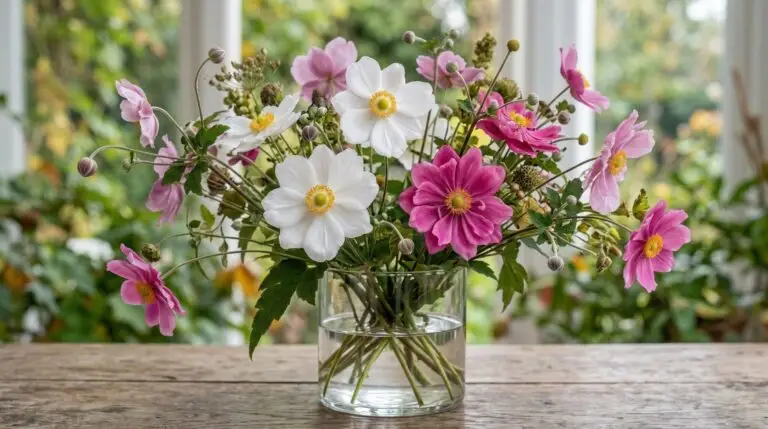
Growing anemones as cut flowers for endless spring and fall arrangements

Anemone and ranunculus planted together for the ultimate spring flower garden

Anemone meaning, from anticipation and protection to forsaken love

Anemone wedding bouquets that bring effortless romance to any ceremony