Gardeners usually plant daylilies because they want something completely foolproof that will bloom reliably without constant attention. The frustration hits hard when you walk out to your garden in midsummer and find your supposedly indestructible plants looking terrible, with yellowing foliage or buds that refuse to open properly. People often ask me why their daylily leaves are suddenly covered in an orange powder or why the entire plant seems to be collapsing from the center outward. The truth is that while daylilies are incredibly resilient, they are not completely immune to fungal issues and insect pests. When you know exactly what signs to look for, you can fix most daylily problems quickly before they ruin your garden display. I have helped countless home gardeners turn their struggling, diseased clumps back into healthy, blooming plants just by changing a few basic maintenance habits.
Identifying and managing daylily rust
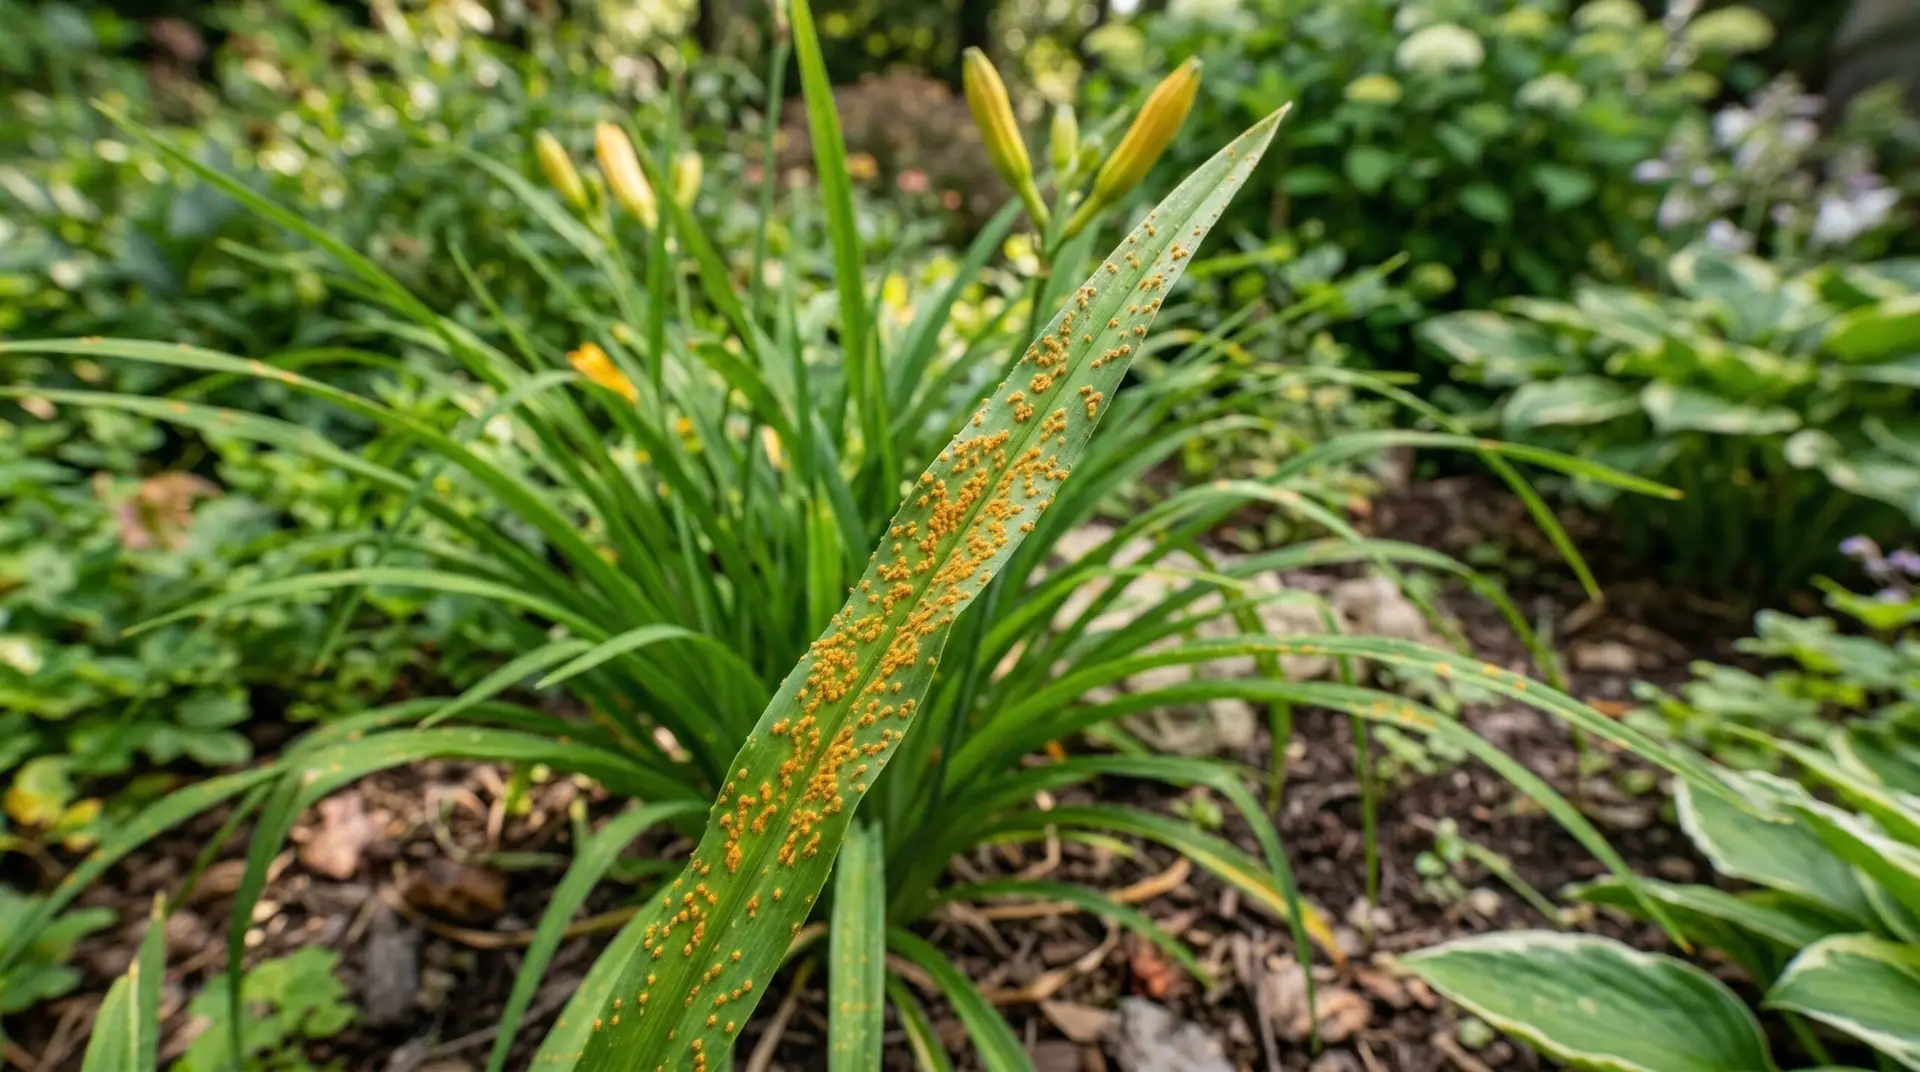
The most common complaint I hear about daylilies involves leaves that develop bright orange, powdery spots on their undersides. This is a classic fungal disease called daylily rust, and it spreads rapidly through the air when the weather gets warm and humid. When daylily rust infects a plant, the upper surface of the leaves will usually show yellow streaks or small brown spots right above where the orange pustules are growing underneath. If you wipe a white tissue across the back of an infected leaf, it will come away stained with orange spores, which is the easiest way to confirm you are dealing with hemerocallis rust rather than normal leaf dieback. The spores travel on the wind, meaning an infection in a neighbor’s yard can easily blow into your garden and take over your plants within a few weeks. Ignoring the problem will result in completely brown, dead-looking foliage that ruins the appearance of your garden for the rest of the season.
Treating daylily rust requires immediate action to stop the spores from spreading to every other plant in your yard. The moment you see those orange spots, you need to cut the infected foliage down to about an inch above the ground and throw the leaves in the trash, never in your compost bin. Fungal spores survive on dead plant material, so keeping the ground around your daylilies completely clear of fallen leaves is a mandatory chore if you want to break the disease cycle. You can apply an organic copper fungicide or sulfur spray to the new foliage as it emerges to protect it from reinfection, but sprays will not cure leaves that already have spots. Choosing rust-resistant varieties is the smartest long-term strategy, as breeders have developed many newer cultivars that simply shrug off the fungus even when planted right next to infected plants. If you live in a climate with very mild winters where the foliage never completely dies back, you will need to be especially vigilant about cutting back old leaves in late winter to prevent the rust from overwintering.
Preventing crown rot and root issues
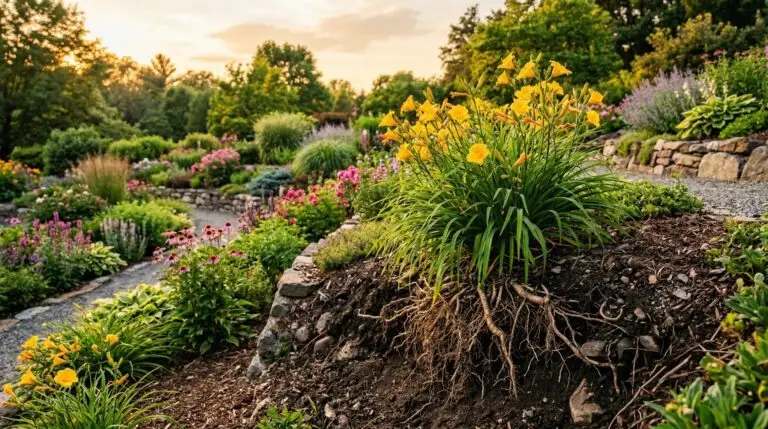
Another terrifying problem for gardeners is watching a massive, previously healthy daylily suddenly turn yellow at the base and collapse flat against the ground. When this happens, it usually means crown rot has taken hold, which is a fatal condition caused by fungal or bacterial pathogens thriving in wet, suffocating soil. I always ask people with rotting plants how deep they buried the crown and how often they run their sprinklers, because planting too deep and watering too much are the primary causes of this disease. The crown of the daylily, where the roots meet the leaves, must be planted right at or slightly above the soil surface so it can breathe. If you bury the crown under three inches of heavy clay or thick wood mulch, moisture gets trapped against the stems, and the plant literally rots from the inside out. Once a plant has severe crown rot, the stems will pull away from the base with a gentle tug, and the plant will smell terrible, meaning it is time to dig it up and throw it away.
You can prevent crown rot entirely by paying close attention to your soil drainage before you ever put a shovel in the ground. Daylilies need regular water to produce good flowers, but they absolutely cannot sit in constantly muddy soil that never dries out. If your garden has heavy clay that holds water like a bathtub, you must either build raised beds or mix in generous amounts of compost and coarse sand to create air pockets around the roots. Gardeners dealing with poorly draining soil often find better success by planting a bearded Iris nearby, as they share similar requirements for a shallowly planted rhizome or crown that needs good air circulation. Always pull mulch back a few inches away from the base of your daylilies to ensure the crown stays dry during periods of heavy rain. Watering at the base of the plant rather than running overhead sprinklers also keeps the foliage dry and prevents water from pooling right in the center of the leafy fans.
Controlling common insects and pests
Insect problems in daylilies usually show up just as the plants are getting ready to bloom, completely ruining the flowers you have been waiting all year to see. The daylily gall midge is a tiny fly that lays its eggs inside the developing flower buds, causing the buds to swell up, become distorted, and remain closed instead of opening normally. When you break open one of these swollen, deformed buds, you will find dozens of tiny white maggots wriggling around inside, feeding on the flower tissues. There is no chemical spray that can reach the larvae once they are safely hidden inside the bud, so you have to rely on manual control. The fix is to walk through your garden every day in early summer, snap off any abnormally fat or twisted buds before they drop to the ground, and seal them in a plastic bag. If you let the infested buds fall into the soil, the maggots will burrow into the dirt to overwinter, guaranteeing a massive infestation the following spring.
Thrips and aphids are two other common pests that cause daylily problems by sucking the sap out of tender new growth. Thrips are microscopic insects that hide deep inside the foliage fans, causing the leaves to emerge with a corkscrew shape or leaving pale, scraped streaks on the dark flower petals. Aphids tend to cluster in thick green colonies on the flower stalks and buds, leaving behind a sticky residue that eventually turns black with sooty mold. You can usually knock aphids off your plants with a strong blast of water from the garden hose, which is the easiest and safest method for dealing with them. For stubborn thrip or aphid infestations, spraying the plants thoroughly with an organic insecticidal soap will smother the pests without leaving harsh chemicals in your garden. If insect pressure becomes too frustrating in a particular garden bed, I sometimes recommend mixing in tough companion plants like a hardy Lily to diversify the planting and attract beneficial predatory insects.
Keeping your plants healthy year after year
The best defense against daylily disease and pest problems is a proactive approach to garden hygiene and plant maintenance. Overcrowding is the number one mistake I see people make, as they let their daylilies grow into massive, tangled clumps that block wind and trap humidity right at the soil level. You need to dig up and divide your daylilies every four to five years to give the individual fans enough space to breathe and access nutrients. When you divide a clump, you should discard the old center of the root mass and replant only the vigorous outer fans, similar to how you would manage an overgrown Siberian Iris plant. Giving your plants proper spacing ensures that sunlight reaches the base of the foliage, which naturally suppresses fungal growth and makes the environment less inviting for pests. A well-maintained, properly spaced daylily bed will reward you with far more blooms and significantly fewer disease issues than a neglected, overgrown patch.
Keeping your garden clean throughout the year is a simple habit that drastically reduces the amount of troubleshooting you have to do later. Removing spent flower stalks and pulling away dead, brown foliage at the end of the season deprives insects and fungal spores of their favorite winter hiding places. If I had to give a beginner one single piece of advice for growing healthy daylilies, it would be to aggressively clean up the garden bed every single autumn. Raking up every piece of dead daylily debris and starting the spring with bare, clean soil around your plants will solve eighty percent of your rust and pest problems before they even have a chance to start. This simple sanitation step takes only a few minutes per plant but saves you months of frustration the following summer. Gardening is always much easier when you focus on creating a clean, well-ventilated environment rather than constantly fighting outbreaks with sprays and treatments.