
How to Grow and Care for Catmint
Contents
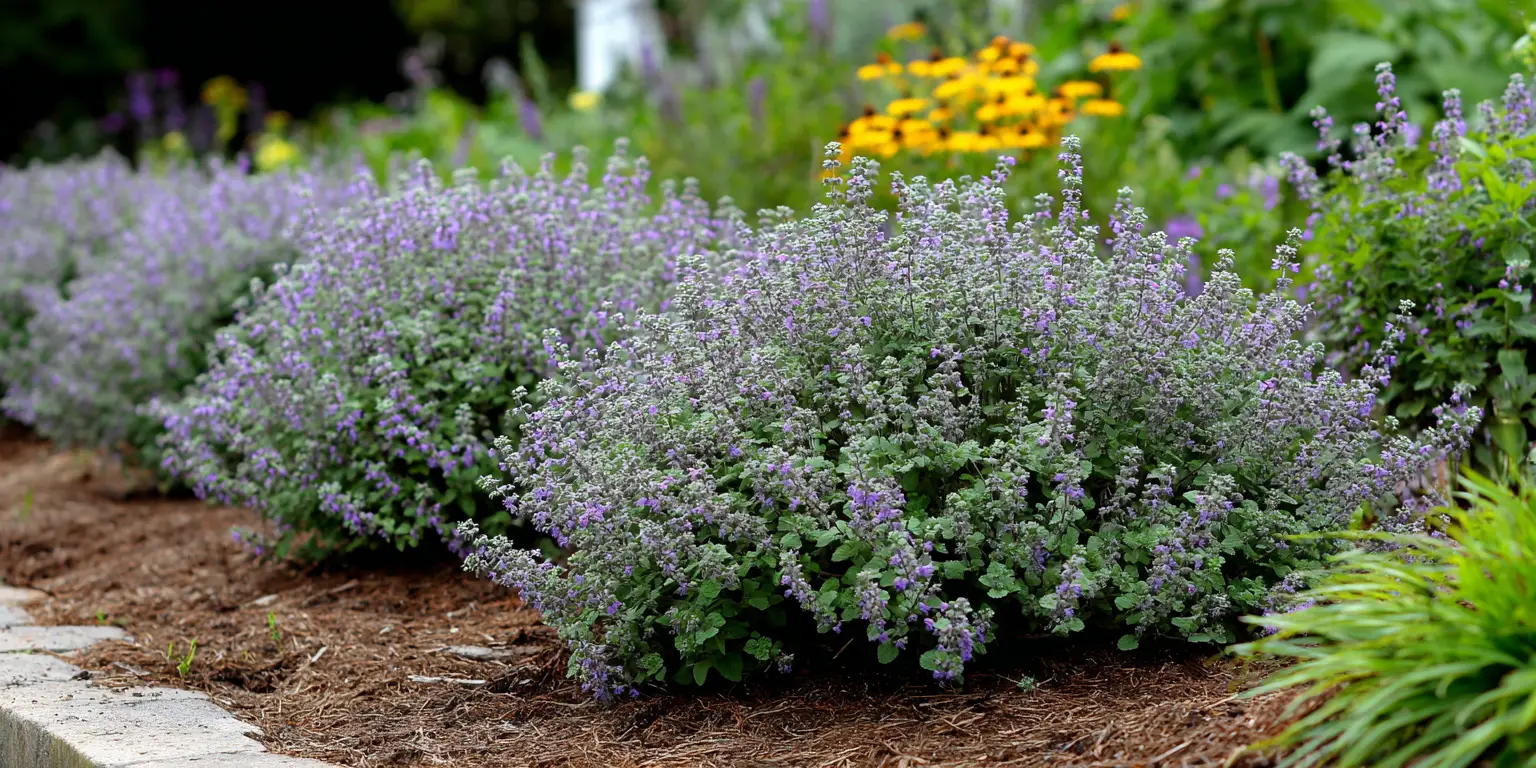
Catmint is a long blooming, aromatic perennial grown mainly for carefree mounds of blue to violet flowers that hum with pollinators. The garden catmints most people plant are hybrids sold as Nepeta × faassenii, known as Faassen catmint, with soft gray green foliage and a rounded habit. Do not confuse catmint with catnip, which is Nepeta cataria and leggier. Catmint thrives in full sun in most regions and tolerates some afternoon shade in hot summers. It is generally hardy from USDA Zones 3 to 8, with the best flowering in cooler summer climates. For reliable Catmint care, give it sharp drainage, moderate water during the first season, and a midseason trim to keep it flowering and tidy. The combination of long bloom, drought tolerance once established, and resistance to deer makes Catmint one of the most dependable border plants for U.S. home gardens.
Catmint fits easily into mixed borders and cottage plantings, where its cool blue wash pairs with warm and pastel tones. It is a good color bridge for blue and purple flowers, and it softens the feet of shrubs like roses. The flowers attract bees and butterflies throughout late spring into summer and often again after shearing. If you have been searching across types of flowers for something that is low maintenance yet generous with color, Catmint should be near the top of your list.
Soil & Bed Preparation
Catmint favors well drained soils that lean a bit on the dry and gravelly side. A loam or sandy loam that holds some moisture but never stays soggy is ideal. In heavy clay, you can still succeed by loosening a wide area, incorporating coarse mineral material such as crushed gravel or expanded shale, and planting on a slight rise. Catmint handles average fertility, and sometimes blooms better in soil that is not overly rich. Very fertile beds push excess leaf growth and can make stems flop after rain. If you are preparing a new border, aim to loosen soil to a depth of 10 to 12 inches (25 to 30 cm). Catmint tolerates a fairly wide pH window, about 6.0 to 7.5. Slightly alkaline soil is acceptable and often beneficial. An organic matter level of roughly 3 to 5 percent is a good target for water holding and soil life without creating excess lushness. Before planting, work in one to two inches (2.5 to 5 cm) of finished compost if your soil is sandy or very low in organic matter. In richer beds, skip compost and focus on drainage improvement. Dig a hole 12 inches wide and 12 inches deep (30 by 30 cm). Fill it with water and let it drain completely. Refill it and time the drop in water level over one hour. A fall of about 1 inch per hour or more indicates acceptable drainage for Catmint. If the water stands with little change, build a raised planting area 6 to 8 inches high (15 to 20 cm) and amend with mineral grit to speed percolation. Check pH with a simple home kit or a Cooperative Extension soil test. If pH is below 6.0, apply finely ground limestone at label rates and retest in 3 to 6 months. If pH is above 7.5 and you see chlorosis on leaves, lightly incorporate elemental sulfur in spring and retest the following season. Raised beds are a strong option where clay soil or repeated rains make a site slow to drain. Even a low berm only 3 to 4 inches tall (7.5 to 10 cm) improves winter survival by keeping the crown out of standing water. In ground beds are fine where the native soil is open textured or where you can amend a broad area to create a consistent root run for the entire planting. Catmint is not a bulb, rhizome, tuber, or corm. It grows from a fibrous root and woody crown that must sit at or a hair above the finished grade to prevent rot.
Planting Calendar by USDA Zone
Zones 3 to 5. Plant container grown Catmint in spring once the soil can be worked and daytime highs are in the 50s to low 60s °F (10 to 16 °C). This gives a full season to root in before winter. Fall planting is possible from late August to mid September if you can provide 6 to 8 weeks before the ground freezes. In exposed or windy sites, favor spring planting. Mulch after the ground freezes to reduce heaving from freeze and thaw.
Zones 6 and 7. You can plant in spring from March to April when soils warm into the 50s °F, or in fall from late September to late October. Many gardeners prefer fall because mild autumn and winter conditions encourage strong root growth. In Zone 7 with hot summers, fall planting reduces transplant stress and sets up vigorous bloom the following spring.
Zones 8 and 9. Fall planting is best. Target late October through December in Zone 8 and November through January in Zone 9, adjusting for local frost dates. Spring plantings can work if you harden off carefully and irrigate through the first summer. The plant may slow or pause bloom in the peak of heat, then resume with cooler nights.
Regional caveats. In the hot humid Southeast and Gulf Coast, choose sites with morning sun and light afternoon shade with excellent airflow. Avoid overhead irrigation during humid spells to limit foliar disease. In the arid Southwest and Interior West, provide some afternoon shade, deep but infrequent watering during the first summer, and mulch that moderates heat without holding excess moisture. Coastal regions with persistent wind should use low windbreaks or plant on the lee side of larger perennials or low shrubs. High elevation gardens with late spring frosts should wait until consistent nighttime lows are above 35 °F (2 °C) before planting.
Planting: Depth & Spacing
If you are planting divisions from your own clump or from a friend, trim back top growth by one third to balance the reduced root mass. Set the division so the crown sits even with the surrounding soil or up to one half inch above grade (1.2 cm). Spread roots outward in a broad fan and backfill with the native soil blend that you prepared, firming lightly to remove air pockets. Water thoroughly to settle the soil, then add a light mulch. Space small to medium cultivars 18 to 24 inches apart (46 to 61 cm). Large cultivars can need 24 to 36 inches (61 to 91 cm). For row plantings along paths or walks, keep rows 24 to 30 inches apart (61 to 76 cm) to allow comfortable access and airflow. Loosen circling roots on nursery plants. If the root ball is tight, slice it in three or four shallow, vertical cuts from top to bottom to encourage new roots to move into the surrounding soil. Place the plant so the top of the root ball is level with the soil surface, never buried. Backfill, water deeply, and top with 2 inches of mulch (5 cm) kept an inch or two away from the crown. If your site is windy or the plant is tall, use a low hoop or plant ring until new growth anchors. Harden off plants that were grown in a sheltered greenhouse by placing them outdoors in bright shade for three to four days, then partial sun for another three to four days. Water the root ball before planting so it does not wick moisture away from surrounding soil. After planting, water deeply and evenly for the first two weeks. In areas with intense sun and wind, provide a temporary shade cloth on hot afternoons during the first week to reduce moisture stress.

Watering & Mulching
Catmint needs steady moisture while roots expand into native soil. Provide the equivalent of about 1 inch of water per week during the first growing season, delivered in one or two deep soakings. In sandy soil you may need two to three lighter irrigations spread across the week. Once established, Catmint is a low water perennial. In average summers, deep watering every 10 to 14 days is often enough in loam soils. In true drought, increase to once per week and water at the base to keep foliage dry. Use a light, airy mulch such as shredded bark, pine straw, or a gravel mulch that matches the lean soil Catmint enjoys. Apply a 2 to 3 inch layer (5 to 7.5 cm) after planting, but keep a mulch free donut 2 inches wide (5 cm) around the crown. In humid climates, gravel or a very open bark mulch promotes quick surface drying and reduces disease pressure. In arid climates, organic mulches can moderate soil temperatures and reduce evaporation. The most common mistake is burying the crown under soil or mulch. Always keep the crown at soil level and uncovered. If you notice persistent wilting even when soil feels wet, check for waterlogged conditions around the roots. Improve drainage through soil amendment and reduce watering frequency. Drip lines or soaker hoses deliver water where needed while keeping leaves dry. During heat waves above 95 °F (35 °C), water early in the morning and consider providing temporary shade from 1 p.m. to 4 p.m. for newly planted Catmint. Do not overcompensate by soaking daily. Aim for deeper waterings that moisten the top 6 to 8 inches of soil (15 to 20 cm), then allow the surface to dry. In areas with alkaline irrigation water, Catmint typically performs well, and supplemental acidification is usually unnecessary.
Feeding
Catmint is a light feeder. In most garden soils, it blooms best with minimal fertilizer. At planting, mix in a small amount of balanced, slow release fertilizer in the 5 to 5 to 5 to 10 to 10 to 10 range at half the label rate, or top dress in early spring of the second year with a similar product. Organic options such as composted poultry manure or feather meal can be used sparingly. Avoid high nitrogen lawn fertilizers. They push soft growth that flops and can reduce flowering. Feed once in early spring as new growth starts. In lean soils or containers, a second very light application after the first bloom and shearing can support a fast rebloom. Skip fertilizer entirely if stems are already vigorous and blooming well. Retest soil every two to three years, or any time plants show symptoms like chlorosis that suggest a nutrient imbalance. Aim to maintain organic matter near the 3 to 5 percent range and rely on compost mulch rather than frequent fertilization to sustain soil biology.
Pruning & Support
In early spring, remove any winter burned stems down to healthy basal growth. As the first bloom cycle slows, shear the entire plant back by about one third to one half with clean hedge shears. This tidy haircut triggers fresh foliage and a second flush of flowers within four to six weeks. Lightly feed and water after shearing to speed regrowth. Continue to remove spent flower stems through summer if you prefer a continuous look, or allow some seed to form if you enjoy a looser, naturalistic style. If you have only a few plants, you can deadhead by clipping just below each faded flower spike. On larger drifts, a uniform shearing is faster and encourages even regrowth. Shear before seeds ripen if you want to limit volunteers from species that self sow. Many modern hybrids have low fertility and seldom seed heavily. Most Catmint cultivars form sturdy mounds and require no staking. In very rich soil, or after heavy rain, tall cultivars can splay open. Use low grow through supports in spring as new shoots emerge so that stems grow through the grid. You can also ring plants loosely with twine attached to discreet stakes to hold the form. Clean pruners and shears between plants to limit disease spread. Wipe blades with a cloth dampened in 70 percent isopropyl alcohol. Remove soil and sap at the end of each session, dry tools thoroughly, and store them out of the weather. Sharp, clean blades make quick, smooth cuts that heal faster and reduce the chance of introducing pathogens.
Overwintering
In cold regions, wait until the ground has frozen, then apply a loose winter mulch 2 to 3 inches thick (5 to 7.5 cm) over the root zone. Straw, pine needles, or shredded leaves work well. The goal is to moderate freeze and thaw cycles rather than to keep soil warm. Pull mulch back gradually in spring as new shoots appear. Catmint crowns can heave during repeated thaw cycles. Planting with the crown at or slightly above grade, using a porous winter mulch, and avoiding saturated soil are the best safeguards. Do not prune to the ground too early in fall. Allowing a small amount of top growth to remain helps catch snow and insulate the crown. In gardens with vole pressure, set hardware cloth collars around new plantings in fall. Keep grass and mulch pulled back from the crown to deny cover. Trapping and habitat reduction are effective where voles are persistent. Overwinter container Catmint where it will stay cold but protected from desiccating wind. An unheated garage, sheltered porch, or cold frame works well. Water sparingly during winter so the root ball does not dry to a hard brick. In Zones 3 and 4, set containers close together and wrap the group with burlap to reduce temperature swings. Return pots to their display location as consistent thaw arrives.
Growing Environments
Catmint grows well in pots and troughs if you give it enough root room and excellent drainage. Choose a container at least 12 inches wide and 10 inches deep (30 by 25 cm) for small cultivars. Large cultivars are happiest in 14 to 16 inch pots (36 to 41 cm) that hold 3 to 5 gallons of soil. Use a high quality, peat free or peat reduced potting mix blended with extra perlite or coarse grit for quicker drainage. Elevate pots on feet so water can escape. Water when the top inch of mix is dry, then water thoroughly until moisture runs from the drain holes. Full sun brings the best bloom. In regions with extreme summer heat, a few hours of late day shade keeps flowers from fading and reduces stress. In coastal belts with strong wind, tuck Catmint near a low wall or place it behind sturdier perennials. Near reflective surfaces such as south facing walls or stone patios, add a gravel mulch and keep irrigation consistent so reflected heat does not crisp the foliage. Catmint tolerates bright open shade in cooler climates, though bloom counts will drop. In humid regions, favor open exposures with morning sun where leaves dry quickly. Good spacing and an open mulch keep air moving around the base of the plant and reduce foliar issues.
Companion Planting & Design
Catmint is a classic underplanting for roses, where its soft, finely textured foliage and steady bloom frame the larger flowers and hide bare stems. It is equally at home along paths, at the front of borders, and massed as a low edging. Its cool tones weave through mixed plantings, uniting early and midseason perennials. For wedding season borders and cutting gardens, it provides a calm base layer that supports focal blooms you might choose from a wedding flowers guide. Pair Catmint with spring bulbs and early perennials to carry color through the season. Late tulips and alliums rise through Catmint’s new growth and bloom in May in many regions, followed by penstemons, salvias, and daylilies. Summer companions include yarrow, coreopsis, and ornamental grasses that enjoy the same dry, lean conditions. Catmint is also a natural neighbor for lavender, sharing the need for sharp drainage and full sun. In mixed color schemes, its cool flowers sit well with white flowers and temper bold accents from sunflower or other warm toned summer bloomers. Catmint flowers draw honey bees and native bees, along with butterflies. To build a pollinator corridor, combine Catmint with salvias, coneflowers, and monardas while staggering bloom times. Maintain generous spacing so air moves freely among plants. For medium cultivars, leave 24 inches between centers. For taller types, widen to 30 to 36 inches for airflow and access. After the first shearing, new foliage emerges quickly. Use it to refresh edges near walks or patios. If a clump opens in the middle, slip a short ring support over it after shearing so new growth refills the form neatly. In rainier climates, place Catmint alongside low grasses or sturdy perennials that can lend a little support without crowding.
References
- North Carolina State Extension Gardener Plant Toolbox: Nepeta × faassenii.
- North Carolina State Extension Gardener Plant Toolbox: Nepeta cataria.
- Missouri Botanical Garden Plant Finder: Nepeta × faassenii ‘Walker’s Low’.


Written by: Your Flowers Guide editorial team
We are a small independent group of flower lovers who research and review each guide using trusted horticultural and educational sources. Learn more about us