Many gardeners feel a sense of hesitation when approaching their rose bushes with a pair of sharp bypass pruners in hand. Pruning roses is often built up as a complicated science, but it is really just a way to guide the plant toward healthier growth and better air circulation. Left to their own devices, rose bushes become tangled, woody, and prone to fungal diseases because sunlight and wind cannot reach the inner branches. By stepping in and making deliberate cuts, you are telling the plant exactly where to direct its energy for the upcoming growing season. You will need a clean, sharp pair of bypass pruners, some thick leather gloves that reach up your forearms, and a container of rubbing alcohol to sanitize your blades between plants. Understanding the basic mechanics of how roses respond to pruning will make the entire process feel less like a chore and more like a collaboration with your garden.
Timing your pruning for the best results
Knowing exactly when to prune roses is just as important as knowing how to make the cuts. You want to wait until the intense cold of winter has passed but act before the plant fully wakes up and starts pushing out leaves. A reliable seasonal cue is to watch the buds on the canes, which will begin to swell and turn a reddish color as daytime temperatures consistently stay above sixty degrees. If you prune too early, a late hard frost can damage the freshly cut cane ends and kill the new growth that the pruning stimulated. If you wait until the bush is fully leafed out, you force the plant to waste energy growing foliage that you are just going to cut away. Many gardeners also watch for local blooming indicators, like the yellow flowers of the forsythia bush, to signal that the soil has warmed enough to begin their rose pruning guide. Taking a walk through your garden to observe these subtle shifts in temperature and plant activity will tell you exactly when the time is right.
Making the proper angled cut above the bud
The actual physical cut you make on a rose cane dictates how the new branch will grow and how well the wound will heal. You always want to cut at a forty-five degree angle, sloping away from the bud you have selected to keep. This specific angle allows rain and morning dew to run off the cut surface rather than pooling on top, which prevents water from sitting and encouraging rot to take hold in the cane. You should position your bypass pruners about one quarter of an inch above an outward-facing bud, which looks like a small red bump on the stem. Choosing an outward-facing bud ensures that the new branch will grow away from the center of the bush, keeping the middle open for sunlight and air. At this point you might notice the wood inside the cut looks brown or dry instead of a healthy white or pale green. That is normal on older canes and simply means you need to keep cutting further down the stem until you reach healthy, living tissue that can support new growth.
Handling thick canes and maintaining your tools
As you work your way through an older rose bush, you will inevitably encounter thick, woody canes that are too large for standard hand pruners. You should never force your bypass pruners through a branch that is thicker than a pencil, as twisting and wrenching the tool will crush the plant tissue and ruin the alignment of your blades. Instead, switch to a pair of long-handled loppers or a small folding pruning saw to make clean cuts through these stubborn, aged canes. A clean cut heals quickly, while a crushed, jagged stem will die back and invite pests into the healthy wood below. Keeping your tools sharp is just as necessary as choosing the right tool for the diameter of the branch. You should carry a small sharpening file in your pocket and run it along the beveled edge of your blade whenever you notice the cuts becoming less crisp. Wiping the blades down with rubbing alcohol between different bushes also prevents you from accidentally spreading bacterial infections from one plant to the next across your yard.
Clearing out dead wood and opening the center
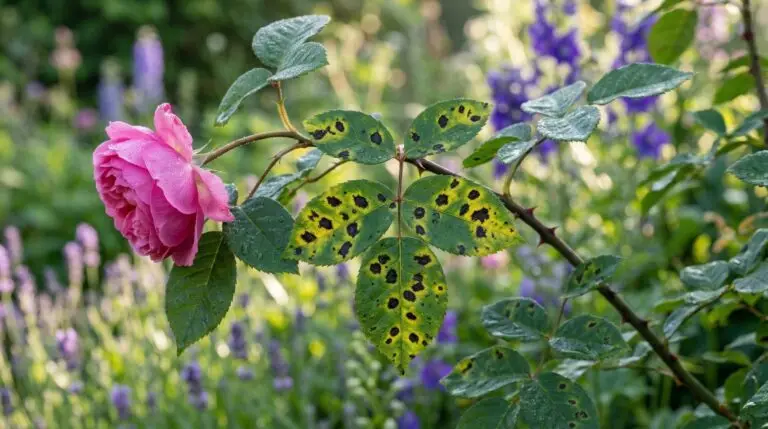
Before you worry about shaping the overall bush, your first priority is to remove anything that is dead, damaged, or diseased. Dead wood is usually easy to spot because it turns dark brown or black, feels brittle to the touch, and often has bark that is peeling away from the inner wood. You should cut these dead canes all the way down to the base of the plant or back to where they join a healthy main cane. Once the dead material is gone, look for any branches that are rubbing against each other or crossing through the center of the bush. When two canes rub together in the wind, they create open wounds in the bark that become perfect entry points for pests and fungal spores. Removing the weaker of the two crossing branches instantly improves the structure of the plant and allows wind to blow freely through the foliage later in the season. Good airflow is your best defense against common rose ailments like black spot and powdery mildew, making this clearing out phase the most important part of the job.
Adapting your approach for different rose varieties
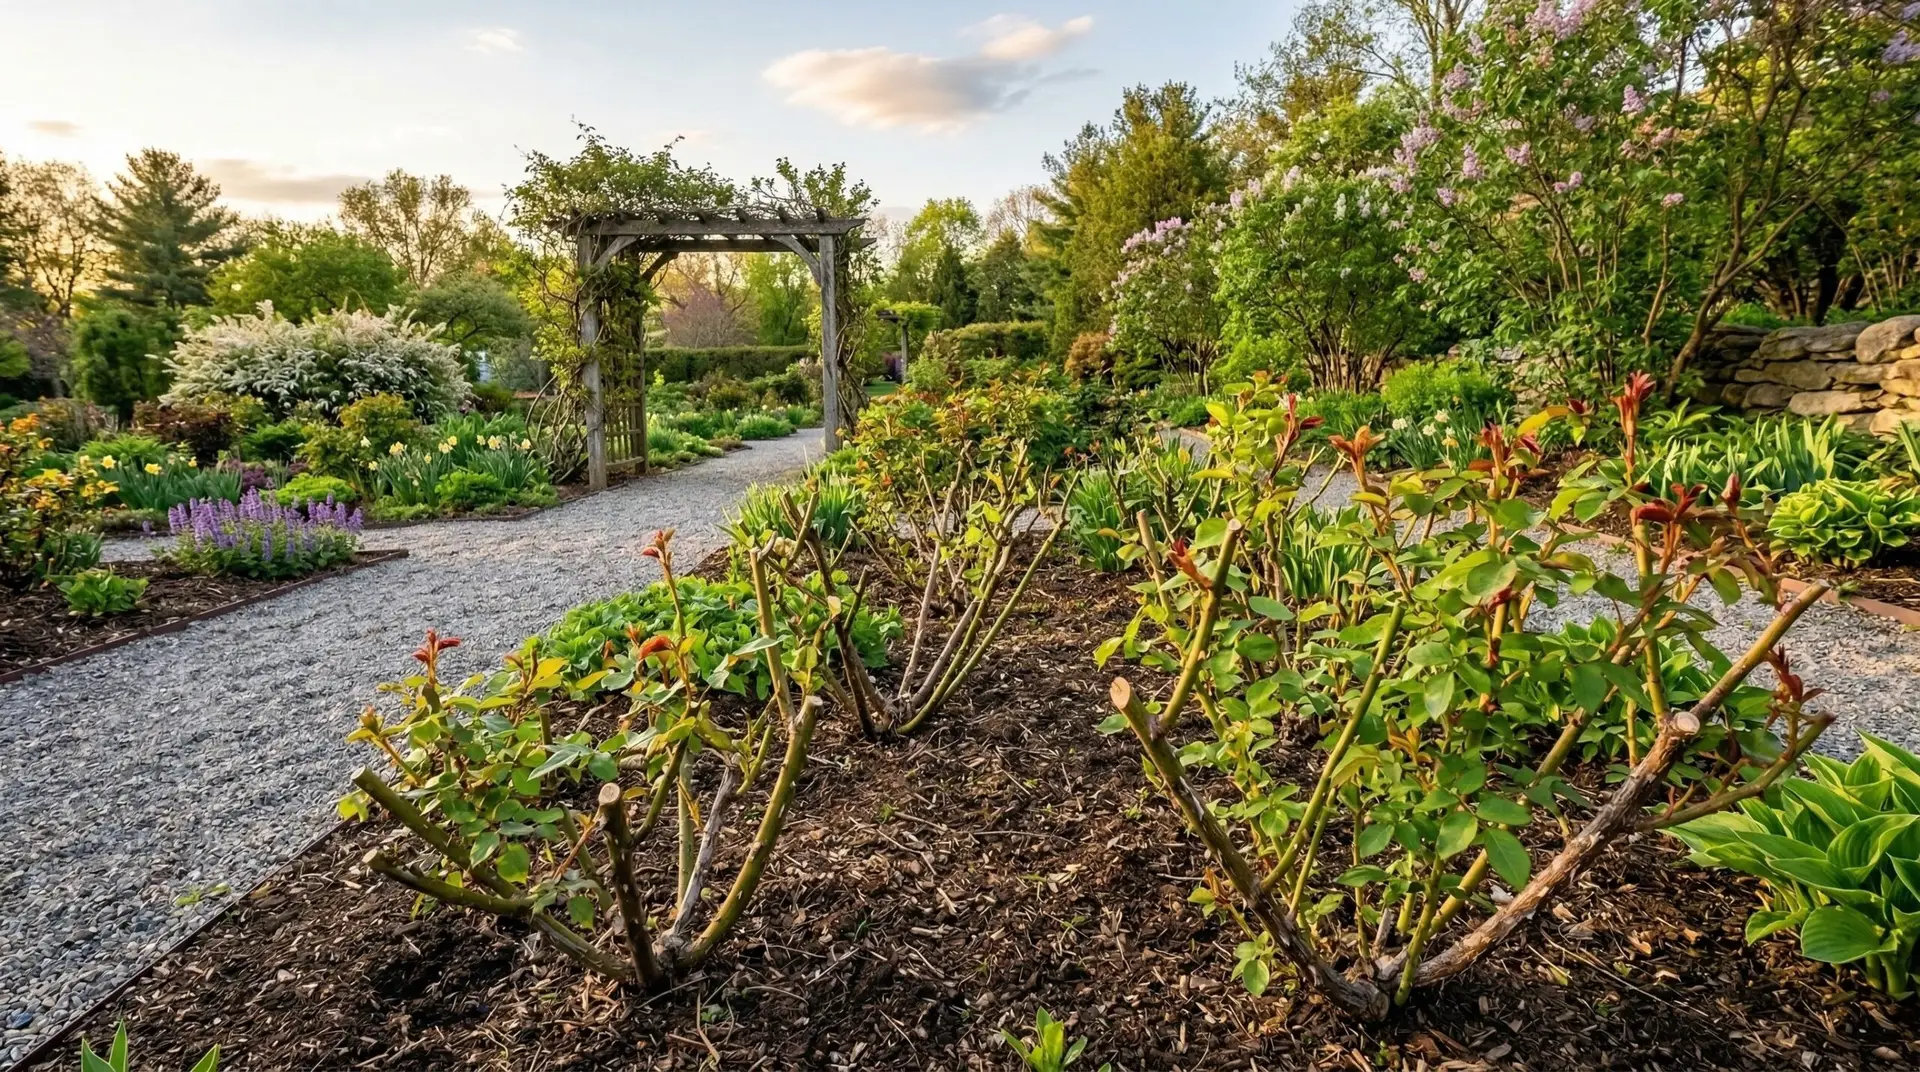
While the basic rules of angled cuts and removing dead wood apply to all roses, the overall amount you remove depends heavily on the type of rose you are growing. Hybrid tea roses produce those classic, single large blooms on long stems and respond best to a hard pruning that takes the plant down to about eighteen to twenty-four inches tall. This severe cut forces the plant to push out strong, thick new canes that can support the weight of those large summer flowers. Shrub roses require a much lighter touch, usually only needing about one third of their total height removed to maintain a pleasant, rounded shape in the garden. Climbing roses are entirely different plants, requiring you to leave the long vertical main canes intact while only trimming back the shorter lateral shoots that branch off the sides. You will treat these laterals much like you would handle the side shoots on a Clematis vine, cutting them back to just two or three buds to encourage a dense wall of blooms. Understanding what kind of rose you have prevents you from accidentally cutting away the very wood that is meant to produce the flowers for the upcoming season.
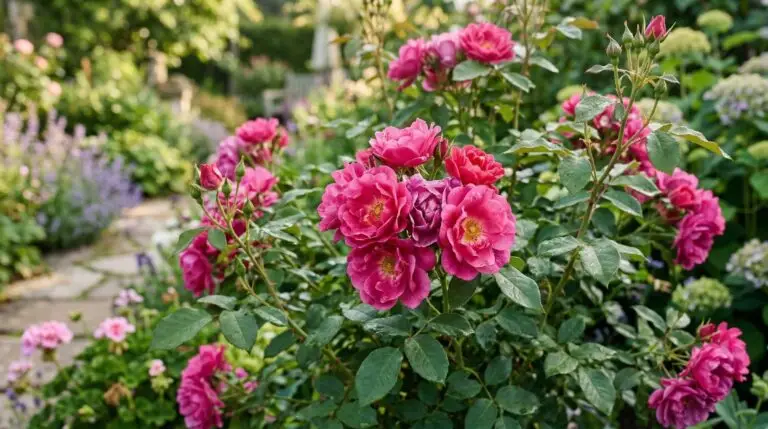
After you finish making all your cuts, the bare, shortened canes might look a bit severe compared to the tangled bush you started with. You should gather up all the pruned branches and fallen leaves from around the base of the plant and remove them from the garden entirely, as old debris often harbors overwintering fungal spores. Within a few weeks of finishing your spring cleanup, you will see bright red foliage pushing out from the buds you carefully selected. This new growth will rapidly turn into sturdy green branches as the spring weather warms up and the days grow longer. Much like the process of waking up a Hydrangea macrophylla from its winter dormancy, pruning roses sets the foundation for the entire growing season. By taking the time to make clean, deliberate cuts above outward-facing buds, you have given your roses the best possible start. You can now look forward to a summer filled with healthy foliage, strong stems, and an abundance of blooms.
More About Roses
How to grow roses for beginners with disease-resistant varieties that practically care for themselves

Climbing roses that cover walls arbors and fences with cascading blooms
Growing roses in containers for patios balconies and small-space rose gardens

Rose meaning and rose colour meanings, honestly explained

Roses in wedding flowers and the timeless tradition of the bridal rose bouquet

Best David Austin English roses for old-fashioned fragrance and modern disease resistance

Making rose water and rose petal recipes from your garden’s fragrant harvest

Companion plants for roses: what to grow and what to avoid