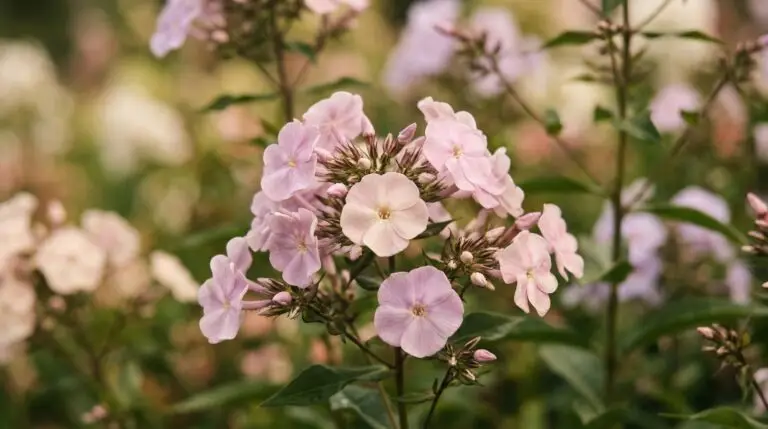
Garden phlox (Phlox paniculata) has anchored American perennial borders for generations, and for good reason. When the early summer flush fades and the garden threatens to look exhausted, phlox steps in with tall, sturdy stems topped by dense clusters of fragrant blooms. I have spent countless July afternoons walking through trial gardens where the sweet, slightly spicy scent of phlox hangs heavy in the humid air. Native to riverbanks and open woods in the eastern United States, this plant has adapted to thrive in our distinct summer conditions. Understanding its native habitat provides the best clues for how to make it succeed in your own garden. You will often see it growing wild in rich, moist soil where it receives plenty of light but never completely dries out. Replicating those conditions is the foundation of good phlox care.
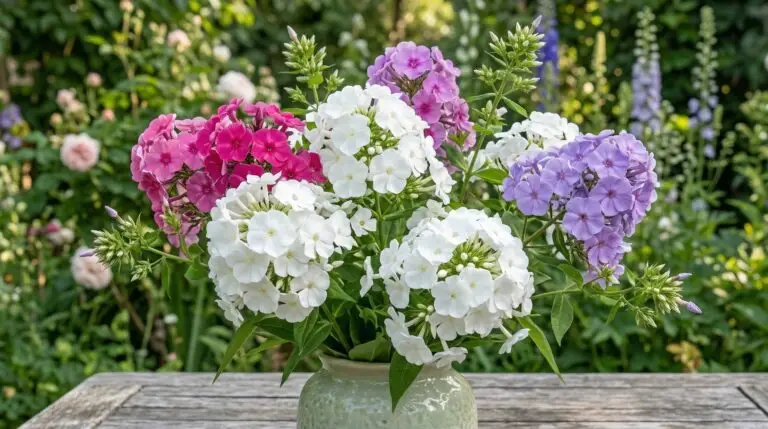
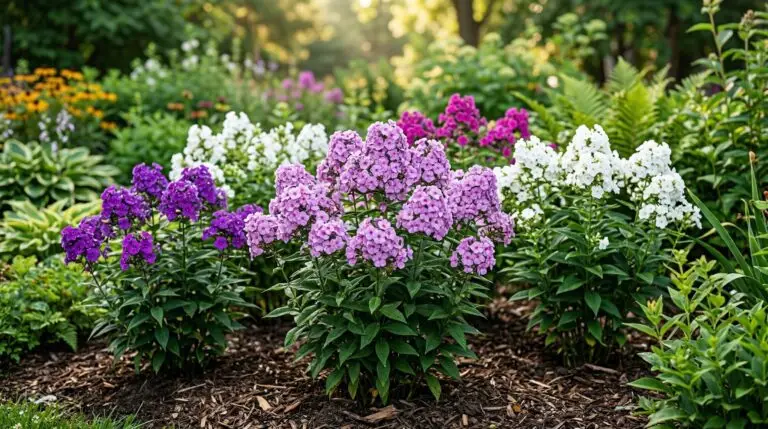
The sheer variety of garden phlox available today can easily overwhelm a new gardener. Breeders have spent decades selecting for larger panicles, which are the branching clusters of flowers at the top of the stems, as well as distinct color variations ranging from pure white to deep purple. However, older heirloom varieties still hold their own in many botanical collections because of their proven vigor and reliable bloom times. Choosing the right variety requires looking beyond the flower color and paying close attention to the plant’s mature height and disease resistance. A mature clump of garden phlox can reach four feet tall and requires substantial space to develop properly without crowding its neighbors. Giving this plant the room it needs from the very beginning will save you considerable frustration in the years to come.
Site selection and soil preparation for garden phlox
Proper site selection dictates how well your phlox will perform and how much maintenance it will demand. Garden phlox requires full sun, meaning at least six to eight hours of direct sunlight each day, to produce strong stems that will not flop under the weight of their flowers. While they can survive in partial shade, the stems will stretch toward the light, resulting in a weak, leggy habit that usually requires staking. The soil should be highly fertile and retain moisture without becoming waterlogged. I recommend working a generous amount of well-rotted compost into the planting area to improve both moisture retention and soil structure. A soil pH between 6.0 and 7.0 provides the ideal chemical environment for the roots to absorb necessary nutrients. If your soil leans heavily acidic or alkaline, taking the time to amend it before planting will yield significantly better growth over the life of the perennial.
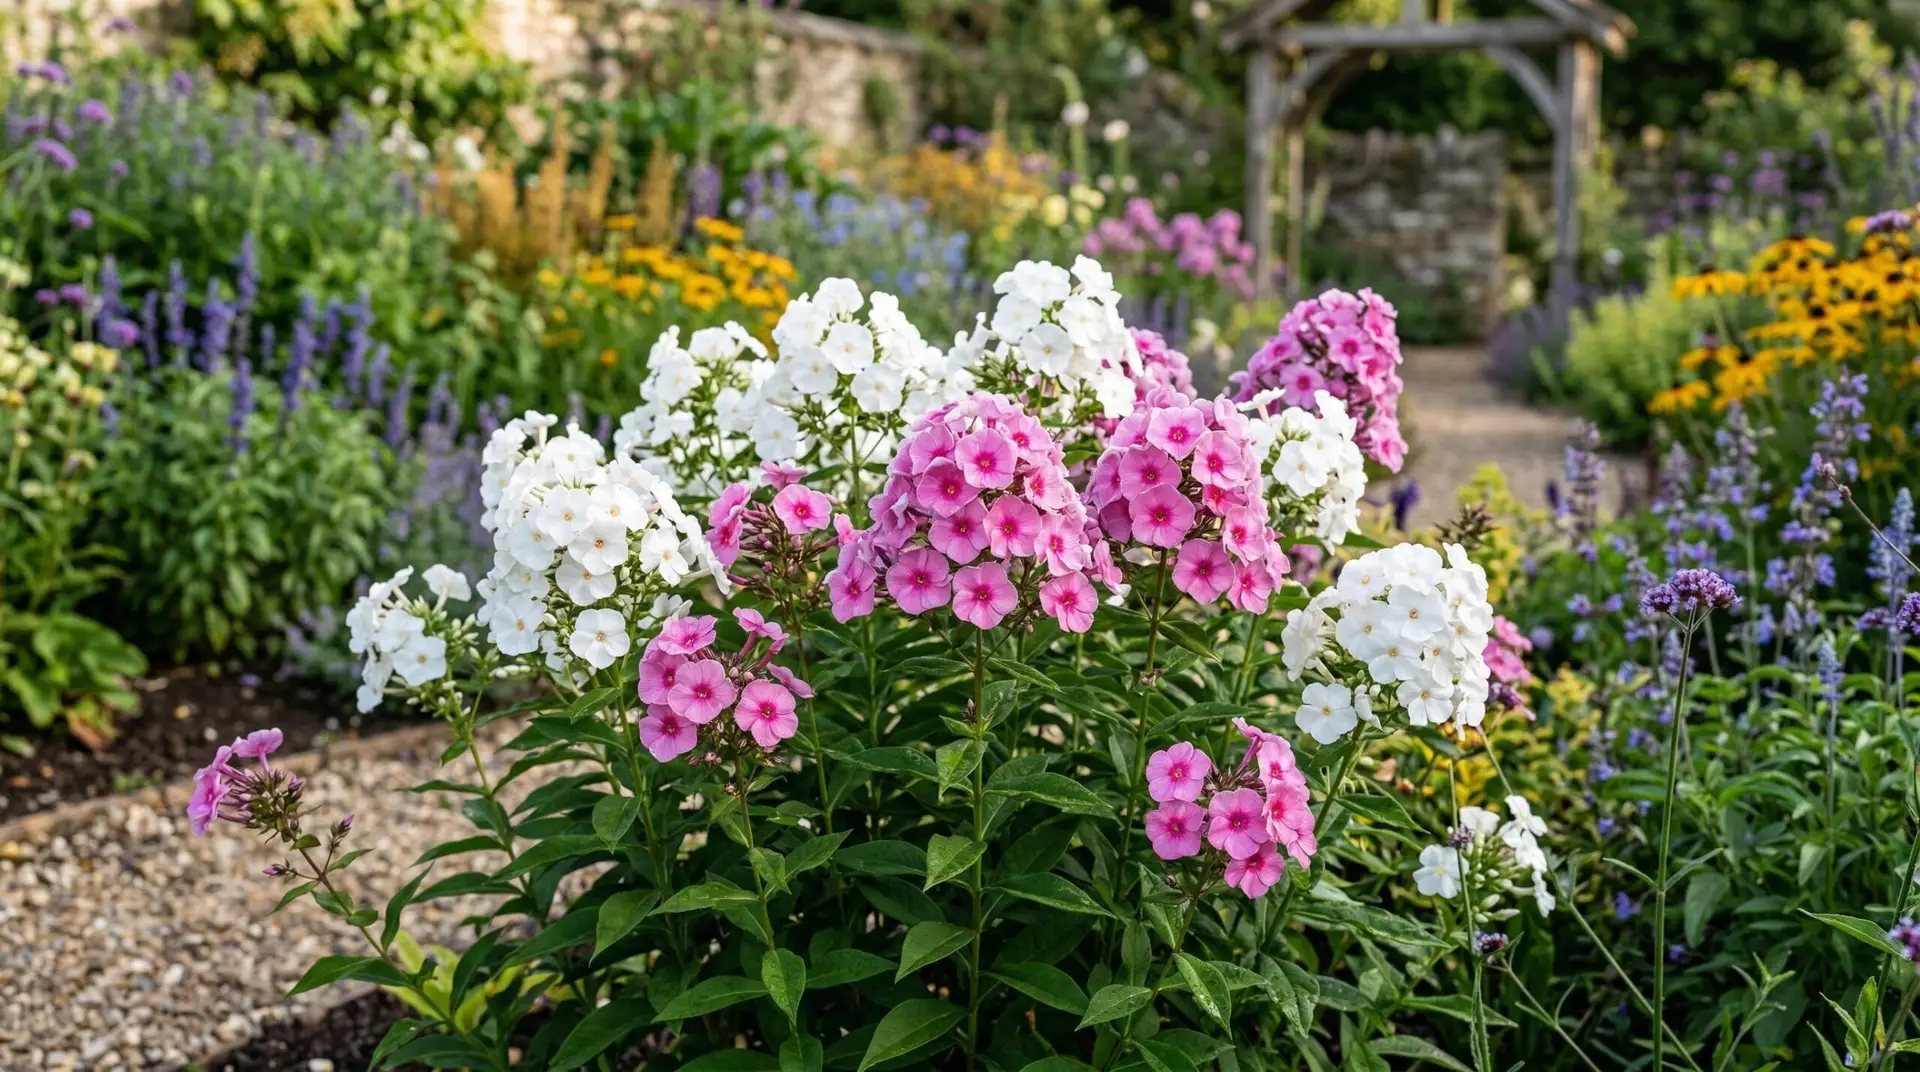
Spacing is perhaps the most important element of planting garden phlox, yet it is the one gardeners most frequently get wrong. Because phlox grows from a slowly expanding crown, a small nursery transplant will eventually become a clump up to two feet wide. You must plant them at least eighteen to twenty-four inches apart to ensure proper air circulation around the mature stems. Good airflow dries the foliage quickly after rain or heavy morning dew, which is your primary defense against fungal diseases. When you crowd phlox among other tall perennials, you create a stagnant, humid microclimate where spores easily settle and multiply. I have seen many established phlox collections ruined simply because the plants were packed too tightly into the border. Give them breathing room, and they will reward you with clean foliage straight through to autumn.
Watering practices and disease management
Any honest discussion about growing garden phlox must address powdery mildew. This fungal disease appears as a white, dusty coating on the leaves and can rapidly defoliate a plant if left unchecked. The spores thrive in conditions where the air is humid but the soil is dry, a common scenario in midsummer gardens. To manage this, you must keep the root zone consistently moist through deep, infrequent watering rather than shallow daily sprinkles. Always apply water directly to the base of the plant using a soaker hose or careful hand watering to keep the leaves completely dry. Mulching around the base with shredded bark or compost helps cool the soil and prevents moisture from evaporating too quickly during heat waves. Consistent soil moisture keeps the plant’s natural defenses strong and makes the foliage less susceptible to fungal infection.
Selecting mildew-resistant cultivars is another effective strategy, though it is important to understand what resistance actually means. Varieties like ‘David’ or ‘Jeana’ have been bred to withstand fungal pressure better than older types, but they are not entirely immune. Under severe stress or poor environmental conditions, even the most resistant phlox will develop some mildew on its lower leaves. If you notice the characteristic white spots forming, you can selectively remove the affected leaves to slow the spread of the fungus. Some growers choose to apply horticultural oils or sulfur-based sprays early in the season as a preventative measure. I prefer to rely on good cultural practices and simply accept a minor amount of late-season mildew as a natural part of the plant’s life cycle. A healthy, well-sited phlox will push through a mild infection and continue blooming vigorously.
Companion planting in the perennial border
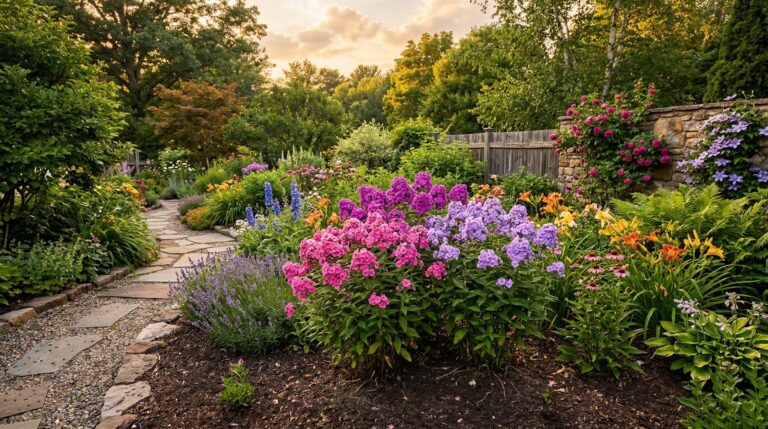
Garden phlox pairs naturally with other sun-loving perennials that share its preference for rich, moist soil. Because phlox provides strong vertical lines and dense domes of color, it benefits from neighbors with contrasting flower shapes. The daisy-like blooms of a coneflower offer a distinct textural shift while standing up to the same intense summer heat. Planting these two together creates a classic, reliable structure for the July and August garden. You can also mass phlox behind lower-growing perennials that will hide the phlox’s lower stems, which naturally tend to lose a few leaves as the season progresses. A sturdy clump of a daylily works effectively in this role, providing an arching fountain of foliage that masks the bare ankles of the phlox. This layering technique keeps the border looking lush and intentional even during the hottest weeks of the year.
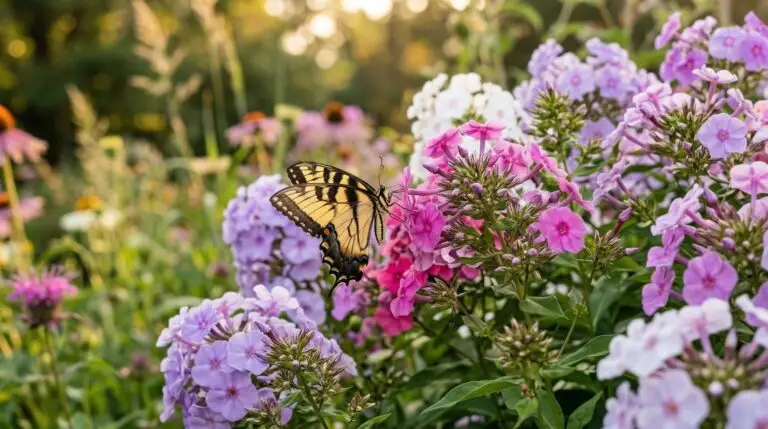
When planning your border, consider how the plants will interact both visually and biologically. Phlox is highly attractive to swallowtail butterflies, clearwing moths, and other pollinators that frequent the summer garden. Grouping it with a bee balm planting creates a highly active pollinator station that hums with life from dawn until dusk. Both plants bloom concurrently and require similar spacing to maintain good air circulation. Just be mindful that both phlox and its companions will increase in girth each year. You will need to monitor the spacing annually and be prepared to move or divide neighboring plants if they begin to encroach on each other’s territory. A well-designed perennial bed is never static, and managing the physical space between mature plants is a regular part of summer maintenance.
Pruning, deadheading, and long-term maintenance
Spring maintenance sets the stage for how your garden phlox will perform in midsummer. When the new shoots emerge and reach about six inches tall, I strongly recommend thinning the clump. By removing the weakest stems at the base and leaving only five to seven strong shoots per plant, you direct the plant’s energy into producing larger flower heads. This thinning process also opens up the interior of the clump, allowing sunlight and air to penetrate right down to the soil level. Some gardeners also practice a technique called the Chelsea chop, where they cut back the outer stems of the clump by one-third in late May. This delays the bloom time of those specific stems, resulting in a staggered flowering period that extends the overall display by several weeks. The shortened stems also act as a natural supportive ring for the taller, unpruned stems in the center.
As the flowers begin to fade in late summer, deadheading becomes an important task. Snipping off the spent flower panicles prevents the plant from expending energy on seed production. Garden phlox is notorious for self-seeding, and the resulting seedlings rarely resemble the parent plant. More often than not, these volunteers revert to a pale, muddy magenta color and exhibit poor disease resistance. If you allow these seedlings to grow, they will eventually crowd out your carefully selected named cultivars. By removing the faded blooms promptly, you keep the garden tidy and protect the genetic integrity of your perennial border. Sometimes, a prompt deadheading will even encourage a second, smaller flush of blooms on the side shoots before the first frost arrives.
Garden phlox is a long-lived perennial that requires division every three to four years to maintain its vigor. You will know it is time to divide when the center of the clump becomes woody and produces fewer shoots, or when the flowers become noticeably smaller. The best time to dig and divide the root mass is in early spring just as the new growth appears. Use a sharp spade to quarter the clump, discard the old woody center, and replant the vigorous outer sections in freshly amended soil. As you observe your phlox this season, take notes on its height, bloom time, and any signs of crowding. Use those observations to plan your divisions or adjust your spacing when spring returns. Gardening with phlox is an ongoing practice of observation and slight adjustments that ultimately yields reliable, fragrant blooms year after year.
More About Phlox
Growing phlox in containers for fragrant summer displays on patios and balconies
Dividing tall garden phlox every few years for stronger plants and more flowers
Best phlox varieties from mildew-resistant David to brilliant Starfire

Companion plants for phlox: what to grow and what to avoid
Phlox as a butterfly and hummingbird magnet for fragrant pollinator gardens
Phlox flower meaning and the sweet agreement this bloom represents in the language of flowers
Creeping phlox for spring ground cover that turns slopes into rivers of color
Phlox powdery mildew and how to finally beat this persistent fungal problem
