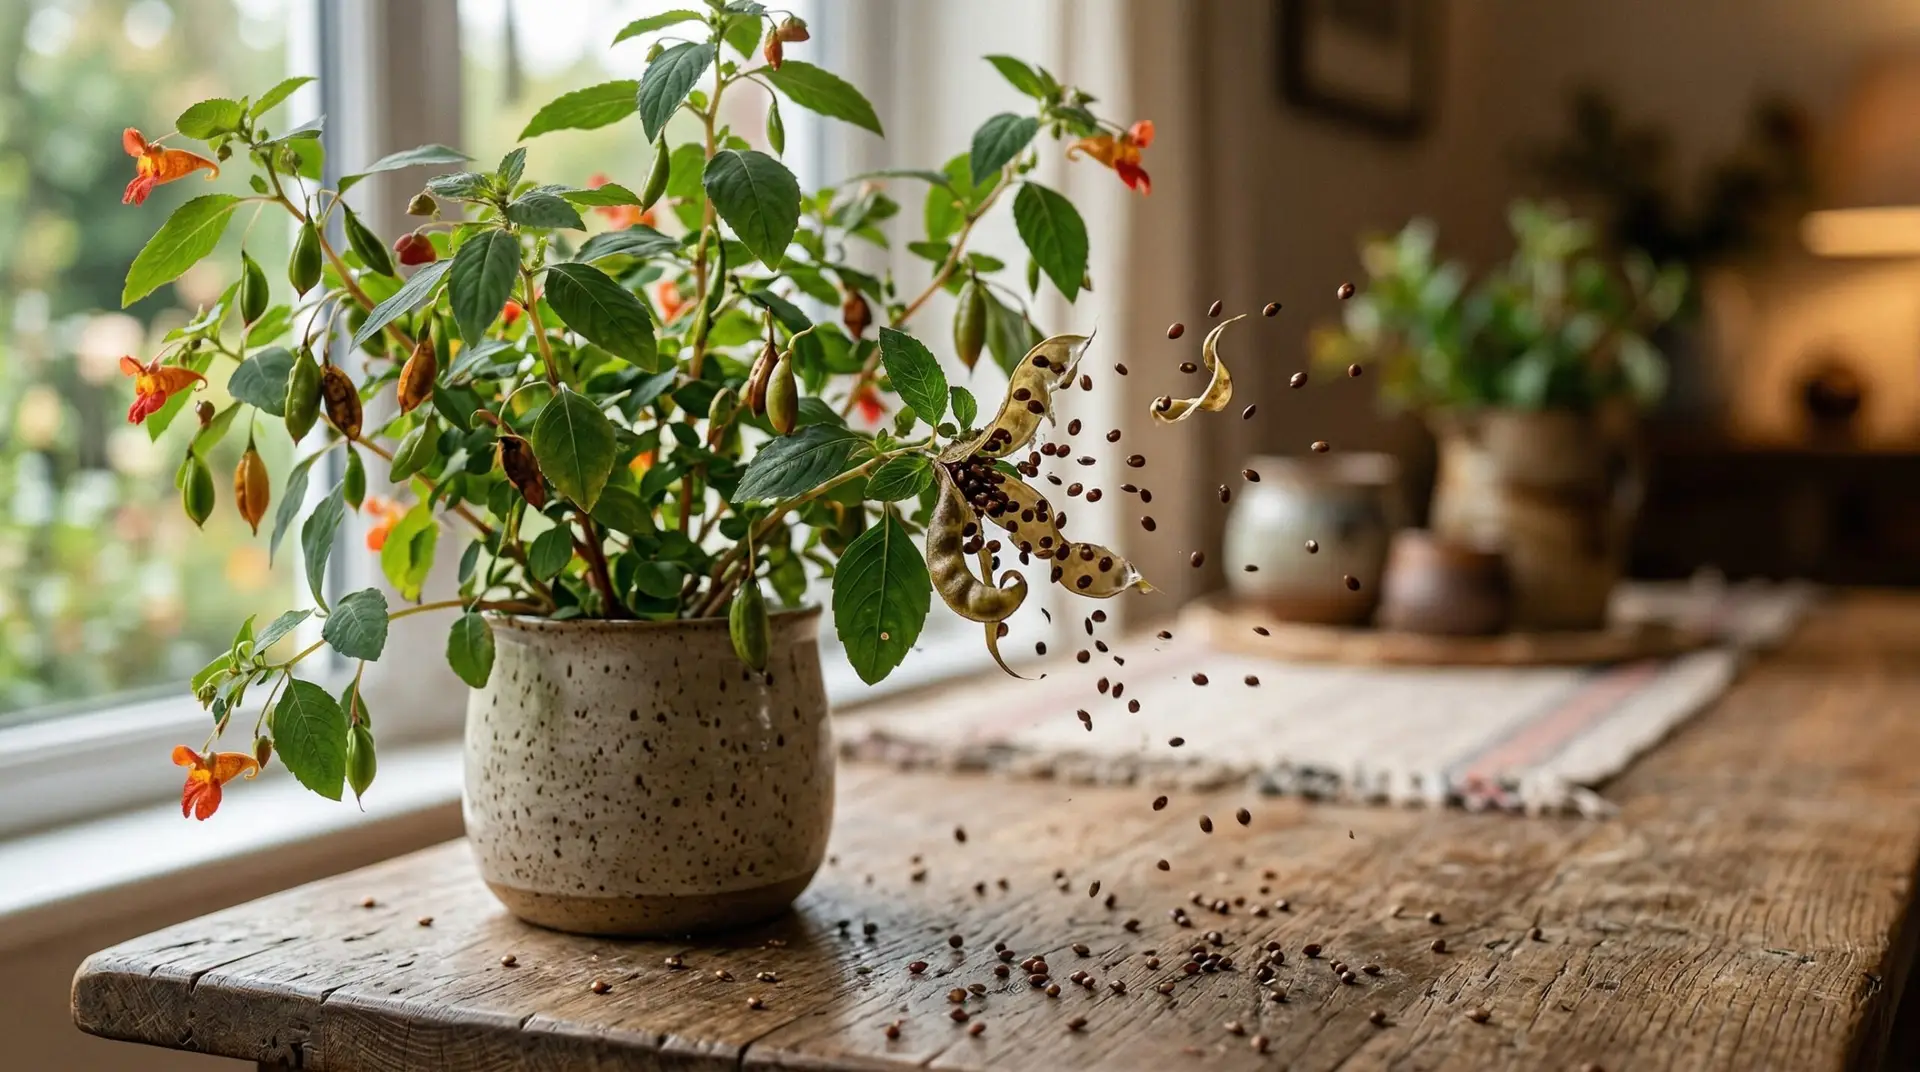
One of the first things gardeners ask when they start growing impatiens is where the plant gets its somewhat anxious sounding name. The word itself comes from Latin, translating directly to impatient, which seems like an odd trait to assign to a quiet garden flower. This name actually describes the highly reactive nature of the mature impatiens seed pods. When these swollen green capsules reach peak ripeness, the slightest disturbance causes them to burst open and fling their contents in every direction. This dramatic reaction also earned the flower its common nickname, the touch me not plant. People are always surprised the first time they brush against a stem and trigger a tiny, sudden pop that scatters little brown specks across the patio.
How the seed pods actually explode
People naturally wonder how a simple green pod can burst with such sudden force without any muscles or moving parts. The secret lies in the way the plant builds up intense water pressure inside the cells of the pod walls as the seeds mature. The outer layers of the pod accumulate fluid and stretch tightly, while the inner layers resist, creating a coiled spring effect just waiting for a release. When a raindrop hits the pod or a passing animal brushes against the stem, the tension breaks and the pod walls coil backward violently. This rapid coiling action acts like a miniature catapult for the impatiens seeds inside. The plant uses this explosive dispersal mechanism to throw its offspring up to several feet away, ensuring the new seedlings will not have to compete with the parent plant for water and nutrients.
Catching and saving the seeds
Once you know they explode, the next logical question is how on earth you are supposed to collect the seeds without losing them all in the dirt. The trick is to wait until the pod looks plump and slightly translucent, often with a faint yellowish tint replacing the solid green. Instead of pulling the pod directly, you want to carefully enclose the entire seed capsule inside a small paper bag or cup before you apply any pressure. As your fingers gently squeeze the pod through the paper, you will feel the satisfying snap as it bursts, safely depositing the seeds right into your container. Kids absolutely love participating in this part of the garden harvest, treating the swollen pods like natural bubble wrap. If you enjoy collecting unusual seed capsules with children, you might also want to try growing Love-in-a-Mist for its papery, balloon-like pods.
A common follow-up question is what the seeds look like and how to store them once you actually manage to catch them in your hand. Freshly popped seeds are usually small, round, and dark brown or black, though they might feel slightly damp right out of the capsule. You need to spread them out on a paper towel in a dry, well-ventilated room for about a week before packing them away. If you put fresh seeds straight into a plastic bag or sealed jar, the residual moisture will cause them to mold and rot long before spring arrives. Once they are fully dry, small paper envelopes are the best storage option because they allow the seeds to breathe over the winter months. Keep the envelopes in a cool, dark place like a basement shelf or a designated crisper drawer in your refrigerator until you are ready to plant.
Starting your own plants indoors
This leads to something many growers wonder about when planning their spring garden, which is exactly when to start these saved seeds. Because impatiens grow relatively slowly in their early stages, you need to sow the seeds indoors about eight to ten weeks before your last expected spring frost. You will want to fill shallow trays with a sterile seed-starting mix, moistening the soil thoroughly before you even open your seed envelopes. Gardeners often ask why their seeds never sprouted, and the answer almost always comes down to burying them too deeply in the soil. Impatiens seeds require light to germinate, meaning you must press them gently into the surface of the damp soil without covering them up. Placing a clear plastic dome over the tray will help retain the high humidity these tropical natives need to wake up and begin growing.
You might also wonder what kind of environment the seed trays need while you wait for those first tiny green shoots to appear. They prefer warm soil temperatures around seventy to seventy-five degrees Fahrenheit, which you can easily maintain with an electric seedling heat mat. Within about two to three weeks, you should see the tiny seedlings emerging on the soil surface, at which point you must remove the plastic cover to prevent fungal diseases. The new plants will need plenty of bright, indirect light to grow strong, sturdy stems rather than becoming tall and floppy. A basic LED shop light suspended a few inches above the tray works perfectly if you do not have a bright south-facing window available. By the way, if you want a faster-growing companion plant to start from seed alongside them, Cosmos will sprout in just a few days and provide a nice contrast in the garden later.
Moving seedlings to the garden
After the seedlings grow a few sets of true leaves, you will naturally ask when it is safe to move them to their final home outside. The touch me not plant is extremely sensitive to cold temperatures and will not survive even a light frost, so you must wait until the weather has thoroughly warmed up. Nighttime temperatures should remain reliably above fifty degrees Fahrenheit before you begin moving your trays outdoors. You have to introduce them to the outdoor elements gradually through a process called hardening off, starting with just an hour or two of morning sun in a sheltered spot. Over the course of a week, you can slowly increase their exposure to wind and outdoor temperatures so they do not suffer from shock when planted in the ground. Once they are acclimated, space them about a foot apart in a shaded or partially shaded garden bed where they will have room to spread.
You might not have considered what happens to the parent plant after all this explosive seed dispersal is finished at the end of the season. In their native tropical habitats, these plants are actually tender perennials that can live for several years, continuing to flower and throw seeds year-round. In most North American gardens, however, the first hard freeze will turn the water-filled stems to mush, effectively ending the plant’s life cycle. The good news is that those explosive pods likely did an excellent job of scattering seeds in the surrounding soil before the frost arrived. If you leave the soil undisturbed over the winter, you will almost certainly find dozens of volunteer seedlings popping up in that same shady spot late next spring. It is a very rewarding cycle that lets you enjoy these alongside other garden flowers year after year with very little ongoing effort.
More About Impatiens
SunPatiens versus regular impatiens and which one handles sun and heat
How to grow impatiens for non-stop color in shady spots where nothing else blooms

Mass planting impatiens for dramatic sweeps of color under trees and along walkways
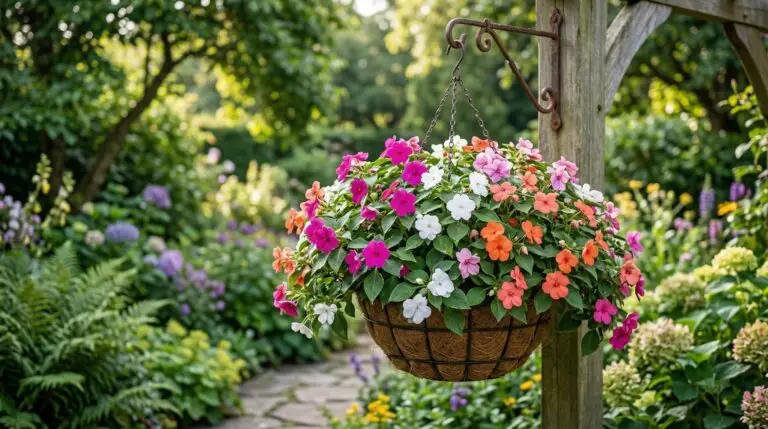
Growing impatiens in hanging baskets for cascading color on porches and patios
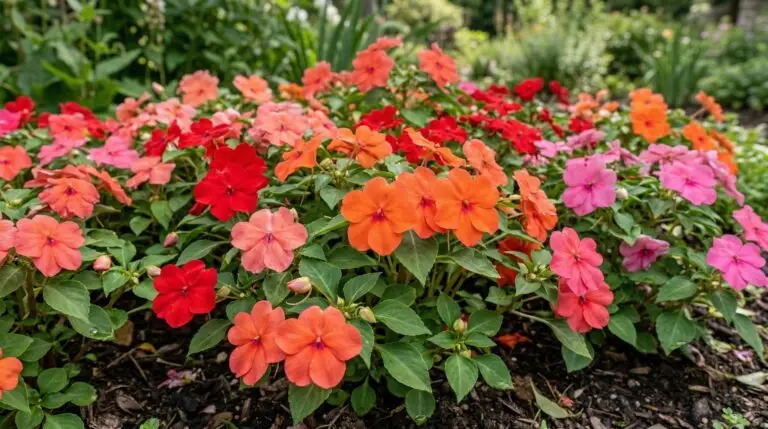
Best impatiens varieties from classic walleriana to exotic New Guinea hybrids

Companion plants for impatiens: what to grow, what to avoid
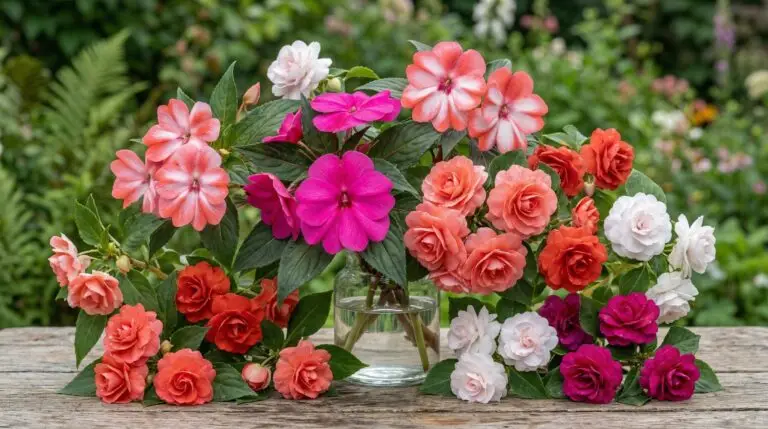
New Guinea impatiens for bigger bolder flowers with colorful foliage in partial shade
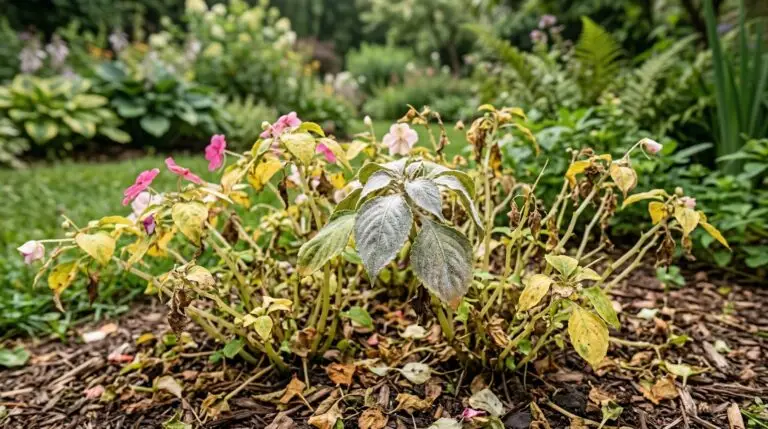
Impatiens downy mildew disease and the new resistant varieties that saved this flower