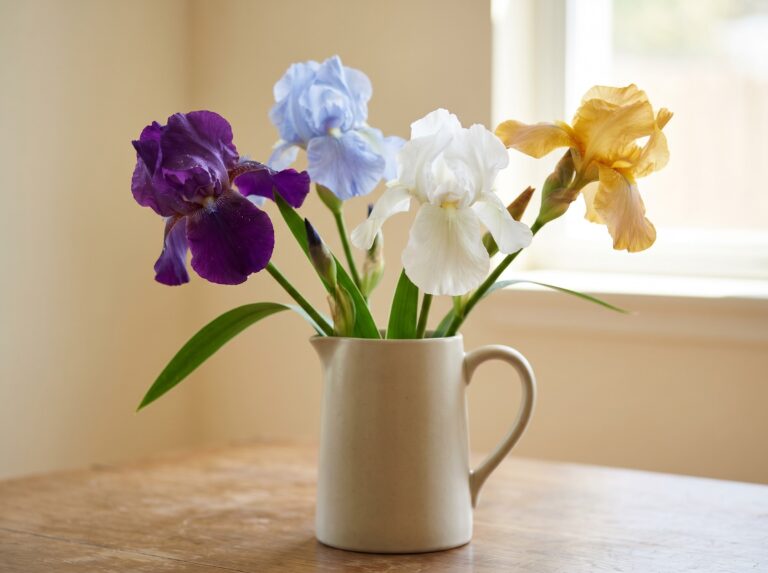
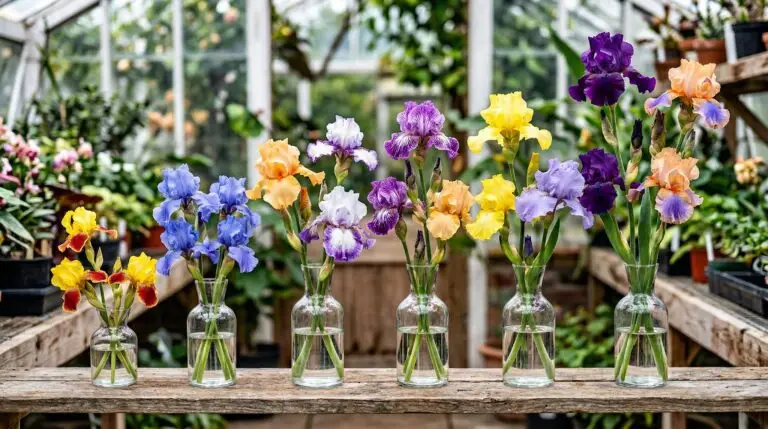
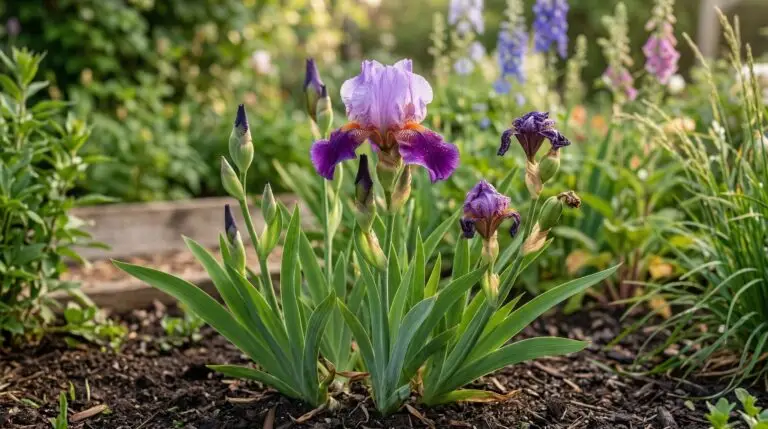
By the end of our time together today, you will understand exactly why that once-glorious patch of bearded irises in your garden has stopped producing flowers and started looking like a crowded mess of green leaves. Plants communicate their needs through their growth habits, and when a perennial stops blooming, it is usually asking for more physical space. We are going to look at the anatomy of the bearded iris to understand how it grows underground. Once you see how the plant stores its energy and expands over the years, the process of digging up and separating those crowded roots makes perfect sense. You will learn the mechanical steps of an iris division guide alongside the biological reasons behind every cut and placement you make in the garden. This knowledge allows you to read your plants and intervene at the exact right moment to guarantee a vigorous display of flowers next spring.
Understanding the anatomy of the rhizome
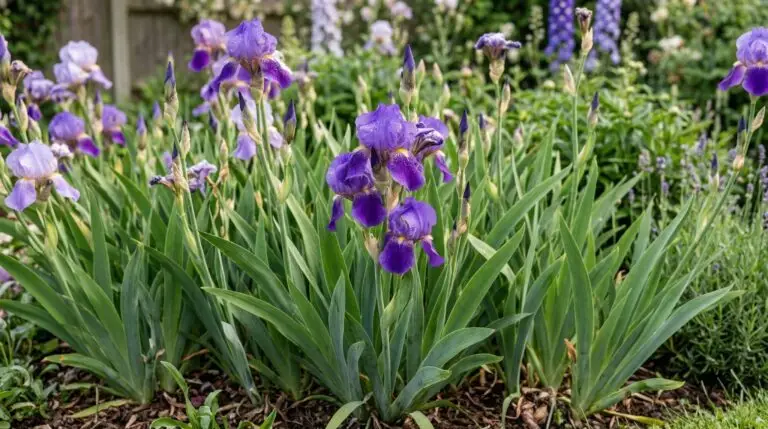
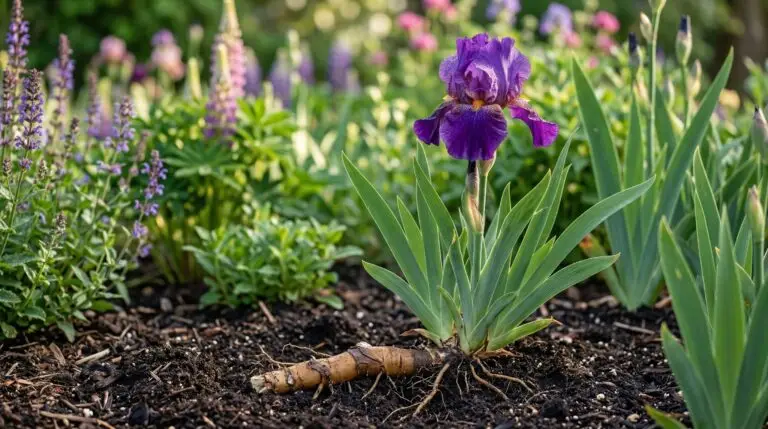
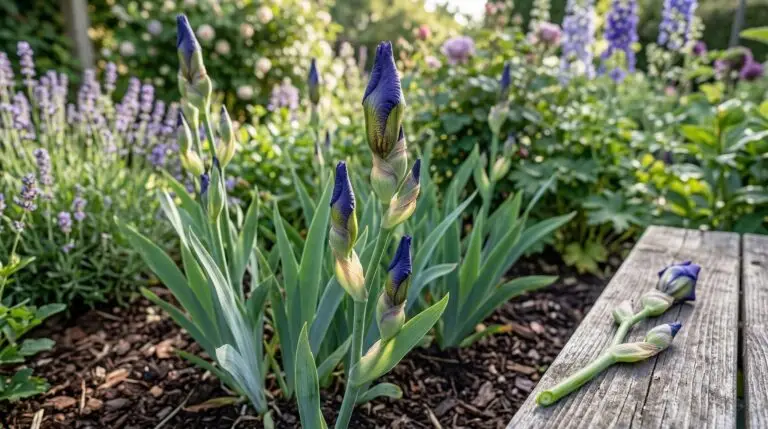
To make sense of why we dig these plants up, we first have to look at what is happening beneath the soil surface. Bearded irises do not grow from standard fibrous root systems or true bulbs. They grow from a modified stem called a rhizome, which looks somewhat like a gnarly, elongated potato resting just at the soil line. This rhizome is a storage tank for water and nutrients, and it produces roots that reach down into the earth while sending sword-like leaves up into the air. Every year, the main rhizome pushes out new baby rhizomes, often called pups or fans, from its sides. The original center rhizome blooms exactly once and then never produces a flower again. After three or four years, you are left with a dead, woody center surrounded by a dense ring of new plants fighting for the exact same water and nutrients.
When you look at a crowded patch, you are seeing this intense competition playing out in real time. The young rhizomes are essentially starving each other, which is why the flower production drops off so dramatically. This brings us to the question of when to divide iris plants for the best results. The ideal window opens about six weeks after the last flowers fade, which usually lands in mid to late summer. During this time, the plant enters a brief period of semi-dormancy where active growth slows down significantly. Digging the plants up during this sleepy phase causes the least amount of stress to their system. It also gives the newly separated pieces plenty of time to grow fresh roots and anchor themselves securely before the winter ground freezes.
Lifting and evaluating the root system
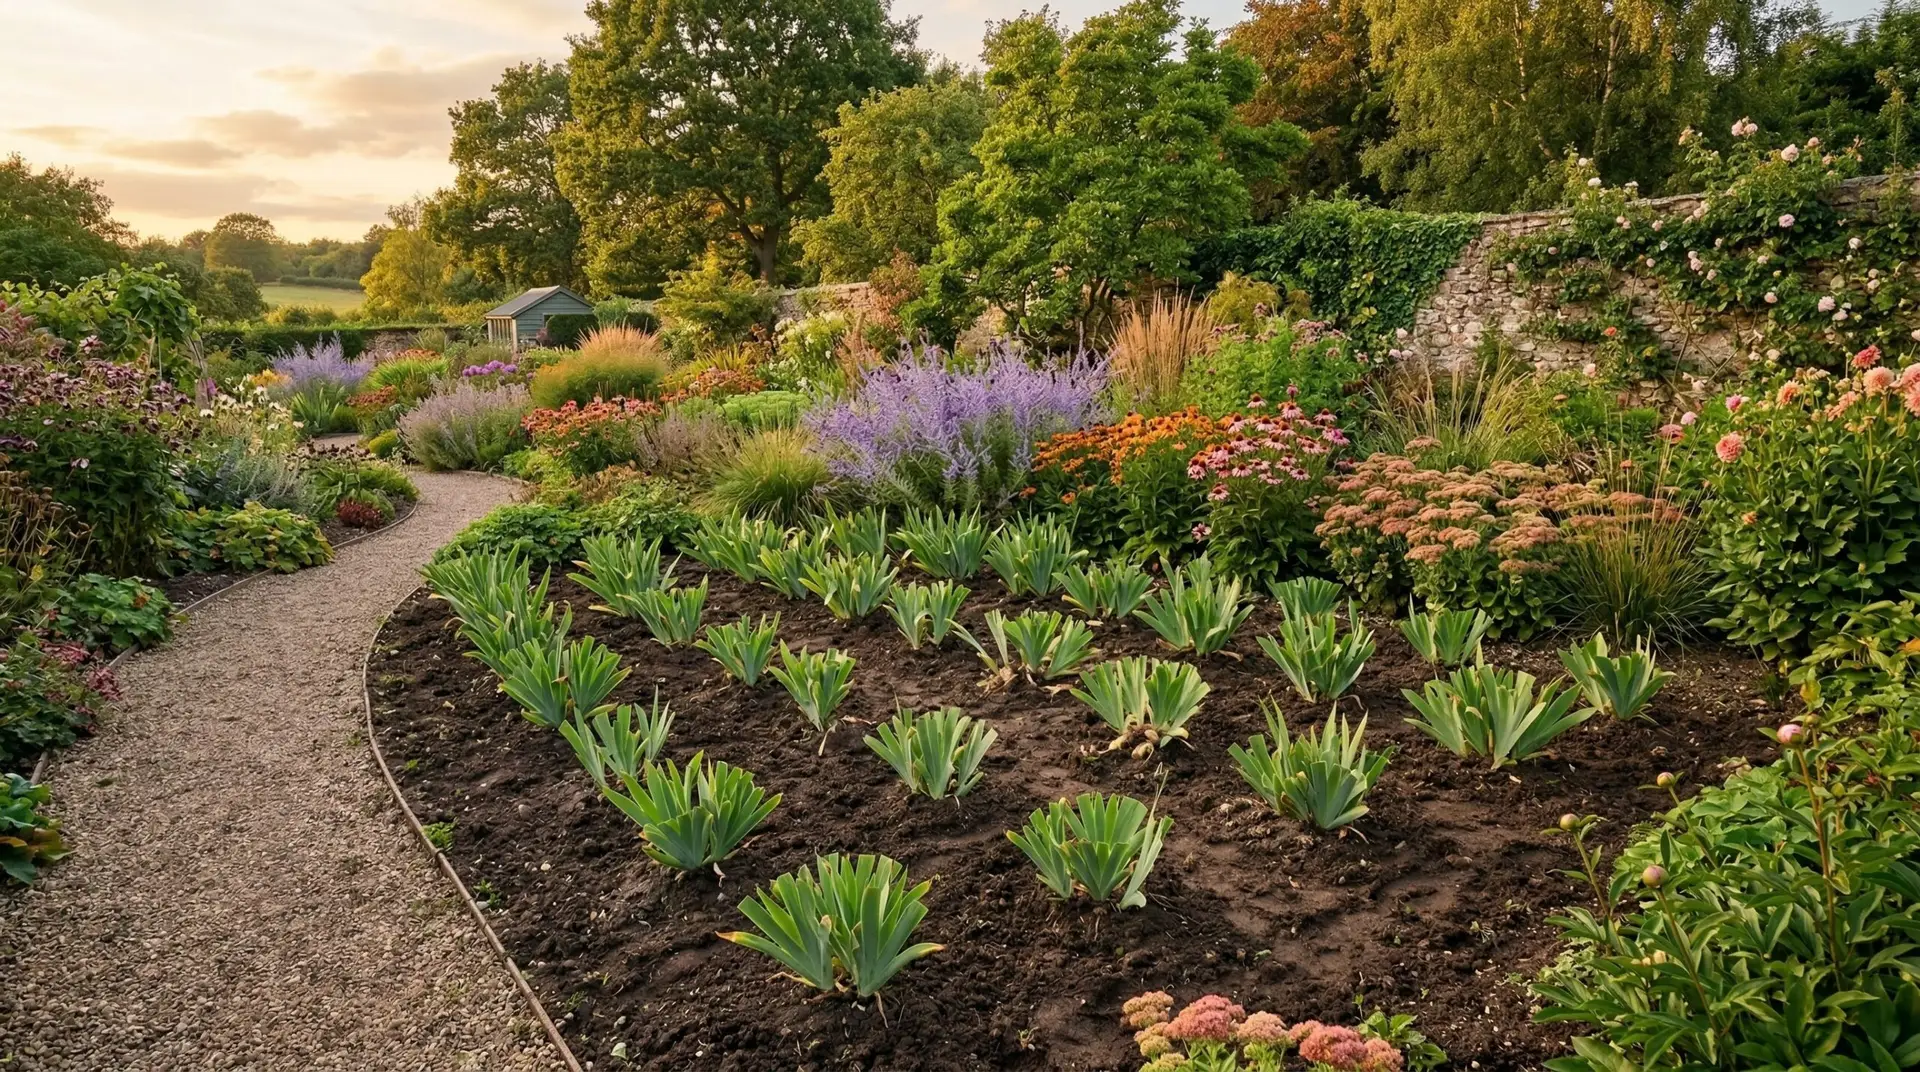
The actual process of dividing bearded iris begins with getting the entire clump out of the ground intact. You will want to use a garden fork or a pointed shovel, starting about a foot away from the outer edge of the leaves. Dig straight down and gently pry upward, working your way around the entire perimeter until the whole mass lifts free from the soil. The clump will likely be heavy and packed with dirt, making it difficult to see what you are doing. Take a garden hose and wash away as much soil as possible right there on the lawn or driveway. Seeing the bare structure of the rhizomes is entirely necessary before you start making any decisions about what to keep and what to discard. Once the dirt is gone, the architecture of the plant becomes perfectly clear.
You will immediately notice the old, withered mother rhizomes in the center with no leaves attached, surrounded by healthy, plump rhizomes on the outside edges that have green fans of foliage. This is the point where many new gardeners feel a wave of hesitation or confusion. It feels completely wrong to throw away the largest, oldest part of a plant you are trying to save. You must remember that the old center rhizome has finished its life purpose and will only rot if you put it back in the soil. Your goal is to separate the young, leafy fans from that old center. You can often snap them apart with your hands, as the connecting joints are surprisingly brittle. If they resist, a clean, sharp knife will easily sever the young pups from the spent mother plant.
Preparing the new divisions for replanting
Once you have your individual fans separated, you need to inspect each one carefully before it goes back into your garden. A healthy rhizome feels firm to the touch, much like a fresh carrot or potato from the grocery store. If you find any pieces that are mushy, smell bad, or have small holes in them, throw them in the trash immediately. Those holes are signs of the iris borer, a common pest that hollows out the rhizomes and introduces bacterial rot. You only want to replant the firmest, healthiest pieces to ensure a vigorous garden next year. A single healthy fan is all you need to start a massive new colony, so do not worry if you end up discarding a large portion of what you dug up. You will likely still have more plants than you know what to do with.
With your healthy rhizomes selected, the next step involves giving the plant a rather severe haircut. You need to trim the green leaves down to about six inches tall, cutting them at an angle to form a neat fan shape. This might seem incredibly harsh, but there is a very practical biological reason for doing it. Think of the tall leaves as the sails on a boat. If you leave those tall sails intact, the autumn winds will catch them and rock the unrooted rhizome back and forth, preventing the new roots from grabbing hold of the soil. Cutting the leaves back also reduces the amount of water the plant loses through evaporation while it lacks a functioning root system. You should also trim the long, stringy roots back to about two inches, which stimulates the plant to push out brand new feeder roots once it hits the soil.
Replanting with the right depth and spacing
Replanting your prepared divisions requires a completely different approach than planting a typical perennial like a daylily or a hosta. Bearded irises demand excellent drainage and plenty of sunlight hitting their rhizomes directly. If you bury the rhizome completely under the dirt, it will hold too much moisture and rot away before spring arrives. The correct depth is surprisingly shallow. You want to dig a shallow hole and build a small mound of dirt in the center of it. Place the rhizome right on top of that mound, and drape the stringy roots down the sides into the deeper part of the hole. When you fill the soil back in, the top half of the rhizome should remain visible above the ground, baking in the sun like a duck floating on the surface of a pond.
Spacing and orientation are the final pieces of the puzzle for a successful iris division guide. Because you now know that the rhizome grows outward from the leafy end, you can control exactly where the plant will spread. If you are planting a group of three divisions together, point the leafy ends outward in a triangle shape so they grow away from each other rather than immediately colliding in the center. Give each rhizome about twelve to eighteen inches of space to ensure they have room to expand over the next three years. Water the newly planted divisions deeply one time to settle the soil around the dangling roots. After that initial watering, leave them alone and let the natural rainfall take over. Too much supplemental water is the enemy of a newly planted iris.
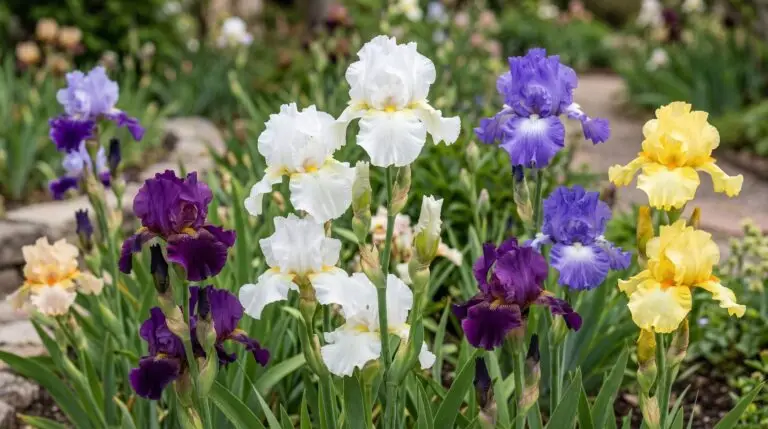
Getting a feel for how deep to plant and how ruthlessly to trim takes a season or two of practice, and that is completely normal. The core principle to take away from this process is that perennial plants need space and sunlight to thrive, and we provide that by periodically resetting their living arrangements. By understanding how the rhizome stores energy and multiplies, you can confidently remove the old growth and give the young plants the exact conditions they need to succeed. You will likely find yourself with a surplus of healthy fans at the end of this project. Sharing those extra divisions with neighbors or local community gardens is a wonderful side effect of proper plant maintenance. Your reward for this late summer effort will be a healthy, rejuvenated display of large, colorful blooms when the spring weather returns.
More About Bearded Iris
Why bearded iris stops blooming and the six most common causes
Tall bearded iris versus dwarf bearded iris and choosing the right size for your garden
How to identify and prevent iris borer the most destructive bearded iris pest
How to grow bearded iris in hot southern climates where summer heat is intense
How to plant bearded iris rhizomes for a stunning spring flower show

Bearded iris color combinations and how to design a rainbow iris bed
Reblooming bearded iris varieties that flower twice in a single growing season
Using bearded iris as cut flowers for elegant spring bouquets and arrangements