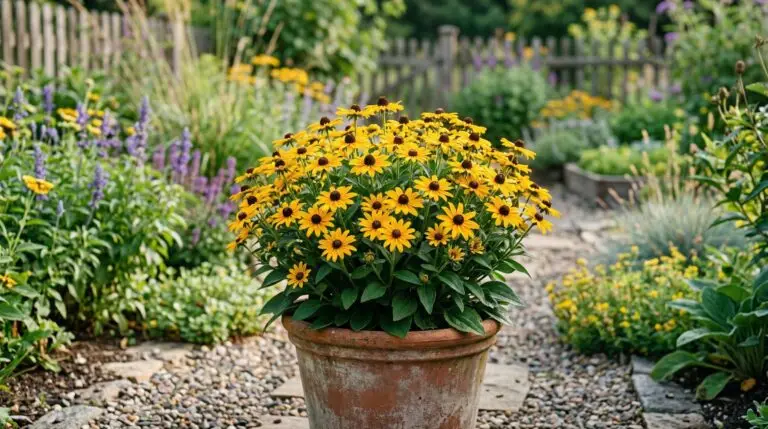
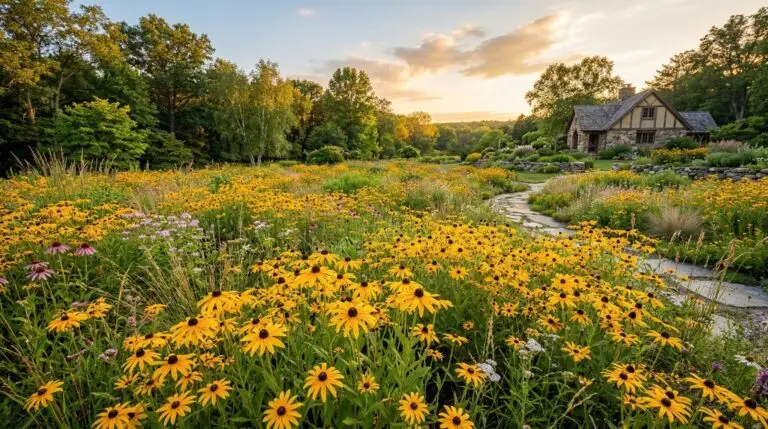
Starting black eyed Susans from seed is one of the most reliable ways to fill a large garden space with bright color without spending a fortune on nursery pots. These tough North American natives thrive in hot, sunny spots where delicate plants wither, making them a staple for summer borders and wildflower patches. Before you open a seed packet, you should understand that growing rudbeckia requires patience and attention to their specific germination triggers. The seeds are tiny and need light to sprout, which means you cannot bury them under a thick layer of soil like you would a large sunflower seed. You also need to decide whether you want to start them indoors under lights or toss them directly onto the garden soil. Both methods work well, but they dictate very different timelines for when you will see your first golden blooms.
Choosing between indoor seed starting and direct sowing
Starting your rudbeckia seed starting project indoors gives you a significant head start on the growing season. If you sow the seeds in shallow plastic cell trays about six to eight weeks before the last frost has passed, you have a much higher chance of seeing flowers in their very first summer. Indoor sowing requires a reliable grow light and a clear plastic humidity dome to keep the soil surface consistently moist. The seeds need temperatures around 70 degrees Fahrenheit to wake up, which is usually easy to maintain inside a heated house. Direct sowing outside is less labor-intensive but requires you to wait until the soil warms up and daytime temperatures consistently stay above 60 degrees Fahrenheit. Plants sown directly in the garden often spend their entire first year building a deep root system and a low rosette of green leaves, saving their energy to produce flowers in their second year.
If you choose the direct sowing route, you need to prepare your garden bed thoroughly before scattering the seed. Black eyed Susans demand well-drained soil to survive wet winters and rainy springs. You can test your drainage by digging a hole about a foot deep, filling it with water, and watching how fast it drains. If the water sits there for hours, the soil is too heavy and will rot the roots of your young plants. You can improve heavy clay by mixing in a few inches of coarse compost or choosing a naturally sloped area of your yard where water naturally runs off. Once your bed is raked smooth and free of large clods or weeds, you simply scatter the tiny black seeds across the surface of the soil. Since they need light to germinate, you should only press them down firmly with the flat side of a rake or your hands to ensure good soil contact, being careful not to bury them in the dark.
Managing moisture and the germination process
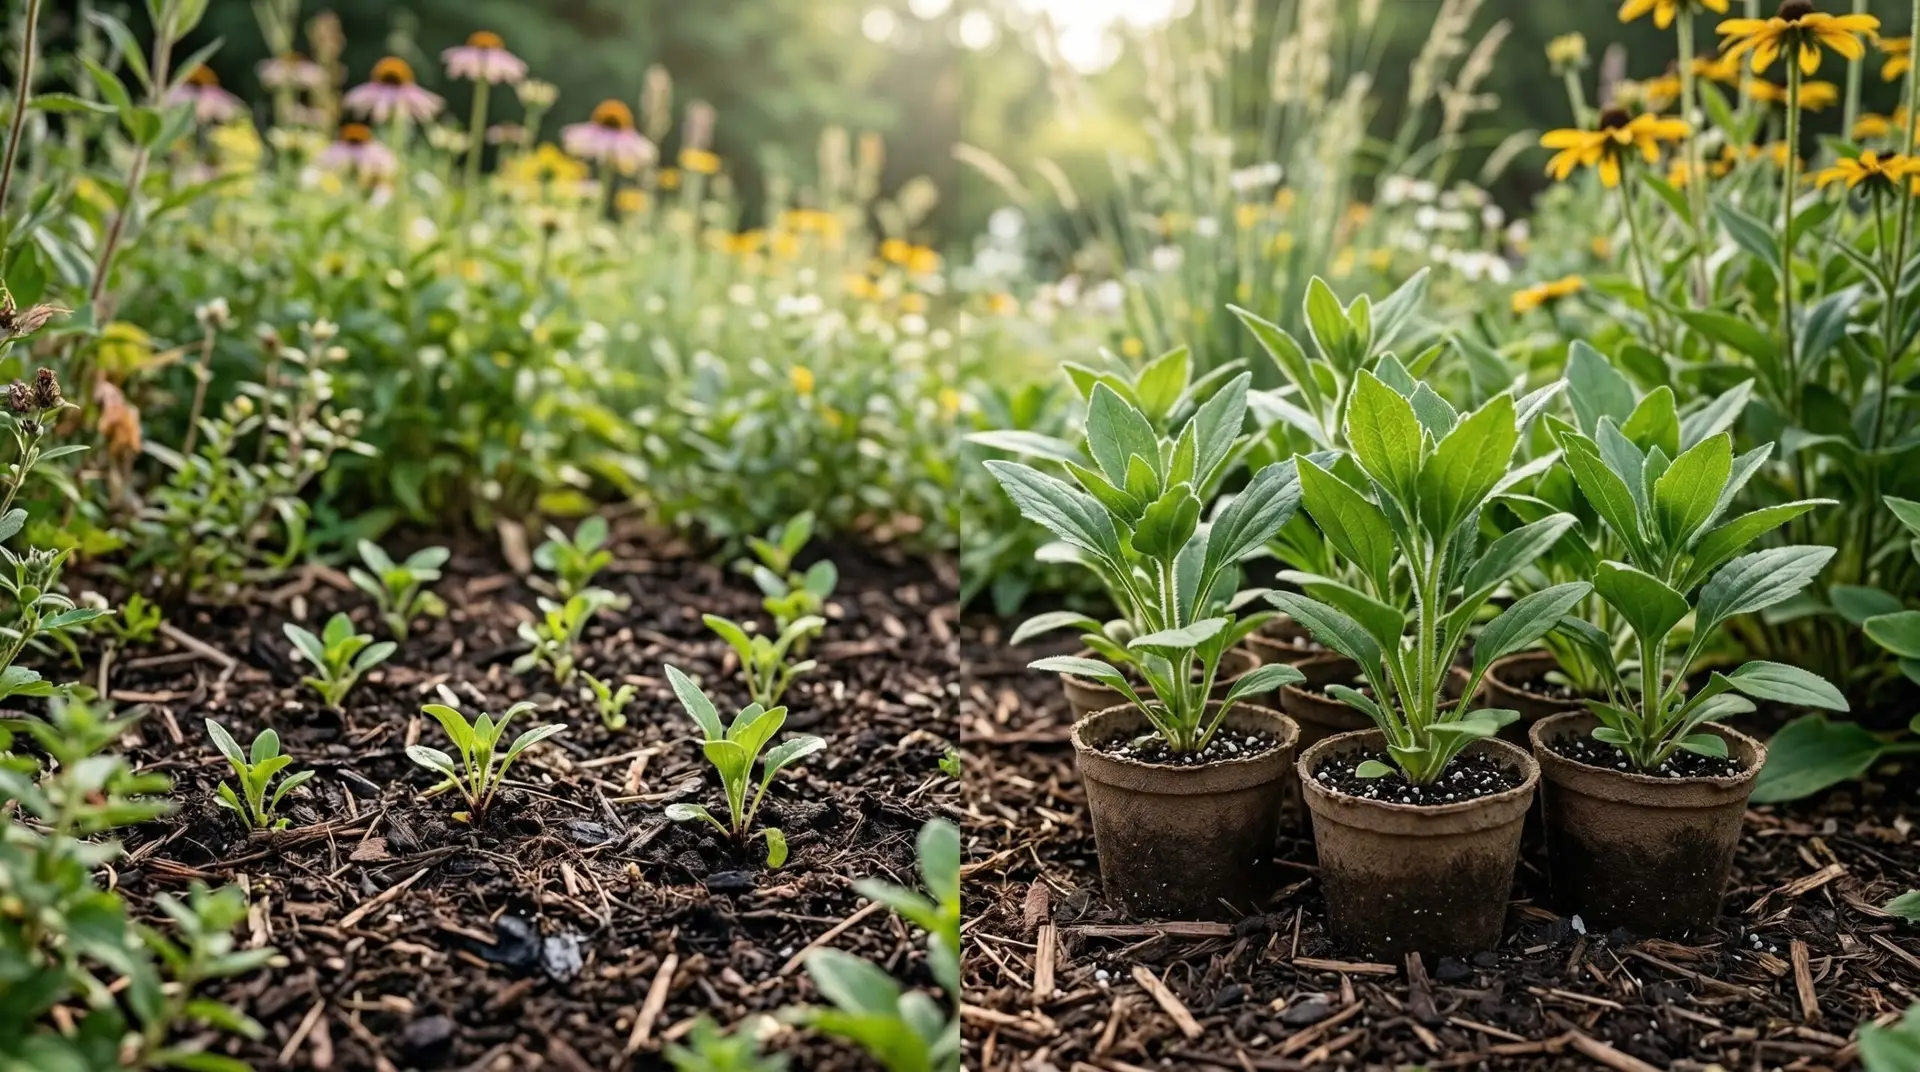
Whether you plant indoors or outside, moisture management is the single most important factor during the first three weeks. The seeds must stay damp but never sit in puddles of standing water. If you are growing black eyed susan from seed indoors, you can water the trays from the bottom by pouring water into a solid base tray and letting the potting mix soak it up through the drainage holes. This keeps the seeds securely on the surface without washing them away. Outdoors, you should use a hose with a fine mist nozzle to gently dampen the seedbed every day unless it rains. Within ten to twenty days, you will start to see tiny green specks emerging from the soil. At this point you might notice that the seedlings look incredibly fragile and seem to grow very slowly. That is normal for this plant, as it prioritizes sending a taproot down into the soil before putting on much top growth.
As the seedlings develop their first set of true leaves, which have a slightly fuzzy texture compared to the smooth initial sprout, you have to make some tough decisions about spacing. Rudbeckia plants grow into wide, bushy clumps that need good air circulation to stay healthy. If the plants are crowded together, the lack of airflow traps moisture against the leaves and creates the perfect environment for powdery mildew later in the summer. You need to thin the seedlings so they stand about eighteen inches apart. Instead of pulling the unwanted seedlings out by the roots, which disturbs the soil around the plants you want to keep, use a small pair of scissors to snip the extras off at the soil line. You can interplant these thinned spaces with other prairie natives like coneflower to create a dense, layered meadow look that suppresses weeds naturally.
Moving indoor seedlings to the garden
If you started your plants indoors, you cannot just carry the trays outside and plant them in the hot sun immediately. Young plants grown in the protected environment of a house have thin leaves that will scorch and collapse if exposed to direct sunlight and wind too quickly. You have to harden them off over the course of a week or two. Start by placing the trays in a shady, sheltered spot outdoors for just two hours on a mild day, then bring them back inside. Gradually increase their time outside and their exposure to direct sunlight each day. By the end of the week, they should be able to handle full sun and stay out overnight as long as there is no danger of frost. Once they are acclimated, use a trowel to dig planting holes just as deep as the root ball in your plastic cell trays. Water the newly planted seedlings deeply to settle the soil around their roots and eliminate any air pockets.
During their first few weeks in the garden, these young plants need consistent watering to establish themselves in their new environment. Even though mature black eyed Susans are famous for surviving long droughts, the babies do not have deep enough root systems to find water deep underground yet. Check the soil around the base of the plants every few days by sticking your finger an inch or two into the dirt. If it feels dry, give them a deep, slow soaking right at the soil level. Try to avoid spraying the leaves with a sprinkler, as wet foliage invites fungal diseases. As the season progresses and the plants grow taller and thicker, you can gradually reduce the frequency of your watering. They will signal when they are thirsty by slightly drooping their leaves in the heat of the afternoon, but they should perk right back up when the sun goes down.
What to expect in the first growing season
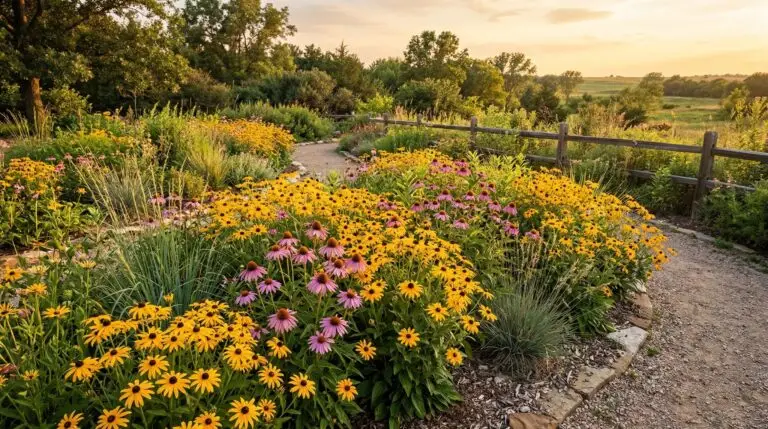
The first year of growing rudbeckia is often an exercise in delayed gratification, especially if you direct sowed the seeds outdoors. For the first couple of months, you will mostly see a spreading mat of coarse, hairy green leaves close to the ground. Do not worry if they seem short or if they lack the tall stems you associate with mature plants. They are doing exactly what they are supposed to do by anchoring themselves firmly into the earth. If you started the seeds early indoors, you will likely see strong vertical stalks shooting up by mid-summer, topped with tight green buds. When those buds finally peel back, you will have a heavy flush of golden petals surrounding dark brown centers that will last well into the autumn. These early bloomers pair beautifully with late-season companions like coreopsis, creating a continuous wave of yellow and gold across your garden beds.
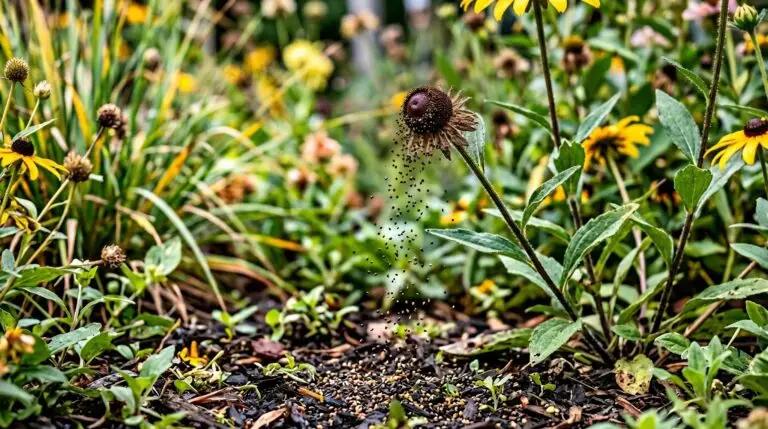
As the first growing season winds down and the weather turns cold, the bright yellow petals will fade and drop off, leaving behind the stiff, dark central cones. You might be tempted to cut the plants down to the ground to tidy up your garden for winter. Leaving those seed heads standing provides a solid food source for finches and other small birds during the coldest months. The dried stalks also add structural interest to a winter garden when covered in frost or light snow. The plants will drop some of their seeds around the base of the original clump, which often results in free volunteer seedlings the following spring. By the time their second summer arrives, your black eyed Susans will be fully mature, deeply rooted, and ready to produce an even larger, more impressive display of blooms from July straight through to the first hard freeze.
More About Black-eyed Susan
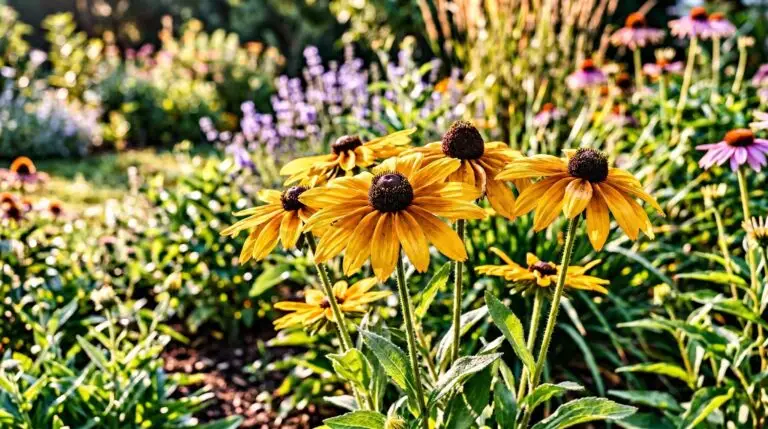
Black eyed Susan and coneflower planted together for the ultimate prairie garden
How to keep black eyed Susans from taking over your garden while still enjoying them
Naturalizing black eyed Susans along roadsides and meadows for wild beauty
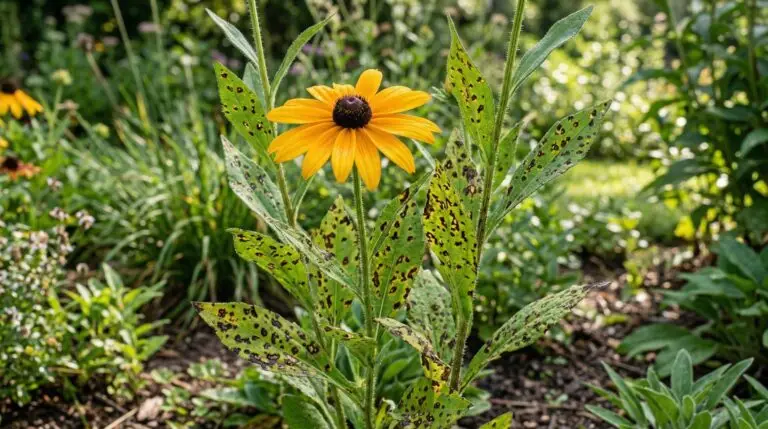
Black eyed Susan problems including leaf spot and aphids and organic solutions
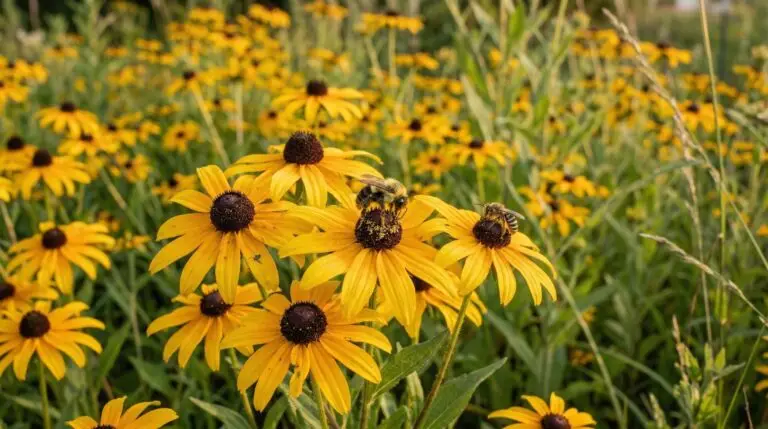
Why black eyed Susans are one of the best native plants for pollinator gardens
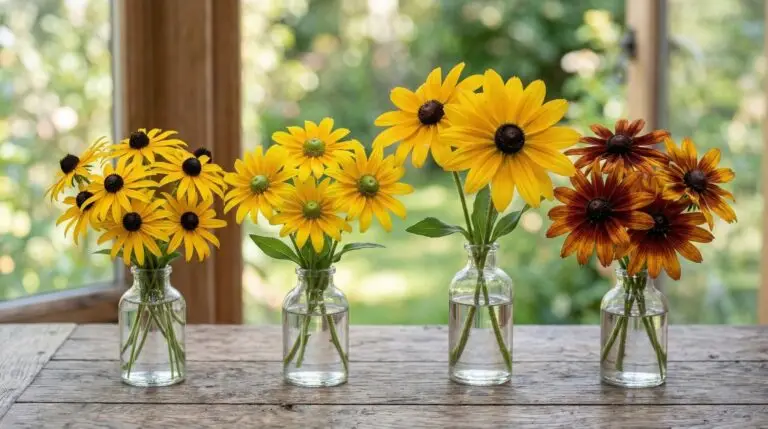
Using black eyed Susans as cut flowers for cheerful late summer bouquets
Black eyed Susan varieties from classic Goldsturm to dramatic Cherokee Sunset