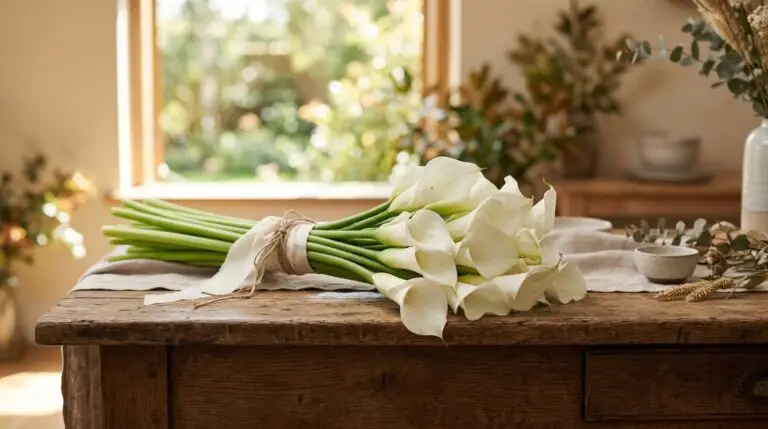
Growing a calla lily indoor brings a distinct architectural elegance to a room that few other houseplants can match. People often buy these plants already in bloom, enjoy them for a few weeks, and then throw them away when the foliage begins to decline. You can keep your calla lily in pots thriving and blooming year after year if you understand their natural rhythm. These plants grow from a fleshy underground stem called a rhizome, which functions like a storage battery for the plant’s energy. To get them to re-bloom, you have to guide them through active growth, a flowering phase, and a mandatory period of deep rest. Understanding this cycle takes the mystery out of growing calla lily indoors and turns a temporary floral gift into a permanent fixture in your indoor garden.
Before you start potting up a bare rhizome or repotting an existing plant, you need to gather a few basic supplies. You will need a sturdy container with generous drainage holes at the bottom, a bag of high-quality indoor potting mix, and a small watering can. A heavy clay or ceramic pot is often better than lightweight plastic because calla lilies can become top-heavy when their large arrow-shaped leaves reach full size. If you are starting with a bare rhizome, inspect it closely to find the side with small bumps or growing points, which need to face upward toward the light. If you plant the rhizome upside down, the shoots will have to expend massive amounts of energy curling around the tuber to reach the surface. This unnecessary effort delays growth and weakens the plant right from the start.
Choosing the right pot and soil for indoor callas
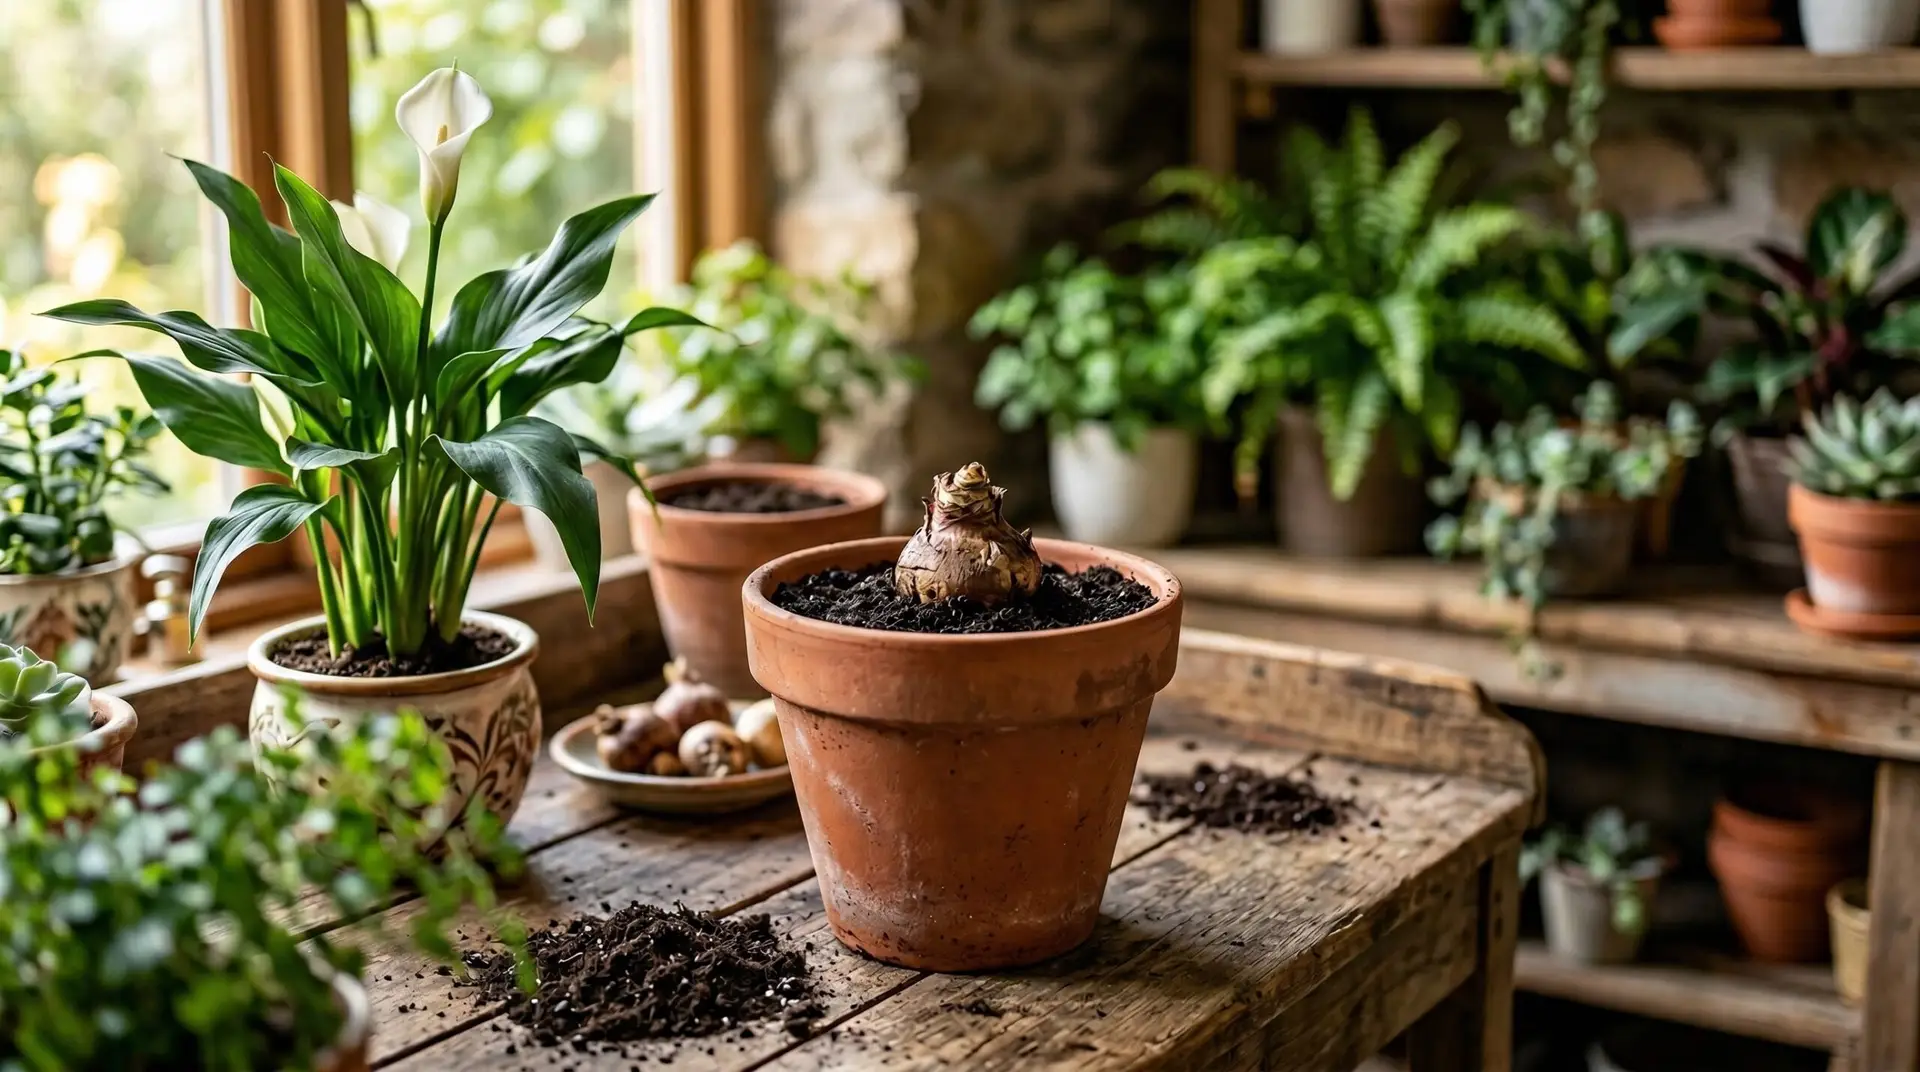
The foundation of a healthy indoor calla lily is the soil environment you create in the pot. These plants naturally grow in marshy conditions in their native habitat, but confined in a container, they will rot if left sitting in stagnant water. You must use a potting mix that drains freely while holding onto just enough moisture to keep the roots hydrated. A standard indoor potting soil amended with a generous handful of perlite or coarse sand creates the right balance of moisture retention and aeration. When you fill your container, leave about two inches of space at the top so water does not spill over the edge when you irrigate. Plant the rhizome about three inches deep in this prepared mix, pressing the soil down firmly. Firming the soil eliminates large air pockets that could dry out the developing roots before they establish themselves.
Once your rhizome is potted, give it a thorough initial watering to settle the soil and wake up the dormant tissue. At this early stage, the soil should remain barely damp rather than wet, because the plant does not yet have roots or leaves to draw moisture out of the potting mix. You might notice the soil taking a long time to dry out during these first few weeks. That is normal and means you should hold off on adding more water until the top inch of soil feels dry to the touch. As soon as you see the first green shoots breaking through the surface of the soil, you can gradually increase your watering frequency. The plant will soon begin producing large fleshy leaves that transpire moisture quickly. This rapid leaf growth requires you to monitor the soil moisture much more closely.
Managing light and water for active growth
Finding the right location in your home dictates how robustly your calla lily will grow and whether it will produce flowers. Growing calla lily indoors requires bright indirect sunlight for most of the day. A spot near an east-facing or west-facing window usually provides the right intensity of light without baking the sensitive foliage. If you place the pot in a dark corner, the stems will stretch out in search of light, becoming weak, pale, and unable to support the weight of the leaves. Placing the plant in a blazing south-facing window with direct afternoon sun will scorch the leaves, leaving crisp brown edges along the foliage. You want to strike a balance where the plant casts a soft shadow during the brightest part of the day. This level of light gives the rhizome the energy it needs to push out thick, healthy stems.
As the foliage fills out, your watering routine needs to keep pace with the plant’s rapid growth. During the active growing season, you should water your calla lily whenever the top half-inch of soil feels dry, ensuring the water runs entirely through the pot and out the bottom drainage holes. Always empty the saucer beneath the pot immediately after watering so the bottom of the soil does not wick moisture back up and drown the lower roots. This active growth phase is also the time to begin feeding the plant to support the upcoming blooms. Apply a balanced liquid houseplant fertilizer diluted to half strength every two weeks while the plant is actively pushing out new leaves. The nutrients in the fertilizer help the rhizome build up enough energy reserves to produce those thick flower stalks. Consistent feeding combined with even moisture sets the stage for a strong blooming period.
Guiding the plant through its natural bloom cycle
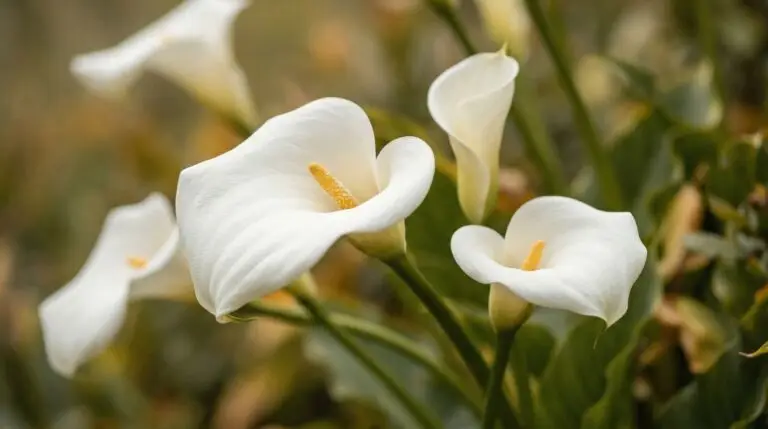
After several weeks of vigorous leaf growth, you will start to see tightly rolled flower stalks emerging from the center of the plant. These stalks slowly unfurl into the iconic trumpet-shaped spathes that make calla lilies so highly prized. While the plant is in full bloom, try to keep the room temperature moderate, as excessive heat will cause the flowers to fade much faster. You might be accustomed to the continuous blooming habits of an Anthurium, but a calla lily produces a specific flush of flowers that lasts for several weeks before naturally winding down. As each flower begins to turn green or brown and wilt, follow the stalk down to the base of the plant and cut it off cleanly with sharp scissors. Removing spent flowers prevents the plant from wasting energy on seed production. This simple pruning task redirects that power back down into the rhizome for future growth.
Eventually, you will notice the plant stops producing new flowers and the older leaves begin to yellow at the edges. Many indoor gardeners panic at this stage, assuming they have killed the plant through overwatering or disease. In reality, this yellowing is a perfectly natural signal that the plant is preparing to go dormant for the season. Similar to the life cycle of an Amaryllis, a calla lily needs a period of complete rest to reset its biological clock for the next blooming cycle. When you see this widespread yellowing begin, you must stop fertilizing completely and start spacing out your watering sessions. You are intentionally mimicking the dry season of its natural habitat. This manufactured drought signals to the rhizome that it is time to pull all remaining moisture and nutrients down into its core.
Forcing dormancy to encourage future flowers
To successfully force dormancy, you need to gradually withhold water until the soil is completely dry and the foliage has withered away entirely. This drying process usually takes a few weeks, and it is important that you do not cut the leaves off while they are still green. The plant is actively absorbing the starches and chlorophyll from those dying leaves to sustain itself through the resting period. Once the leaves are completely brown and crispy, you can gently pull them away from the top of the rhizome. Move the entire pot into a cool, dark location where temperatures stay consistently between fifty and sixty degrees Fahrenheit. A basement, an unheated closet, or a cool spare bedroom makes an ideal resting spot for the dormant container. The soil must remain bone dry during this entire storage period to prevent fungal rot.
Leave the pot in this dark, cool storage area for at least two months without giving it a single drop of water. The rhizome is sleeping deeply, and adding water now will simply cause it to rot in the cold soil. After this mandatory rest period has passed, you can bring the pot back out into your bright, warm living space to start the cycle all over again. Resume your initial watering routine, giving the soil a good soak and then waiting for the first signs of new green shoots. Within a few weeks of waking up, you will see fresh tightly curled leaves pushing through the soil surface. This new growth confirms that your patience has paid off and the rhizome is healthy. You can now look forward to another robust display of elegant blooms in the months ahead as the plant begins its active life once more.
More About Calla Lily
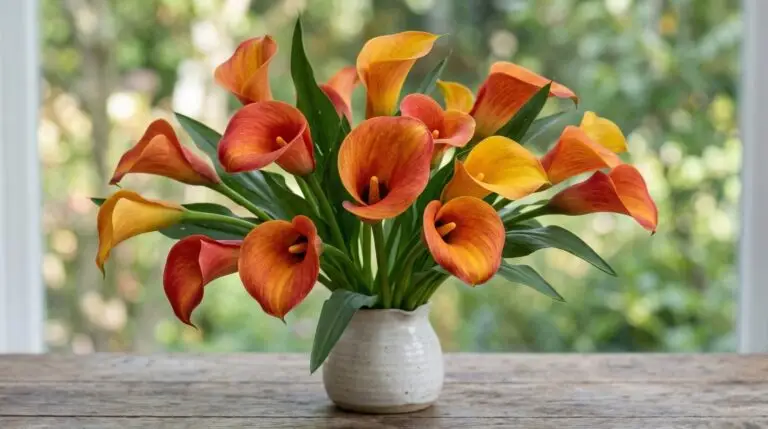
Colorful calla lily varieties that go far beyond the classic white trumpet
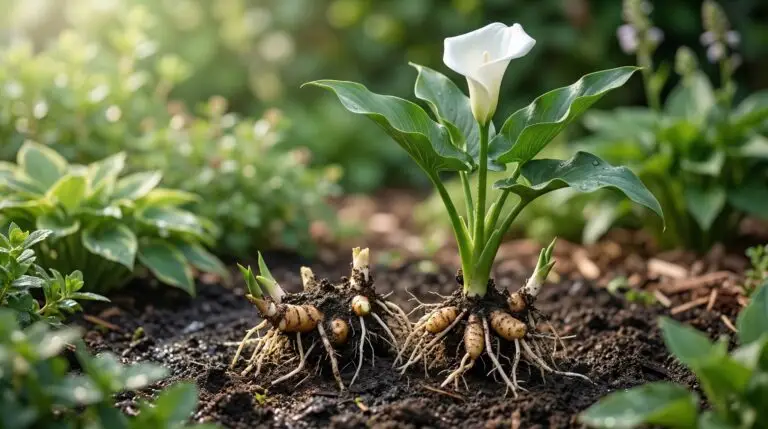
Calla lily propagation by dividing rhizomes for more plants every season
Calla lily color meanings and which shade to give for every occasion
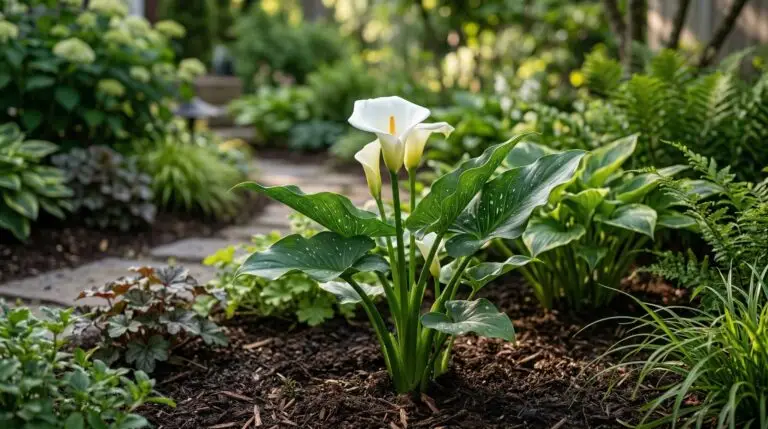
Growing calla lilies outdoors in garden beds as a summer focal point