True calla lilies belong to the genus Zantedeschia, and after decades of observing them in both conservatory settings and outdoor beds, I have found them to be remarkably adaptable if you understand their root structures. The genus demands respect for its native habitat, which dictates how we must treat it in cultivation. Many gardeners assume these plants require greenhouse conditions, but establishing a calla lily garden outdoors is entirely achievable when you match the specific species or hybrid to your soil moisture. The classic large white calla, Zantedeschia aethiopica, behaves quite differently in the garden than the brightly colored hybrids you often see in nurseries. Understanding this distinction is the single most critical factor in your success. When you place the right plant in the correct microclimate, they provide a strong architectural presence from early summer through the first frost.
The genus originates in southern Africa, where the plants experience distinct wet and dry seasons that dictate their growth cycles. To replicate these conditions when planting calla lily outdoors, you must first determine which type of root system you are handling. The traditional white species grows from a rhizome, which is a continuously growing, horizontal underground stem that puts out lateral shoots and adventitious roots. Rhizomes spread horizontally to form large colonies, while tubers remain distinct individual units that increase in girth over time. In contrast, the colored varieties, such as those derived from Zantedeschia elliottiana or Zantedeschia rehmannii, grow from fleshy tubers that function as distinct storage organs. This fundamental botanical difference means that a site perfect for the white calla will likely cause a colored hybrid to rot within weeks.
Selecting the right site for a calla lily garden
Site selection begins with evaluating your soil drainage and daily sunlight exposure. For the colored tuberous hybrids, the soil must be rich in organic matter but exceptionally well-draining, with an ideal pH resting between 6.0 and 6.5. I always recommend amending heavy clay soils with coarse sand and compost before planting a calla lily in ground to prevent water from pooling around the tubers during heavy summer rains. These colored varieties prefer full morning sun with dappled shade in the afternoon, especially in zones where summer temperatures regularly exceed eighty-five degrees Fahrenheit. Maintaining this balance of light and temperature prevents the plants from experiencing physiological stress during peak summer months. Excessive heat combined with intense afternoon sun will cause the foliage to scorch and the spathes, the modified leaves that form the colorful outer part of the flower, to fade prematurely.
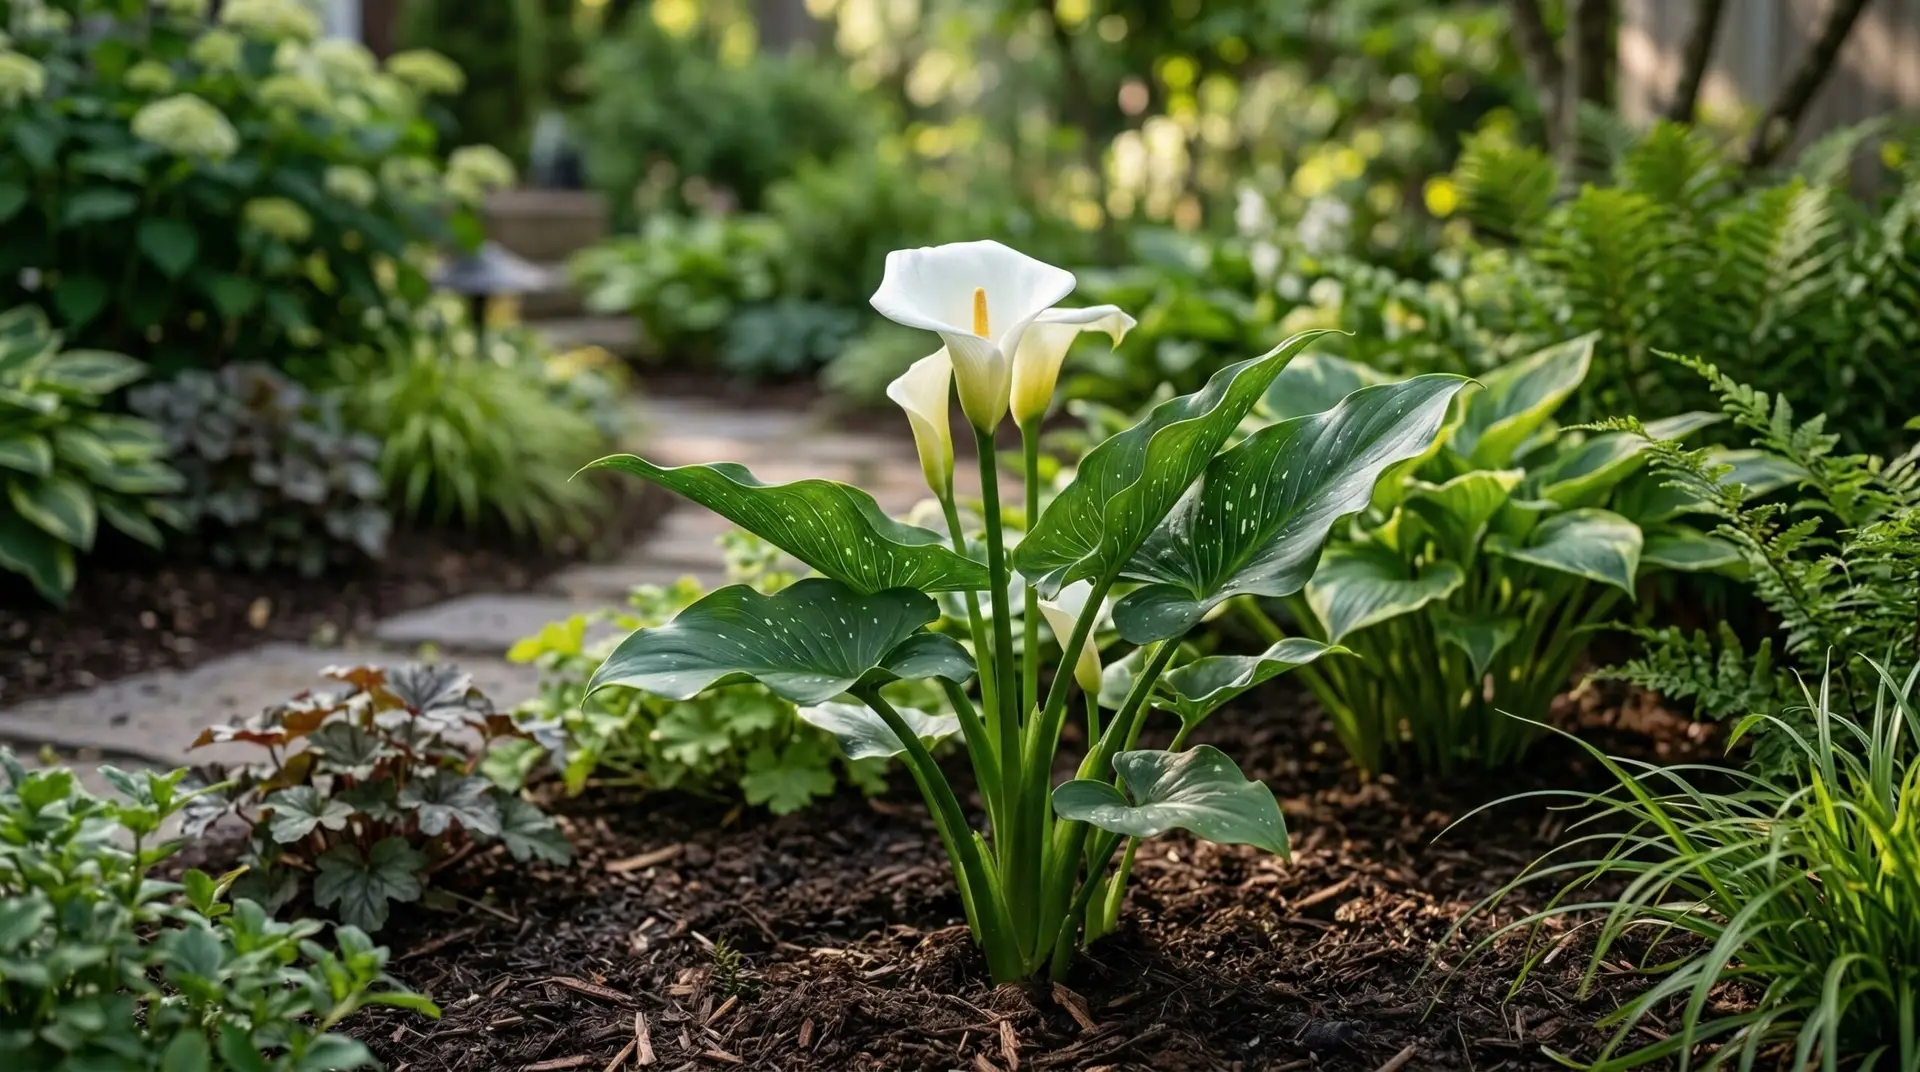
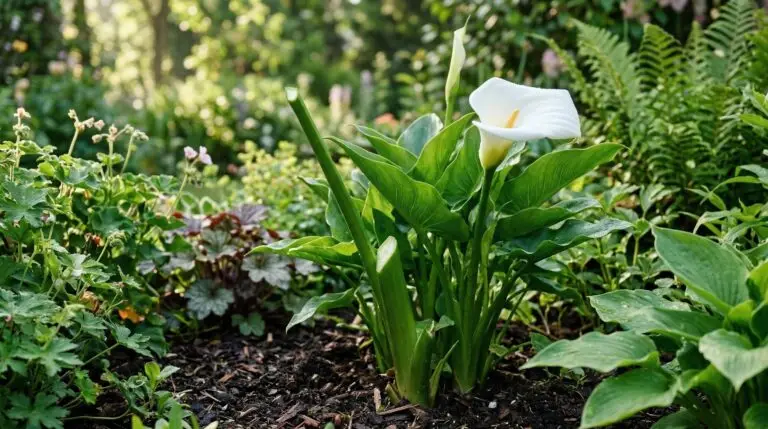
The classic white Zantedeschia aethiopica demands an entirely different approach to site selection. Because of its rhizomatous nature, this species thrives in constant moisture and can even perform beautifully as a marginal aquatic plant in a bog garden or along the edge of a pond. These robust root systems will rapidly colonize wet mud, pushing up successive flushes of arrow-shaped leaves. You can plant these rhizomes in heavy, moisture-retentive soils where most other summer bulbs would quickly succumb to fungal diseases. They can tolerate full sun even in warmer climates as long as their roots remain consistently wet throughout the growing season. If you are trying to fill a low-lying area in your yard that stays damp after a rainstorm, the white calla is an excellent candidate to provide vertical structure and bright, clean blooms.
Designing with companions in natural and tropical borders
Integrating callas into a mixed border requires thoughtful pairing with plants that share their cultural requirements while offering contrasting textures. In a damp, naturalized garden setting, the large, arrow-shaped leaves of the white calla look completely at home next to the slender, sword-like foliage of a moisture-loving Iris. Both plants appreciate the same rich, damp soil, making them highly compatible bedfellows. This pairing creates a strong visual anchor near water features, with the upright habits of both plants reinforcing a vertical design theme. For the mid-ground of these moist areas, you can introduce the feathery plumes of Astilbe to soften the bold, solid architecture of the calla foliage. The contrasting flower shapes, the solid cup of the calla against the diffuse panicles of the companion plants, create a balanced composition that holds interest even when the plants are not at peak bloom.
When working with the colored, tuberous varieties in well-drained beds, you can lean into a more tropical aesthetic. Their speckled foliage and bright spathes in shades of mango, deep burgundy, and yellow pair naturally with broad-leafed hostas or the dark foliage of heucheras in partial shade. You might also position them near a classic Lily to extend the flowering sequence in your summer borders, as the callas will often push new blooms while the taller companion plants are just forming their buds. Because the colored callas generally stay under two feet tall, they function best near the front or middle of the border where their specific spathe colors can be viewed up close. Space the tubers at least twelve inches apart to ensure adequate air circulation, which prevents foliar diseases in humid summer climates. Proper spacing also ensures that the roots do not compete too heavily for available soil moisture and nutrients.
Managing seasonal transitions and overwintering
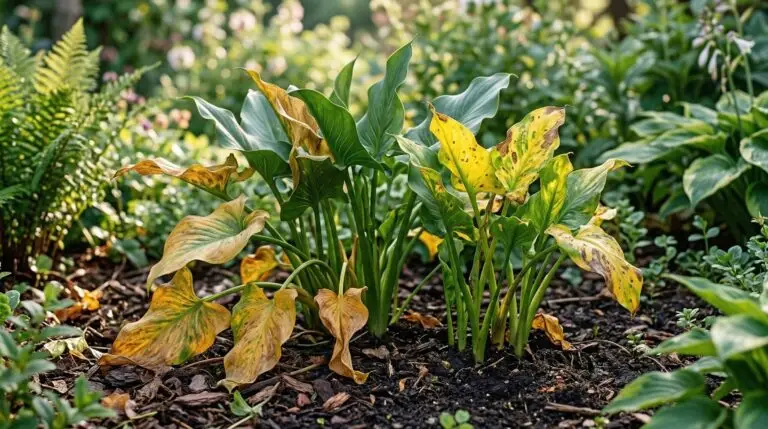
As the days shorten and temperatures drop in late summer, the plants will naturally begin to enter dormancy, signaling a shift in how you manage the bed. The foliage will gradually yellow and collapse, a process you should allow to happen naturally because the leaves are actively photosynthesizing to store energy in the underground structures for the following year. In United States Department of Agriculture hardiness zones 8 through 10, you can generally leave the plants in the ground year-round, provided you apply a thick layer of organic mulch to protect them from occasional freezing temperatures. In these warmer zones, the white rhizomatous types will often remain evergreen or semi-evergreen through the winter months. For gardeners in zone 7 and colder, leaving the tubers or rhizomes in the ground is a guaranteed way to lose your plants to winter rot. A hard freeze will turn the fleshy storage organs to mush within a matter of days.
Lifting and storing the underground structures requires a careful, methodical approach to ensure they survive until spring. Wait until a light frost has completely killed the upper foliage, then use a digging fork to gently lift the root mass from the soil, taking care not to nick or slice the fleshy tissue. Brush off the loose dirt and move the tubers or rhizomes to a warm, dry location out of direct sunlight for about a week to allow the outer skin to cure and toughen. Once they are fully dry, trim away the remaining dead foliage and pack them in slightly damp peat moss or wood shavings inside a ventilated cardboard box. Store this box in a cool, dark basement or closet where temperatures hover around fifty degrees Fahrenheit, checking them every few weeks to remove any that show signs of soft rot before planting time returns in the spring. Mastering this simple overwintering process allows you to multiply your stock year after year, turning a small initial investment into a permanent architectural feature in your summer garden.
More About Calla Lily
Why calla lily leaves are turning yellow and how to revive your plant
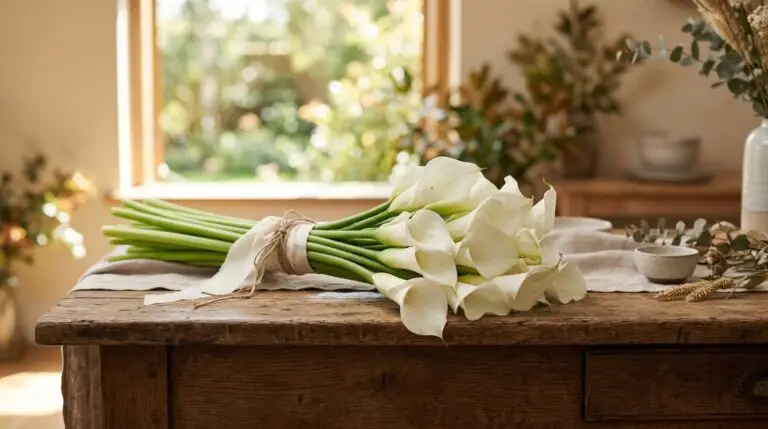
Calla lily as a cut flower and how to make arrangements that last over a week

How to store calla lily bulbs over winter and replant them in spring
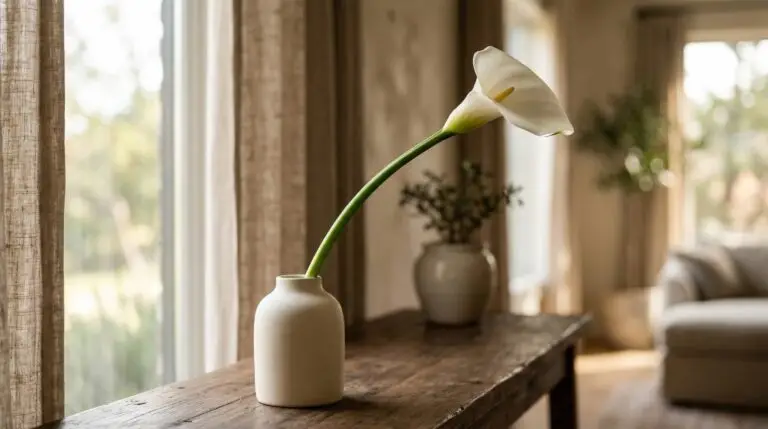
Using calla lilies in modern minimalist floral arrangements that make a statement
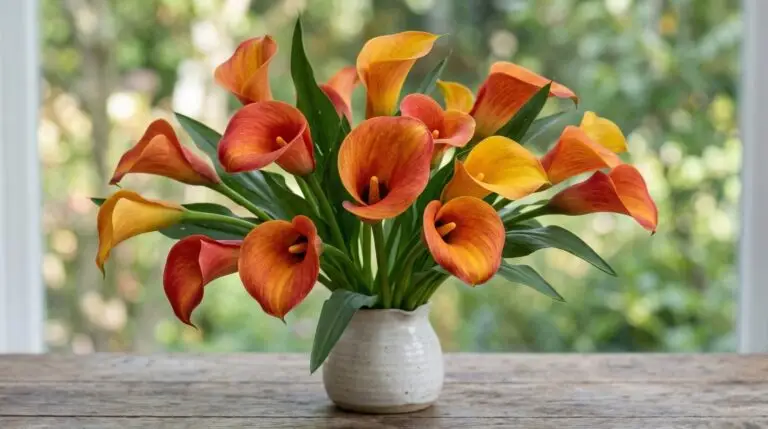
Colorful calla lily varieties that go far beyond the classic white trumpet
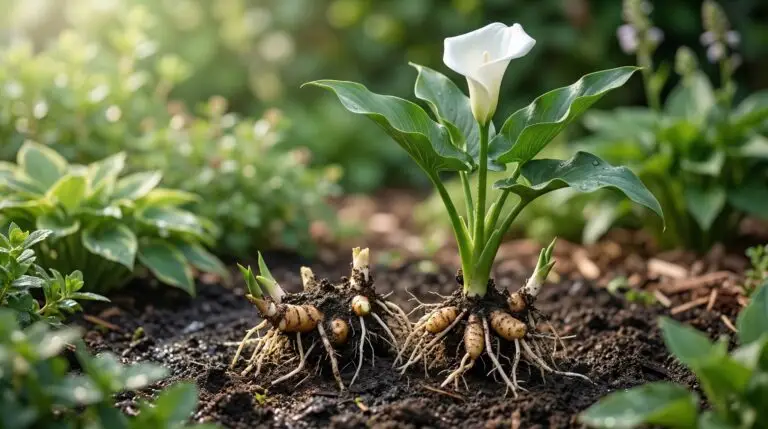
Calla lily propagation by dividing rhizomes for more plants every season
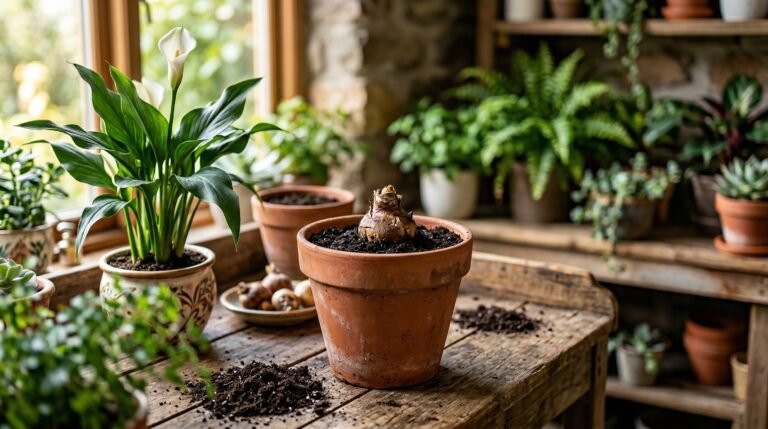
How to grow calla lilies in pots indoors for elegant year-round blooms
Calla lily meaning, from weddings to funerals, honestly explained