Growing coneflowers from seed is one of the most rewarding projects for anyone looking to establish a naturalistic garden. These native perennials bring resilient color and abundant wildlife to open spaces, but they require a different approach than typical annuals. When you buy mature plants from a nursery, you miss out on the deep satisfaction of watching a true prairie ecosystem take root from scratch. Starting echinacea from seed allows you to cultivate large drifts of plants economically, which is essential for creating a convincing coneflower wildflower meadow. You must understand that these wild plants operate on their own schedule, prioritizing root development over immediate floral displays. By learning their natural rhythms, you can successfully guide them from dormant seeds to robust, self-sustaining plants that will thrive for decades. The process requires patience and a willingness to step back and let nature do the heavy lifting, but the results are entirely worth the wait.
Before you even touch a seed packet, you need to evaluate your garden site to ensure it can support these sun-loving prairie natives. Coneflowers demand full, direct sunlight for at least six to eight hours a day to produce strong stems and resist fungal diseases. If you plant them in deep shade, they will lean aggressively toward the light, develop weak stalks, and rarely produce their familiar blooms. Soil preparation is equally important, as these plants despise sitting in cold, waterlogged earth during the dormant season. You can test your soil drainage by digging a hole a foot deep, filling it with water, and timing how long it takes to empty. If the water sits for more than a few hours, you will need to amend the area with coarse sand and organic matter to improve aeration. Taking the time to select and prepare the right location prevents years of frustration and sets the stage for a healthy, long-lived meadow.
Waking up dormant seeds with cold stratification
In the wild, coneflower seeds fall to the ground in autumn and spend the entire winter exposed to freezing temperatures, snow, and rain. This harsh weather is actually a biological requirement that prevents the seeds from germinating too early in the season and dying in a late frost. To succeed with growing coneflower seed at home, you have to replicate this winter resting period through a process called cold stratification. If you skip this step, the seeds will simply sit in the soil and refuse to sprout, leaving you wondering what went wrong. You can mimic winter by mixing your seeds with a handful of slightly damp sand or vermiculite in a small plastic bag. Place this bag in the back of your refrigerator for thirty to sixty days before you intend to plant them. Check the bag occasionally to make sure the mixture remains barely moist, adding a few drops of water if it feels completely dry. Some gardeners might notice a few seeds sprouting right inside the bag near the end of the chilling period, which is perfectly normal and means they are ready to go into the soil immediately.
Choosing between direct sowing and indoor transplanting
Once your seeds have experienced their artificial winter, you must decide whether to start them indoors under lights or sow them directly into your garden beds. Direct sowing is the most authentic prairie meadow technique, allowing the plants to establish their deep taproots exactly where they will live permanently. If you choose this route, wait until the soil has warmed slightly in early spring, right around the time the last frost has passed. Prepare your planting area by clearing away aggressive weeds and loosening the top few inches of soil with a hard steel rake. Scatter the seeds lightly over the prepared area, pressing them firmly into the dirt with your hands or stepping on them to ensure good soil contact. Do not bury them deeply under thick layers of soil, because these seeds actually need exposure to sunlight to trigger their germination process. This direct sowing method works beautifully when you want to mix them with other native plants, much like you would when establishing a patch of Black Eyed Susan or planting Blue Flax in a sunny, open field.
Starting seeds indoors offers more control over temperature and moisture, which often results in a higher germination rate for precious or expensive seed varieties. You will need standard plastic seedling trays filled with a lightweight seed-starting mix, avoiding heavy potting soils that hold too much water. Surface sow the cold-stratified seeds, pressing them gently into the damp mix, and place the trays under bright fluorescent or LED grow lights. Keep the lights just a few inches above the soil surface to prevent the seedlings from stretching and becoming weak and leggy. As daytime temperatures consistently stay above sixty degrees Fahrenheit, you can begin hardening off your indoor seedlings by placing them outside for a few hours each day. Gradually increase their exposure to direct sunlight and wind over the course of a week to toughen up their cell walls. Once they are fully acclimated, dig holes just large enough to accommodate their root balls and space the young plants about eighteen inches apart in the garden. Water them thoroughly immediately after planting to settle the soil and eliminate any hidden air pockets around their delicate roots.
Managing the first year rosette and weed control
The most common point of failure for new native plant gardeners occurs during the first growing season when expectations clash with botanical reality. When you grow echinacea from seed, the plants will spend their entire first year forming a low cluster of leaves known as a basal rosette. They are pouring all of their energy into growing a massive taproot deep into the earth, which will eventually make them incredibly drought tolerant. You might look at these small, unassuming green clumps and feel disappointed that no flower stalks are appearing, but this invisible underground work is vital for their long-term survival. During this vulnerable establishment phase, your primary job is to keep the surrounding area free of fast-growing weeds that could shade out the young rosettes. It is very easy to mistake a first-year coneflower for a common weed, so marking the planting area with wooden stakes or plant tags is a highly recommended practice. Water the young plants deeply once a week if the weather is dry, encouraging those new roots to reach further down into the soil profile. Shallow, frequent watering is a mistake because it trains the roots to stay near the surface, entirely defeating the purpose of their deep-reaching anatomy.
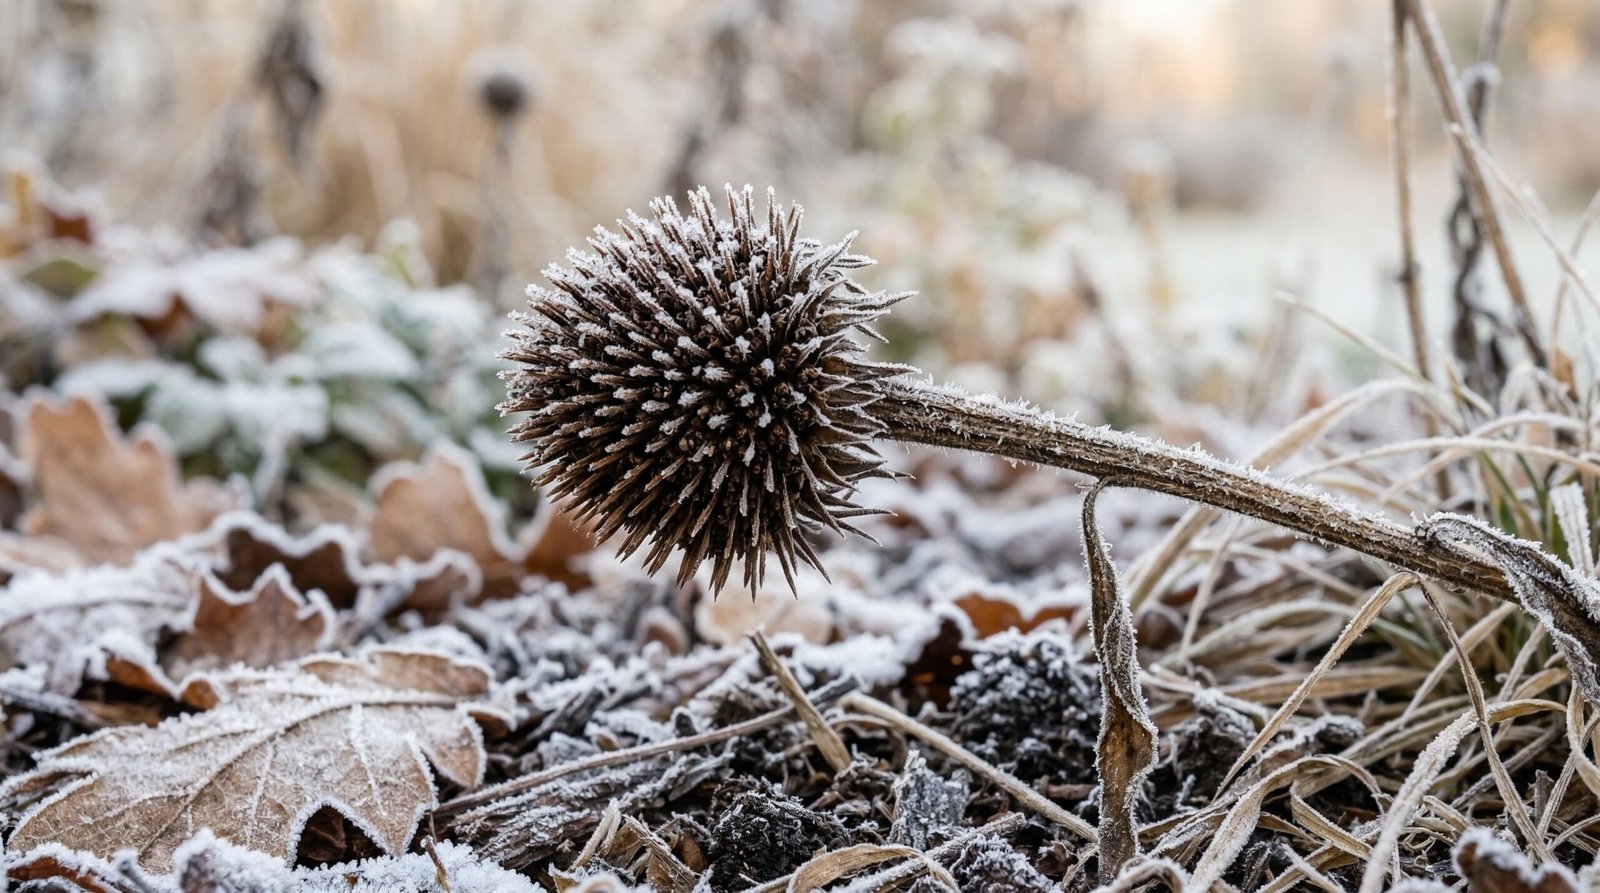
As autumn approaches at the end of their first year, the green rosettes will slowly begin to die back and turn brown. You might assume the plants have died, but they are simply entering their natural dormancy period to survive the upcoming winter freezes. Resist the urge to dig them up or heavily mulch over the crowns, as thick layers of wet mulch can cause the dormant crowns to rot. Instead, leave the fallen leaves of nearby trees to lightly cover the area, providing just enough insulation without trapping excessive moisture. The extensive taproot they spent all summer building is now safely stored underground, packed with carbohydrates ready to fuel next year’s growth. During winter thaws, check the area to ensure frost heaving has not pushed the small crowns out of the soil. If you see exposed roots, gently press the plants back into the earth and lightly cover the base with a handful of dry soil. This quiet winter period is the final test of your patience before the real show begins in the spring.
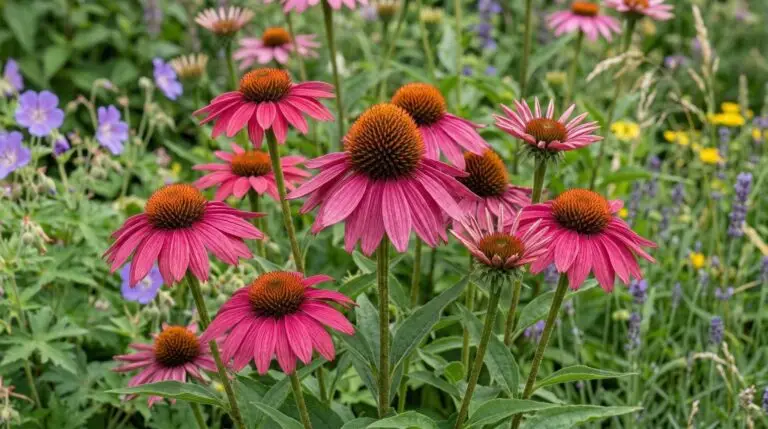
Anticipating maturity and a thriving prairie ecosystem
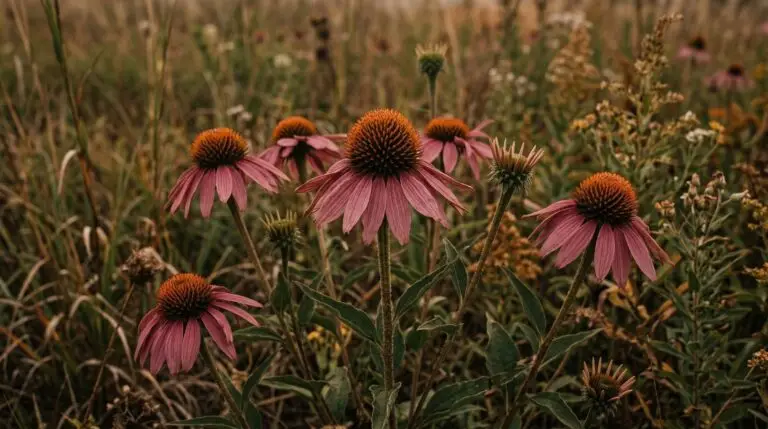
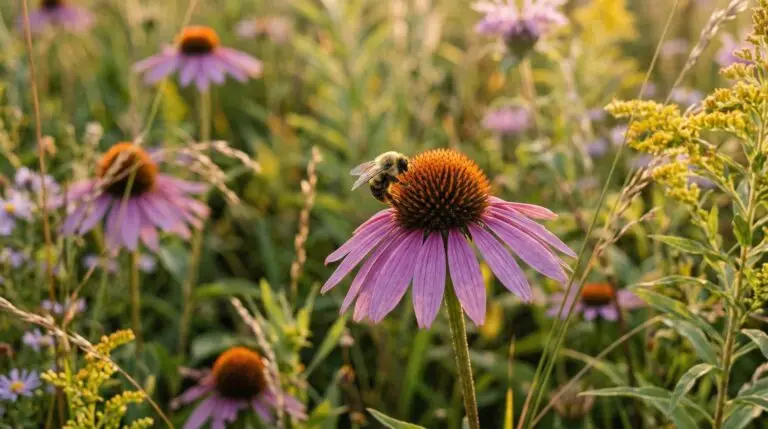
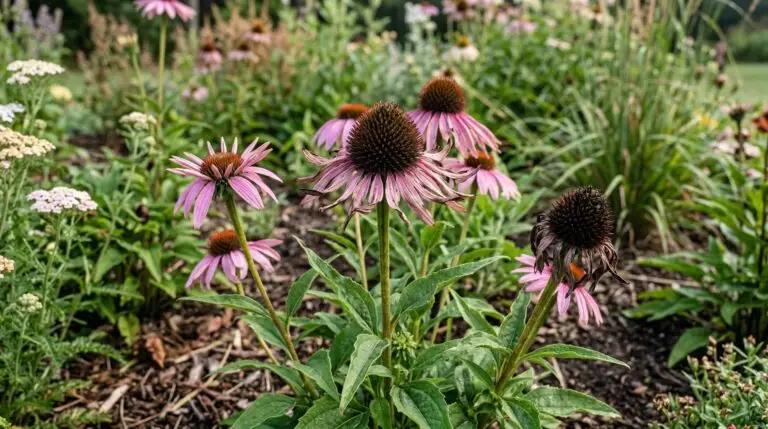
As your coneflowers wake up in their second spring, you will notice a significant change in their growth habit and vigor. The plants will rapidly push up tall, sturdy stalks clad in rough, dark green leaves, signaling that they have enough underground energy to support reproduction. By mid-summer, the familiar raised central cones and drooping petals will finally appear, drawing in local pollinators like a magnet. You will see native bees, butterflies, and eventually goldfinches visiting the blooms, validating all the patience you exercised during the previous year. Mature coneflowers require very little supplemental water or fertilizer, making them the perfect anchor for a low-maintenance, ecologically active space. You can easily interplant them with faster-growing annuals like Cosmos to provide visual interest during that quiet first year while the perennials are still finding their footing. Leaving the dried seed heads standing through the winter provides an essential food source for foraging birds and ensures a light scattering of new seeds for future generations. Success with this method results in a self-sustaining patch of wildflowers that grows thicker and more resilient with every passing season.
More About Coneflower
Echinacea for health and immunity and how it connects to the garden coneflower
Coneflowers as the backbone of pollinator gardens attracting bees butterflies and birds
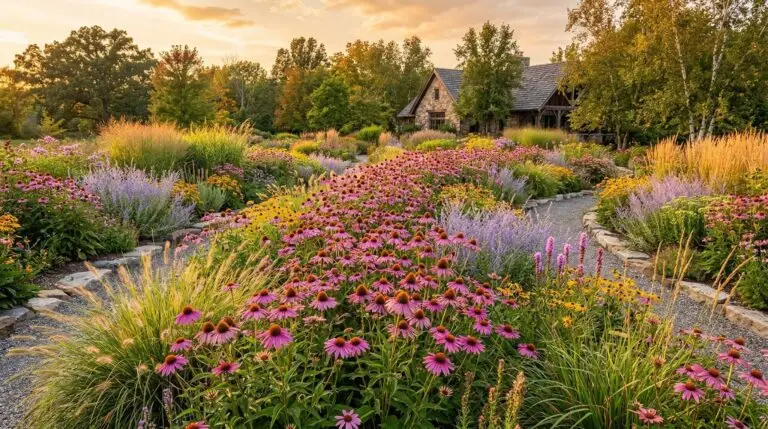
Coneflower and ornamental grass combinations for a modern prairie garden design
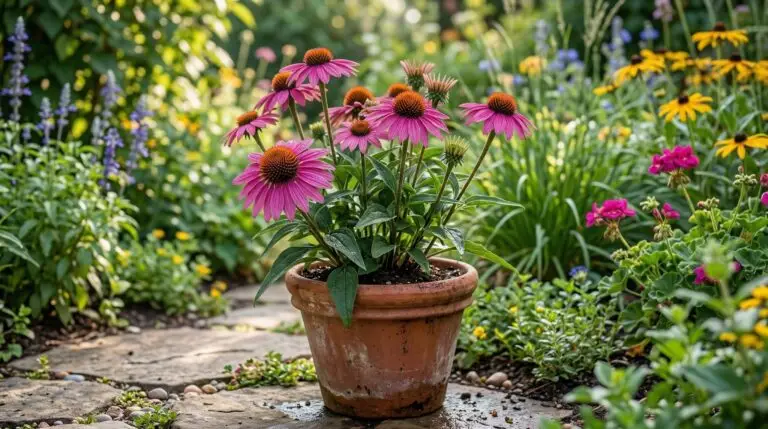
Growing coneflowers in containers for sunny balconies and apartment gardens
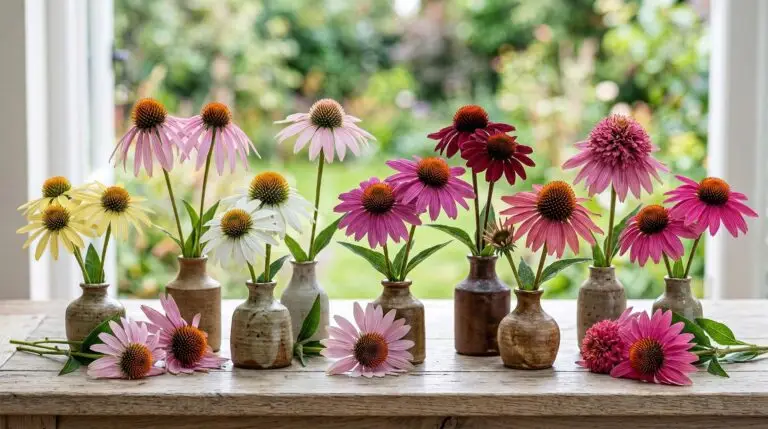
Using coneflowers as long-lasting cut flowers in summer and fall bouquets
Why coneflowers flop over and how to grow sturdy upright plants without staking
Best coneflower varieties from classic purple to sunset orange and double blooms