Planting daffodils in the fall requires a little forward thinking, as you are burying dry, dormant bulbs that will not show their faces for several months. These resilient plants are a staple of the spring garden because they are highly reliable and generally ignored by hungry deer and roaming rodents. You want to get them into the ground during the autumn season, but timing is entirely dependent on your local climate rather than a specific calendar date. The ideal window for planting daffodils opens when nighttime temperatures consistently dip into the forties and the soil has cooled down from the late summer heat. If you put them in the warm ground too early, the bulbs can fall victim to fungal diseases or rot before they ever establish new roots.
Waiting too long presents a different set of problems, as the bulbs need several weeks of cool soil to grow a robust root system before the ground freezes solid. You can usually safely plant them right around the time you start bringing out heavy coats and noticing the first light frosts in the morning. This is the same general planting window you would use if you were putting a tulip in the ground for early spring color. Keep your unplanted bulbs in a cool, dark, and dry place like a garage or basement until the weather outside feels right for digging. You want the bulbs to feel firm and heavy for their size, discarding any that are squishy, lightweight, or smell faintly of mold.
Choosing the right location and testing soil drainage
Daffodils need plenty of sunlight to produce big, healthy flowers, but their early growing season gives you a lot of flexibility in where you place them. You can plant daffodil bulbs in fall directly under large deciduous trees because the flowers will bloom and soak up the sun long before the tree canopy fully leafs out. They do require soil that drains water quickly and efficiently, as nothing kills a dormant bulb faster than sitting in cold, soggy mud all winter. You can test your drainage by digging a hole about a foot deep, filling it with water, and watching how long it takes to empty into the surrounding earth. If the water is still sitting in the hole several hours later, you need to find a different location or build a raised bed to lift the bulbs above the heavy water table.
When you have found a sunny, well-drained spot, you can start preparing the earth for your new plants. You do not need to heavily amend the soil with rich compost or chemical fertilizers, as daffodils are quite adaptable and store their own food for the first year of growth inside the bulb itself. Breaking up compacted dirt with a garden fork will make it much easier for the young roots to push downward as they establish themselves in the late autumn. Clearing away thick mats of groundcover or aggressive weed roots from your chosen planting area will also reduce competition for water and soil nutrients. Taking the time to loosen the soil now saves you a lot of physical frustration when you are actually digging the individual planting holes.
Digging the holes and positioning the bulbs correctly
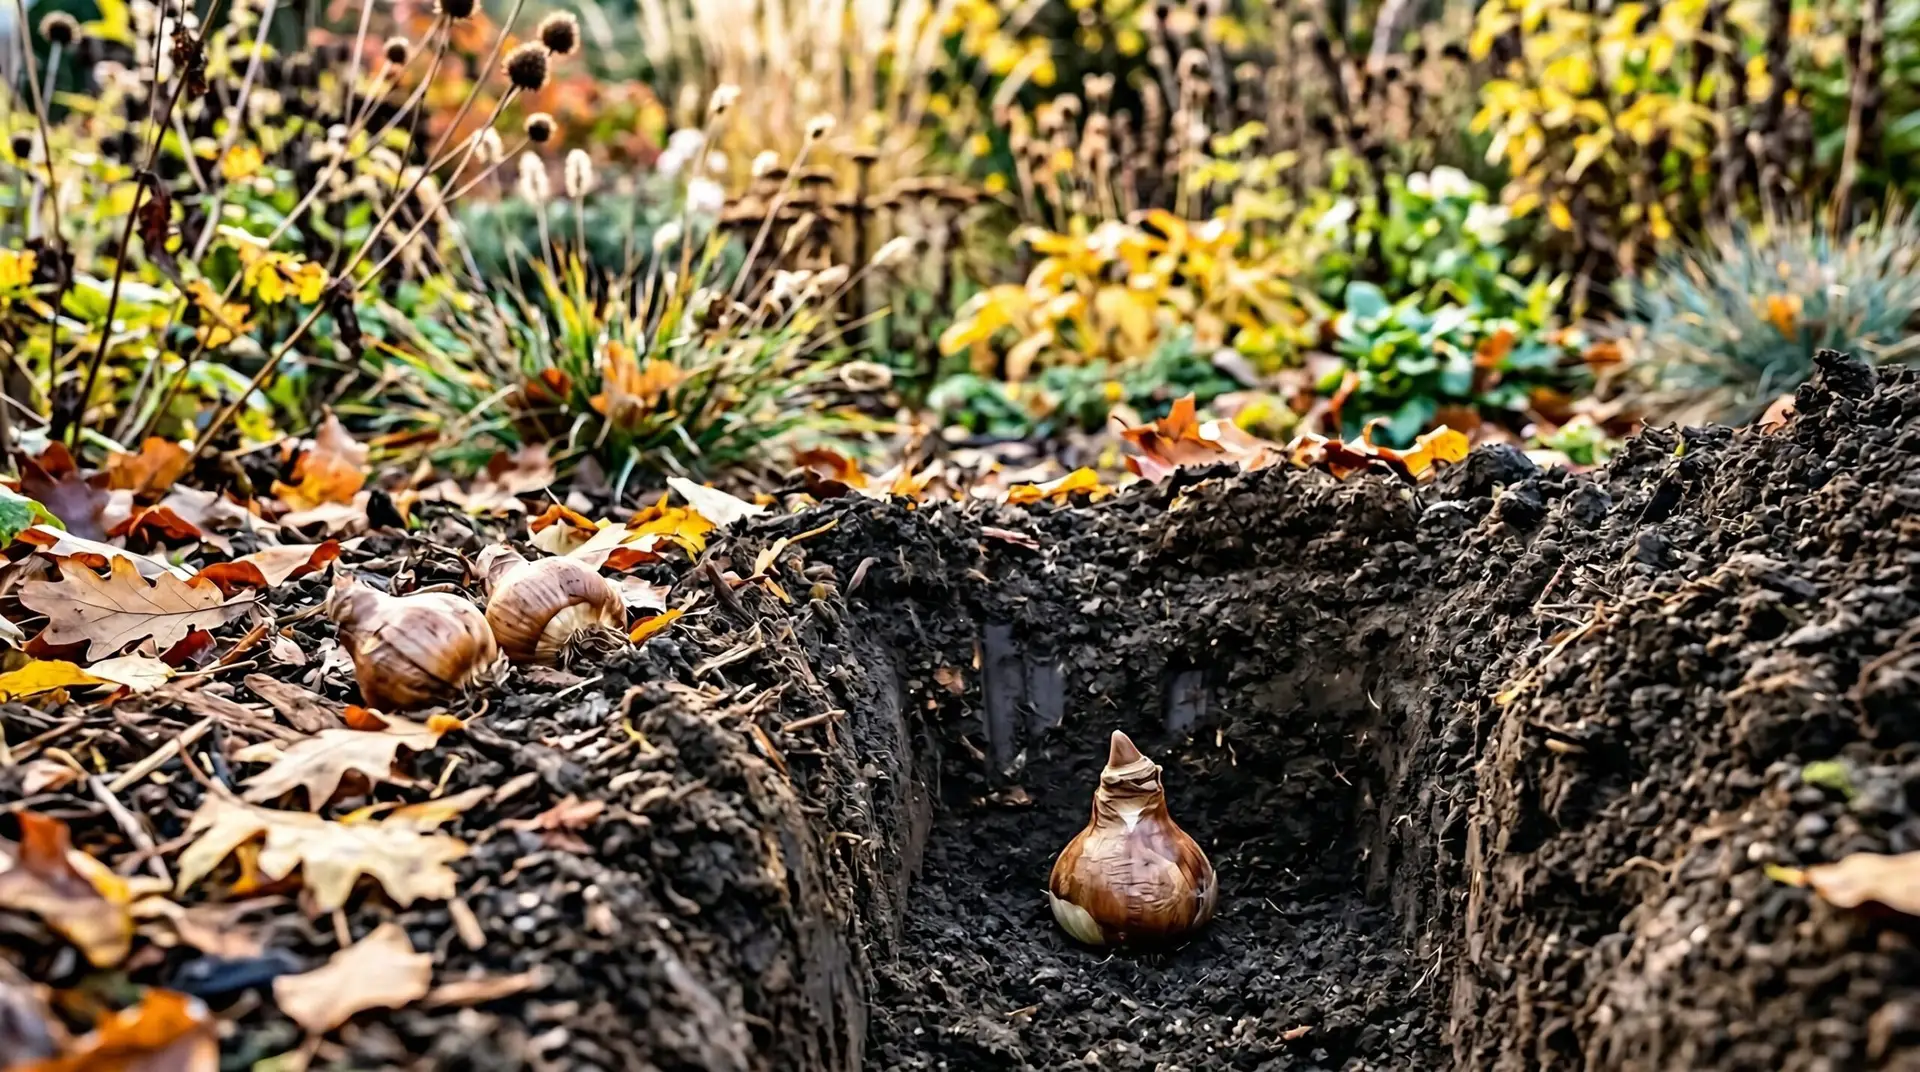
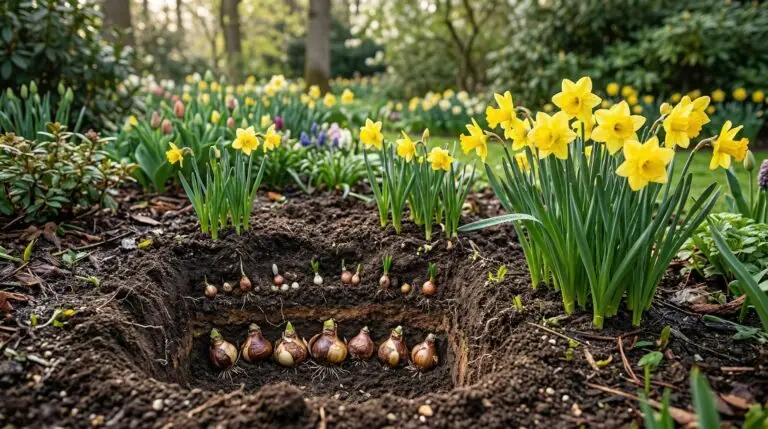
The actual process of planting daffodils goes much faster if you understand exactly how deep the bulbs need to sit in the earth. A reliable rule of thumb is to plant the bulb three times as deep as it is tall, measuring from the bottom of the hole to the surface of the soil. If you have a bulb that is two inches tall, you will need to dig a hole that is six inches deep. Planting at the proper depth protects the bulb from extreme temperature fluctuations near the surface and provides enough soil weight to keep the tall flower stems from flopping over in spring windstorms. You can use a dedicated bulb planter tool for soft soil, but a standard garden trowel or a heavy shovel often works better for cutting through tough roots or rocky ground.
Placing the bulb into the hole requires paying attention to its shape, as it has a distinct top and bottom. The pointed end of the bulb needs to face up toward the sky, while the flat, slightly rough bottom should rest directly against the soil at the base of your hole. This flat area is called the basal plate, and it is the exact spot where all the new roots will emerge to anchor the plant. If you accidentally plant a bulb upside down, the plant will usually expend a massive amount of internal energy trying to curve its stem around and grow upward anyway. This struggle often results in delayed emergence or a completely exhausted plant that fails to produce a flower, so taking a second to check the orientation is always worth your time.
Arranging the bulbs in a natural pattern will give you a much better visual display than planting them in rigid, straight lines. You can create a convincing natural drift by gently tossing a handful of bulbs onto the prepared soil and planting them exactly where they land. Aim to space the bulbs about three to six inches apart so they have room to multiply over the coming years without immediately crowding each other out of the bed. Grouping them in odd numbers, like clusters of five or seven, tricks the eye into seeing a wild patch of flowers rather than a manicured row. You can also mix them with a small snowdrop planting in the same area to create a sequence of blooms that stretches from late winter straight through the middle of spring.
Watering the beds and managing winter weather
Once all your bulbs are facing the right way and resting at the proper depth, you can pull the loose soil back over them and press it down gently. You want to eliminate any large air pockets around the bulbs without compacting the dirt so hard that it turns into an impenetrable brick. Give the newly planted area a thorough soaking with a watering can or a garden hose to settle the soil and send a signal to the bulbs that it is time to wake up. This initial drink of water is what activates the basal plate and encourages the roots to start growing downward before the heavy winter freeze sets in. You generally will not need to water them again until spring, as typical fall and winter rain or snow provides plenty of moisture for dormant bulbs.
Applying a layer of mulch over the planting bed offers an extra blanket of insulation against freezing and thawing cycles that can sometimes heave shallow bulbs right out of the ground. Shredded leaves, pine needles, or wood chips work perfectly to regulate the soil temperature and keep early spring weeds from taking over the bare dirt. During a mild winter, you might suddenly notice green daffodil tips pushing through the mulch as early as January or February. This is completely normal and rarely a cause for panic, as daffodil foliage contains a natural botanical antifreeze that helps it survive sudden cold snaps. Much like a hardy anemone that braves the early chill, your daffodils will simply pause their growth during freezing weather and resume pushing upward when the warm sun returns.
Watching the spring growth cycle unfold
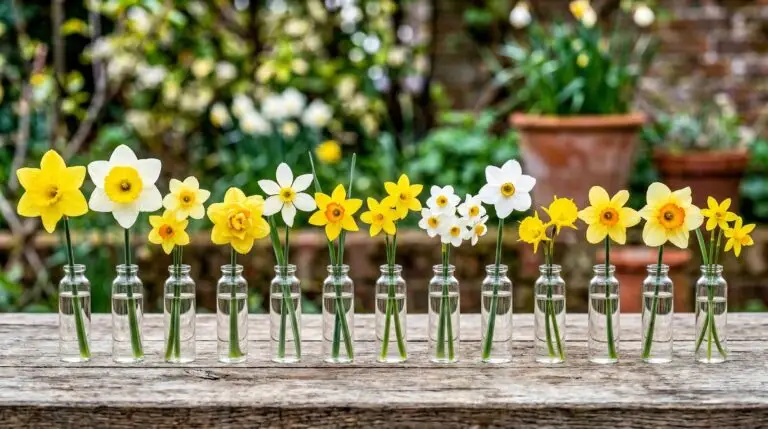
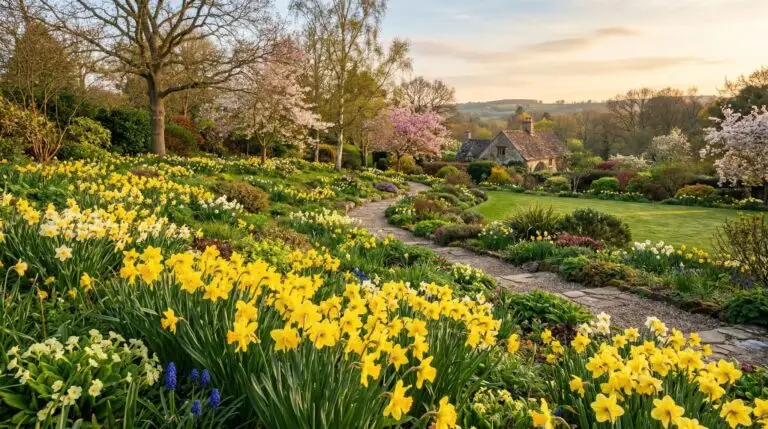
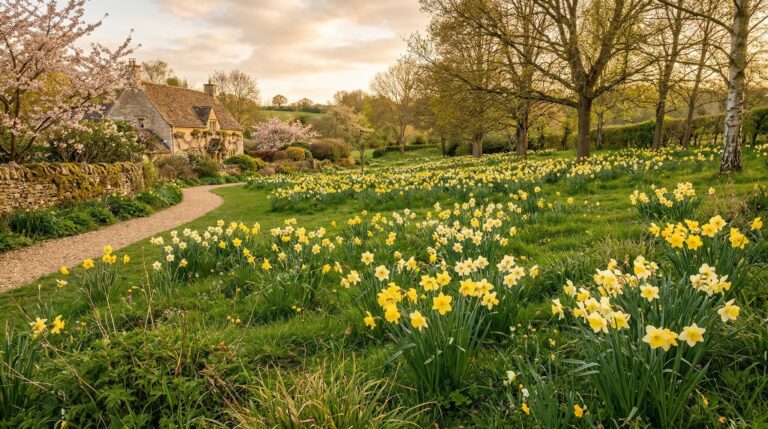
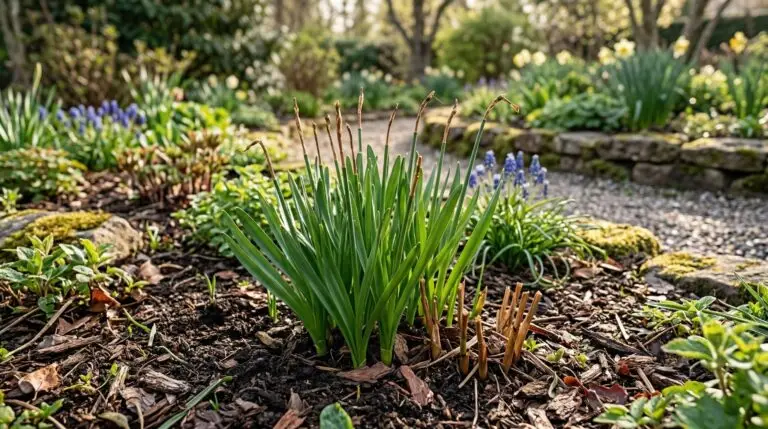
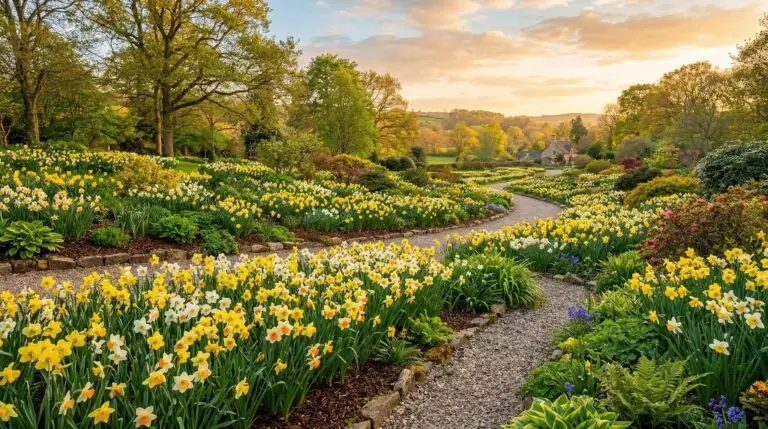
The real reward for your autumn labor begins when the days slowly start getting longer and the frozen ground finally thaws. You will first see sturdy, gray-green spears piercing through the soil surface, often while there is still a layer of snow sitting on the grass. As the foliage grows taller, a swollen bud casing will emerge from the center of the leaves, eventually bending over at a sharp angle to form what gardeners call the gooseneck stage. The papery casing will finally split open to reveal the bright yellow, white, or orange petals you have been waiting for since you dug those holes in the cold autumn dirt. When the flowers eventually fade, you must leave the green leaves standing until they turn completely yellow and fall over on their own. The plant needs those intact leaves to absorb sunlight and recharge the underground bulb, gathering all the strength it requires to repeat the entire beautiful process next year.
More About Daffodils (Narcissus)
Designing a succession of daffodils that bloom from February through May
Naturalizing daffodils in lawns and woodland areas for wild spring beauty year after year
Daffodil meaning, from new beginnings to the Narcissus myth, honestly explained
Growing daffodils in containers and pots for spring color on patios and porches
Why daffodils stop blooming after the first year and how to get flowers back
How to force daffodil bulbs indoors for cheerful winter blooms on your windowsill
What to do with daffodil foliage after blooming and why you must leave it alone

Daffodils as deer-proof and squirrel-proof bulbs that nothing wants to eat