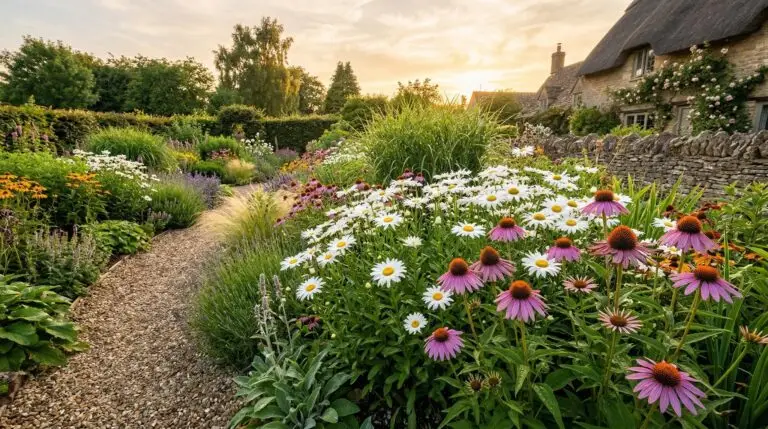
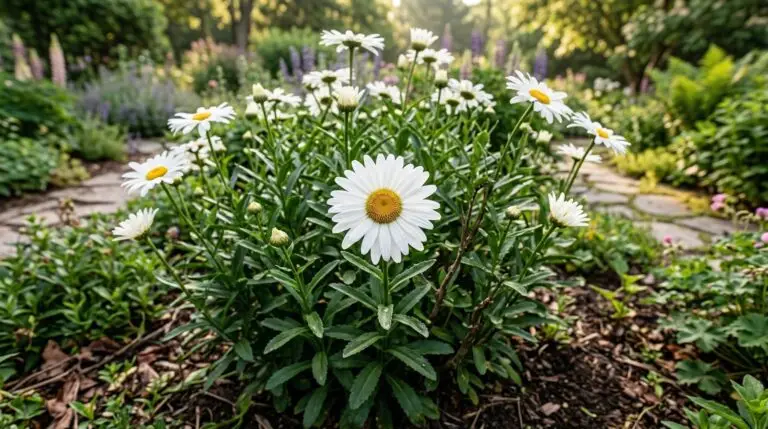
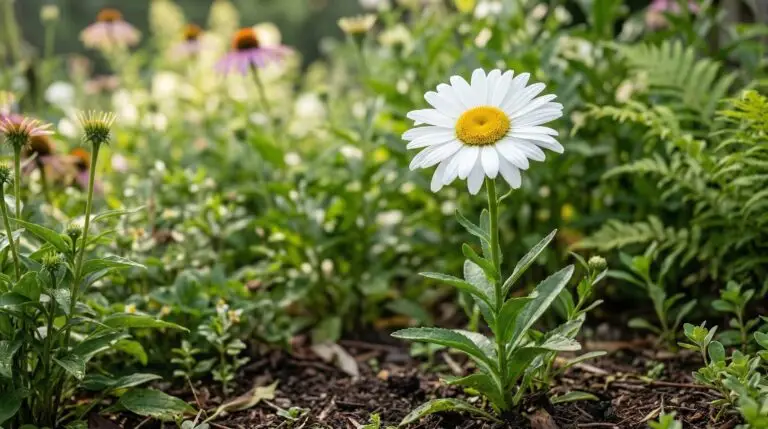
I have spent countless summer afternoons observing the steady, reliable performance of the Shasta daisy in both formal botanical borders and casual home gardens. This plant, botanically known as Leucanthemum x superbum, is a complex hybrid developed over a century ago by crossing several wild daisy species to achieve the large, clear white petals and golden yellow centers we recognize today. Growing Shasta daisy plants successfully requires understanding their vigorous nature and their specific environmental preferences. They are herbaceous perennials that form steadily expanding clumps of dark green, toothed foliage. While they are famously easy to grow, they do have specific requirements regarding winter drainage and division that dictate their longevity in the garden. When you understand these basic physiological needs, Leucanthemum care becomes a straightforward matter of seasonal observation and timely intervention.
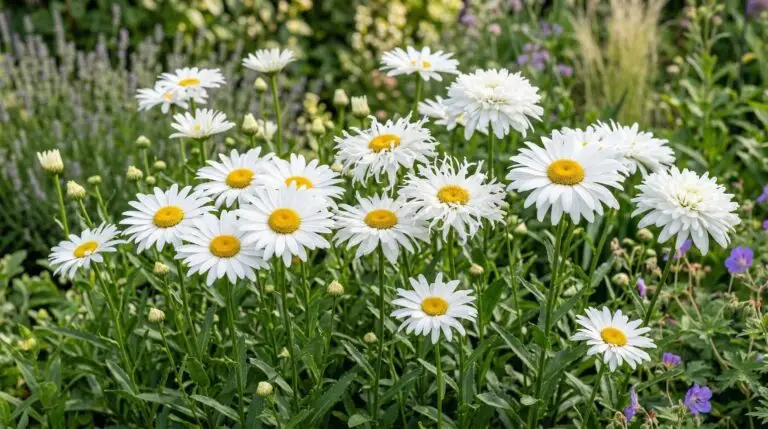
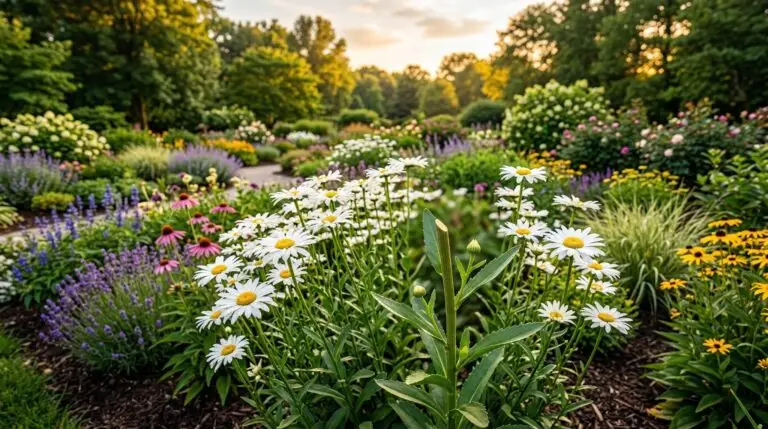
The classic cottage garden aesthetic relies heavily on these bright white blooms, which typically begin opening in early summer and continue for several weeks. The flowers are borne on stiff, upright stems that vary in height depending on the specific cultivar you choose to plant. Cultivars like ‘Becky’ easily reach three feet tall and rarely require staking, while dwarf selections like ‘Snowcap’ stay well under fifteen inches and fit neatly at the front of a border. This variation in size makes the Shasta daisy highly adaptable to different garden designs. You will find that these plants pair exceptionally well with other summer blooming perennials that share their cultural requirements.
Site selection and soil preparation
Selecting the right location is the most critical decision you will make when establishing these plants in your garden. Shasta daisies require full sun, meaning they need a minimum of six hours of direct, unobstructed sunlight every day to produce strong stems and a heavy set of flower buds. If you plant them in partial shade, the stems will stretch toward the light, a process called etiolation, which inevitably leads to floppy plants that collapse after a heavy rain. The foliage also stays wetter in shaded locations, increasing the risk of fungal diseases like powdery mildew. Giving them a wide open, sunny spot ensures compact growth and maximizes their blooming potential. Similar to the rugged coneflower, these daisies thrive when allowed to bake in the afternoon sun, provided their root systems have settled deep into the soil.
Soil drainage is the single most common limiting factor for the survival of a Shasta daisy over the winter months. These plants are highly susceptible to crown rot if they sit in cold, waterlogged soil during their dormant period. You must ensure your planting beds drain quickly after heavy rainfall. If you garden in heavy clay, you should plant your daisies in raised beds or mound the soil to encourage water to flow away from the crown of the plant. The ideal soil pH ranges from 6.0 to 7.0, which is slightly acidic to neutral. Incorporating a few inches of organic compost into the top layer of soil before planting will improve both drainage and soil structure without making the ground excessively rich.
Watering and feeding for sustained growth
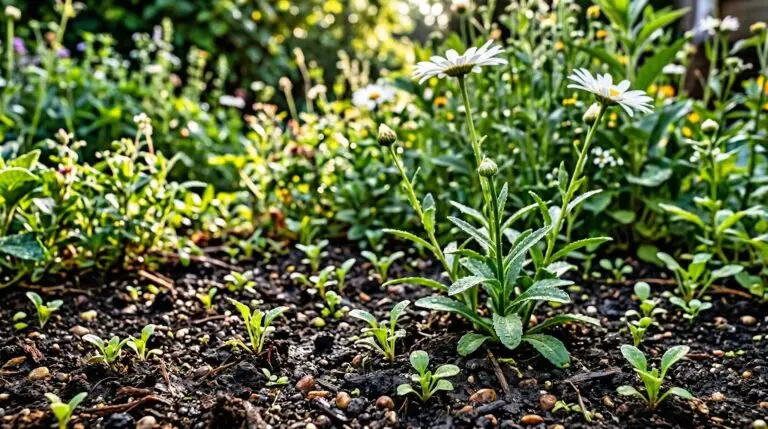
During their first growing season, young Shasta daisies require consistent moisture to develop the deep, extensive root systems that will sustain them in future years. You should water them deeply once or twice a week, allowing the top inch of soil to dry out completely between waterings. Shallow, frequent watering encourages roots to stay near the surface, leaving the plant vulnerable to drought stress later in the summer. Once established, these daisies are moderately drought tolerant and can handle brief dry spells without dropping their flower buds. However, prolonged drought will cause the lower leaves to yellow and drop, and the flower size will be noticeably reduced. Applying a two-inch layer of organic mulch around the base of the plants helps regulate soil temperature and conserves moisture during the hottest weeks of July and August.
Many gardeners make the mistake of over-fertilizing their perennial beds, assuming more nutrients will equal more flowers. Shasta daisies actually perform poorly in heavily fertilized soils, responding to high nitrogen levels by producing weak, floppy stems and abundant foliage at the expense of blooms. A single application of a balanced, slow-release organic fertilizer in early spring as new growth emerges is usually sufficient for the entire year. If your soil is already amended with quality compost, you may not need to apply supplemental fertilizer at all. Like the low-maintenance coreopsis, these plants evolved to succeed in average garden soils rather than highly enriched agricultural loam. Observing the color and vigor of the foliage will tell you if the plant lacks nutrients, as nitrogen deficiency typically presents as a uniform pale green or yellowing of the older leaves.
Managing blooms through deadheading
To get cheerful white and gold flowers all summer long, you must commit to a regular practice of deadheading. As a flower matures and the white ray petals begin to brown and drop, the plant shifts its energy from producing new buds to developing seeds in the central golden disc. By removing the spent flower heads before they can set seed, you interrupt this reproductive cycle and force the plant to generate lateral shoots and secondary buds. When deadheading a Shasta daisy, do not simply snap off the flower head at the top of the stem. You should trace the stem down to the next lateral bud or a set of healthy leaves and make a clean cut just above that point. This technique keeps the plant looking tidy and prevents you from leaving a garden full of bare, headless stalks.
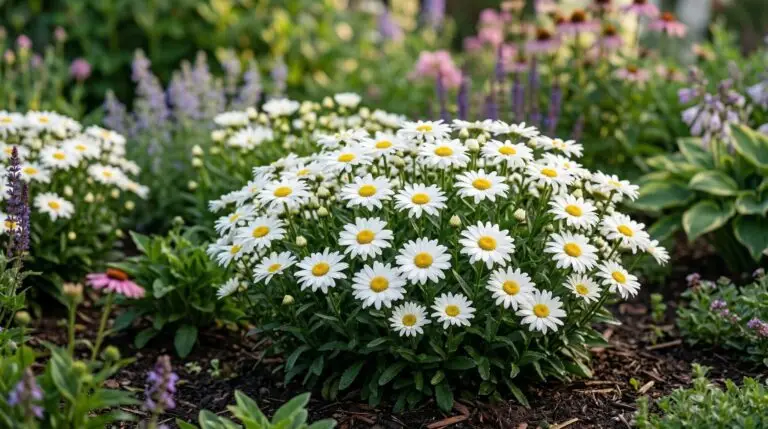
The primary flush of blooms occurs in late June and July, with the secondary flush appearing in August if you have been diligent with your pruning shears. By late summer, the plant will eventually exhaust its blooming capacity regardless of how carefully you deadhead. At this stage, the tall flowering stems will begin to die back naturally. You can cut these spent stems all the way down to the basal foliage, which is the low mound of leaves resting near the soil surface. This basal foliage remains green late into the autumn and continues to photosynthesize, storing energy in the root system for the following year. Leaving this low mound of leaves intact over the winter helps protect the shallow crown from extreme temperature fluctuations.
Division and long term plant health
Shasta daisies are rhizomatous plants, meaning they spread outward by producing shallow, horizontal underground stems. As the clump expands over several years, the original central portion of the plant becomes crowded, woody, and less vigorous. You will often see a mature daisy clump develop a dead, hollow center with all the active growth occurring in a ring around the outside. To maintain the health and blooming capacity of the plant, you must dig up and divide the clump every two to three years. Early spring, just as the new leaves begin to emerge from the soil, is the safest time to perform this task. You can also divide them in early autumn, provided you complete the job at least six weeks before the ground freezes so the new roots have time to anchor the plant.
The physical process of division requires a sharp spade and a willingness to be somewhat ruthless with the root ball. Once you have lifted the entire clump out of the ground, use your spade or a large garden knife to slice the root mass into several smaller sections. Discard the woody, unproductive center entirely, as replanting it will only yield weak growth. Select the vigorous outer sections, ensuring each new division has several healthy growing points and a solid mass of fibrous roots. Replant these sections immediately at the same depth they were growing previously, watering them in deeply to settle the soil around the roots. This routine maintenance is similar to the care required for a Black Eyed Susan, which also relies on frequent division to prevent overcrowding and maintain a strong floral display. Taking the time to divide your daisies guarantees you will have vigorous, deeply rooted plants ready to push up dozens of fresh white blooms when the summer sun returns.
More About Daisy
Best Shasta daisy varieties from classic Alaska to fluffy double Crazy Daisy
Shasta daisies in containers for bright summer displays on patios and porches
Daisy meaning, from innocence and new beginnings to he loves me, he loves me not
Why Shasta daisies die after a few years and how to keep them going through division
The Luther Burbank story and how he created the Shasta daisy from four wild species
Deadheading Shasta daisies for months of continuous blooming instead of a one-time show
Growing Shasta daisies from seed for the most affordable perennial border
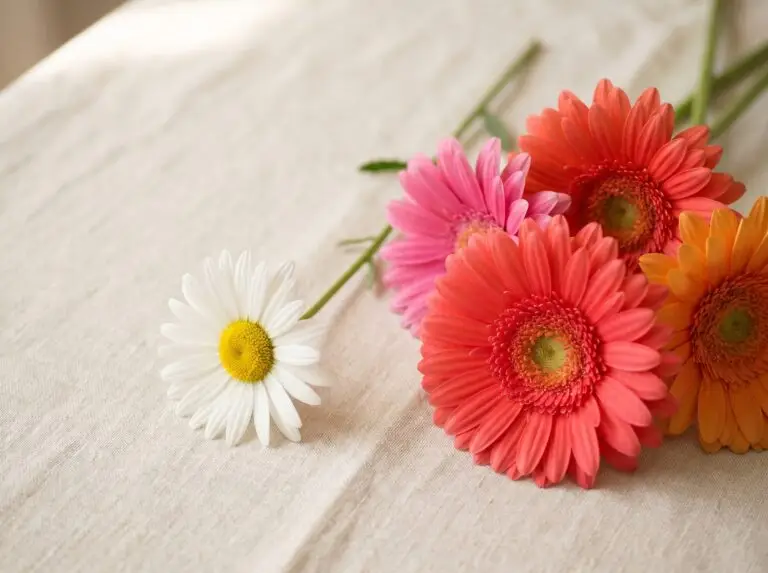
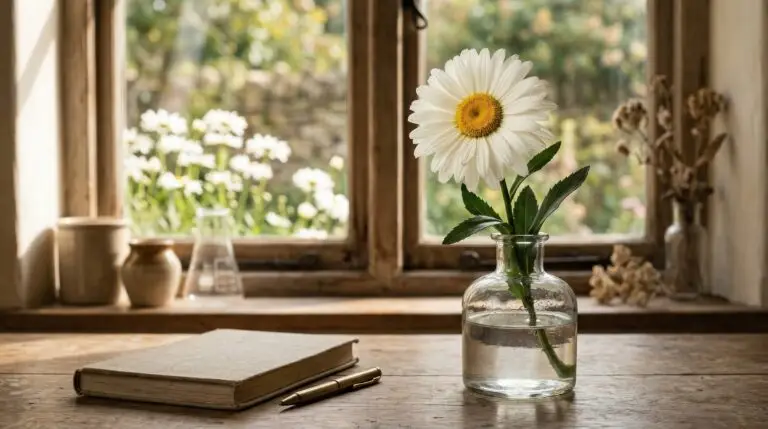
Shasta daisies as long-lasting cut flowers for simple elegant summer bouquets