
How to Grow and Care for Daylily
Contents
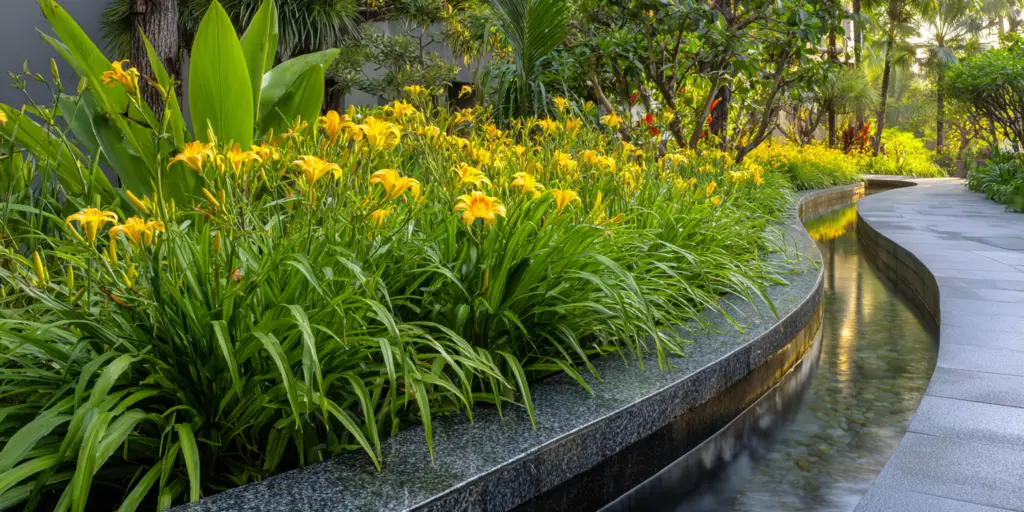
Daylily (Hemerocallis spp.) is a long lived herbaceous perennial grown for its fountain of arching leaves and a steady parade of trumpet shaped flowers carried on leafless stalks called scapes. Daylilies are not true lilies in the genus Lilium. The plant grows from a crown with fleshy, fibrous storage roots rather than from a true bulb. Common names include day lily and ditch lily for the naturalized orange Hemerocallis fulva, although that species differs in vigor and spread from modern garden hybrids. In most regions daylilies are among the most forgiving flowering perennials for home landscapes.
A quick snapshot for success helps you start with confidence. Choose full sun for best bloom, which means at least 6 hours of direct light, and provide afternoon shade in the hottest summer climates. Prepare a deep, well drained bed with generous compost and aim for slightly acidic to neutral soil. Set the crown at or just below the soil surface and keep young plants evenly moist during the first growing season. Once established, daylilies tolerate short dry spells yet respond with stronger flowering when they receive regular water and a light spring feeding.
Soil & Bed Preparation
Healthy daylilies begin with soil that drains well yet holds steady moisture. A loam with plenty of organic matter provides the best structure for roots to expand and anchor the plant. Work 2 to 3 inches (5 to 7.5 centimeters) of finished compost into the top 10 to 12 inches (25 to 30 centimeters) of native soil before planting. In heavy clay, mixing in coarse compost and some pine bark fines improves porosity and root aeration. In very sandy soil, additional compost and a small amount of coconut coir increase water holding capacity. Raised beds are useful where seasonal water sits after storms, since persistent saturation encourages crown rot. Keep the bed level so irrigation does not pool around crowns. A simple drainage check prevents surprises. Dig a hole 12 inches deep and wide (30 by 30 centimeters), fill it with water, let it drain, then refill and time the second drop. If it empties within 2 to 4 hours the drainage is suitable. If water lingers longer than 6 hours, build a raised bed 8 to 12 inches high (20 to 30 centimeters) or find a higher spot. Daylilies accept a range of soil reactions yet bloom best near pH 6.0 to 6.8. Use a home soil test kit or a Cooperative Extension test to measure pH, then adjust gradually. Agricultural lime raises acidic pH over several months. Elemental sulfur lowers alkaline pH as soil microbes convert it. Retest after one growing season to confirm the change before adding more amendments.
Daylily roots are thick, fibrous, and built for storage, so deep preparation pays off. Break compacted layers and remove large stones so water can move downward through the profile. The goal is an oxygen rich, friable bed that does not crust after rain. Because daylilies grow from a crown rather than a true bulb, do not bury the crown too deeply or pack heavy mulches right against it. For containers, use a sturdy potting mix with bark, peat or coir, and perlite so that moisture spreads evenly and excess water exits quickly.

Planting Calendar by USDA Zone
Daylilies are adaptable across much of the United States and are commonly grown in USDA Zones 3 to 9. Focus on soil warmth and the calendar in your region rather than a single national date. Bare root divisions establish fastest when planted during cool to mild weather while soil is workable and still moist. Container grown plants can go into the ground over a broader window if you can water them consistently. In all climates allow four to six weeks for new roots to knit before extreme heat or the first hard freeze.
In Zones 3 to 5, spring planting begins as soon as the soil can be worked and stays open through early summer. Fall planting succeeds when started in late summer to early fall, from about mid August to mid September, so roots settle before repeated freeze and thaw. Far northern sites with short seasons should lean toward spring since fall windows can close early. If fall arrives quickly, heel divisions temporarily into a vegetable bed to protect them, then move them to their permanent home the following spring.
In Zones 6 to 7, choose early spring or early fall. Spring planting runs from March to May depending on local frost patterns. Fall planting runs from late September into October where frost arrives later. These temperate zones often offer the most flexible windows, but summer heat still stresses new divisions. If you must plant in early summer, shade the bed with lightweight fabric for one week and water deeply to help roots take hold.
In Zones 8 to 9 and warm coastal zones, late fall through winter is ideal for bare root divisions because soil stays evenly cool and moist. Plant from November to February where the ground does not freeze. In the hot humid Southeast, fall planting reduces summer stress and speeds establishment. In arid inland valleys and desert edges, favor late fall to early winter to avoid hot soils. In salty coastal air and on barrier islands, site daylilies where sea spray is filtered by shrubs or fencing and rinse foliage with fresh water after storms.
Planting: Depth & Spacing
Trim dead foliage to 6 to 8 inches (15 to 20 centimeters) and inspect the fan. Soak roots in clean water for 20 to 30 minutes before planting. Dig a broad hole 12 inches wide and 8 to 10 inches deep (30 by 20 to 25 centimeters). Make a small mound in the center, spread the roots evenly over the mound, and settle the plant so the crown sits at or up to 1 inch below the soil surface in cold climates, and at or just below the surface in warm climates. Backfill and firm gently to remove air pockets, then water thoroughly. Space standard cultivars 18 to 24 inches apart (45 to 60 centimeters) with 24 to 30 inches (60 to 75 centimeters) between rows for good airflow and easy access. Mulch after watering and label the clump while the fan is still visible. Water the container well, then slide the root ball free. Tease circling roots with your fingers so new roots grow outward into native soil. Set the top of the root ball level with the surrounding ground, keeping the crown at or just below the surface. Backfill, firm, and water to settle. To minimize transplant shock, plant on a cool, overcast day or in late afternoon. In bright sun, provide temporary shade with a lawn chair or fabric for three to five days. Maintain steady moisture the first month so roots extend beyond the original potting mix. If the plant came from a warm greenhouse, acclimate it outdoors for a week by placing it in morning sun and gradually increasing light. Daylilies do not grow from true bulbs, corms, or tubers. They form a crown with fleshy fibrous roots that store water and nutrients. Treat them as clumping perennials and avoid instructions intended for bulbous lilies, which require different depth and aftercare.

Watering & Mulching
Watering needs change as daylilies mature. During establishment, aim for the equivalent of 1 inch of water per week (2.5 centimeters), delivered in one or two deep soakings rather than frequent light sprinkles. Deep water encourages roots to follow moisture downward, which improves tolerance of hot spells later in the season. Morning irrigation reduces leaf wetness at night. Overhead watering is acceptable for new beds if leaves dry quickly, but drip lines or soaker hoses make long term care easier and help prevent leaf diseases that track along wet blades. Check moisture by feeling the soil 3 to 4 inches down (8 to 10 centimeters). If it feels dry and crumbly, it is time to irrigate.
Established clumps usually manage short dry periods, yet flowering improves with steady moisture through bud formation. During heat waves, provide an extra deep soak in the early morning and watch for leaf tip scorch that signals stress. Apply a 2 to 3 inch layer of organic mulch such as shredded bark, leaf mold, or pine straw to stabilize soil moisture, suppress weeds, and moderate heat. Keep mulch pulled back 2 inches (5 centimeters) from the crown to reduce rot. Where tap water is high in salts, flush the bed with fresh rainfall when possible. Avoid watering with softened water that contains sodium since sodium displaces calcium and can degrade soil structure over time.
Feeding
Daylilies are moderate feeders and respond well to fertile, organic rich beds. Start with a soil test so you feed according to need rather than by habit. In early spring as growth begins, apply a light rate of a balanced slow release fertilizer such as 10 to 10 to 10 at 1 to 2 pounds per 100 square feet (0.5 to 1 kilogram per 9 square meters). Water the bed afterward to move nutrients into the root zone. In lean soils, a second light feeding after the first flush of bloom can support rebloom. In very rich soils or where plants are lush but bloom is light, skip fertilizer that season. Too much nitrogen grows foliage at the expense of scapes and buds.
Organic options work well for daylilies. A spring topdressing of compost adds slow, steady nutrition and beneficial microbes. Supplement with low salt organic blends that include feather meal or alfalfa meal if a soil test calls for more nitrogen, and add rock phosphate or bone meal only when a test shows a deficit. Avoid frequent soluble feed through midsummer since repeated small doses can keep plants pushing leaves not flowers. Refresh mulch annually with a thin layer of compost under the decorative mulch and retest soil every two to three years to keep pH and nutrients in the ideal range.
Pruning & Support
Most of your pruning will be quick, regular clean up. Individual daylily blossoms last a single day, which is part of their charm. Remove the spent flower with a gentle snap or cut so the plant does not set seed. After a scape finishes blooming, cut that scape at its base to redirect energy to the crown. Tidy yellow or tattered foliage anytime. In late fall in cold regions, cut foliage to a few inches above the ground once it has frosted. For popular rebloomers, prompt deadheading and scape removal can encourage a repeat show in warm summers.
Keep tools clean to limit disease spread. Wipe pruners with 70 percent alcohol between clumps or after cutting diseased leaves. Avoid working in wet beds which spreads leaf diseases and compacts soil. Most daylilies are self supporting, but very tall cultivars in windy sites may benefit from discreet support. A low ring support placed early in the season can keep scapes upright without calling attention. Tie loosely with soft garden tape if needed so stems do not rub. Good spacing and airflow reduce both leaning and fungal spotting on leaves.
Overwintering
In cold winter regions, daylilies rest after frost. After the first hard freeze, clean up spent scapes and cut browned leaves to a few inches tall, then wait until the soil surface cools and begins to firm. Mulch with 2 to 4 inches of straw, shredded leaves, or pine bark (5 to 10 centimeters) to buffer freeze to thaw cycles that can heave crowns upward. Remove or rake back most of that mulch in early spring as thaw begins so new growth does not etiolated under a heavy blanket. If crowns have heaved, gently press them back into contact with soil on a mild day.
In warmer zones, little winter work is needed besides removing old foliage and keeping mulch thin at the crown. Where voles or other rodents chew crowns, lay a mesh barrier of half inch hardware cloth on the soil and plant through the openings, or run hardware cloth as a vertical collar around favorite clumps before mulching. Container grown daylilies in cold regions appreciate protection in an unheated garage or against a north wall where temperature swings are smaller. Water just enough through winter to keep the potting mix slightly moist. Resume regular irrigation when growth restarts.
Growing Environments
Daylilies adapt well to large containers on patios and sunny stoops. Choose a pot at least 12 to 16 inches wide (30 to 40 centimeters) that holds 3 to 5 gallons of mix. Provide several drainage holes and elevate the pot on feet so water exits freely. Use a durable potting mix that includes bark for structure and perlite for drainage. Container plants dry faster in wind and sun, so check moisture more often in summer. Feed lightly in spring with a slow release fertilizer and refresh the top few inches of mix each year. Divide and repot every two or three years or when the crown fills the container.
Microclimates matter in the ground as well. In hot summer areas, position beds where buildings or trees cast late day shade. In cool coastal zones, give daylong sun to maximize bloom. On reflective sites near south facing walls or light colored paving, add a thicker mulch and a drip line to prevent stress. Shelter tall scapes from prevailing winds with shrubs or fences to keep flowers upright. In regions with salty air, plant in slightly raised beds and rinse foliage after storms. Along slopes or at the top of a swale, daylilies benefit from quick runoff and bright conditions.
Companion Planting & Design
Design with daylilies to carry color across a long season. Early spring bulbs such as daffodils finish as daylily fans expand and hide fading bulb leaves. Summer companions like coneflower, bee balm, Coreopsis, and ornamental grasses fill vertical and textural gaps so your borders stay full from the path to the backdrop. Low groundcovers such as hardy geraniums or creeping thyme soften the front edge and conceal the bare spaces left when you remove spent scapes. For a high impact ribbon of color, mass a single cultivar in drifts that repeat down the border, then weave in accents for contrast.
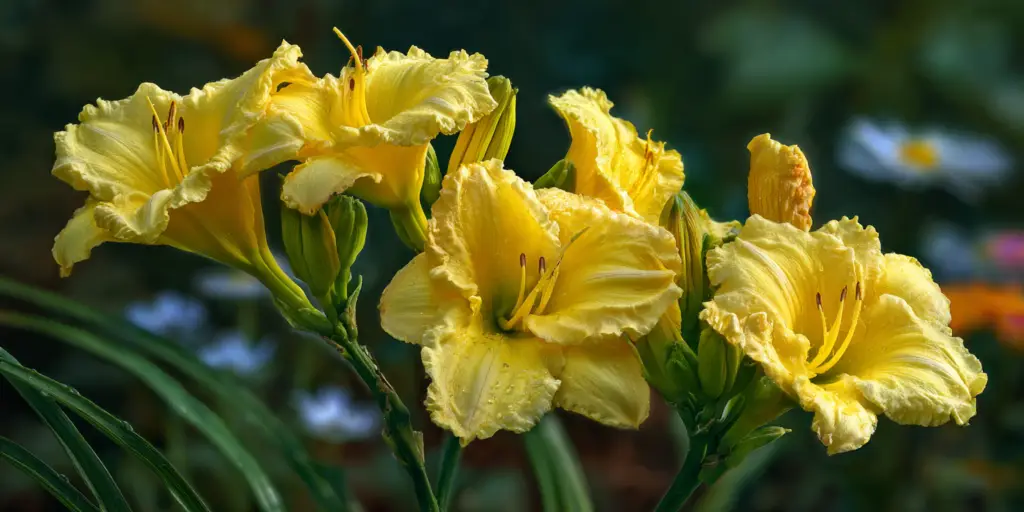
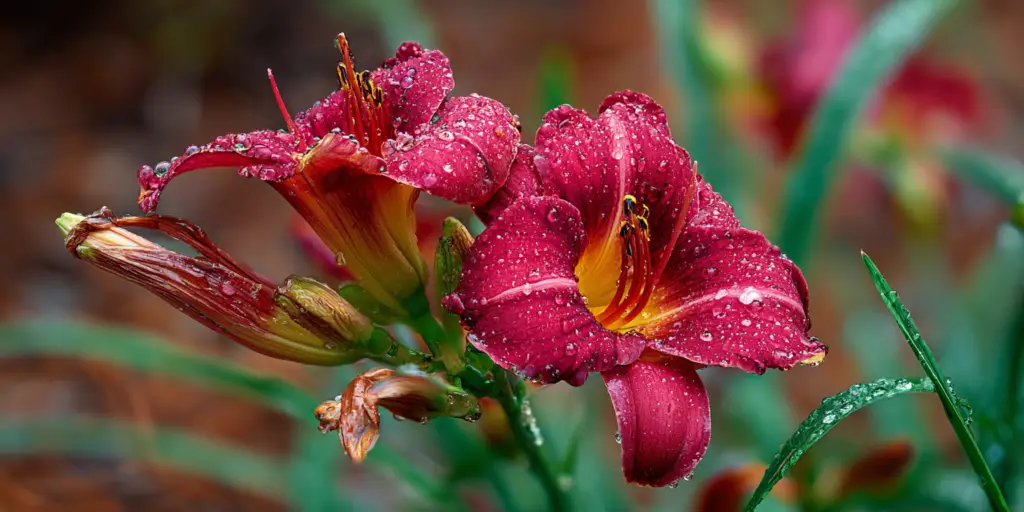
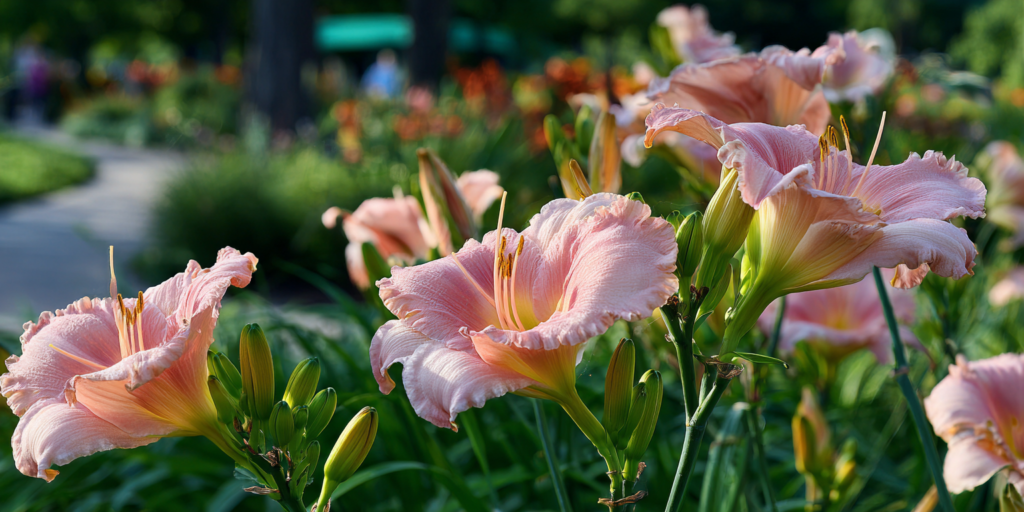
Color pairing is both fun and functional. Gold and orange daylilies echo the warmth of orange flowers and yellow flowers while cool lilac and burgundy cultivars balance beds heavy with purple flowers. Cream and near white daylilies brighten twilight paths and blend easily with white flowers and silvery foliage. If you garden for events, a bed of soft apricot and creamy yellow blends beautifully with ideas in a wedding flowers guide. For mixed borders, daylilies sit well with aromatic stalwarts such as lavender, and near shrubs like hydrangea macrophylla that give structure when perennials die back. Classic companions from roses to airy annuals keep interest high when daylilies pause between flushes.
A note on pollinators and wildlife helps set expectations. Many open faced cultivars offer nectar and attract bees and butterflies during the daylight hours. Some fragrant types open in late afternoon and entice night flying moths. Heavy ruffled forms can be less accessible to small bees. Deer may browse tender buds in some neighborhoods, so combine an attractive planting plan with local deterrents or fencing where browsing pressure is high. Avoid planting Hemerocallis fulva in small gardens since it spreads aggressively by root segments and can overwhelm neighbors. Modern clumping hybrids are a better fit for tidy beds.
References
- University of Minnesota Extension. “Daylilies.” https://extension.umn.edu/flowers/daylilies
Clemson Cooperative Extension HGIC. “Daylily.”
American Daylily Society. “Daylily Culture.”
American Daylily Society. “Daylily Rust.”
ASPCA. “Daylily: Toxic to Cats.”


Written by: Your Flowers Guide editorial team
We are a small independent group of flower lovers who research and review each guide using trusted horticultural and educational sources. Learn more about us