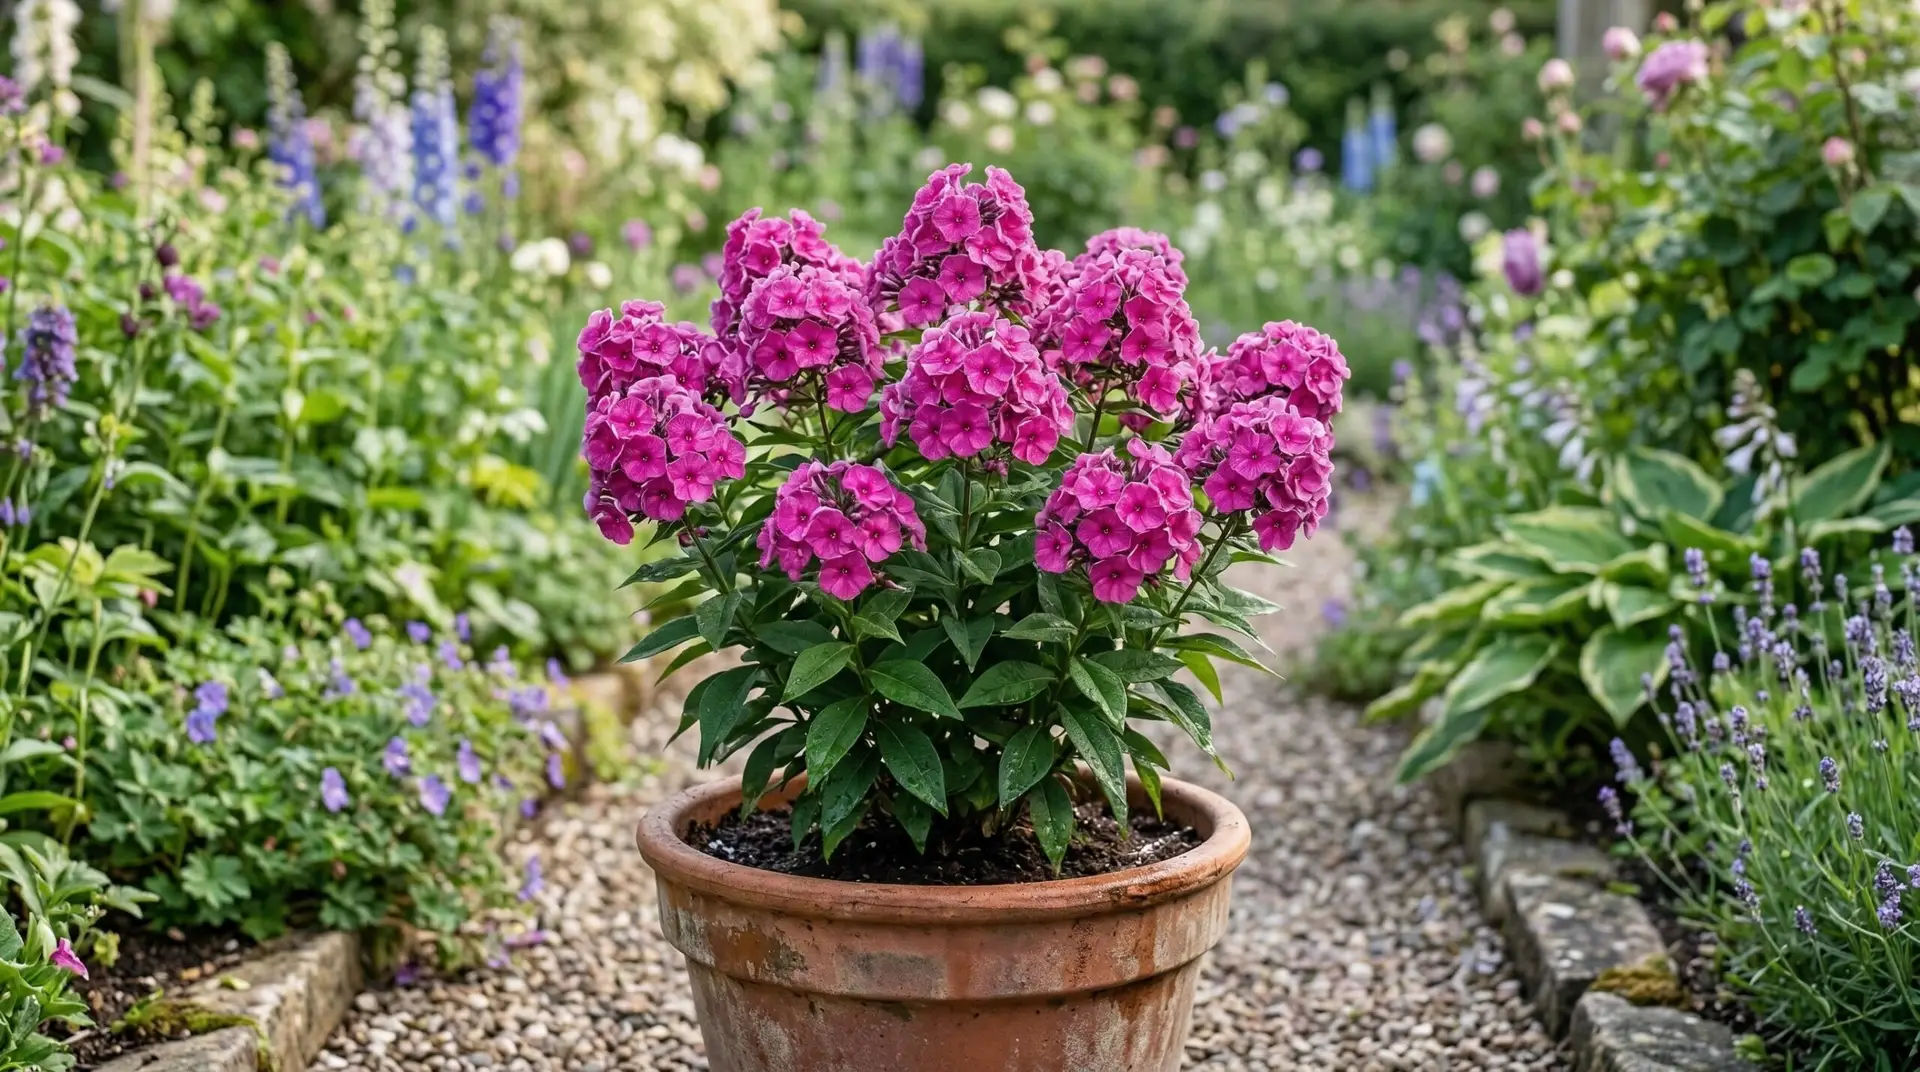
Stepping out onto a patio on a late July evening should come with a sweet, peppery fragrance drifting through the warm air. That classic scent usually belongs to tall garden phlox planted at the back of a border, but bringing that experience right up to the seating area changes the whole atmosphere of a summer evening. Putting traditional tall phlox in pots usually ends in disaster, with lanky stems flopping over the sides and leaves turning white with disease. After trying both methods for several years, the one that consistently works is selecting modern, compact varieties bred specifically for tight spaces. Growing phlox in pots requires a slightly different approach than putting them in the ground, but the reward of having that fragrance within arm’s reach is worth the adjustment. The secret lies entirely in picking the right plant from the start and giving it the exact environment it needs to thrive on a crowded balcony or patio.
Selecting compact varieties for tight spaces
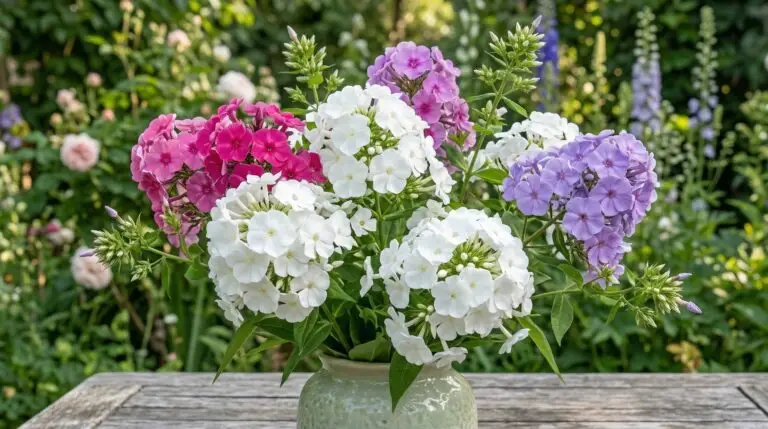
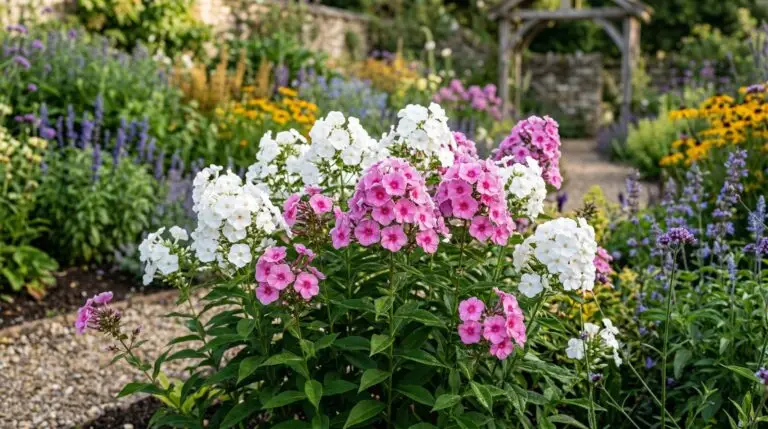
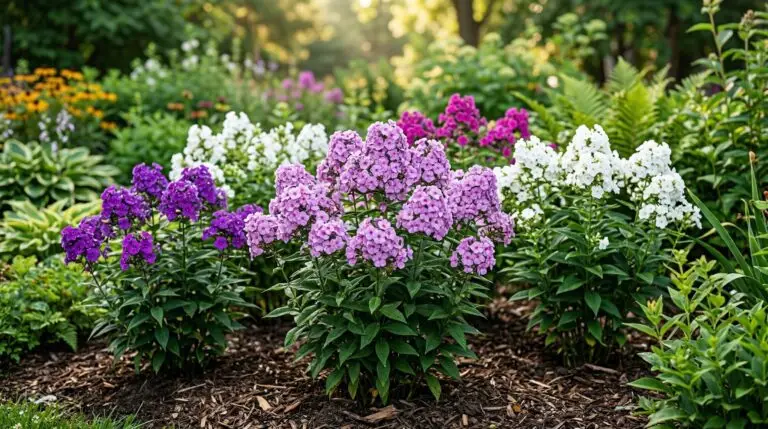
The tall, old-fashioned phlox found in abandoned farmsteads will simply not survive container life without looking miserable. For a successful container phlox display, the best options are the Volcano and Flame series. These compact plants naturally stop growing at about fifteen to eighteen inches tall, creating a dense mound of flowers that never needs staking. They have been bred to have thicker stems and a naturally bushy habit, which keeps them looking tidy in a pot from spring through late summer. Another excellent option for early season color is creeping phlox, which does not grow upward at all. Planting creeping phlox at the edge of a tall container allows it to spill over the sides, creating a waterfall of spring blooms before the summer plants even wake up.
The container itself matters just as much as the plant variety. Phlox roots need room to stretch, so a pot that is at least fourteen inches across is the absolute minimum size for a single plant. There is no need to buy expensive, professional-grade potting soils, but the mix must drain quickly to prevent root rot. A standard, affordable potting soil mixed with a few handfuls of perlite or coarse sand provides the perfect balance of moisture retention and drainage. Gardeners in the South may find this easier because their intense summer heat dries pots out quickly, while those in cooler, damp northern zones need to be extra careful about soggy soil. Using a cheap plastic nursery pot with plenty of drain holes and slipping it inside a heavier decorative ceramic pot makes it easy to check the weight and know exactly when the plant needs water.
Managing airflow to stop powdery mildew
Anyone who has grown phlox knows the frustration of powdery mildew, that white, dusty coating that ruins the foliage just as the flowers are peaking. In a container garden, plants are often jammed together to create a lush look, which creates the perfect stagnant, humid environment for mildew to spread. The most effective preventative measure is ruthless spacing, ensuring there is a clear gap of empty air between the phlox and its neighboring pots. If the leaves of the phlox are touching the leaves of the plant next to it, the airflow is restricted and mildew is almost guaranteed to show up. Thinning out a few stems from the center of the plant in early June also opens up the interior, allowing breezes to pass right through the foliage.
Watering habits play a massive role in keeping container phlox healthy and green. Overhead watering is the fastest way to invite fungal diseases, so the water must be delivered directly to the soil surface. A simple watering can with a long, narrow spout makes it easy to reach under the foliage without splashing dirt onto the lower leaves. The plants will often wilt dramatically in the late afternoon sun, looking completely dead, but this is a natural heat response rather than a desperate need for water. Check the soil moisture with a finger first, as watering an already damp pot just because the leaves are drooping will drown the roots. If the soil is dry two inches down, water deeply until it runs out the bottom, and then leave the pot alone until it dries out again.
Building a complete container display
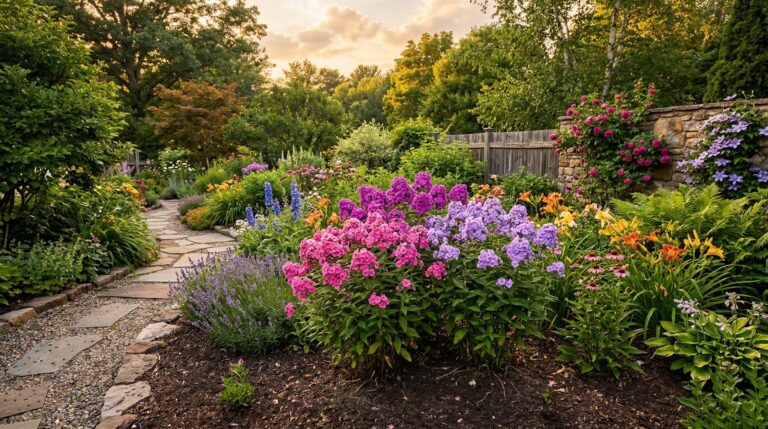
While a pot filled entirely with a Flame series phlox is beautiful, mixing in companion plants creates a more established, layered look. The trick is choosing partners that share the same water and sunlight requirements without competing for the exact same airspace. Trailing plants work beautifully because they cover the bare soil and drape down the sides of the pot, keeping the roots cool while the phlox stands upright in the center. A classic trailing petunia makes an excellent companion, offering continuous color around the base of the container while the phlox prepares its main summer flush. Similarly, a sprawling verbena can weave its wiry stems through the lower branches of the phlox, creating a dense mat of blooms that handles the reflected heat of a concrete patio perfectly. Just be sure to trim back the trailing plants if they start climbing up into the phlox foliage and restricting that vital airflow.
Keeping the blooms coming all summer
Container phlox demands a bit more regular feeding than its counterparts growing out in the garden beds. Every time a pot is watered, nutrients are washed out through the drainage holes, leaving the potting soil depleted by midsummer. Applying a basic, inexpensive liquid bloom fertilizer every two weeks replaces those lost nutrients and gives the plant the energy it needs to produce massive flower heads. When those flower heads finally start to fade and turn brown, they must be snipped off immediately to prevent the plant from putting its energy into making seeds. Cut the stem back to the next set of healthy leaves, and the plant will usually push out a second, slightly smaller flush of flowers a few weeks later. The plants often look completely dead for about two weeks after a hard pruning or initial spring transplanting. They are not. Give them time, and new green shoots will eventually appear at the leaf nodes.
As autumn approaches, container phlox will naturally begin to shut down and look a bit ragged. Overwintering perennial phlox in pots is entirely possible, but the roots are much more vulnerable to freezing temperatures when they are above ground. In zones where winters are harsh, dragging the pots into an unheated garage or shed once the plant goes dormant protects the roots from repeated freeze and thaw cycles. The pots will need a tiny splash of water once a month during the winter just to keep the soil from turning into pure dust. Bring them back out onto the patio when the spring temperatures begin to warm up, top dress them with some fresh compost, and they will be ready to start the whole fragrant process over again. Growing container phlox requires attention to spacing and watering, but the payoff of having that sweet summer scent right next to your patio chair is a reward that makes the effort worthwhile.
More About Phlox
Dividing tall garden phlox every few years for stronger plants and more flowers
Best phlox varieties from mildew-resistant David to brilliant Starfire
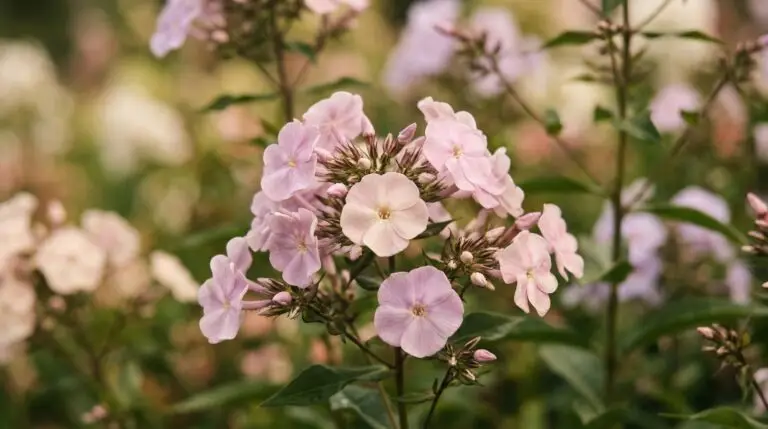
How to grow garden phlox for fragrant flower clusters that dominate the midsummer border

Companion plants for phlox: what to grow and what to avoid
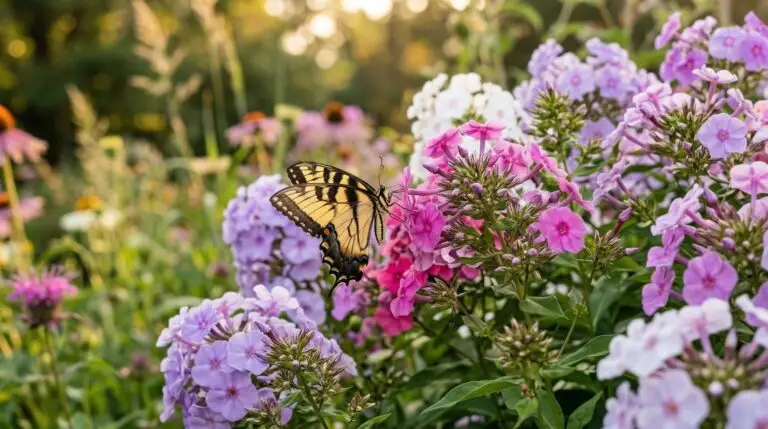
Phlox as a butterfly and hummingbird magnet for fragrant pollinator gardens
Phlox flower meaning and the sweet agreement this bloom represents in the language of flowers
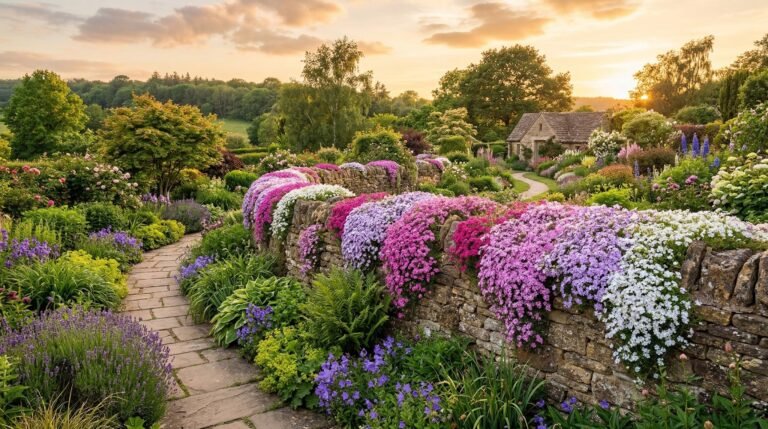
Creeping phlox for spring ground cover that turns slopes into rivers of color
Phlox powdery mildew and how to finally beat this persistent fungal problem
