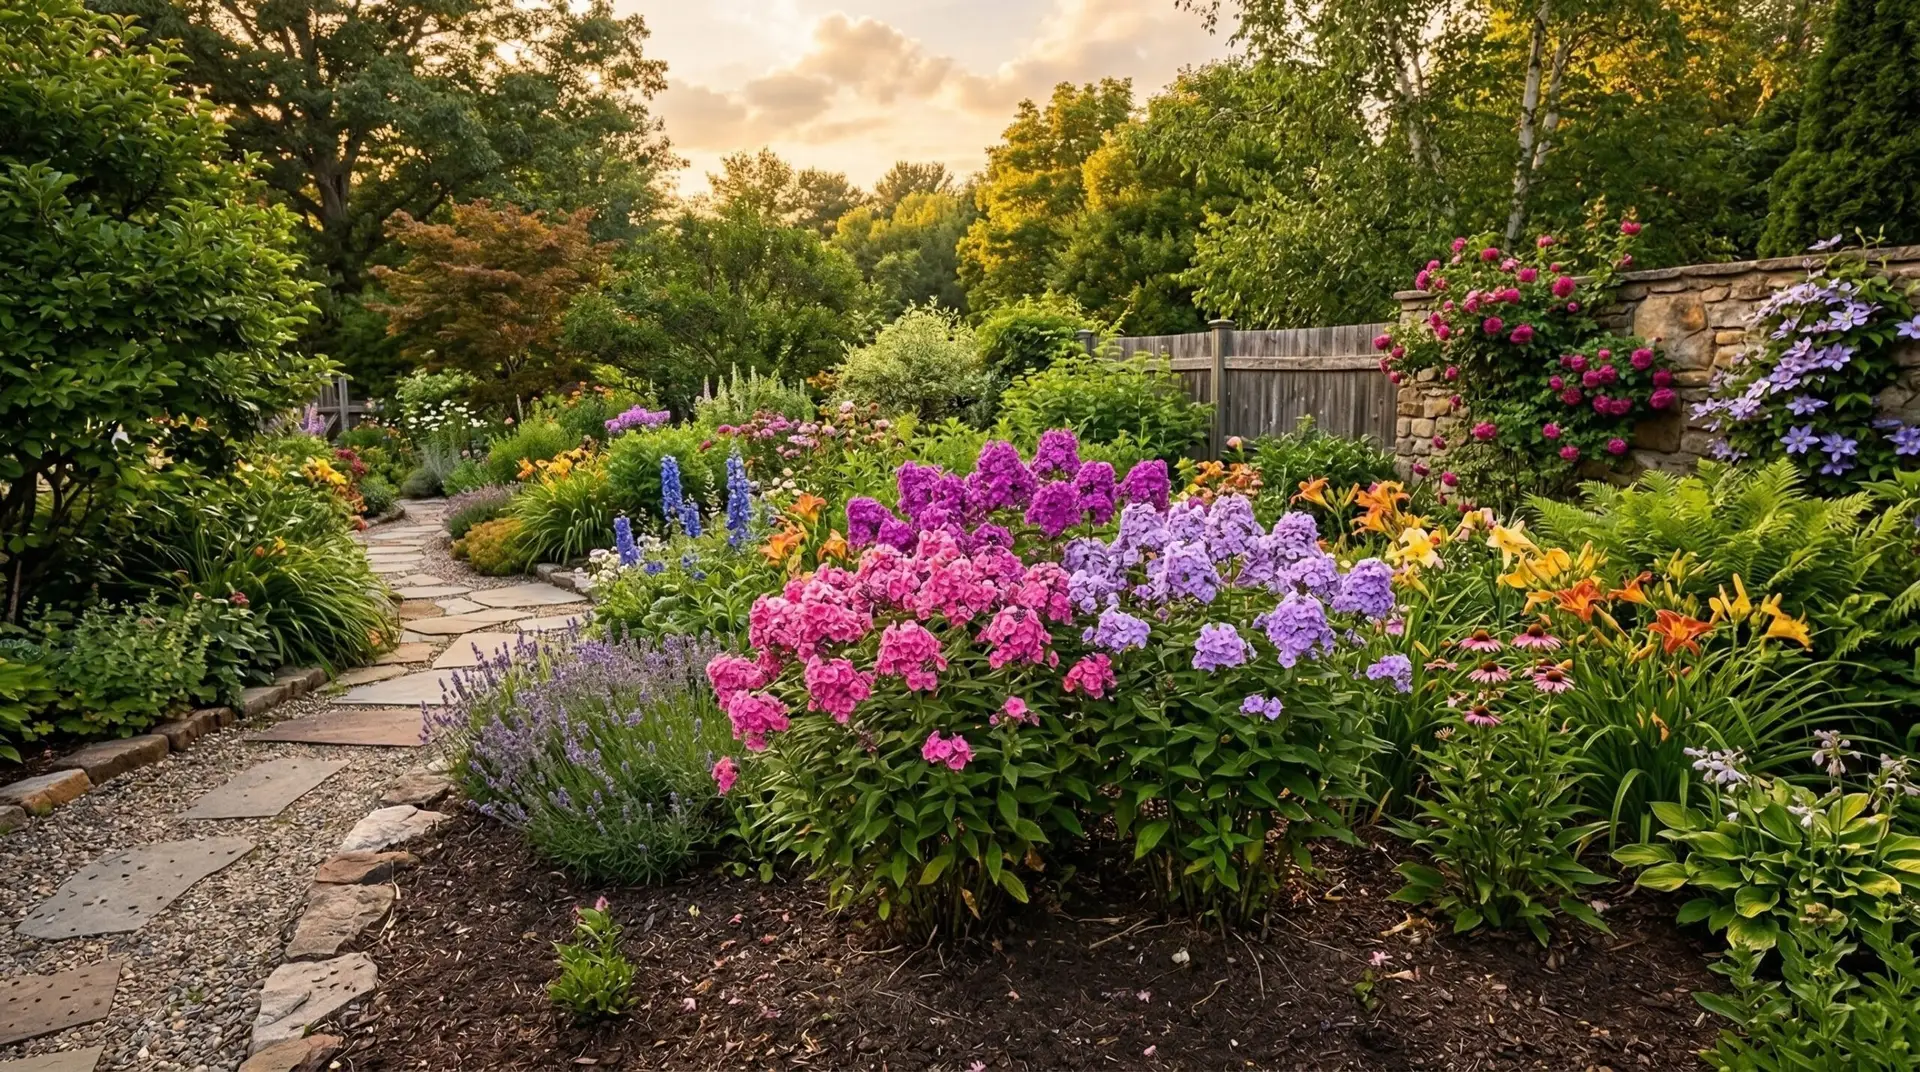
Over time, tall garden phlox clumps expand outward and leave behind a dense, woody core that produces weaker stems and smaller flower heads. When you notice the center of your plant looking sparse while the edges push outward, your phlox is signaling that it needs attention. Dividing these perennials every three to four years revitalizes the entire planting by giving the roots fresh soil and room to grow. Crowded stems also restrict airflow, making the foliage highly susceptible to powdery mildew as summer humidity rises. By breaking up the clump, you improve air circulation around every stalk and encourage the plant to put its energy into producing massive flower panicles rather than fighting for space. Understanding this cycle helps you maintain vigorous, healthy plants that anchor your late summer borders year after year.
Recognizing the right time to divide
The timing of this task depends entirely on the seasonal cues in your garden rather than specific dates on a calendar. Spring division is generally the most successful approach, ideally done just as the new shoots emerge and reach two to four inches tall. At this stage, the plant is waking up from dormancy and pushing energy into new growth, allowing the disturbed roots to establish quickly before the heat of summer arrives. If spring slips away from you, fall division is a perfectly viable alternative, provided you wait until the intense heat has broken and daytime temperatures consistently stay above sixty degrees. Fall dividing requires cutting the foliage back by half to reduce stress on the root system, and you must complete the task at least six weeks before your ground freezes solid. This gives the new divisions ample time to anchor themselves against winter heaving, ensuring they emerge strong the following spring.
Digging and separating the root mass
When the conditions are right, gather a sturdy garden spade, a digging fork, and a tarp to hold the soil and roots. Start by inserting your spade into the soil about six inches outside the visible perimeter of the phlox clump, working your way entirely around the plant. Tall garden phlox has a dense, fibrous root system that grips the earth tightly, so you will need to pry upward gently from multiple angles to lift the entire mass without tearing the roots. Once the clump is free, lift it onto your tarp and gently brush or shake away the loose soil so you can clearly see the structure of the crown. You might notice that the very center of the root mass feels hard, woody, and almost completely devoid of new, fleshy green shoots. This is completely normal for an older plant and is your visual guide for where to make your cuts, as that exhausted center has finished its useful life.
With the root mass exposed, use a sharp spade or an old serrated garden knife to slice the healthy outer ring of the clump into smaller sections. Each new division should have three to five strong shoots or “eyes” and a healthy, fleshy portion of the root system attached to it. The woody, dead center of the original plant should be tossed into your compost pile, as replanting it will only yield weak, disappointing growth. If you are working with a particularly massive clump, you might find it easier to insert two digging forks back to back into the center and pry the handles apart to split the root mass. This technique is often used when dividing a daylily, and it works exceptionally well for phlox because it separates the tangled roots with minimal cutting. Handle the new sections carefully, keeping them shaded and moist if you cannot replant them immediately, as exposed roots will dry out rapidly in the open air.
Replanting and managing growth between divisions
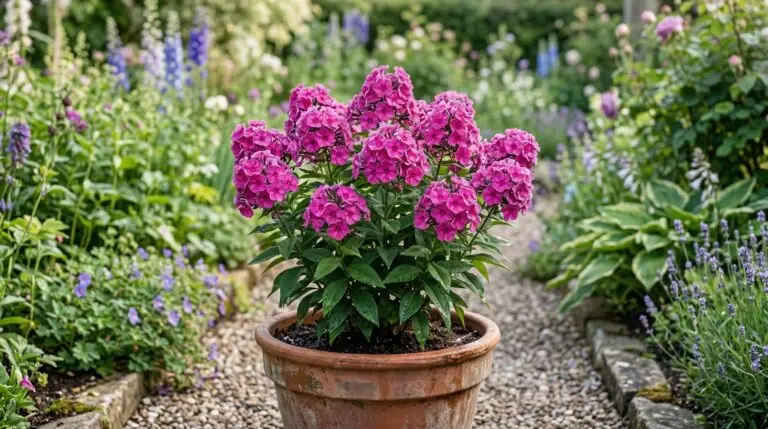
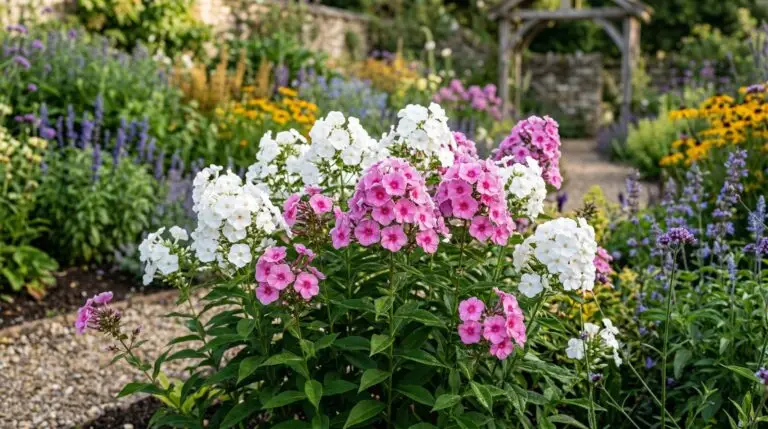
Before placing your new divisions back into the garden, take a few minutes to evaluate and refresh the planting site. Phlox requires well-drained soil to thrive, as roots left sitting in heavy, waterlogged earth will quickly succumb to rot during wet winter months. If your soil feels dense and heavy, or if water puddles on the surface long after a rain, dig a wider hole and work several handfuls of rich compost into the native soil to improve its texture and drainage. Position each new division so that the top of the crown sits exactly level with the surrounding soil surface, as planting too deeply will smother the shoots and invite crown rot. Space the new plants at least eighteen to twenty-four inches apart, giving them plenty of room to expand over the next three years. This generous spacing mimics the airflow strategies used when planting a coneflower, ensuring the foliage dries quickly after morning dew or summer rain showers.
In the years between divisions, you can still manage the health and vigor of your phlox through a practice called stem thinning. When the spring shoots reach about six inches tall, carefully pinch or snip out the weakest, thinnest stems at the soil line, leaving only the thickest and most robust stalks to mature. Removing about one third of the total stems might feel counterintuitive when you want a massive floral display, but it actually forces the plant to channel all its energy into the remaining stalks. The thinned plant will produce significantly larger, heavier flower heads on stems that are strong enough to stand upright without staking. Thinning also provides the exact same airflow benefits as dividing, keeping the interior leaves dry and drastically reducing the chances of a powdery mildew outbreak. This simple maintenance step bridges the gap between major division years and keeps your garden looking tidy and deliberate.
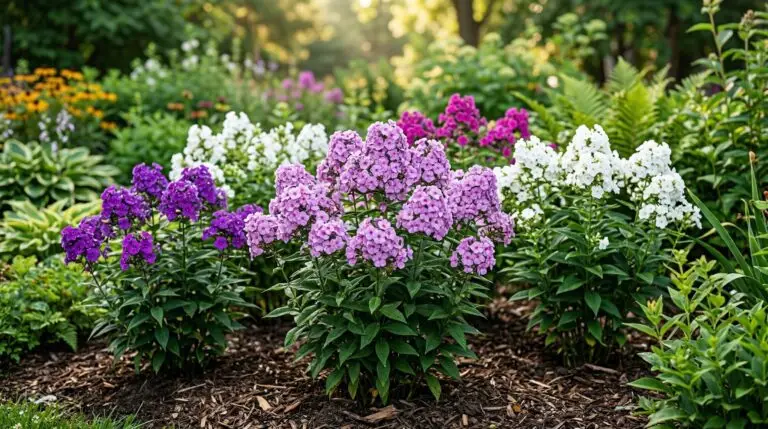
After replanting your divisions or completing your spring thinning, water the plants deeply to settle the soil and eliminate any hidden air pockets around the roots. Keep a close eye on the soil moisture for the first few weeks, providing supplemental water if the weather turns unseasonably dry, but avoid turning the bed to mud. As the roots take hold, you will see the foliage plump up and bright green growth begin to push upward at a rapid pace. By midsummer, these rejuvenated plants will reward your efforts with thick, sturdy stalks topped by massive, fragrant flower clusters that draw pollinators from miles around. The improved air circulation will keep the leaves clean and green all the way to the ground, eliminating the bare, defoliated stems that plague neglected clumps. Your renewed phlox will anchor your late summer garden with incredible vigor, ready to thrive untouched for another three to four years.
More About Phlox
Growing phlox in containers for fragrant summer displays on patios and balconies
Best phlox varieties from mildew-resistant David to brilliant Starfire
How to grow garden phlox for fragrant flower clusters that dominate the midsummer border

Companion plants for phlox: what to grow and what to avoid
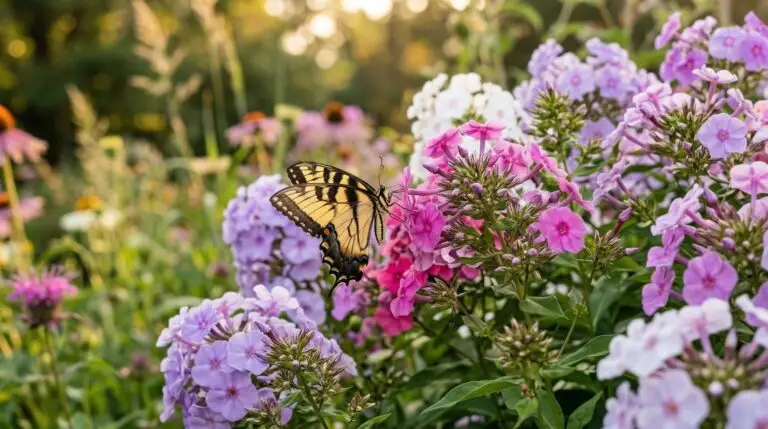
Phlox as a butterfly and hummingbird magnet for fragrant pollinator gardens
Phlox flower meaning and the sweet agreement this bloom represents in the language of flowers

Creeping phlox for spring ground cover that turns slopes into rivers of color
Phlox powdery mildew and how to finally beat this persistent fungal problem
