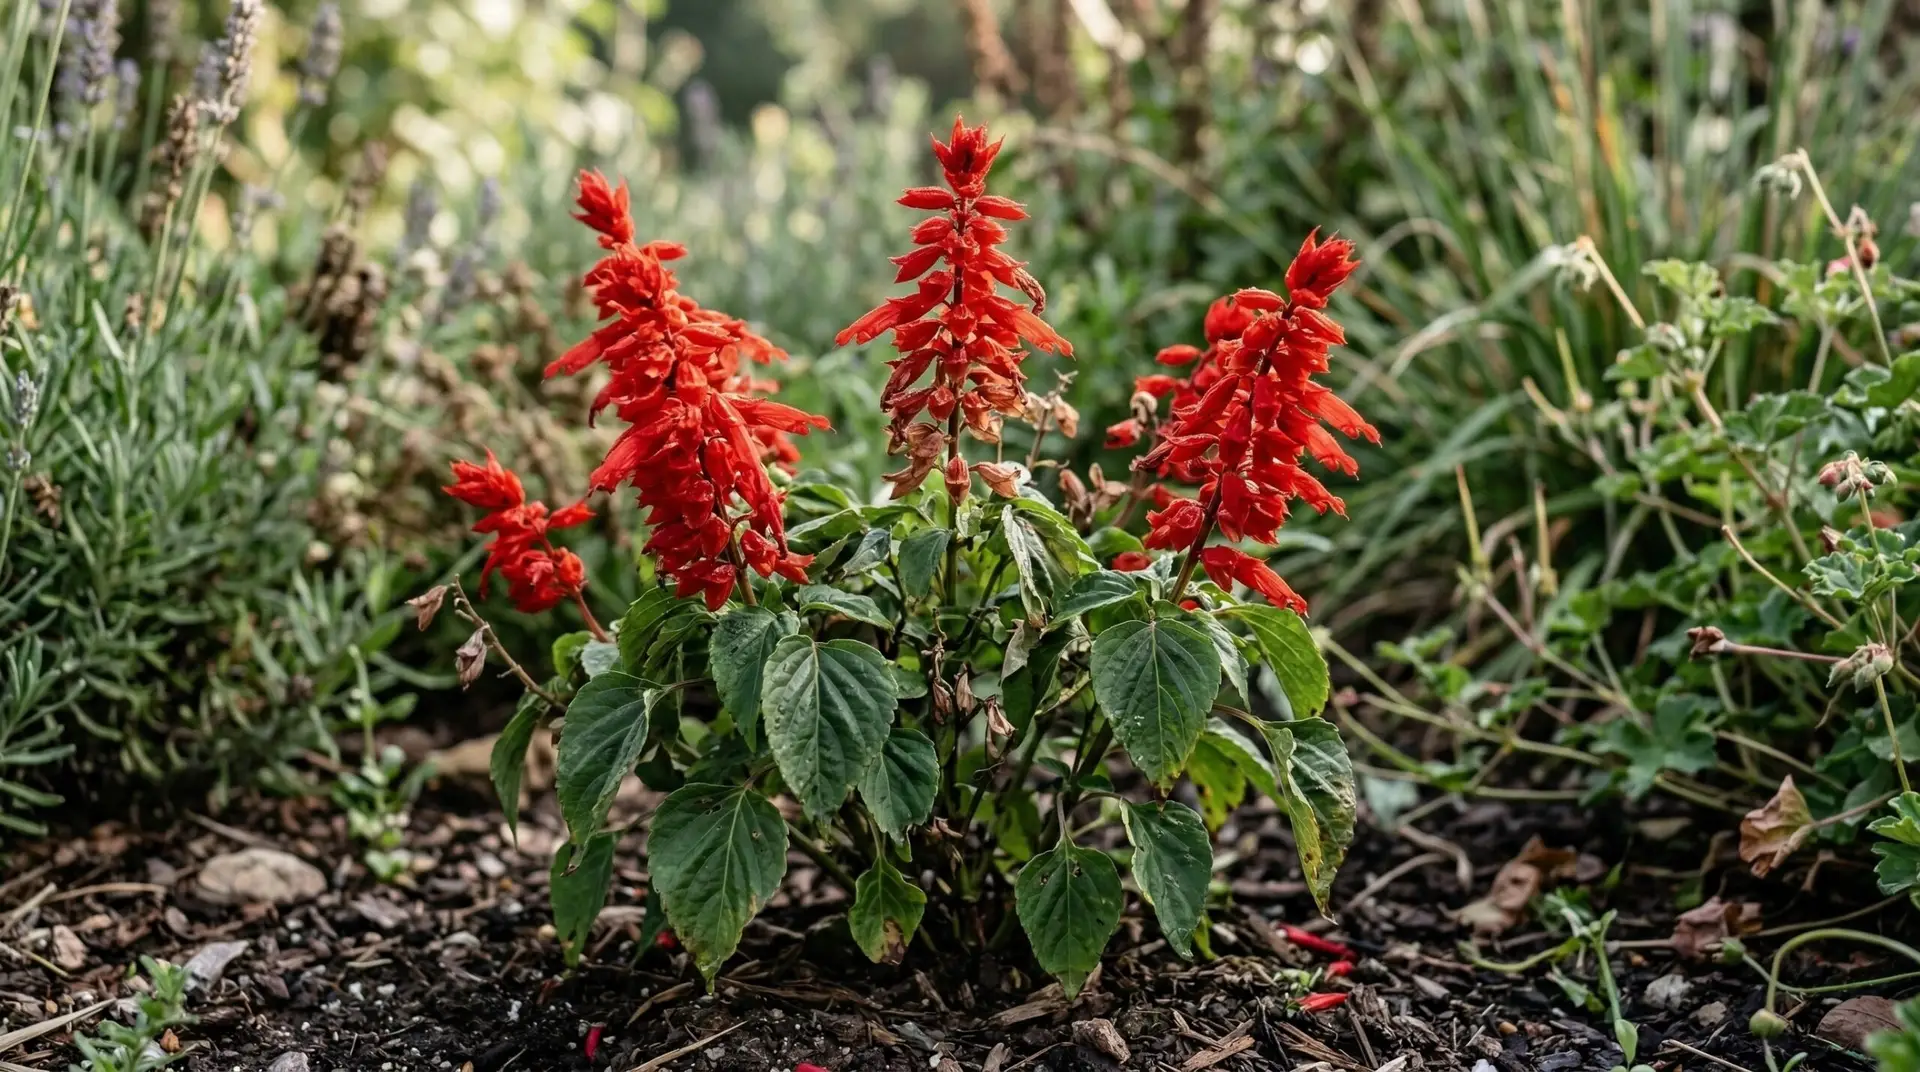
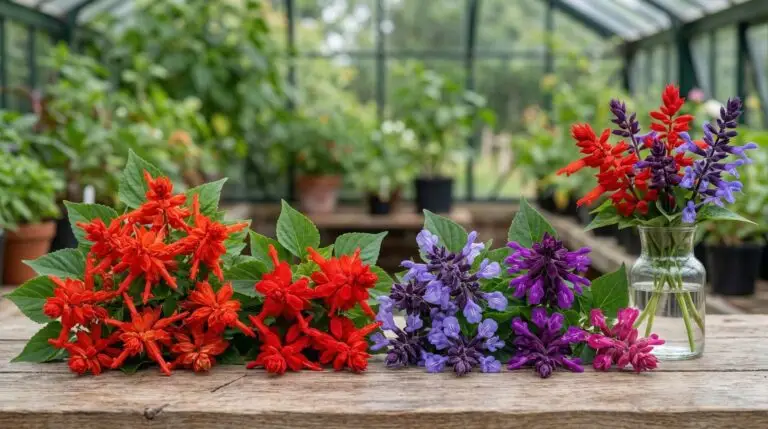
Most gardeners buy scarlet sage in May when the plants are compact, bushy, and covered in bright red flower spikes. By late July, you walk out to the garden and find a completely different plant taking up space in your beds. The dense foliage has disappeared, replaced by tall, spindly stems with a few exhausted flowers clinging to the very top. You water the plants, but they just keep getting taller and looking worse as the weeks go by. This is the classic midsummer slump that frustrates nearly everyone who grows these plants. People often assume the soil is bad or they bought a weak variety, but this growth pattern is actually a natural response to the environment. The plant has simply exhausted its initial energy reserves and needs your direct intervention to reset its growth habit.
Understanding why scarlet sage gets leggy
When scarlet sage leggy growth takes over your garden beds, it usually means the plant has hit a biological wall called the heat pause. As summer temperatures soar above ninety degrees, the plant stops putting energy into new leaves and instead focuses entirely on setting seed from its early summer flowers. The stems stretch out, the lower leaves turn yellow and drop off, and the internodes become noticeably long and bare. This stretching is often worse if the plants are growing in partial shade, as they will reach aggressively toward any available sunlight. Gardeners sometimes try to solve this by pouring on more water or fertilizer, but those additions cannot fix a structural problem. The plant is physically stuck in a cycle of vertical growth and seed production. You have to interrupt that cycle mechanically to force the plant to change its behavior.
If you leave the plant alone at this stage, it will continue to look bare and exhausted until the first frost kills it. The lower stems will turn woody, and the few blooms it manages to produce will be small and pale. Plants naturally want to reproduce, and once those early red flowers fade, the plant considers its job done for the season. You will notice little green seed pods forming where the bright red bracts used to be. This energy drain is severe, and the intense heat of midsummer only compounds the stress on the root system. Recognizing these signs early allows you to step in before the plant completely depletes its energy reserves.
The mechanics of salvia splendens pruning
The only effective way to fix a spindly plant is to grab a pair of sharp bypass pruners and give it a hard haircut. Many people hesitate to do this because they are afraid of cutting off the few remaining green leaves or the last struggling flower. You have to push past that hesitation because salvia splendens pruning is a necessary maintenance task, not a punishment for the plant. Look closely at the bare stems and find the small bumps where leaves either are currently growing or used to grow. These bumps are the leaf nodes, and they contain dormant buds that are waiting for a signal to wake up. When you cut the main stem just above one of these nodes, you remove the dominant top growth and send a hormonal signal down the plant. That signal tells the dormant buds at the lower nodes to break open and start growing outward.
To perform salvia cutting back correctly, follow the spindly stem down about halfway to the ground, or until you find a healthy set of leaves. Make a clean, angled cut about a quarter of an inch above that node. The angled cut allows water to shed off the stem rather than pooling on top and inviting disease. Do this for every major stem on the plant, effectively reducing its overall height by a third or even a half. The cut needs to be close enough to the node that you do not leave a long, dead stub, but far enough above it that you do not damage the dormant buds. If you are familiar with the pinching techniques used to keep a petunia full and bushy, this concept is exactly the same. You are trading a few weeks of immediate color for a much stronger, healthier plant structure.
Managing the midsummer heat pause and recovery
Immediately after you finish cutting the plants back, your garden bed will look like a collection of green sticks. This is the difficult part of the process because it requires patience and a little faith in the resilience of the root system. The plants are going to need about two to three weeks to recover, push new foliage, and begin setting new flower buds. During this recovery period, the soil moisture needs careful management. Because the plant has fewer leaves, it will transpire less water, meaning the soil will stay wet longer than it did before the pruning. Check the soil with your finger before watering, ensuring the top inch is dry so you do not accidentally rot the roots in warm, wet soil.
While careful watering is critical, the newly pruned plants also need a readily available source of nutrients to fuel their regrowth. Apply a balanced liquid fertilizer immediately after the pruning session to give the roots an easily absorbed meal. A liquid feed works faster than granular options, providing the immediate nitrogen required to push a flush of thick, green leaves. Do not overdo the fertilizer, as too much nitrogen will result in massive foliage growth at the expense of future flowers. A single application mixed at the standard recommended rate is plenty to wake the plants up. Once the new leaves emerge and fill out the stems, the plant will be ready to handle the changing late summer weather.
Preventive care for a strong fall resurgence bloom
The best way to handle spindly growth is to prevent it from getting out of hand in the first place through consistent deadheading. Every time a flower spike begins to fade and lose its bright red color, pinch it off right above the next set of leaves. This stops the plant from ever reaching that exhausting seed-production phase and encourages continuous lateral branching. Regular deadheading is a chore, but it takes much less time than rehabilitating a completely overgrown, exhausted plant. If you keep up with this task, the plant maintains a compact, bushy shape through the hottest parts of July and August. You can apply this same continuous maintenance approach to other common bedfillers like impatiens to keep them blooming steadily without a severe midseason slump. Pinching early saves you from having to do a drastic cutback later.
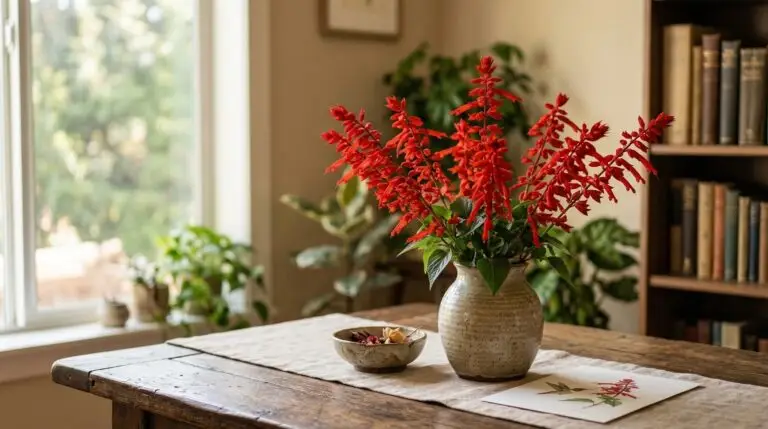
When the intense heat of midsummer finally breaks and the cooler nights of September arrive, your properly pruned plants will enter a second phase of aggressive growth. This fall resurgence bloom is often more spectacular than the initial spring show because the root system is now fully established and mature. The new stems you forced to branch out during the summer cutback will each produce multiple flower spikes. The cooler weather allows the red bracts to hold their color much longer without fading or burning in the sun. The single most useful piece of advice for growing scarlet sage is to trust the pruning process and never let the plant dictate its own shape. If you take control with your pruners early and often, you will have dense, blooming plants right up until the first hard freeze.
More About Scarlet Sage

How to grow scarlet sage for blazing red spikes that hummingbirds fight over
Scarlet sage as a hummingbird garden essential for non-stop feeder-free attraction

Growing scarlet sage from seed versus buying transplants and which saves money

Companion plants for scarlet sage in formal beds and patriotic color schemes
Best scarlet sage varieties beyond basic red including salmon coral and burgundy

Scarlet sage flower meaning and the fiery passion this red bloom represents
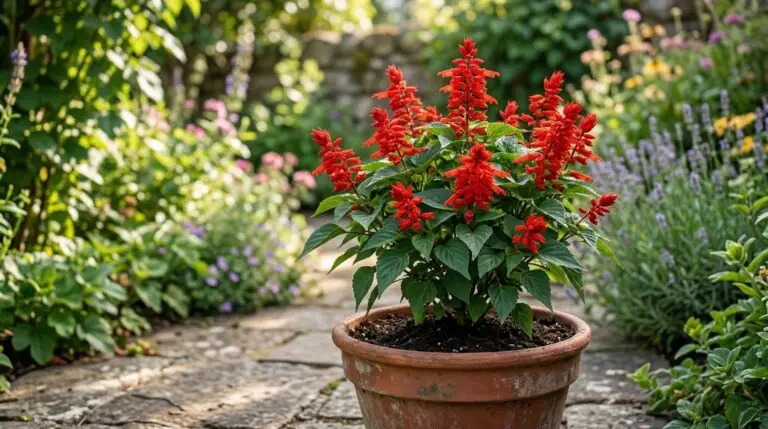
Growing scarlet sage in containers for fiery patio displays and front door drama
Scarlet sage versus blue salvia and choosing the right salvia for your garden design