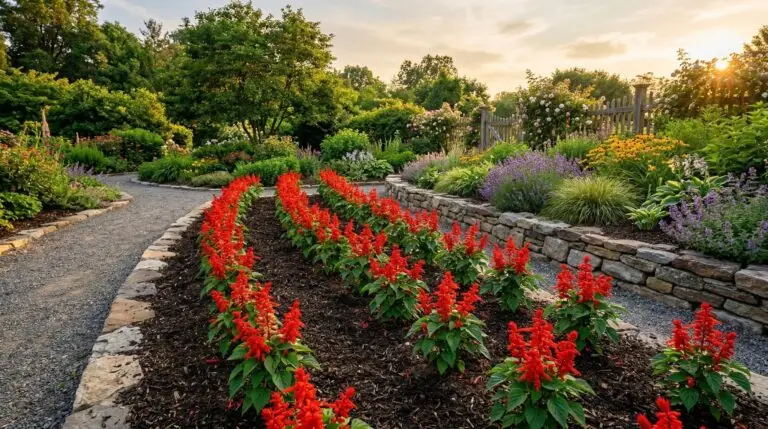
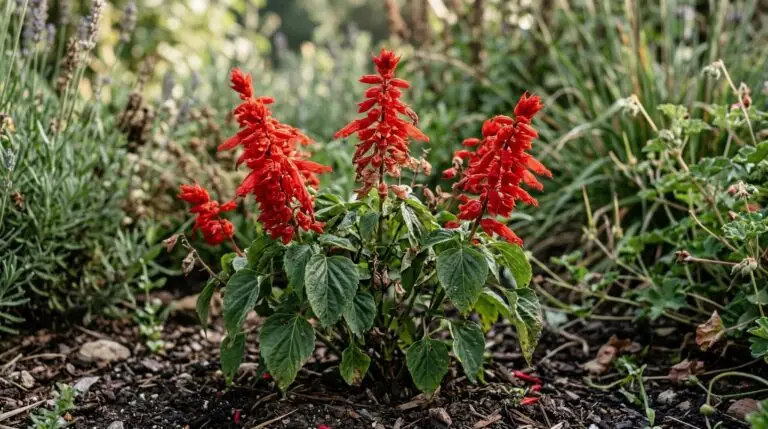
Late May arrives, the spring bulbs are long gone, and the front porch suddenly looks completely bare. That is the exact moment when the panic sets in for a quick, bright fix that will survive the baking afternoon sun. Growing scarlet sage in pots solves that problem almost instantly. The bright red spikes grab attention from the street and pull hummingbirds right up to the front steps. After years of testing different flowers for high-impact spots, the short and compact varieties of scarlet sage consistently out-perform the rest. The seedlings often look a little weak and spindly when sitting in those tiny nursery six-packs at the hardware store. Do not let that fool you, because within two weeks of transplanting into a larger container, they fill out into tough, bushy plants. They establish deep root systems quickly and are ready to handle the summer heat.
Selecting the right container and soil mix
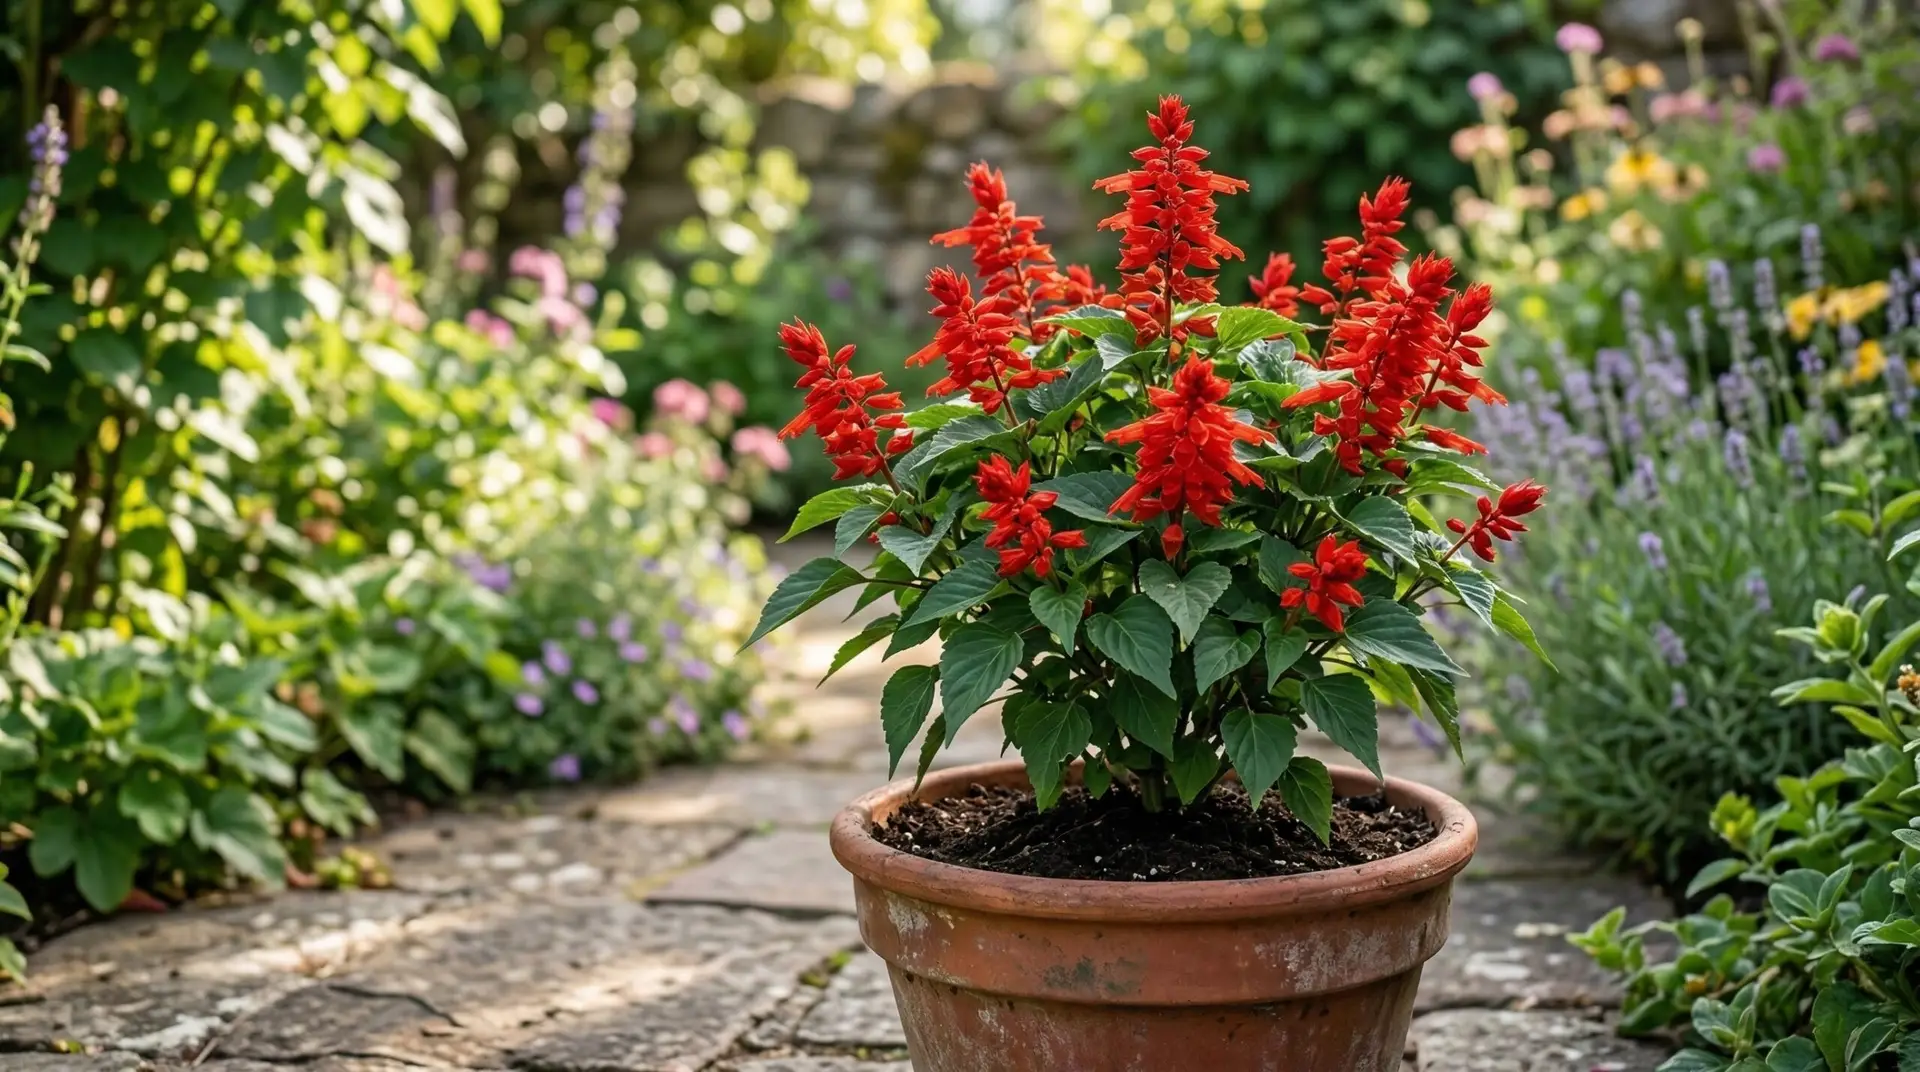
A successful salvia container starts with drainage rather than an expensive decorative pot. Scarlet sage hates sitting in wet, muddy soil, which rots the roots in a matter of days. The easiest and most affordable trick is to buy a cheap plastic nursery pot, drill five or six extra holes in the bottom, and slip it inside a nicer ceramic planter. This double-potting method also makes it much easier to move heavy planters around the patio when sweeping or rearranging. Any standard, inexpensive potting soil works fine for these plants without needing a specialty mix. Grabbing a bag of perlite and mixing a few handfuls into the soil makes a noticeable difference in keeping the roots breathing. Gardeners in the deep South might want to use larger pots holding at least five gallons of soil, simply because small pots bake and dry out completely by noon in July. In northern zones, a smaller two-gallon pot holds enough moisture to keep the plants happy all day without becoming waterlogged.
Building mixed planters for the patio
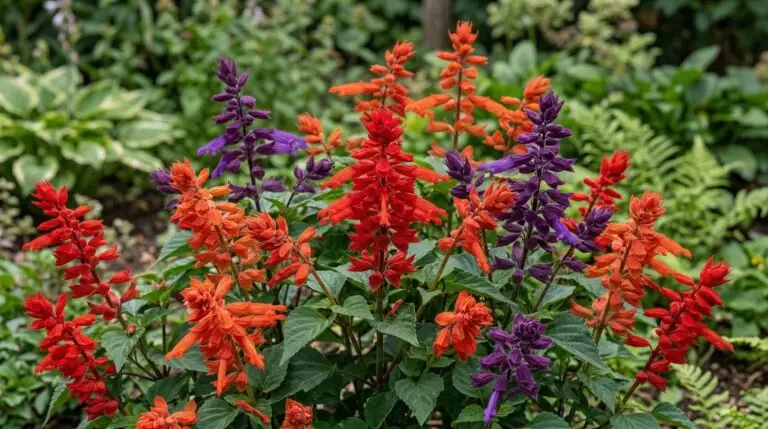
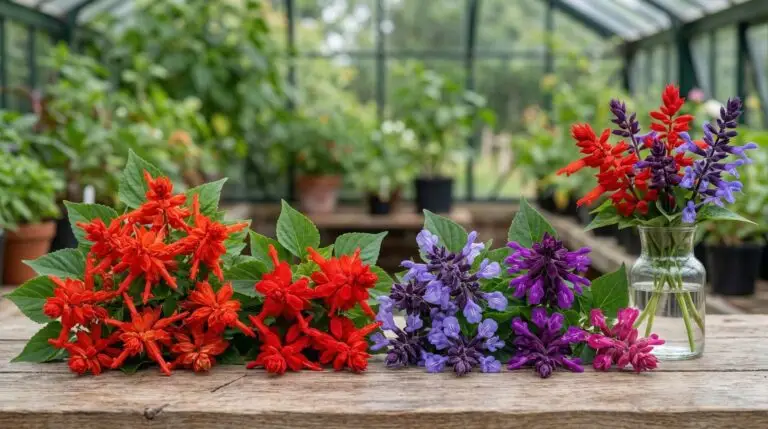
Planting scarlet sage by itself makes a strong statement, but mixing it with other flowers creates a truly classic red salvia patio display. The sage is the tall centerpiece, standing straight up in the middle of the pot to provide necessary height. Around the edges, trailing plants soften the look and hide the harsh rim of the container. A combination of red sage and white petunias is incredibly reliable for hot, sunny spots where delicate plants crisp up. Adding a border of sweet alyssum provides a soft, honey-scented spill over the sides of the pot that lasts for months. For a patriotic mid-summer display, mixing the red sage with white alyssum and a dark blue salvia creates a rugged arrangement that survives the Fourth of July heat wave. Always space the plants about four inches apart, which looks sparse on planting day but prevents the roots from choking each other out a month later. Giving each plant enough room to breathe prevents fungal diseases from taking hold in the center of the pot.
Watering routines and handling summer weather
Potted plants dry out much faster than anything growing in the garden beds, and scarlet sage will clearly tell you when it is thirsty. The broad green leaves droop heavily over the sides of the pot when the soil gets too dry. Giving them a deep soak usually perks them right back up within an hour, but letting them wilt too often causes the bottom leaves to turn yellow and drop off entirely. Checking the pots every morning by sticking a finger two inches into the soil is the only foolproof way to know if they need water. Summer rainstorms rarely provide enough water for container plants because the large sage leaves act like an umbrella, shedding the rain right over the sides of the pot. During a normal summer week, watering every other day with a watering can is usually enough to keep the soil moist. When the temperatures stay above ninety degrees, daily watering is necessary to keep the flowers from crisping. Applying a thin layer of shredded mulch over the top of the potting soil helps trap the moisture and keeps the roots cool during the worst heat.
Managing pests on patio plants
Growing plants on a patio or porch often brings them closer to the house, making it easier to spot pests before they cause major damage. Scarlet sage is generally very tough, but aphids occasionally find their way to the tender new growth at the top of the stems. These tiny green or black bugs cluster right under the flower buds and suck the sap out of the plant. Reaching for harsh chemicals is rarely necessary for a few aphids on a potted plant. A strong blast of water from the garden hose knocks them right off the leaves, and they usually cannot find their way back up the pot. Spider mites sometimes appear during long dry spells, leaving a fine webbing between the leaves and causing a dull, stippled appearance. Wiping the leaves down with a damp paper towel and keeping the plant consistently watered usually stops a mite problem from spreading. Checking the undersides of the leaves once a week while enjoying a morning cup of coffee keeps these minor issues completely under control.
Maintenance tasks for continuous blooming
Scarlet sage is marketed as a plant that blooms continuously all summer, but that only happens with a little regular maintenance from the gardener. The bright red flowers eventually fade, turn brown, and start forming seeds at the base of the flower spike. Pinching those spent flower stalks off right above the next set of leaves forces the plant to push out brand new blooms. Skipping this step leaves the container looking ragged and tells the plant to stop producing flowers entirely for the rest of the season. Because frequent watering washes nutrients right out of the drainage holes, potted sage needs regular feeding to stay dark green and healthy. Mixing a standard, cheap granular fertilizer into the soil at planting time provides a good baseline of nutrition for the first few weeks. Following up with a basic liquid fertilizer every three weeks keeps the foliage thick and the red spikes coming. The plants will keep performing reliably right up until the first hard autumn frost finally takes them down.
More About Scarlet Sage

How to grow scarlet sage for blazing red spikes that hummingbirds fight over
Scarlet sage as a hummingbird garden essential for non-stop feeder-free attraction

Growing scarlet sage from seed versus buying transplants and which saves money
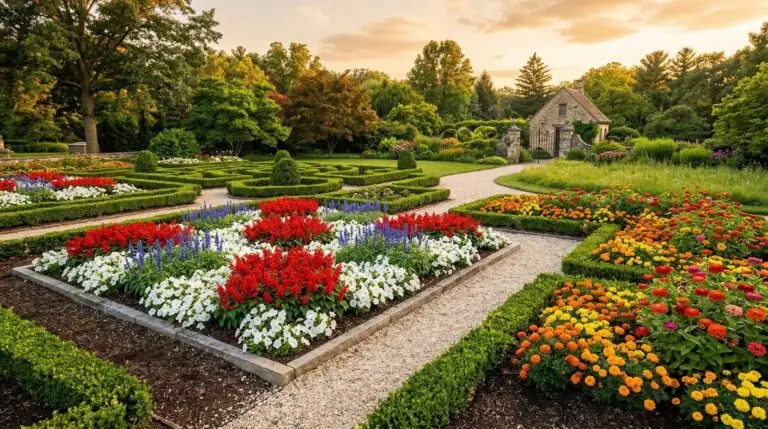
Companion plants for scarlet sage in formal beds and patriotic color schemes
Best scarlet sage varieties beyond basic red including salmon coral and burgundy

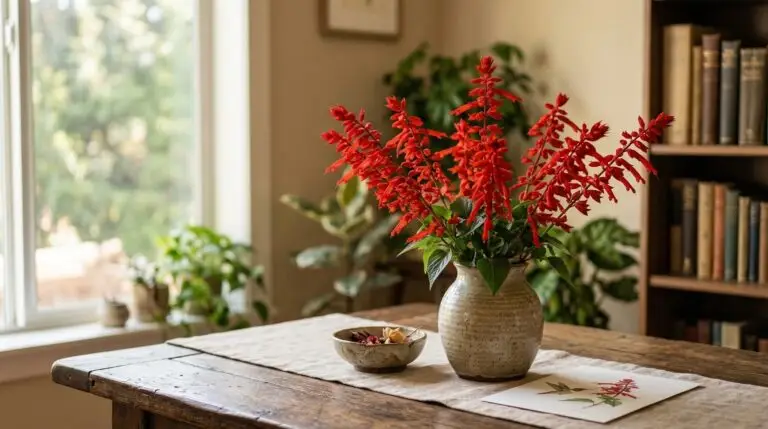
Scarlet sage flower meaning and the fiery passion this red bloom represents
Why scarlet sage gets leggy in midsummer and the pinch-back method for bushy plants
Scarlet sage versus blue salvia and choosing the right salvia for your garden design