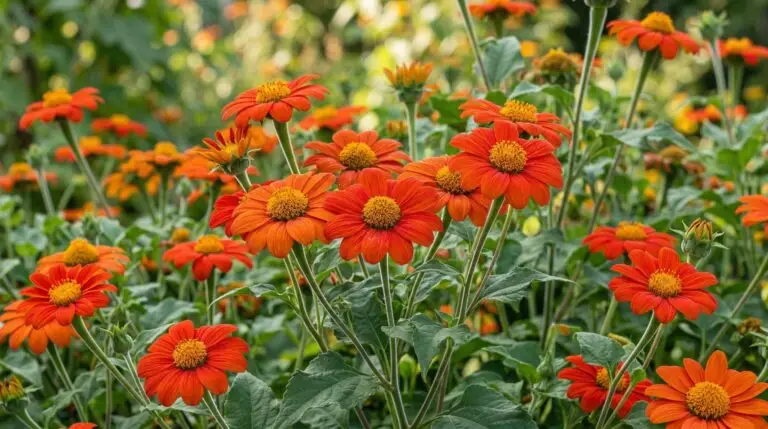
Saving Mexican sunflower seeds is a rewarding practice that guarantees a steady supply of massive plants to draw monarchs and swallowtails by the dozens. Buying fresh seeds every spring adds up quickly, but a single healthy plant produces enough seeds to fill your entire yard and share with neighbors. Before you start snipping heads off your plants, you need to understand how the plant produces its seed. Mexican sunflowers take their time maturing, and the seeds will not be viable if you harvest them while the flower still looks fresh and colorful. You must let the blooms go through their full life cycle until they look completely dead and dried up on the stalk. Harvesting too early yields pale, hollow shells that will never sprout.
The timing for this project depends entirely on your local seasons rather than a specific date on the calendar. You want to start watching your plants closely as the days grow shorter and nighttime temperatures begin to drop toward the fifties. This shift signals the plant to stop pushing out new vegetative growth and focus its energy on maturing the seeds it has already formed. If you live in an area with early frosts, you need to be vigilant and grab the most mature heads right before that first hard freeze hits. A hard freeze will turn the entire plant black and mushy, which can trap moisture inside the seed heads and ruin your harvest. Watch the weather forecast and plan your collection on a dry afternoon before the cold weather settles in.
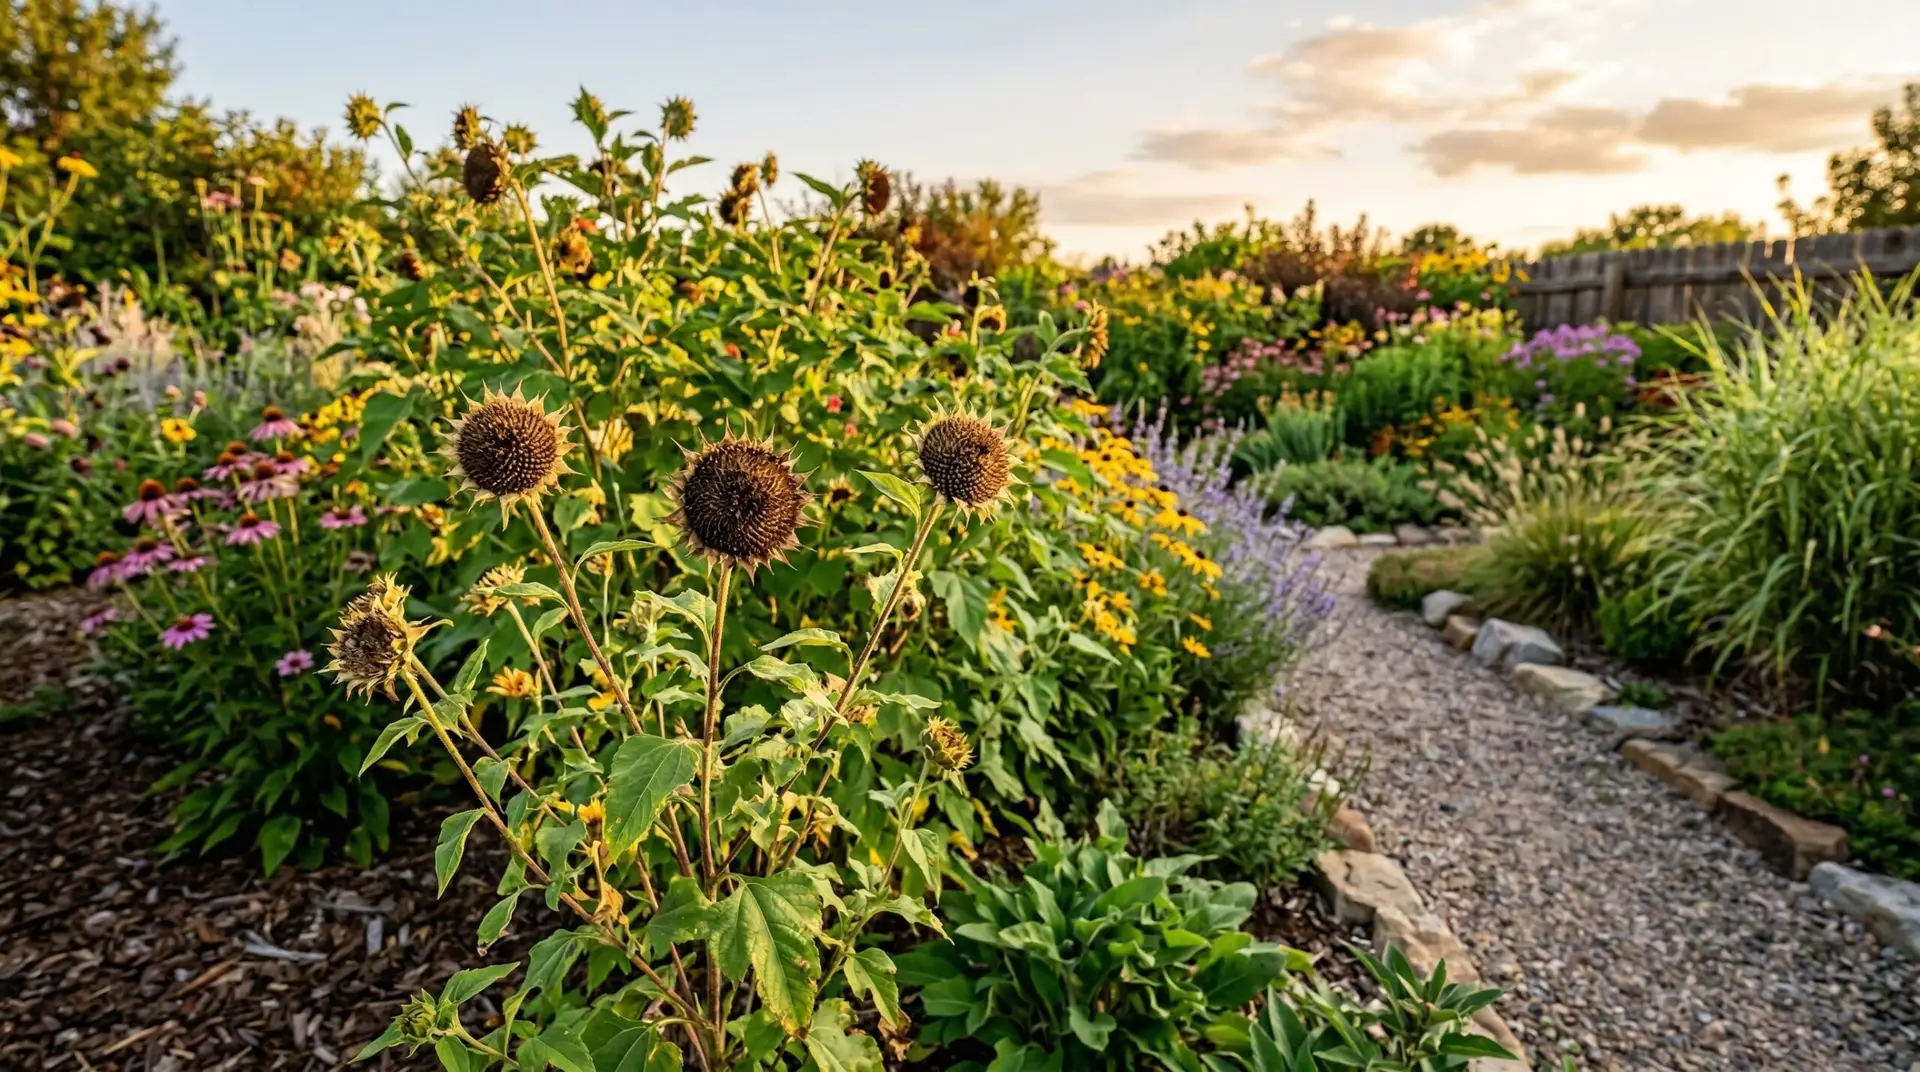
Recognizing when seed heads are ready to harvest
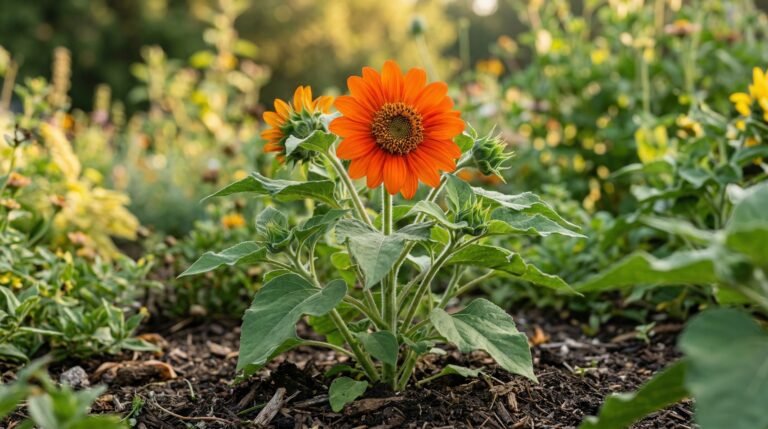
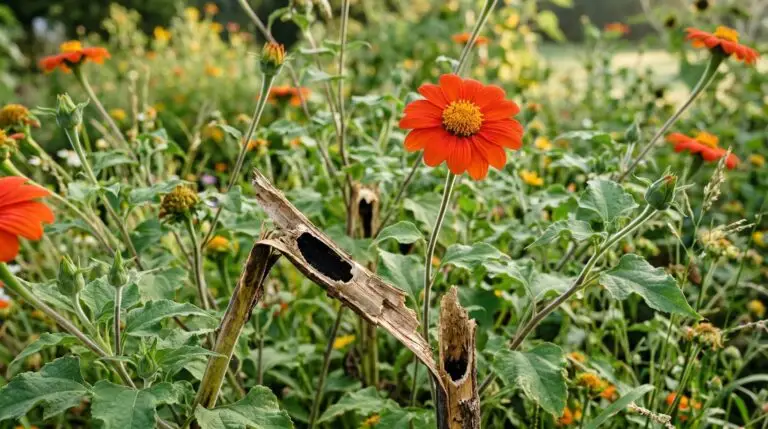
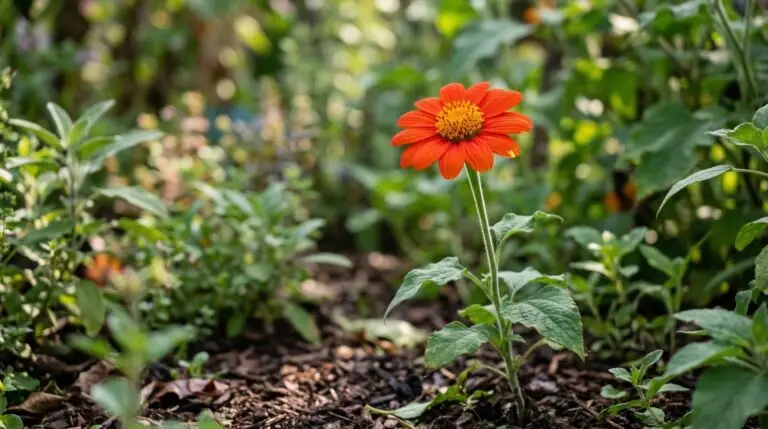
The transition from a bright orange blossom to a harvestable seed head takes several weeks. First, the bright petals will shrivel and drop off, leaving behind a swollen, green center cone. At this stage, the seeds inside are still pale, soft, and completely unviable, so you must leave the head attached to the plant. Over the next few weeks, that green cone will slowly turn yellow, then brown, and eventually a dark, crispy grey-black. You are looking for a seed head that feels stiff and prickly to the touch, with the stalk directly beneath the head turning brown and woody. If you have ever harvested seeds from a standard sunflower, the process of waiting for the back of the flower head to dry out is very similar.
Leaving the seed heads on the plant to dry naturally is always the best method because the plant continues to feed the developing embryos until the stem completely severs that connection. However, autumn weather often brings heavy rain, which creates a problem for drying seeds outdoors. If a prolonged wet spell is in the forecast, mature seed heads can act like sponges and begin to mold or even sprout while still attached to the stalk. When you see days of rain approaching, you can cut heads that are mostly brown and finish drying them inside. Just use a clean pair of bypass pruners to snip the stalk a few inches below the head, making sure you collect them on a dry afternoon when the morning dew has completely evaporated.
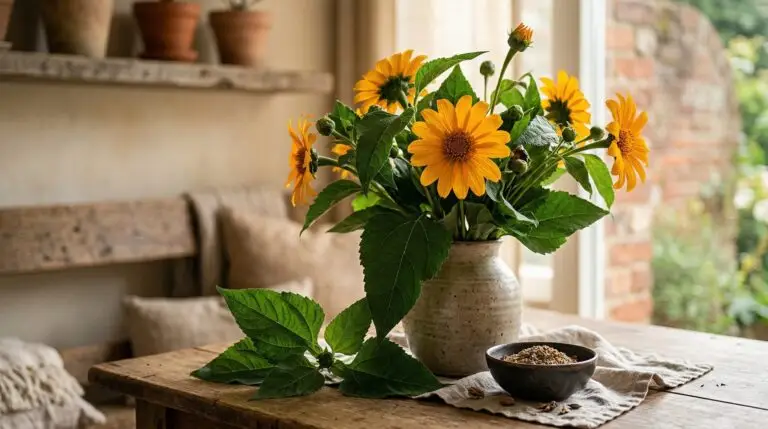
Gathering and drying seeds indoors
Once you have cut your seed heads, you need to move them to a warm, dry location with good air circulation to finish the curing process. A garage or a spare room works well, provided the space does not get humid. Spread a layer of newspaper or a large cardboard box on a flat surface and lay the seed heads out in a single layer. Do not pile them on top of each other, because restricted airflow will invite mold to grow in the center of the pile. At this point you might notice small spiders or beetles crawling out of the drying heads. That is completely normal, as these dense flower centers provide excellent hiding spots for garden insects, and they will simply wander off as the plant material dries up.
Let the heads sit undisturbed for at least two weeks, checking them occasionally by giving them a gentle squeeze. They are fully dry and ready for processing when the entire head feels brittle and crumbles easily under the pressure of your thumb. If the center still feels slightly spongy or bends without snapping, leave them alone for another week. Rushing this drying phase is the most common reason saved seeds fail to germinate the following year, as stored moisture rots the seed from the inside out. You can also place the heads inside a brown paper grocery bag and fold the top over, giving the bag a good shake every few days to rotate the heads and catch any loose seeds that fall out naturally.
Separating the good seeds from the chaff
Breaking apart the dried heads to extract the seeds is a messy job, so you will want to do this over a large tray or a baking sheet with raised edges. Take a dried head in both hands and use your thumbs to break it open right down the middle, then rub the pieces together to dislodge the seeds. You will end up with a pile of material that contains both the seeds and the dried, papery bits of the flower, which gardeners call chaff. Tithonia seeds are somewhat small, dark grey to black, and slightly wedge-shaped or curved, looking a bit like miniature splinters of wood. They are heavier than the chaff, which makes separating them a matter of gravity and slight air movement.
To clean your seed batch, you can use a kitchen sieve or simply gently blow across the tray while shifting the material around with your fingers. The lightweight papery chaff will fly away, leaving the heavier, solid seeds behind on the tray. As you sort through the pile, press a few of the seeds lightly between your fingernails to test their quality. A viable seed will feel firm and solid, resisting the pressure. If the seed crushes easily or feels hollow, it did not fully mature on the plant and will not grow, so you can discard those along with the chaff. This sorting process is similar to cleaning seeds from a cosmos plant, where distinguishing the firm seed from the dried flower parts takes a little practice but quickly becomes second nature.
Storing seeds safely for the winter
Proper storage keeps your seeds asleep but alive until planting time rolls around next spring. The absolute worst enemy of saved seeds is moisture, followed closely by heat and light. You should pack your cleaned, thoroughly dried seeds into paper envelopes rather than plastic bags, because paper allows any residual microscopic moisture to escape. Write the plant name and the collection year on the envelope before you put the seeds inside, as it is very easy to forget what you saved after a long winter. For an extra layer of protection, place the filled paper envelopes inside a glass mason jar with a tight-fitting lid.
To keep the environment inside the jar completely dry, add a small packet of silica gel or a tablespoon of powdered milk wrapped in a paper towel. Place the jar in a cool, dark place like a basement shelf, a closet in an unheated room, or even the back of your refrigerator. If you choose the refrigerator, let the jar come to room temperature before opening it in the spring to prevent condensation from forming on the cold seeds. Stored this way, Mexican sunflower seeds will maintain high germination rates for two to three years. You will likely have gathered far more seeds than you can use, making these extra envelopes perfect gifts for local gardening groups or neighbors looking to start their own pollinator patches.
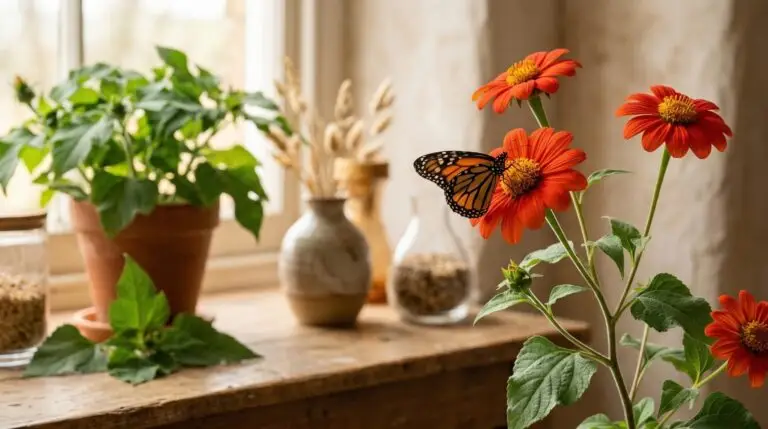
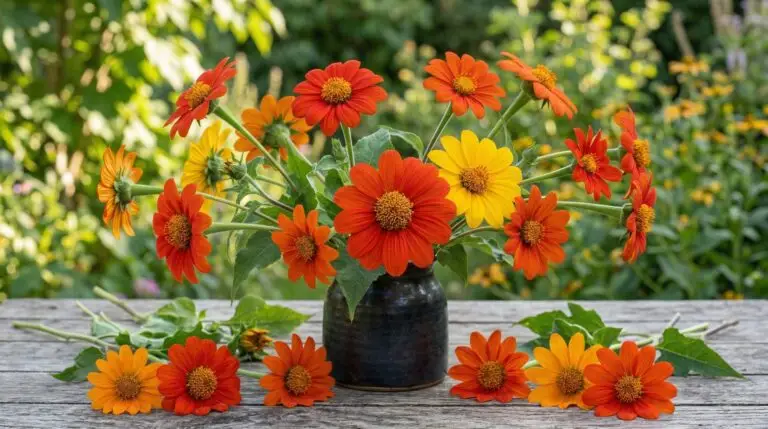
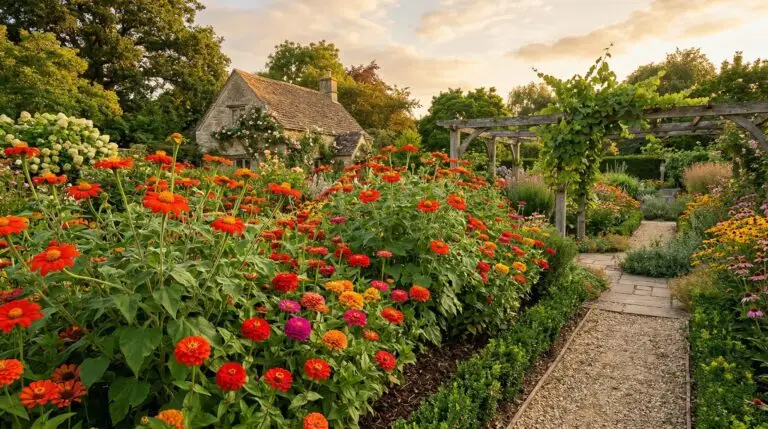
When the long winter finally breaks and the danger of the last frost has completely passed, you can pull your saved seeds out of storage. Plant them directly in warm soil, keeping them lightly watered until you see the thick, green seedling leaves push through the dirt. Because you saved seeds from plants that thrived in your specific yard, these new seedlings are already adapted to your local microclimate and will grow vigorously. Within a few months, you will have a towering hedge of bright orange blooms that cost you absolutely nothing. You will know you succeeded when the late summer sun hits the flowers and the monarch butterflies arrive to feed on the plants you helped create from scratch.
More About Mexican Sunflower
Mexican sunflower as the ultimate butterfly magnet for late season pollinator gardens
Mexican sunflower leaves as a natural fertilizer and green mulch for vegetable gardens
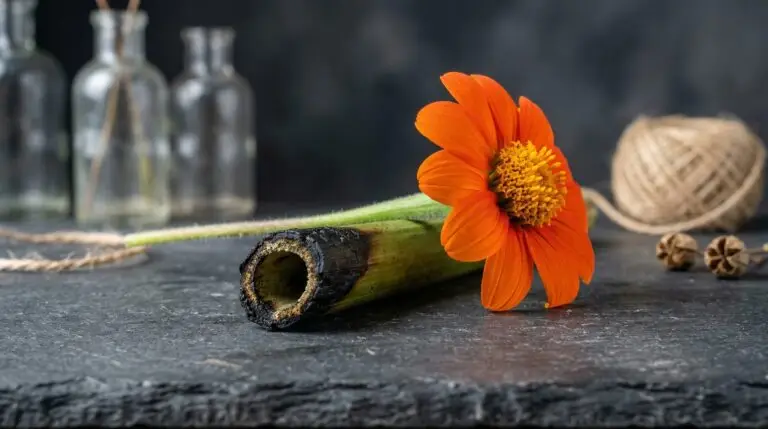
Mexican sunflowers as cut flowers with the trick to prevent hollow stems from wilting
How to grow Mexican sunflowers for towering walls of blazing orange in late summer
Mexican sunflower versus common sunflower and why you should grow both
How to keep Mexican sunflowers from flopping over when they get tall and top-heavy
Growing Mexican sunflowers from seed and the tropical annual that needs no pampering
Companion plants for Mexican sunflower: what to grow, avoid