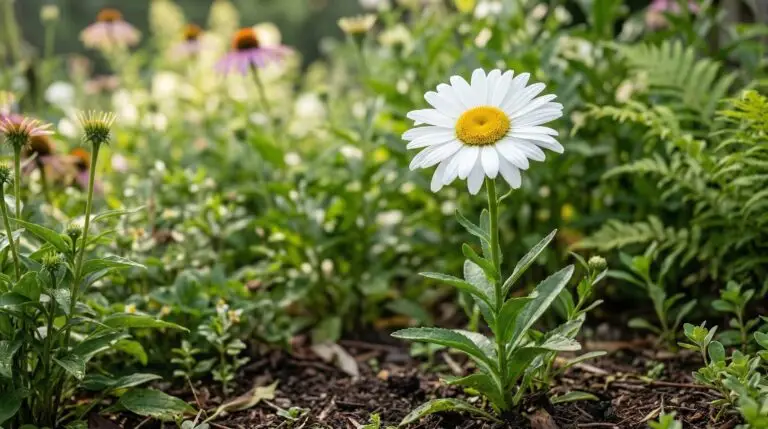
By the time you finish reading, you will understand exactly how a single packet of seeds can transform into a permanent, multiplying border of classic white blooms. Buying mature perennial plants at a nursery is expensive, especially when you need dozens of them to fill a garden bed. Growing your own plants from seed changes that equation completely, turning a large financial investment into a small investment of time and patience. Shasta daisies are one of the most rewarding perennials you can choose for this process because they are surprisingly eager to grow. Unlike many perennial seeds that require complex chilling periods or years of waiting before they produce a single flower, these plants actively want to bloom. We are going to look at the entire process of growing a Shasta daisy from seed, from waking up the dormant embryo to dividing mature plants years later.
Understanding leucanthemum seeds and germination
When you open a packet of leucanthemum seeds, you will notice they are relatively small and flat. This size gives us our first major clue about how they need to be planted. In the plant world, seed size usually dictates planting depth, and tiny seeds simply do not have enough stored energy to push their way up through a heavy layer of dark soil. Think of the seed coat as a solar panel that needs to sense the sun to activate the growing process. Because of this, Shasta daisy seed starting requires light for germination. You want to press the seeds firmly into the surface of your moistened potting mix, ensuring good contact with the damp soil, but you should not bury them. If you cover them with soil, they will assume they are buried too deep and will stay dormant, waiting for a disturbance to bring them to the surface.
Once the seeds are resting on the surface, your main job is keeping that surface consistently moist without washing the seeds away. A spray bottle is the perfect tool here, allowing you to mist the soil gently without creating a flood that floats the seeds into the corners of your container. You might find it helpful to cover your seed trays with a clear plastic dome or a piece of plastic wrap. Think of this covering as a miniature greenhouse that traps humidity, preventing the soil surface from drying out while you are at work or asleep. The seeds need a consistent temperature around seventy degrees to wake up, which is conveniently the temperature of most homes. Within ten to fourteen days, you will see tiny green shoots emerging from the seeds, at which point you must remove the plastic cover immediately so the new plants get adequate airflow.
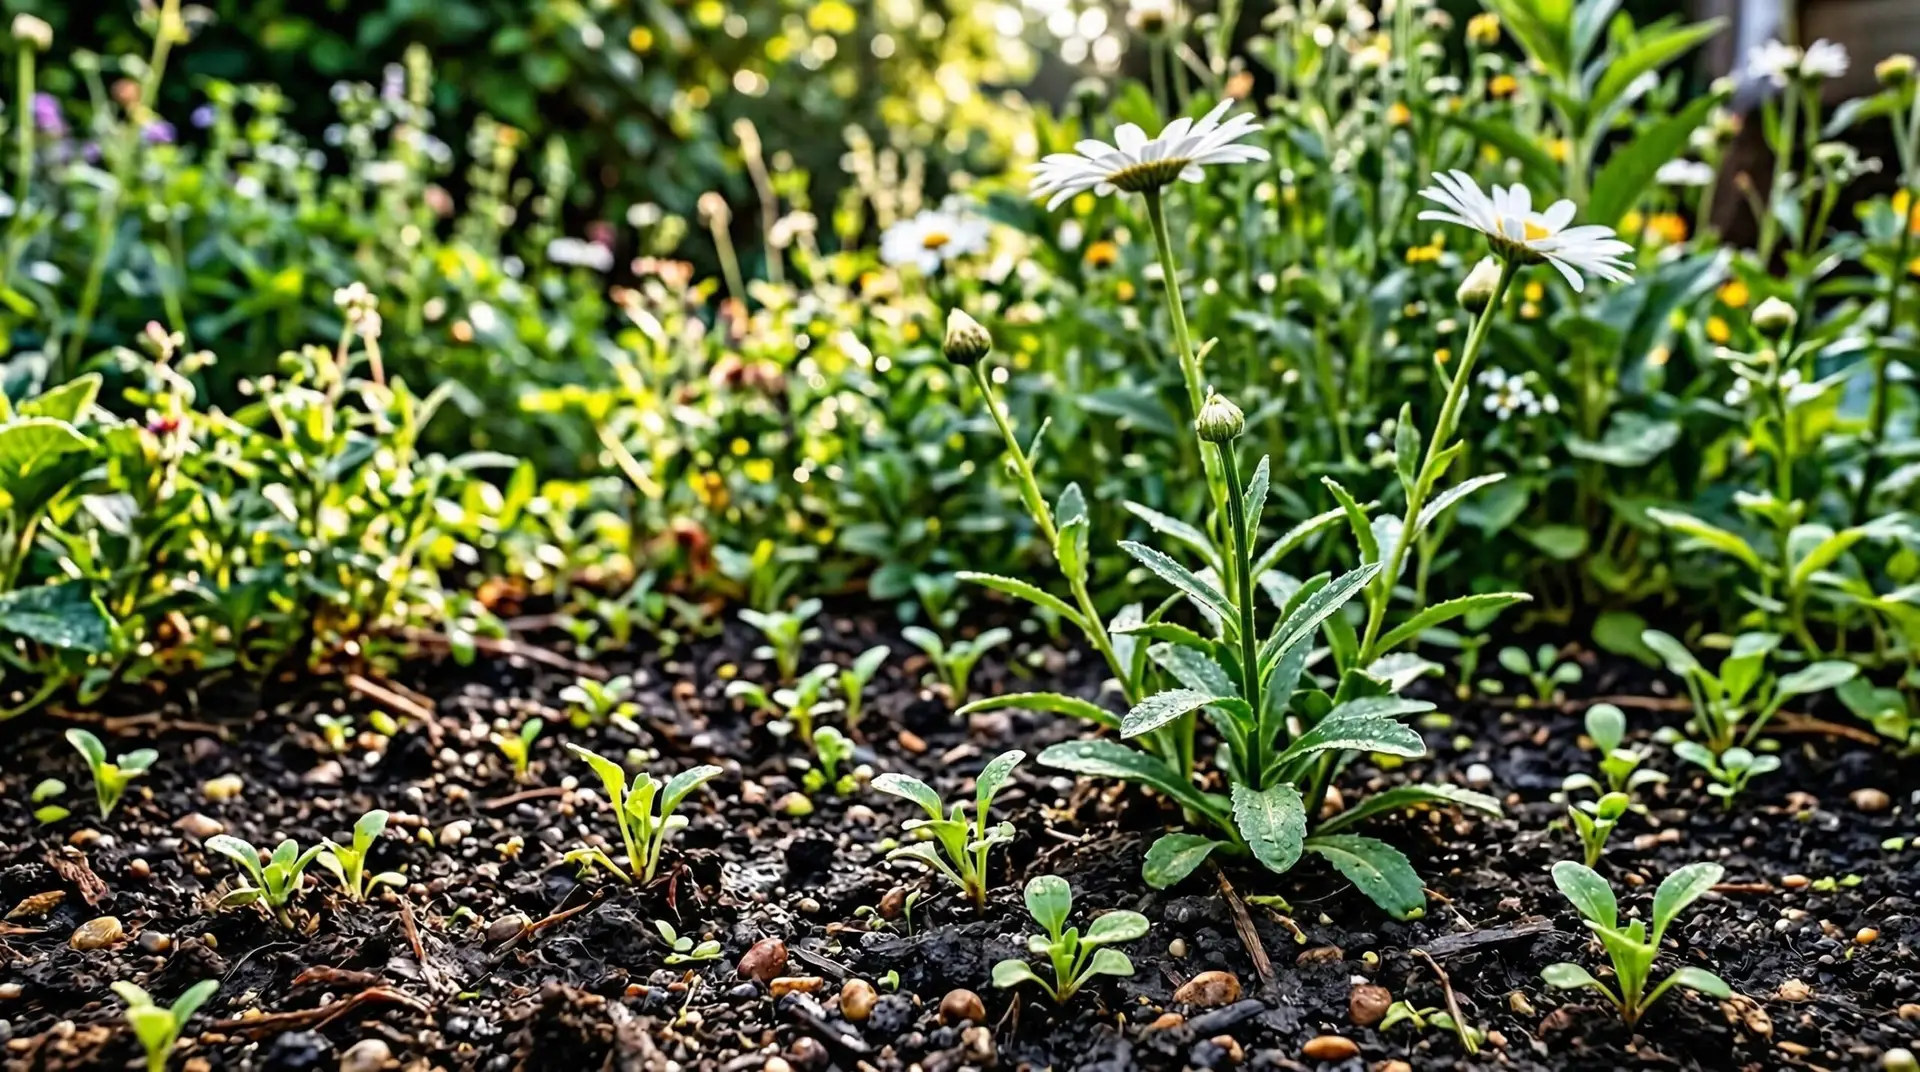
Growing perennials from seed is slightly different than growing fast annuals like cosmos, which sprout in just a few days and race toward the sun. Perennials take their time building a root system because they are preparing for a long life in your garden rather than a single brief season of glory. As your daisy seedlings grow their first set of true leaves, which will look slightly jagged compared to the smooth initial seed leaves, they will need bright light to prevent them from becoming tall and weak. A sunny south-facing window might work, but artificial grow lights placed just a few inches above the leaves will yield much stronger, stockier plants. This takes a season or two to get a feel for, and that is completely normal for any gardener learning to raise plants indoors.
Timing the process for first year blooms
One of the most common questions beginners ask is when to actually put the seeds in the dirt. If you want your daisies to produce flowers in their very first summer, you need to trick the plants into thinking they have already lived through a spring season. You do this by starting the seeds indoors about eight to ten weeks before your region experiences its last expected frost. By giving them this massive head start in the artificial spring of your house, the plants will be substantial and mature by the time they finally move outdoors. This early start gives them the biological time they need to develop both a sturdy root system and the flowering stalks within a single growing year.
This might seem contradictory, but you can also choose to skip the indoor lighting setup entirely and plant the seeds directly in your garden bed after the danger of frost has passed. The reason this works is that the seeds are perfectly capable of germinating in warm spring soil outdoors, just as nature intended. However, if you choose this direct sowing method, you are trading time for convenience. Outdoor-sown daisies will spend their entire first summer building roots and foliage, gathering energy through their leaves, and storing it below ground. They will not produce their classic white flowers until their second summer in the garden, which requires a bit more patience but results in equally healthy plants. Similar to establishing a patch of coneflower, the first year is all about putting down anchors, and the subsequent years are about the floral display.
Moving seedlings into the garden
When your indoor seedlings have grown several sets of true leaves and the outdoor frost danger has passed, you might be tempted to plant them straight into the garden. Plants raised indoors have lived a sheltered life with perfect temperatures, no wind, and filtered light through window glass. If you move them directly into the harsh outdoor environment, the sudden intense ultraviolet sunlight and drying winds will burn their tender leaves and stunt their growth. Instead, you need to introduce them to the outdoors gradually over the course of a week, a process called hardening off. Think of it like building up a base tan before going to the beach, starting with just an hour of morning sun in a protected spot and slowly increasing their exposure each day.
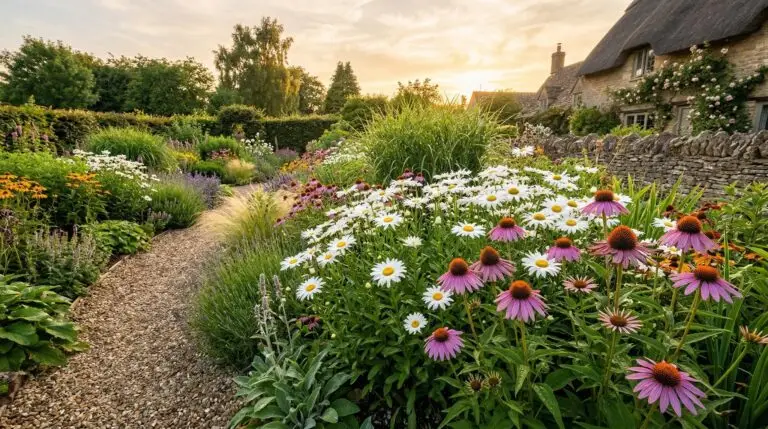
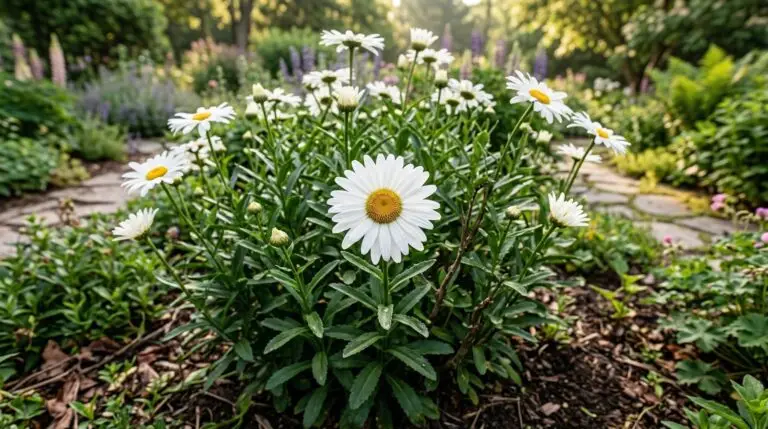
Once the plants are accustomed to outdoor conditions, it is time to put them in the ground. Shasta daisies are incredibly adaptable, but they truly thrive in soil that drains well rather than sitting in puddles after a rainstorm. If you have heavy clay soil, the dense particles will hold too much water against the roots during the winter, causing the plants to rot before spring arrives. You can fix this by digging a generous amount of compost into the planting area, which breaks up the tight clay particles and creates tiny air pockets for the roots to breathe. Space your seedlings about eighteen inches apart, which will look awkwardly distant at first, but these plants will widen significantly as they mature over the next few years.
Selecting seed mixes and cloning your favorites
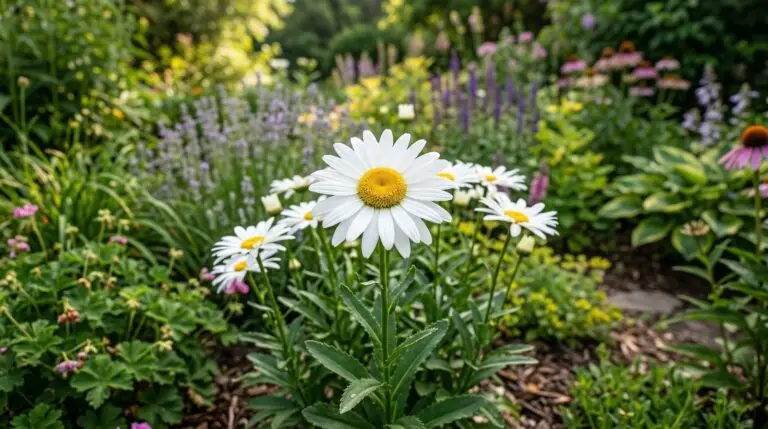
When you buy a packet of Shasta daisy seeds, you are often buying a mix of genetics rather than exact copies of a single parent plant. As the plants mature and bloom in your garden, you will likely notice that some plants are taller, some have larger flowers, and some bloom slightly earlier than others. This natural variation is the beauty of growing from seed, giving you a diverse population to observe. Eventually, you will identify one specific plant in your border that performs exactly the way you want, perhaps with incredibly sturdy stems that never flop over in the rain. Because seeds always carry mixed genetics from cross-pollination, you cannot save the seeds from that perfect plant and expect exact replicas.
To make more of that specific perfect plant, you rely on a technique called division, which creates an exact genetic clone. By their third year in the garden, your original seedlings will have grown into wide, dense clumps that might even start to look a little dead in the very center. This hollow center is the plant telling you it has run out of space and nutrients in that specific spot and is ready to be divided. In early spring as the new green shoots emerge, you simply dig up the entire root ball and slice it into several smaller pieces with a sharp spade. Replanting these smaller outer sections gives the roots fresh soil to explore, rejuvenates the plant’s blooming energy, and instantly multiplies your favorite daisy without spending a single dollar. This division process is nearly identical to maintaining a mature coneflower patch, ensuring your garden remains full and vigorous year after year.
The progression from a speck of dust on the surface of potting soil to a massive, easily divided perennial clump teaches us exactly how plants establish themselves in the world. By providing light for germination, timing the indoor start for first-year blooms, and understanding how to transition those tender seedlings outdoors, you match your actions to the biological needs of the plant. You learn to read the soil, manage the light, and eventually multiply the exact characteristics you want through division. This entire process transforms you from someone who simply buys a finished product into a gardener who understands how to build a permanent flower bed from the ground up.
More About Daisy
Shasta daisies in containers for bright summer displays on patios and porches
Shasta daisy flower meaning and the simple joy of the world’s most recognized flower shape
Why Shasta daisies die after a few years and how to keep them going through division
The Luther Burbank story and how he created the Shasta daisy from four wild species
Deadheading Shasta daisies for months of continuous blooming instead of a one-time show
How to grow Shasta daisies for cheerful white and gold flowers all summer long
Shasta daisies as long-lasting cut flowers for simple elegant summer bouquets