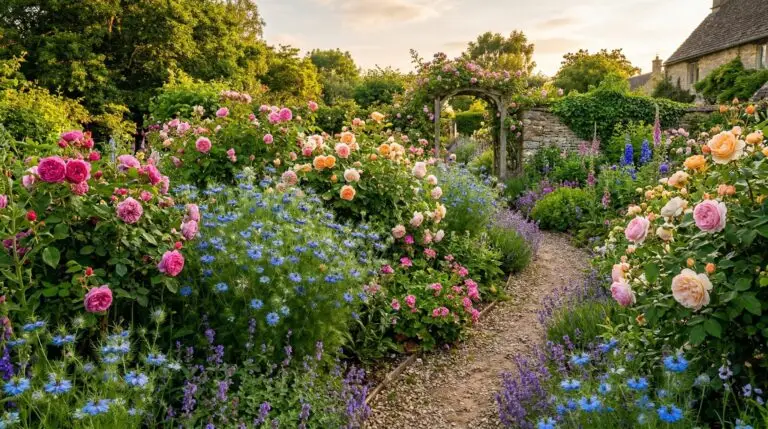
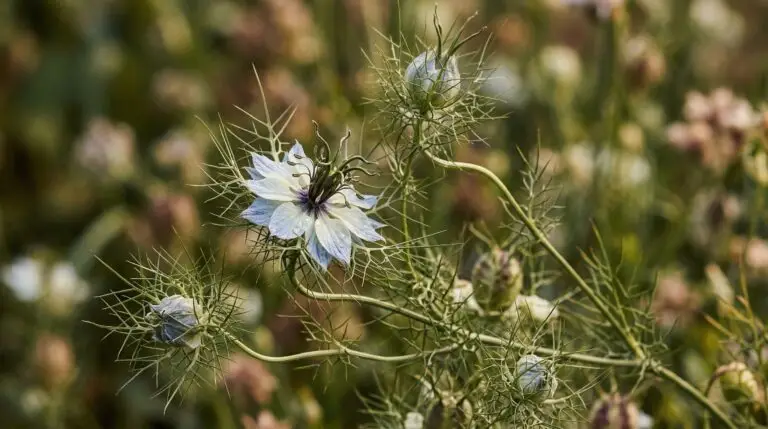
By the time you finish reading, you will understand how to work with the natural life cycle of a plant that actually prefers to be left alone. Many beginning gardeners assume that all flowers need to be carefully started indoors under lights, coddled in tiny pots, and gently transitioned outside. Love-in-a-mist completely breaks that rule, demanding a much more hands-off approach to thrive. This delicate-looking flower, with its ferny foliage and pastel star-shaped blooms, hides a rugged constitution. Growing nigella from seed is an exercise in trusting nature, relying on the simple scatter and forget method to produce a beautiful display. We are going to look at exactly how this plant behaves in the wild so you can replicate that success in your own garden beds.
Why direct sowing works best for taproots
To understand why we treat this plant the way we do, we first need to look underground at how it grows. Love-in-a-mist develops what botanists call a taproot, which you can think of as a single, deep anchor root similar to a carrot. Many common garden flowers have fibrous root systems that look like tangled hair, making them easy to dig up and move around. A taproot, however, is designed to drive straight down into the soil to find moisture and stability. If you try to start these seeds in small plastic cells indoors, that taproot quickly hits the bottom of the container and begins to coil, causing permanent stress to the plant. When you eventually try to move that stressed plant into the garden, it often stunts or dies because the central root has been disturbed.
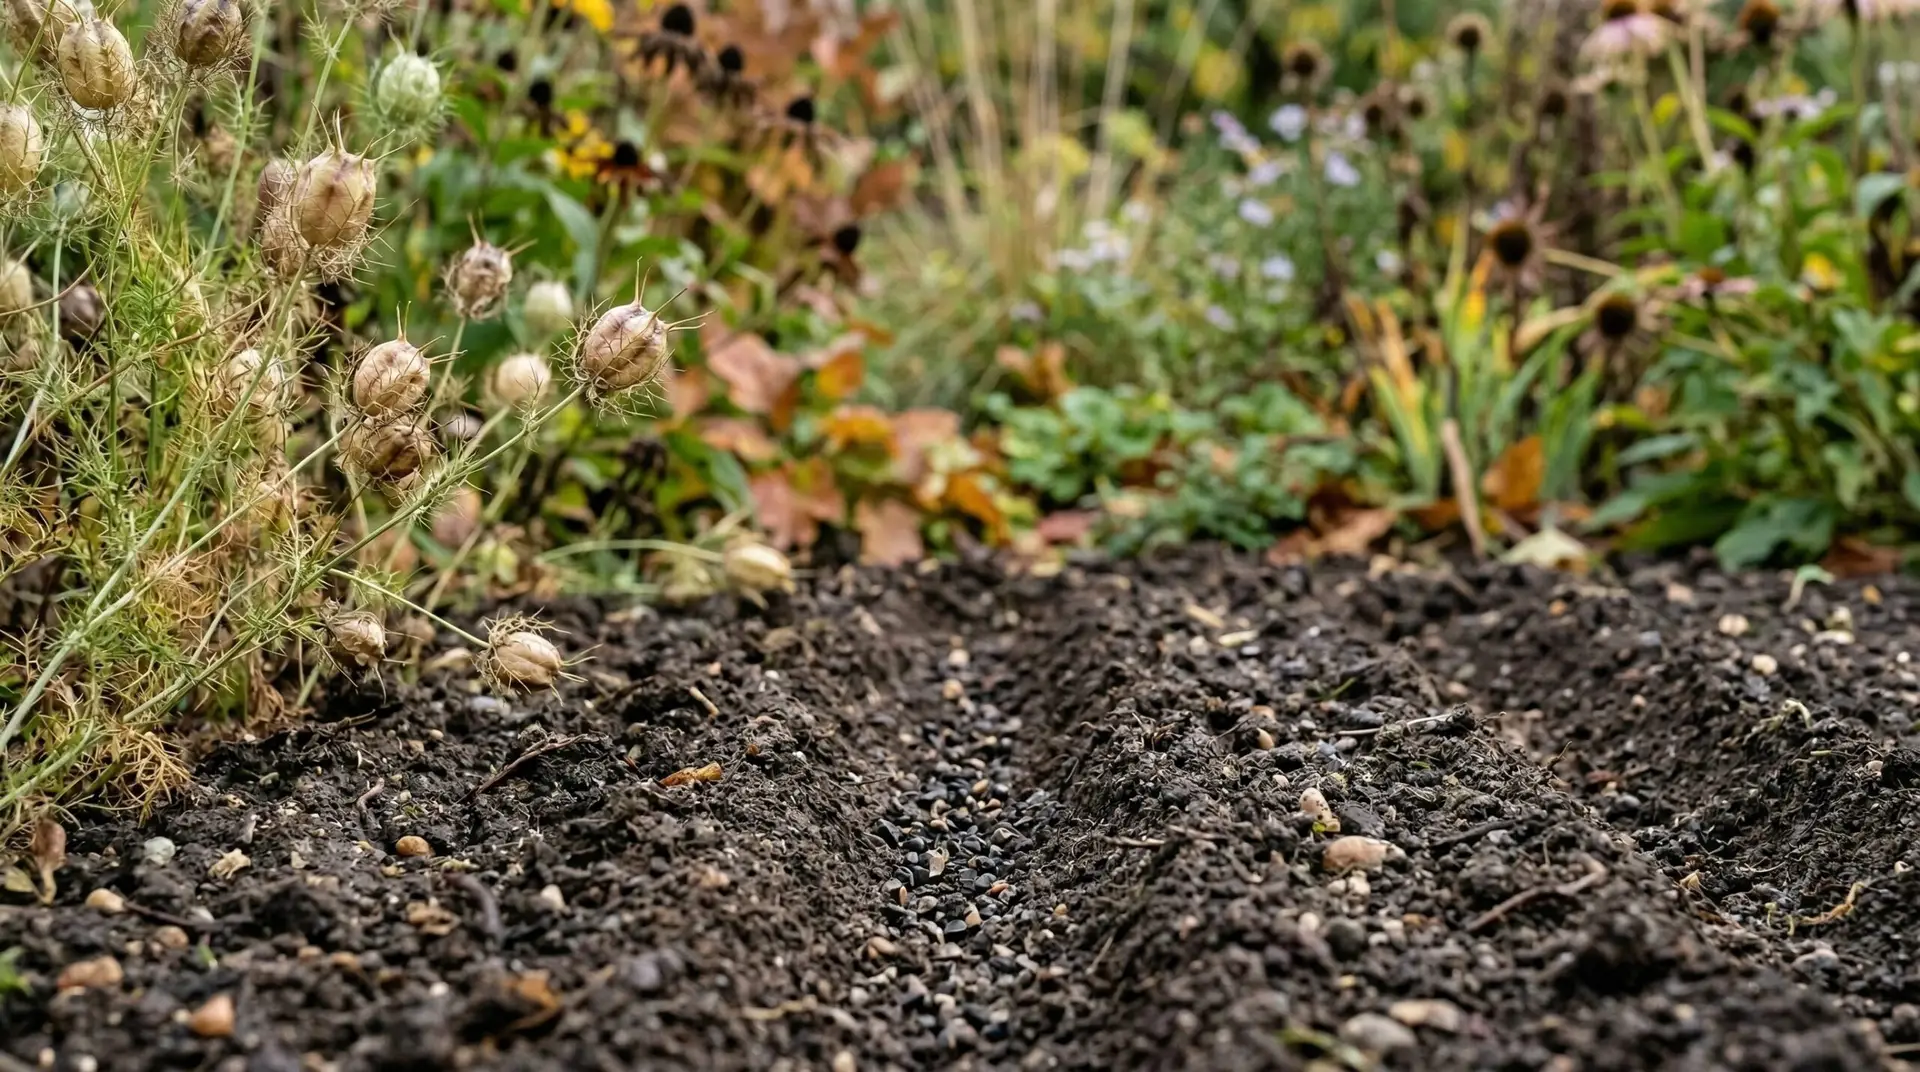
Because of this sensitive root structure, love-in-a-mist seed starting should happen directly in the garden bed where the plants will ultimately bloom. You might feel like you are abandoning your seeds to the elements, but direct sowing is exactly how these plants reproduce in their native environment. Prepare a patch of soil by clearing away weeds and gently roughing up the surface with a rake to create shallow crevices. Take a handful of seeds and scatter them over the soil, much like you would sprinkle coarse salt over a meal. You do not need to bury them deeply, as they need light to trigger their germination process. Simply press them down with the flat of your hand or a board so they make good contact with the earth, and let the rain take care of the rest.
Fall sowing versus spring planting
The timing of your planting depends heavily on the natural climate cycle of your growing region. In areas with cold winters, sowing nigella in the late fall is often the most successful strategy. This might seem contradictory to everything you know about gardening, as we are usually taught to protect seeds from freezing temperatures. However, these seeds possess a built-in dormancy mechanism that requires a period of cold, moist weather to break down their hard outer coating. By scattering them in October or November, you are giving them the natural winter chilling they expect. When the soil warms slightly in early spring, those seeds will wake up and germinate long before you could comfortably work the soil with a trowel.
If you miss the fall planting window, you can certainly still grow these flowers by planting them in the spring. The secret to spring sowing is to get the seeds into the ground as early as possible, usually as soon as the frost leaves the ground and the soil is no longer a muddy mess. They prefer to germinate in cool soil, so waiting until late May when the weather is warm will often result in poor sprouting rates. If you live in a mild climate without freezing winters, you can scatter the seeds in late winter to catch the cool, rainy season. Whether you choose fall or spring, the goal is to align your sowing time with the cool temperatures that tell the seed it is safe to begin growing.
Extending the bloom time with succession sowing
One characteristic of love-in-a-mist that catches new growers by surprise is its relatively short blooming period. Unlike a cosmos plant that will continuously pump out new blossoms from midsummer until the first frost, nigella tends to bloom heavily for about three to four weeks and then stop. The plant puts all its energy into that one abundant floral display before shifting its focus entirely to seed production. If you plant all your seeds on the same day in early spring, you will have a colorful but brief show in early summer followed by fading plants. To keep the color going, we use a simple technique called succession sowing, which just means planting smaller batches of seeds at staggered intervals.
Think of succession sowing as a relay race where new plants are constantly stepping up to take the baton from the older ones. You start by scattering your first patch of seeds in early spring, and then you wait three weeks. After three weeks, you scatter a second patch of seeds in a neighboring spot, and then repeat the process three weeks after that. By the time your first group of plants has finished blooming and begun forming seed pods, your second group is just starting to open its buds. This staggered approach ensures you have fresh flowers opening continuously throughout the early and mid-summer months. You can stop sowing once the heat of high summer sets in, as the seeds will not germinate well in hot soil anyway.
Saving seeds and encouraging volunteers
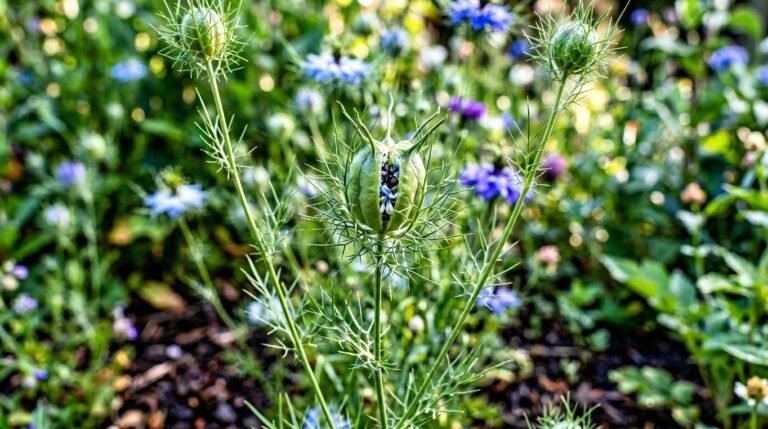
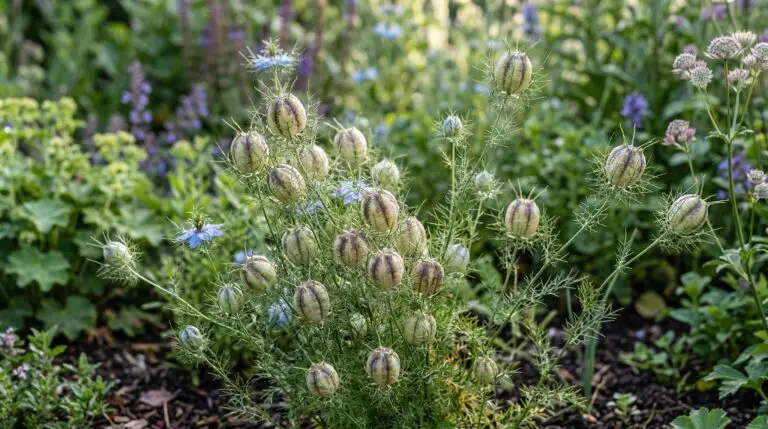
After the pastel petals drop away from the flower, the plant develops a large, balloon-like capsule that is just as interesting as the bloom itself. This capsule starts out green and slowly dries to a papery, maroon-striped brown as the seeds mature inside. If you shake the dried pod, you will hear the seeds rattling around inside like a tiny maraca. This is the plant’s clever way of packaging its offspring, waiting for a strong wind or a passing animal to brush against the stem. When the stem shakes, the small black seeds spill out of the top of the capsule, scattering across the soil to start the cycle over again. Leaving some of these pods on the plants guarantees that you will have free volunteer seedlings popping up in your garden next year.
You will likely want to harvest some of these seeds to control where they grow or to share with gardening friends. Wait until the pods are completely dry and papery on the stem before you snip them off with scissors. If you harvest them while they are still green, the seeds inside will be immature and will not sprout the following year. Once you bring the dried pods indoors, you can crush them gently in a paper bag to release the little black seeds. Store them in a cool, dry place in a paper envelope, and they will be ready for you to use when the planting season rolls around again. Much like a poppy, nigella produces an enormous amount of seed from a single pod, making it incredibly easy to multiply your stock over time.
Understanding how this plant behaves in its natural environment takes a season or two to get a feel for, and that is completely normal. The core principle to remember is that you are acting as an observer and a facilitator rather than a micromanager. By recognizing the taproot’s need for undisturbed growth, you save yourself the frustration of failed transplants. By mimicking the natural winter chill and the plant’s own self-seeding habits, you create a garden that essentially runs itself. You learn to step back, scatter the seeds where you want them, and trust the soil and the seasons to do the heavy lifting. This hands-off approach turns a seemingly delicate flower into one of the most reliable and independent plants in your garden.
More About Love in a Mist

Nigella seeds in the spice world and the culinary history of black cumin
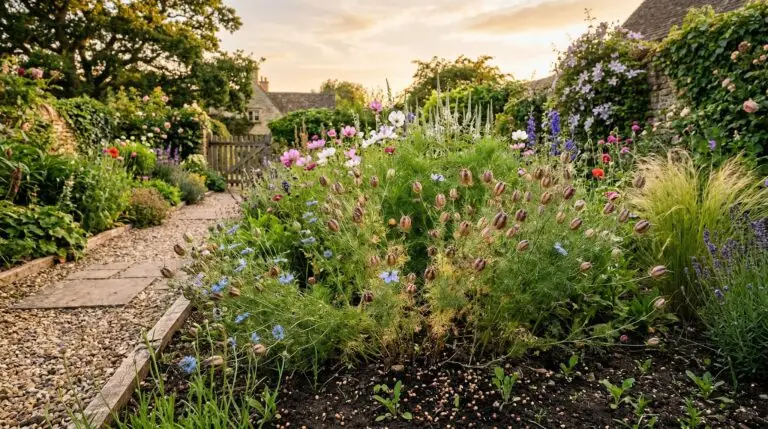
Love-in-a-mist as a self-sowing annual that creates a cottage garden on autopilot
Best love-in-a-mist varieties from classic Persian Jewels to double Albion Green Pod
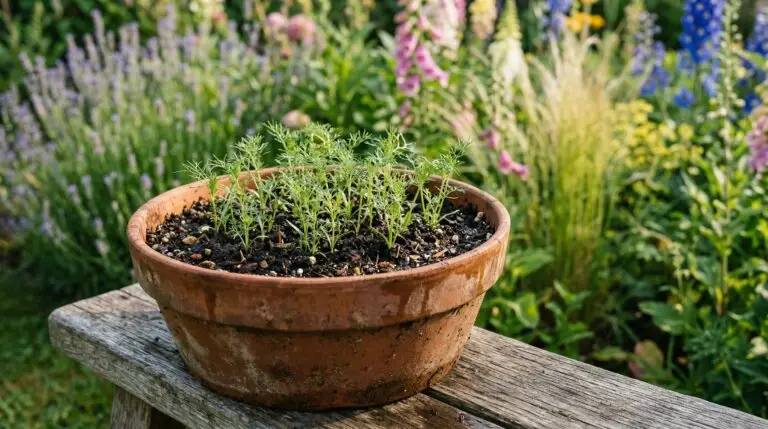
Love-in-a-mist in containers for a feathery cottage feel on balconies and windowsills
Companion plants for love-in-a-mist: what to grow and avoid
Love-in-a-mist flower meaning and the romantic mystery behind this enchanting bloom
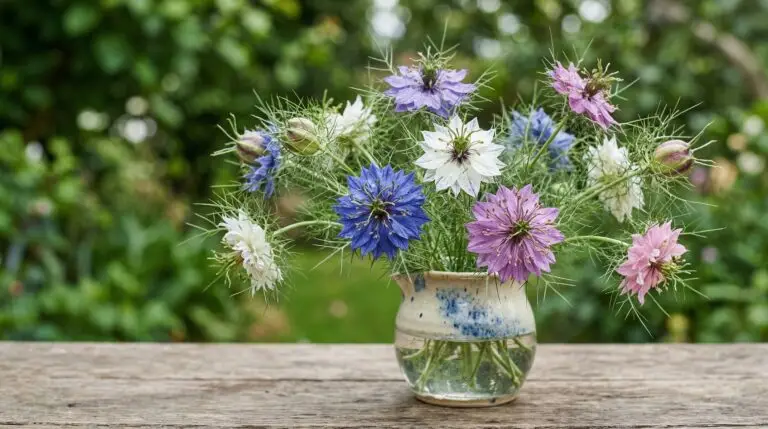
Love-in-a-mist as a delicate cut flower for wildflower-style bouquets and arrangements
Love-in-a-mist seed pods that are as beautiful as the flowers and perfect for drying
