Observing the winter garden and waiting for the right moment
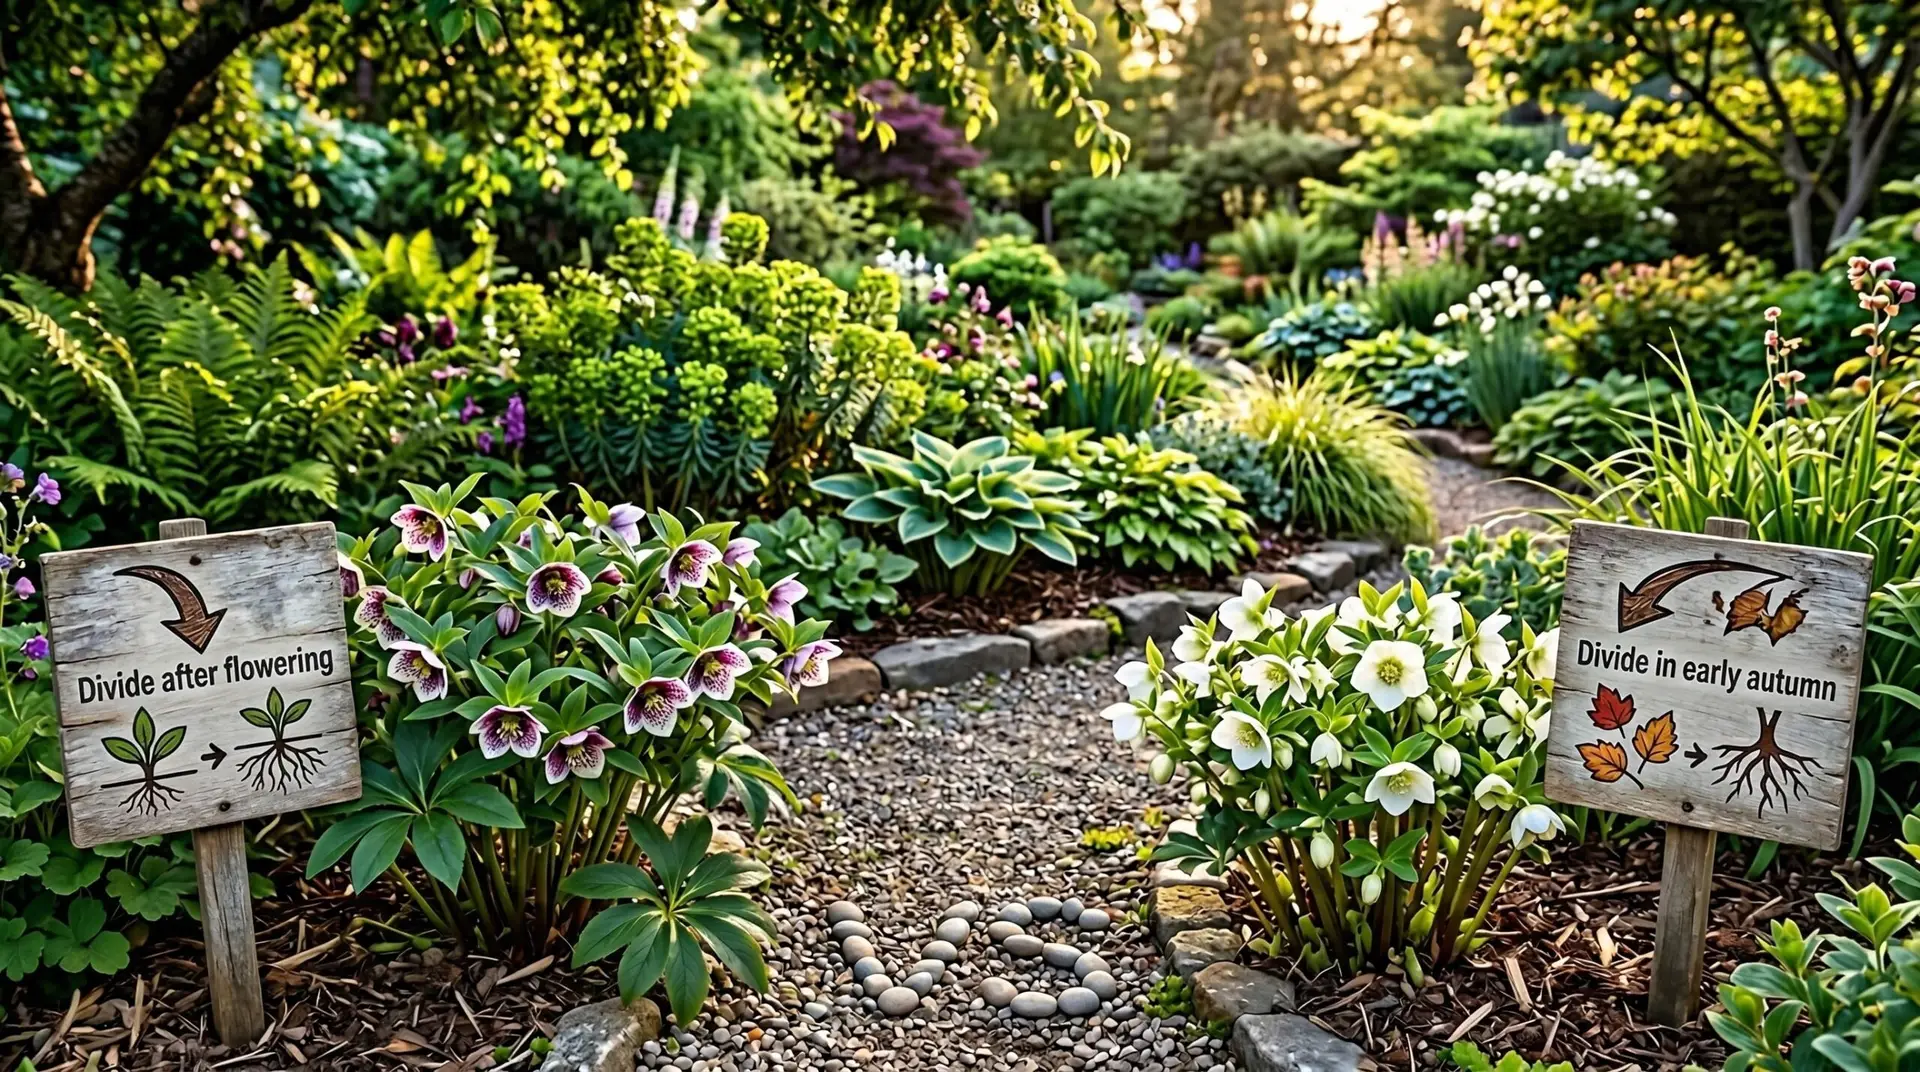
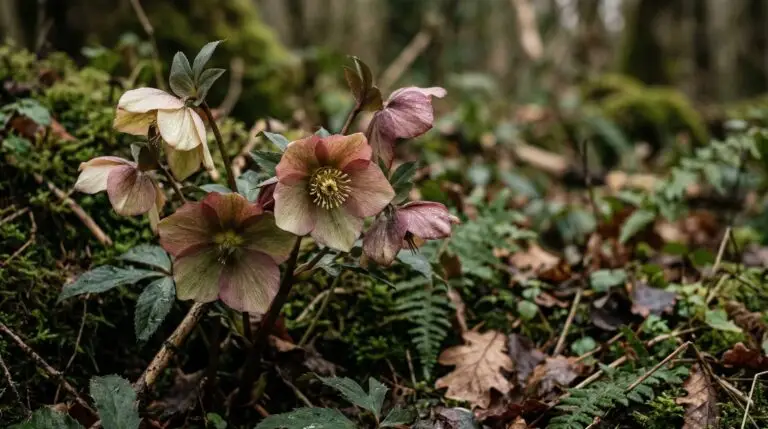
When the ground is still hard and the morning air bites at your fingers, the hellebore begins its year. You brush away the dead leaves of oak and maple to find pale green buds pushing through the cold soil. This is the season of observation, when you take stock of the garden’s oldest residents. You might notice that a mature clump has grown entirely too large for its space. The center of the plant may look woody and barren, with all the new flowers crowding the outer edges. The urge to dig up the plant and fix the problem right now is strong. You must resist the temptation to dig into the cold earth. Dividing hellebores in late winter interrupts their single most productive period of flowering and foliage growth.
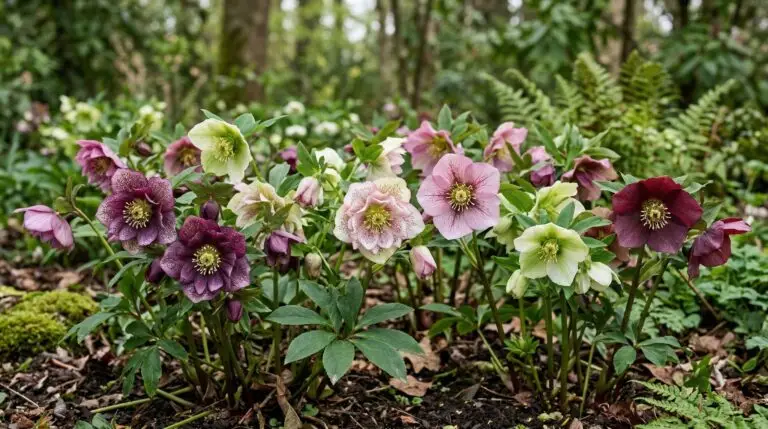
The plant needs every ounce of energy to open those heavy, nodding blooms. Its fleshy roots resent being torn from the soil while the top half is working so hard. If you split the crown now, the flowers will droop and the new leaves will struggle to unfurl. You must leave the shovel in the shed and simply watch the plant move through its spring cycle.
Spring reveals a gentler alternative to splitting mature clumps
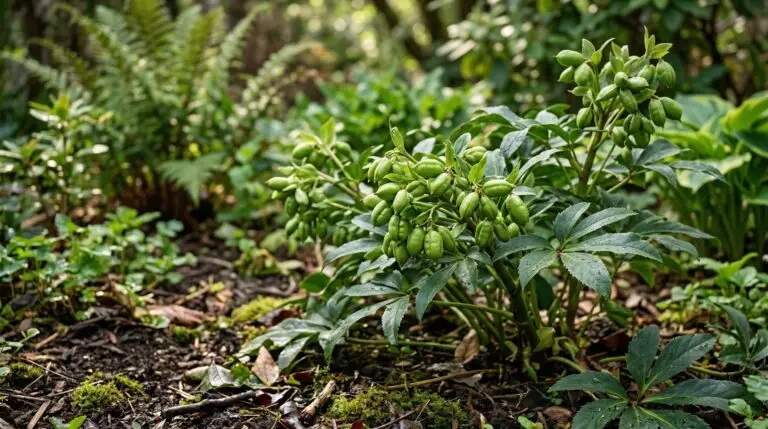
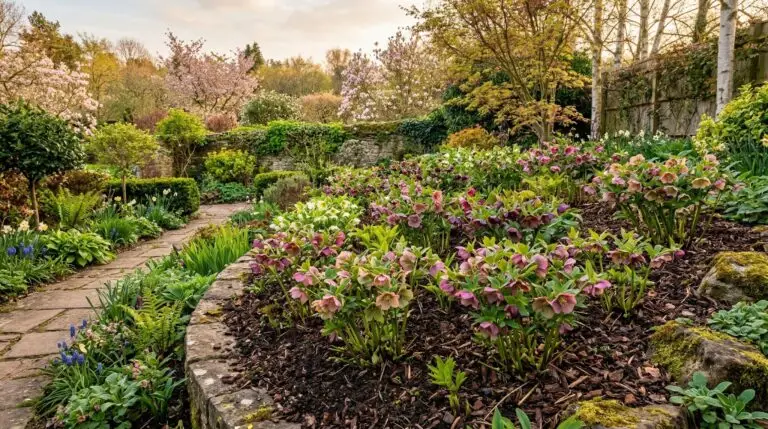
By late spring, the colorful sepals fade to a papery green and the seed pods begin to swell. The soil warms under the shifting shade of the canopy above. As the pods split open, they drop heavy black seeds directly around the base of the mother plant. A few weeks later, a carpet of tiny green seedlings will appear in the damp earth. Transplanting hellebores at this seedling stage is entirely different from wrestling with a mature crown. You can scoop these small plants out with a hand trowel and move them to new beds with almost zero shock. This is especially useful for species like the stinking hellebore, which has a short lifespan and actively resents root disturbance. You get new plants for the garden without ever touching the old, woody roots of the parent.
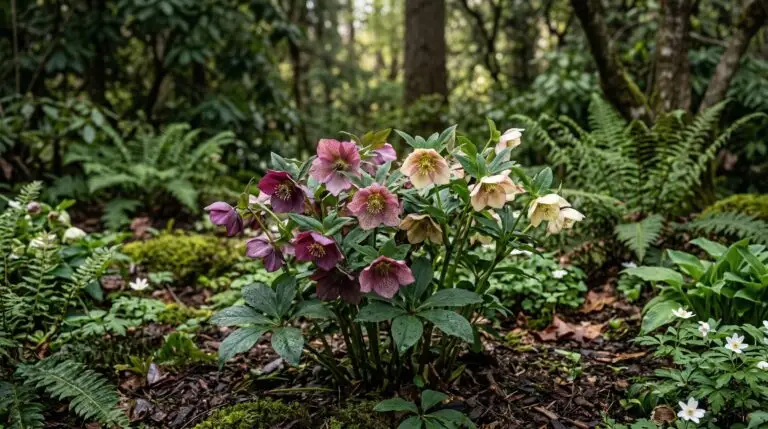
As summer arrives, the canopy closes completely and the garden enters a quiet, dry phase. The hellebore sits in the deep shade, its leathery leaves shedding the occasional heavy rain. The plant is resting, conserving moisture during the long, hot days of July and August. You wait for the heavy heat to break and for the angle of the sun to drop.
The autumn window for dividing hellebores opens
September brings crisp mornings and the return of steady autumn rains. The soil softens, smelling of damp earth and decaying leaves. This shift in the weather signals the true season for hellebore division. The plant is about to enter a period of intense root growth, preparing itself to bloom in the dead of winter. You need a sharp, heavy spade to tackle a plant that has been in the ground for a decade. The roots grow deep and wide, requiring a generous root ball method to safely extract them. You must dig a wide circle around the foliage, pushing the spade straight down to avoid slicing the thick, brittle roots. Lifting the heavy mass out of the ground takes effort, but keeping the root system largely intact is the secret to success.
Once the plant is out of the ground, you must wash the soil away with a hose to see the structure of the crown. The thick roots will be tangled tightly together, hiding the natural fault lines between the growth points. You will need a sharp knife or a pruning saw to cut through the woody center. Each new division needs at least three healthy buds at the top and a thick cluster of roots below. You cannot simply pull the pieces apart with your hands the way you might divide a mature daylily clump. The hellebore requires a clean, decisive cut to prevent the crown from shattering. You discard the dead, woody center of the original plant and keep only the vigorous outer sections.
Settling the new divisions into the cooling earth
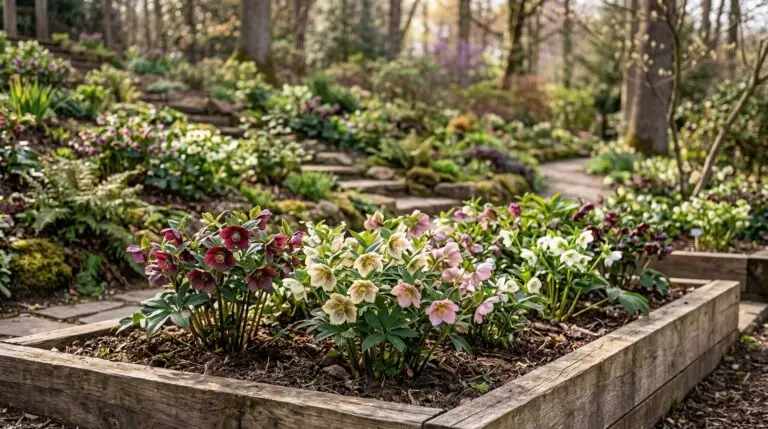
The newly separated plants must go back into the ground quickly before their fleshy roots dry out in the autumn air. You dig wide, shallow holes in the shaded beds, mixing a few handfuls of rich compost into the loose soil. The depth of the planting requires your full attention during this step. The crown of the plant must sit exactly at the soil line, just as it did before you dug it up. Burying the growth buds too deeply will cause them to rot under the winter snow. You backfill the soil gently, pressing it down to remove any air pockets around the roots. A deep watering settles the earth, and a light layer of shredded leaf mulch helps regulate the soil temperature. Unlike an iris rhizome that needs to bake in the sun, the hellebore root wants cool, consistent moisture.
The late autumn frosts eventually arrive and harden the surface of the garden beds. The hellebore leaves might droop and flatten against the cold ground, looking battered by the wind. Beneath the frozen crust, the severed roots are quietly healing and stretching into their new spaces. They are anchoring the divided plants deep into the earth, securing them for the hard months ahead.
The long winter passes, and the familiar rhythm of the garden begins again. When you hear the first spring peepers calling from the wet woods, you check the beds where you worked in the fall. The new divisions push up their first tight buds through the decaying mulch. The flowers might be slightly smaller this first year, and the foliage a bit less dense. The old, crowded clump has successfully given life to three or four healthy new plants. They will spend the spring expanding their leaves and catching the early light. And then, just as the first hard frost blackens the last leaves, the roots below are already storing energy for the next spring.
More About Hellebore
Why hellebore flowers face downward and how to display their hidden beauty
Best hellebore varieties from single-color classics to double-flowered showstoppers
Hellebore flower meaning and the dark legends surrounding the Christmas rose
How to clean up hellebore foliage in late winter for the best flower display
How to grow hellebores for elegant flowers that bloom in the dead of winter
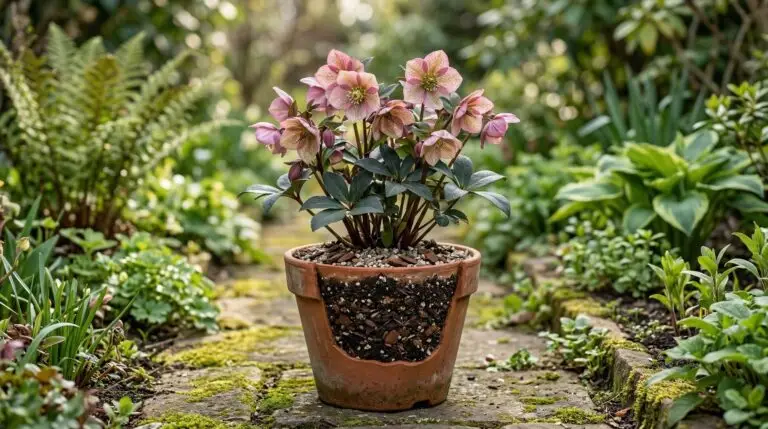
Hellebores in containers for winter interest on patios and doorsteps
Hellebore companion plants for a shade garden that has color from January to May