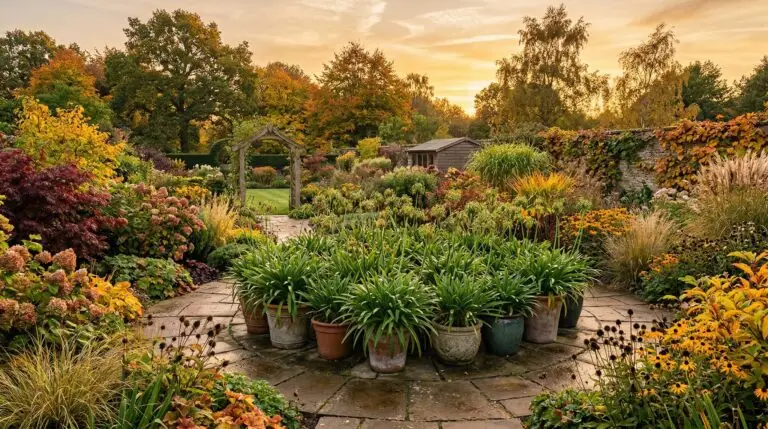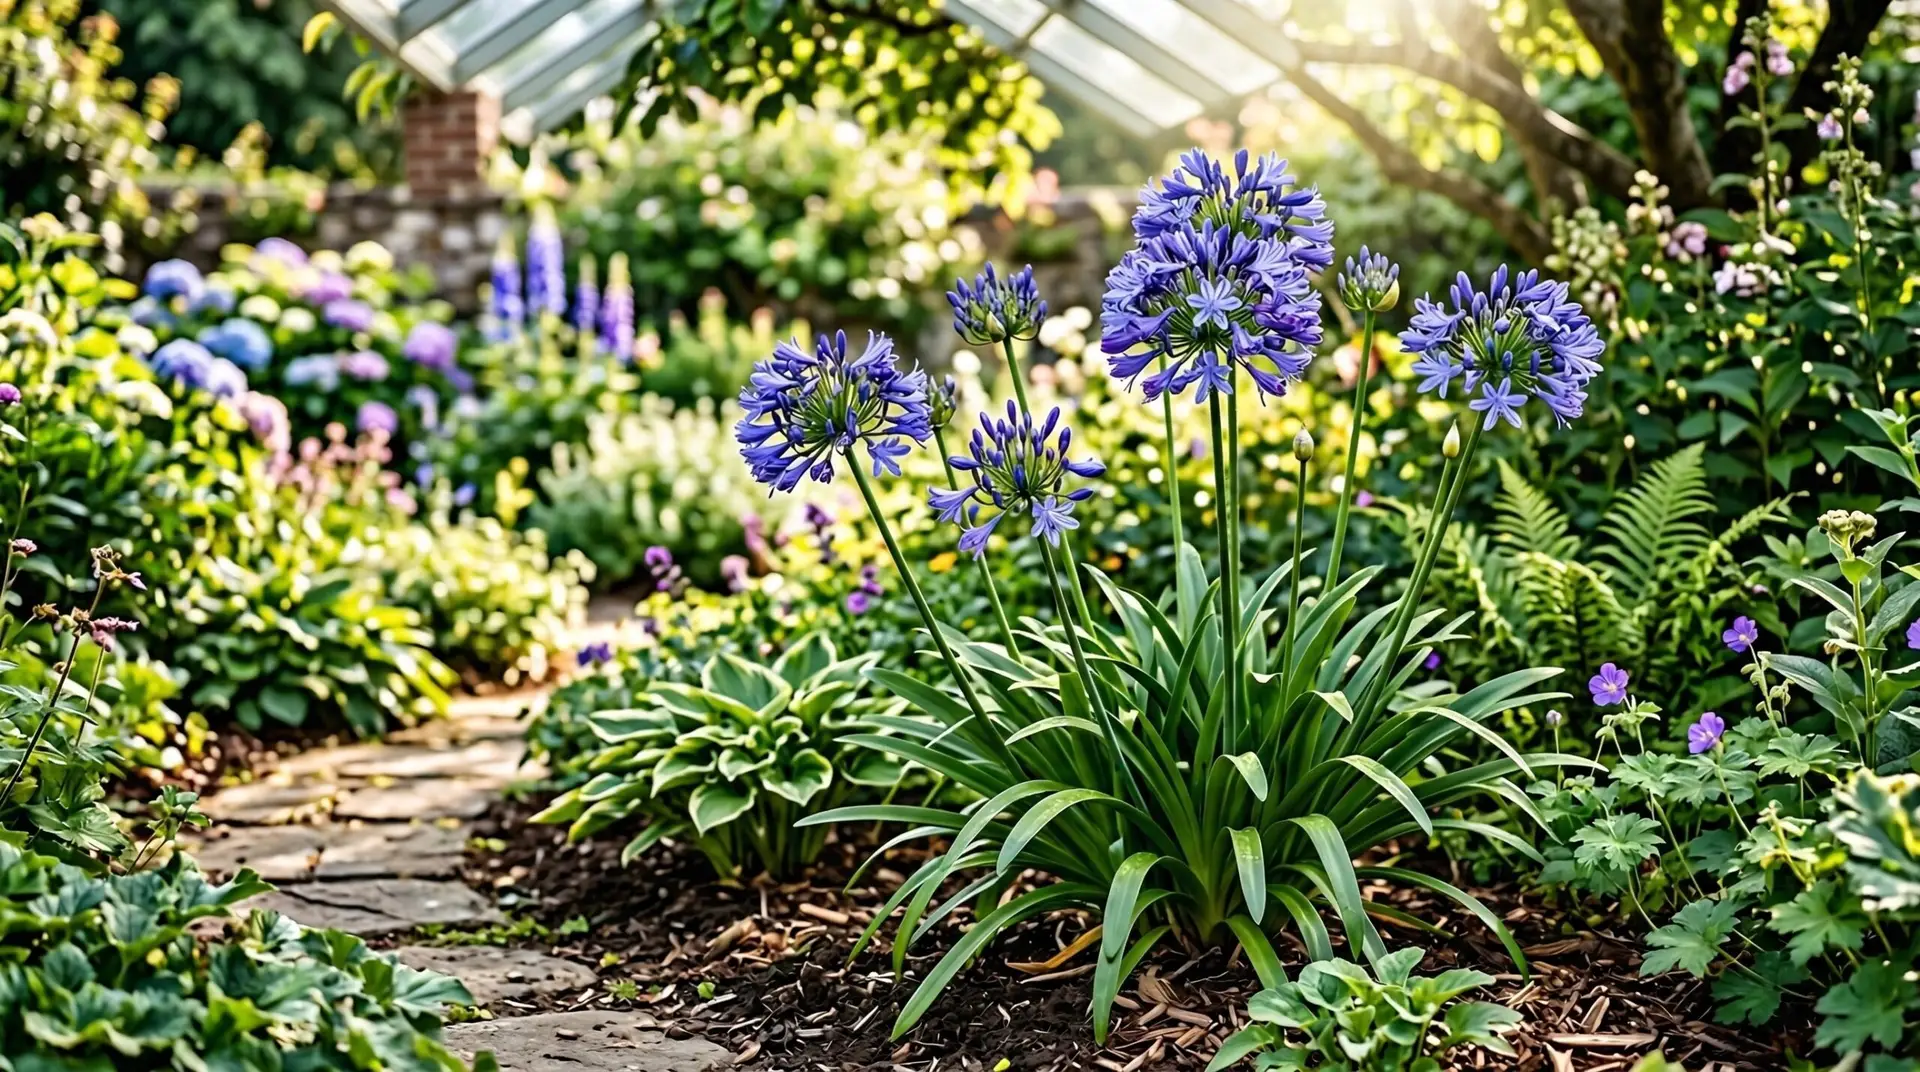
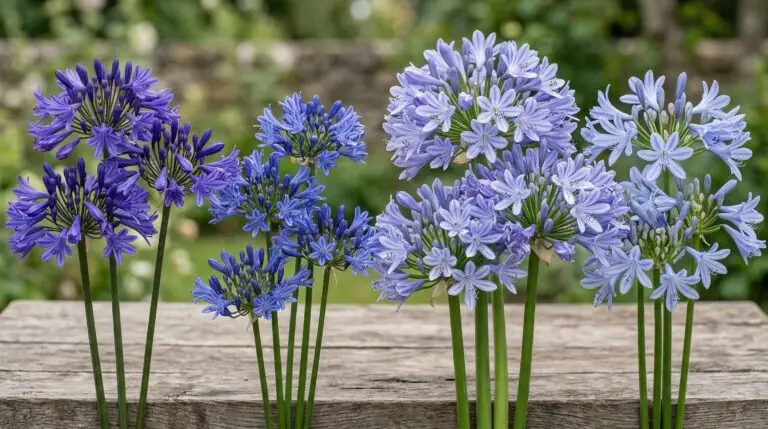
Late autumn always brings that familiar scramble to drag every potted plant into the house before the first hard frost hits. Windowsills quickly fill up with the usual green foliage, leaving many home gardeners wishing for something substantial that will eventually produce real flowers. Keeping an agapanthus indoors year-round or overwintering it as a houseplant is a practice that often raises eyebrows among traditional growers. Most people assume these massive South African natives belong strictly in outdoor garden beds or large patio planters. After experimenting with different winter storage methods over several seasons, treating them as active houseplants is entirely doable. The foliage stays relatively neat, and with the right handling, those tall stalks of blue or white trumpet flowers will actually appear right in the living room. Getting an agapanthus houseplant to survive is quite easy, but coaxing it to bloom inside takes a very specific routine. You will need to mimic their natural weather cycles using the rooms and windows you already have.
Finding the right light for an indoor agapanthus
The single biggest reason an indoor agapanthus refuses to flower is a lack of intense sunlight. These plants bake under the hot sun in their native habitat, and a standard living room is essentially a dark cave by comparison. Placing the pot directly in front of an unobstructed south-facing window is the only reliable way to get enough natural light indoors. Even then, the window glass filters out a significant amount of the solar energy the plant needs to form heavy flower buds. Supplementing with a basic, affordable LED grow light suspended a few inches above the leaves makes a massive difference in plant vigor. You do not need expensive professional greenhouse equipment to make this indoor setup work. A standard clamp light with a full-spectrum bulb from the local hardware store provides enough extra energy to keep the plant from stretching and becoming weak. If you have ever tried getting an Anthurium to bloom heavily indoors, you know that bright light is the secret ingredient, and agapanthus demands even more direct exposure.
Choosing pots that can handle aggressive roots
Anyone who has repotted an agapanthus knows exactly how terrifying their root system can be. The roots are thick, fleshy, and incredibly strong, resembling a tightly tangled mass of pale carrots. These roots want to be packed tightly together, and because the plant blooms much better when severely rootbound, the choice of container becomes a matter of structural integrity rather than just interior aesthetics. Thin plastic nursery pots will literally split down the side under the intense pressure of a mature agapanthus root system. Cheap decorative ceramic pots are also at risk of cracking right down the middle when the roots expand during the summer. Heavy, thick-walled terracotta or dense resin containers are the safest options for keeping these aggressive plants indoors. Terracotta has the added benefit of breathing, which helps the soil dry out faster and prevents the fleshy roots from rotting in a cool house. Leave the plant in the exact same pot for years until the roots are literally pushing the crown up over the rim of the container.
Managing the winter dormancy period
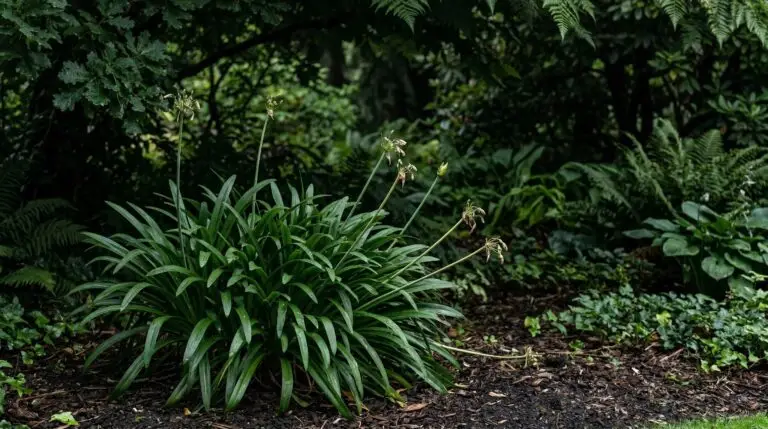
The trickiest part of growing agapanthus inside is giving the plant a proper winter rest period. Without a few months of cool temperatures and dry soil, the plant will simply push out weak green leaves all year and never form a flower stalk. Gardeners in the South often leave their pots outside year-round, but in northern zones, creating a fake winter indoors is mandatory. Move the pot to a cool room that stays around fifty degrees, like an unheated spare bedroom, a bright enclosed porch, or near a drafty hallway window. Stop fertilizing completely by late October and cut watering down to a bare minimum. Give the pot just enough water to keep the soil from turning into concrete, perhaps a light splash every three or four weeks. Deciduous varieties will lose all their leaves and look completely dead during this time, which is perfectly normal and no cause for panic. Evergreen varieties will hold onto their foliage, but the leaves might look a bit dull and tired until the spring weather arrives.
Triggering the bloom cycle in home conditions
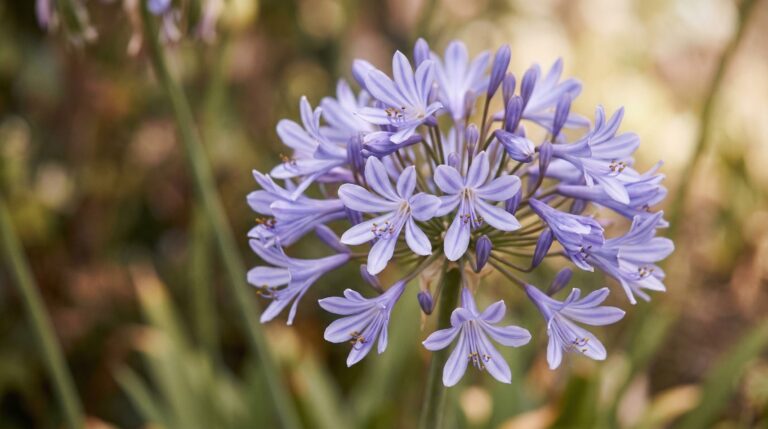
When the days start getting noticeably longer in early spring, it is time to wake the plant up and push it toward flowering. Move the container back to the warmest, brightest spot available in the house to signal the end of dormancy. Begin watering deeply again, allowing the excess moisture to drain completely out of the bottom of the heavy pot. Standing water in the saucer will rot the thick roots in a matter of days, so always empty the drainage tray immediately after watering. This is also the exact time to start feeding the plant to support the massive amount of energy required to build a tall flower stalk. A basic, inexpensive water-soluble tomato fertilizer works perfectly for this, as the higher potassium content encourages blooming without pushing too much soft leaf growth. Just like coaxing a stubborn Moth Orchid back into flower, patience is required while waiting for the thick green flower stalk to emerge from the center of the leaves. Once the buds finally open, the tall display will last for weeks, making the long winter watering routine completely worthwhile.
More About Agapanthus
The meaning and symbolism of agapanthus flowers across cultures
Why your agapanthus is not blooming and how to fix it
Evergreen versus deciduous agapanthus and which type suits your garden
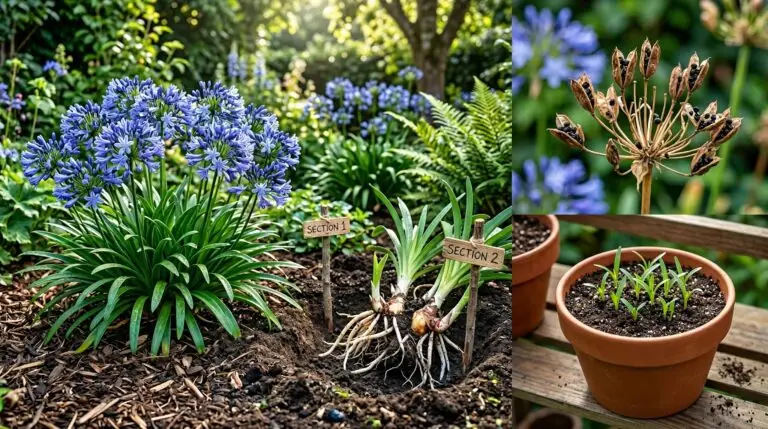
How to divide and propagate agapanthus for more plants every season

Best companion plants for agapanthus to create a layered garden border
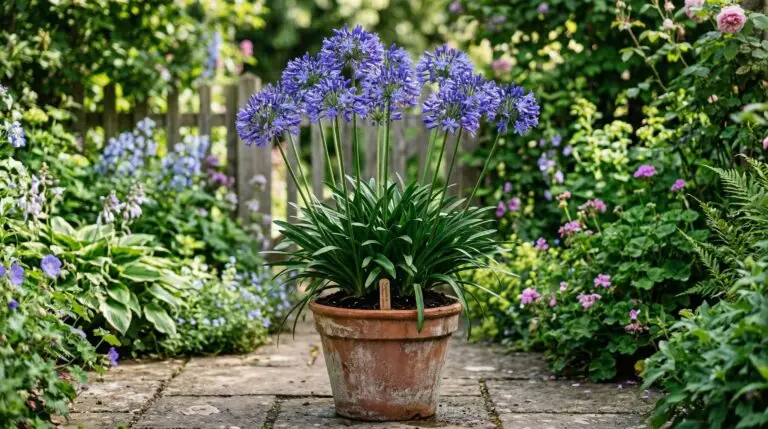
How to grow agapanthus in pots and containers for a spectacular patio display
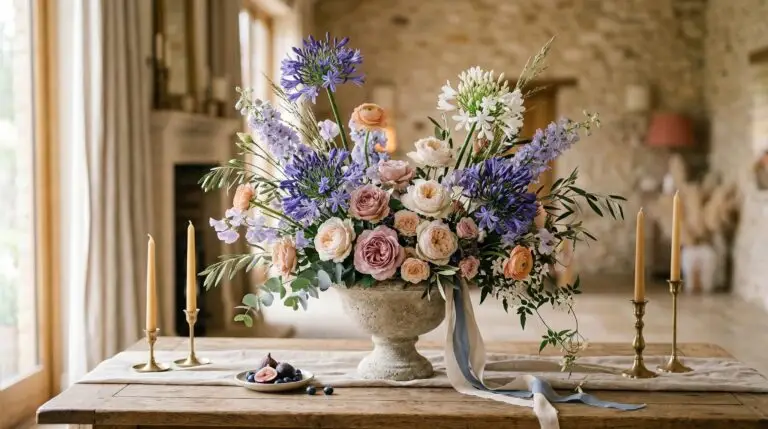
Agapanthus wedding bouquets and floral arrangements that feel effortlessly elegant