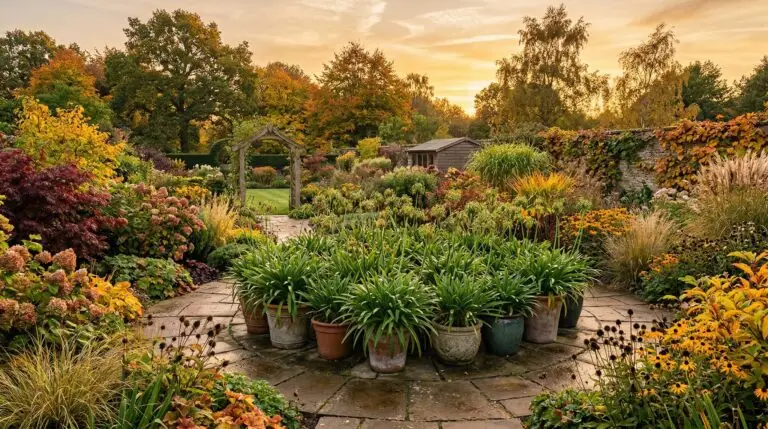
Understanding the container advantage for agapanthus
Agapanthus, often called Lily of the Nile, is a South African native that thrives under specific conditions and responds remarkably well to container cultivation. Growing agapanthus in containers is a highly effective method because these plants produce their best flowers when their thick, fleshy roots are slightly restricted. If you plant them directly in the ground with unlimited space, they tend to focus their energy on producing lush foliage rather than sending up tall flower stalks. A pot naturally confines the root system, tricking the plant into a reproductive state where it pushes out large, globe-shaped flower heads. This container method also gives you complete control over the soil composition and makes it easy to move the plant to an optimal location as the sun shifts across your patio during the growing season.
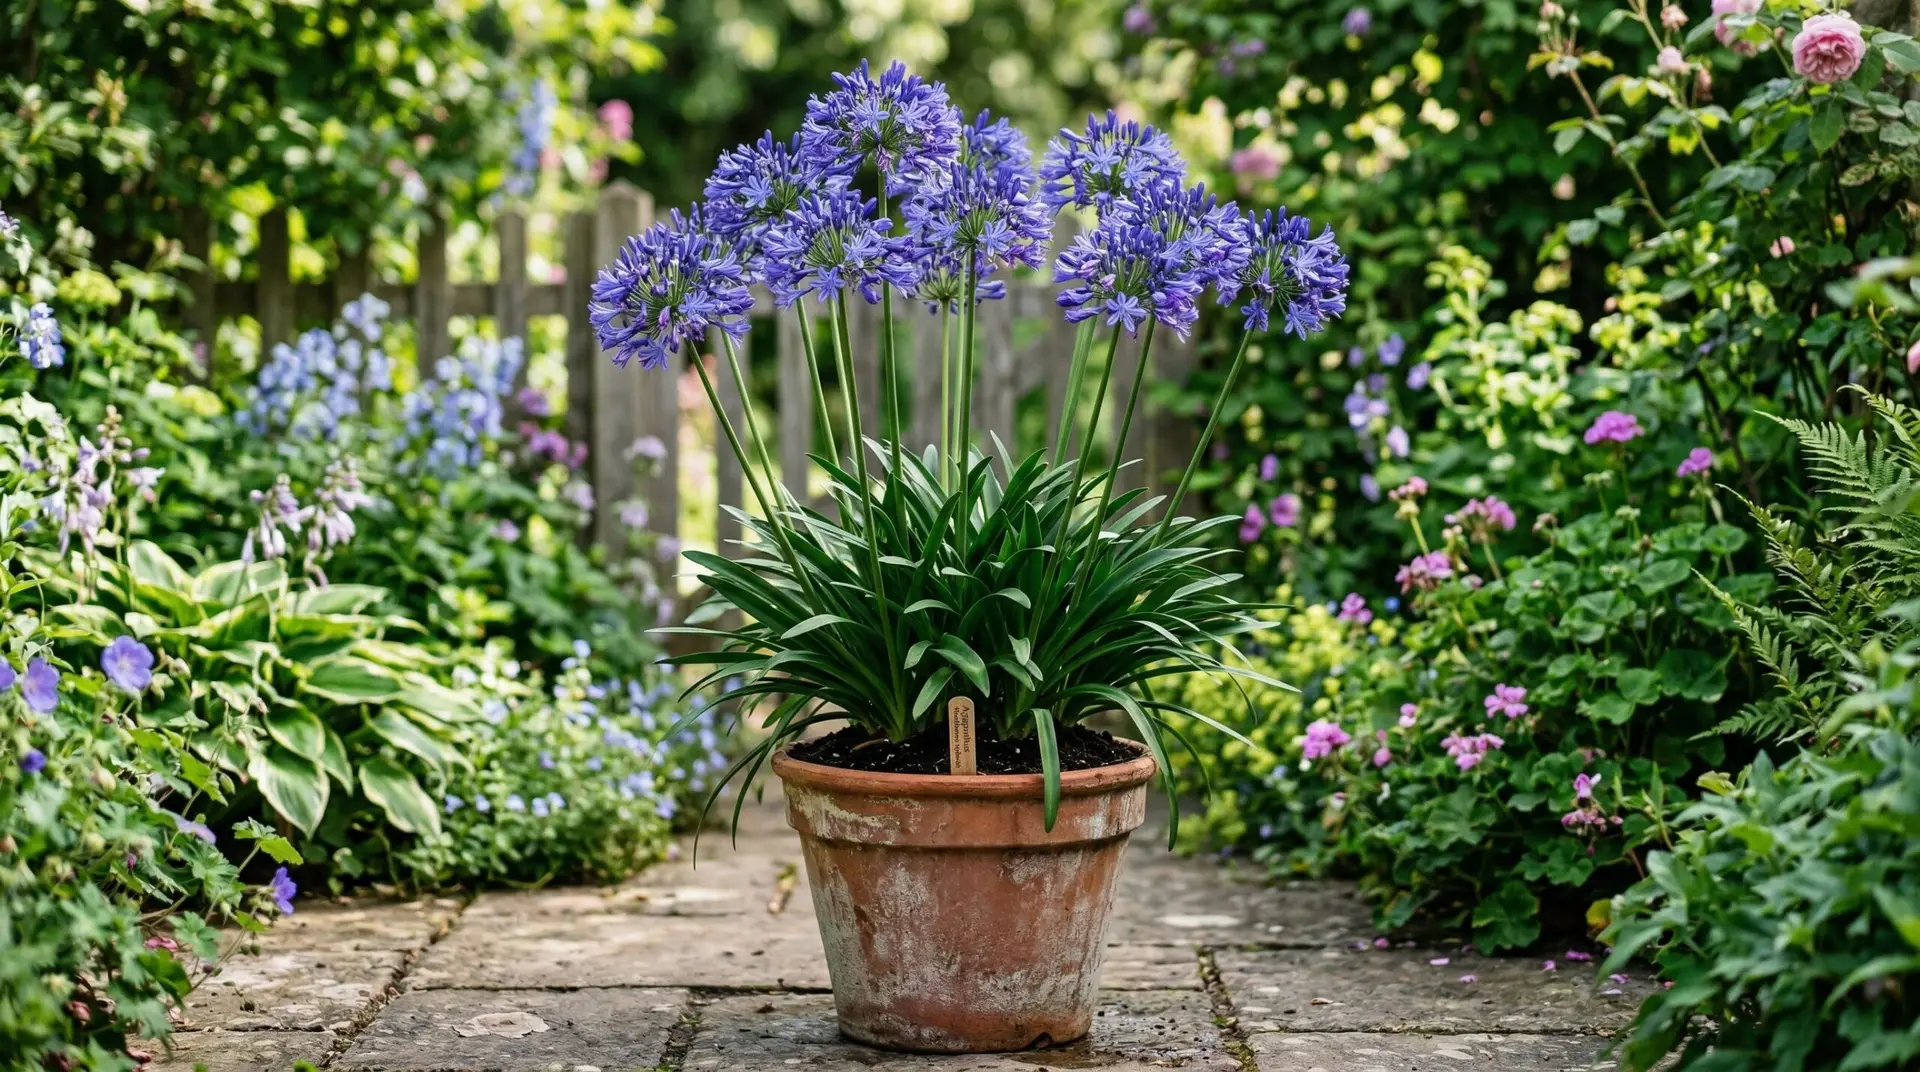
Before you gather your supplies, you need to understand the basic anatomy of an agapanthus to make the right equipment choices. These plants grow from thick rhizomes that store water and nutrients, which makes them quite resilient during dry spells but highly susceptible to rot if left sitting in water. This means your container selection and soil mix are the most critical decisions you will make for the long-term health of the plant. You will want a heavy pot made of terracotta or thick resin to anchor the plant, as the mature foliage and tall flower stalks can become top-heavy and tip over in strong winds. Make absolutely sure the container has at least one large drainage hole at the bottom, as waterlogged soil will quickly destroy the root system before the plant ever has a chance to bloom.
Preparing the perfect soil mix and planting depth
The standard potting soil you buy at the garden center is usually too moisture-retentive for growing agapanthus in pots straight out of the bag. You need to modify it to ensure water runs through the pot quickly while leaving just enough moisture for the roots to drink. Mix two parts of a high-quality, peat-free potting soil with one part coarse sand, perlite, or horticultural grit. When you water this mixture, the excess should pour out of the bottom drainage holes within seconds. If you notice water pooling on the surface for more than a few moments, you need to empty the pot and add more grit to improve the drainage. Poorly drained soil suffocates the roots and encourages fungal diseases that turn the firm rhizomes into mush.
When the danger of frost has passed and daytime temperatures consistently stay above 60 degrees Fahrenheit, it is time to plant your agapanthus. Fill the bottom third of your container with the prepared soil mix and gently settle the root ball into the center of the pot. You want the crown of the plant, which is the exact point where the strap-like leaves meet the root system, to sit just slightly above the soil surface. Burying the crown too deeply traps moisture against the base of the leaves and often leads to basal rot. Fill in the gaps around the roots with more of your soil mix, pressing down firmly with your hands to eliminate large air pockets. Water the pot thoroughly until the moisture runs clear from the bottom, which helps settle the soil around the roots and gives the plant a solid start in its new home.
Managing water and fertilizer for maximum blooms
Agapanthus container care requires a delicate balance of providing enough water to support the massive flower stalks while allowing the soil to dry out between waterings. During the active growing season in late spring and summer, you should check the soil moisture by pushing your finger about two inches down into the pot. If the soil feels dry at that depth, give the plant a deep, thorough watering. If it still feels damp, wait another day or two before checking again. You might notice the tips of the leaves turning brown or yellow, which is a common sign that you are either watering too frequently or the drainage holes are clogged. Adjust your watering schedule based on the weather, increasing the frequency during hot, dry spells and scaling back when the weather turns cloudy or cool.
Feeding your agapanthus correctly is just as important as watering, especially when the roots are confined to a pot and cannot seek out nutrients in the surrounding earth. Begin feeding the plant as soon as new growth appears in the spring using a balanced liquid fertilizer every two weeks. Once you see the flower stalks beginning to emerge from the center of the foliage, switch to a fertilizer that is high in potassium, exactly like the formulas used for tomatoes. High nitrogen fertilizers will give you an abundance of green leaves at the expense of flowers, so avoid them once the blooming season approaches. This feeding regimen provides the specific energy the plant needs to develop strong, upright stems that can support the heavy flower heads without snapping in the breeze. Similar feeding strategies work well for other container-grown blooming plants, and you might apply the same high-potassium approach if you are growing a Calla Lily in a nearby patio pot.
Handling winter dormancy and root congestion
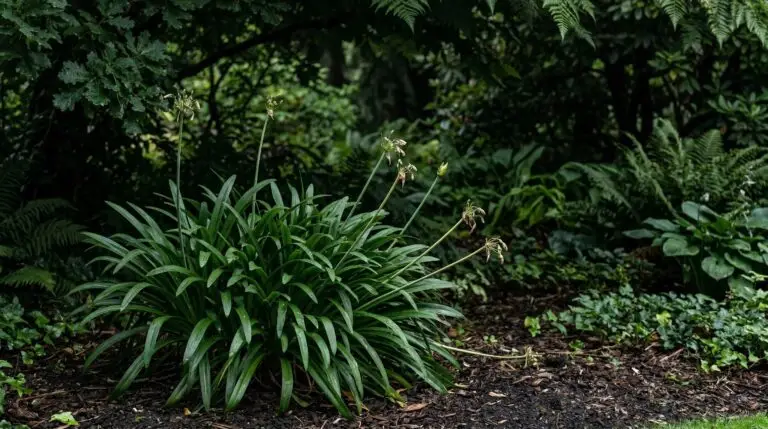
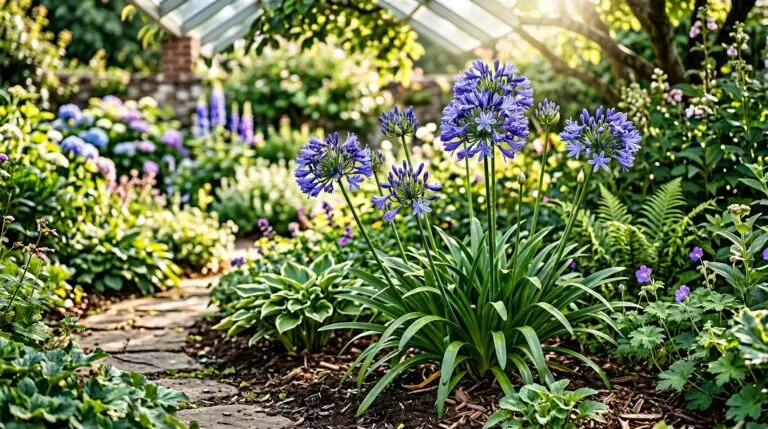
As the summer ends and nighttime temperatures begin to drop, your agapanthus will enter a natural period of dormancy. For gardeners in colder climates where winter temperatures fall below freezing, leaving the pots outdoors will kill the fleshy roots. Before the first frost arrives, move the containers into a cool, frost-free location like an unheated garage, a basement, or a protected greenhouse. The ideal winter storage temperature is around 40 to 50 degrees Fahrenheit. During this dormant phase, the plant needs very little water, so you should only give it a light drink once a month to prevent the roots from drying out completely. The foliage on deciduous varieties will die back entirely, while evergreen types will retain their leaves but stop growing. This resting period is necessary for the plant to reset and gather energy for the next blooming cycle.
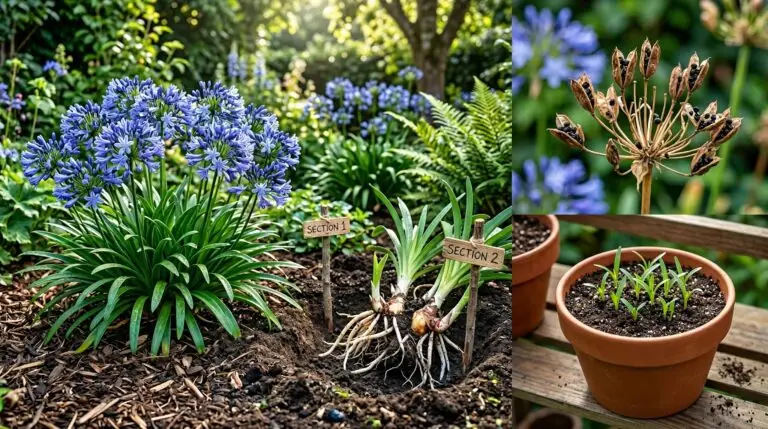
After a few years of growing agapanthus in containers, you will notice the roots pushing up to the surface of the soil or even cracking the sides of plastic pots. While these plants prefer to be slightly rootbound, extreme congestion will eventually cause the plant to decline and stop flowering. When the roots completely fill the pot and leave almost no room for soil, it is time to divide the plant or move it to a slightly larger container. Wait until early spring, just before active growth resumes, to pull the root mass out of the pot. You can use a sharp spade or a serrated knife to cut the dense root ball into two or three smaller sections, making sure each division has several healthy growing shoots. Replant these divisions in fresh soil, and they will soon establish themselves as vigorous new plants. If you enjoy the process of dividing bulbous and rhizomatous plants, you will find this task very similar to dividing a mature Lily to expand your garden collection.
What to expect from a healthy container display
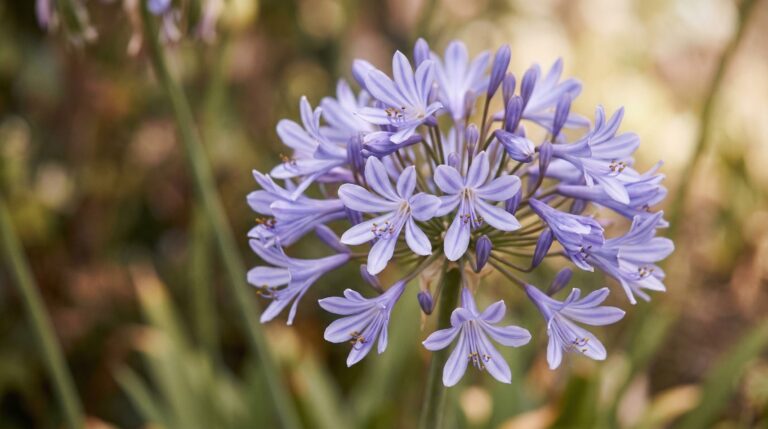
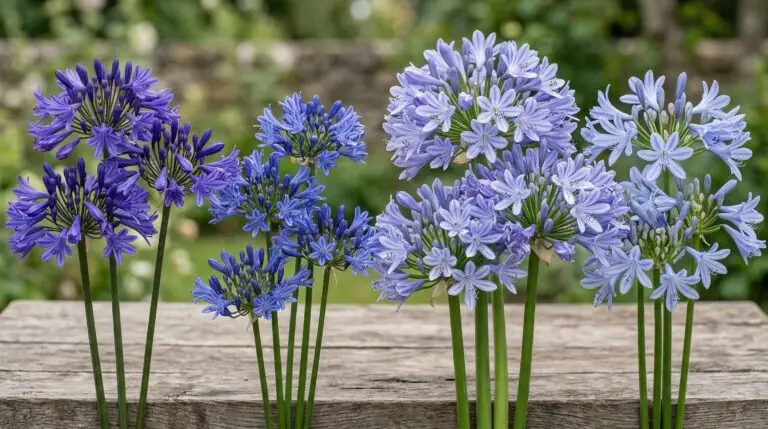
By following these steps and paying close attention to the soil moisture and feeding schedule, your potted agapanthus will reward you with an impressive architectural display. In early summer, you will see thick, sturdy stalks rising high above the arching mound of green foliage. These stalks will eventually burst open to reveal large spheres composed of dozens of individual, trumpet-shaped flowers in shades of deep blue, soft violet, or pure white. The blooms typically last for several weeks, drawing bees and butterflies to your patio while providing a striking vertical element to your container garden. Even after the colorful petals drop, the remaining green seed heads maintain a sculptural quality that keeps the plant looking attractive well into the late summer months. With proper winter protection and routine division every few years, a single potted agapanthus will remain a reliable and beautiful focal point in your outdoor living space for decades.
More About Agapanthus
The meaning and symbolism of agapanthus flowers across cultures
Why your agapanthus is not blooming and how to fix it
Evergreen versus deciduous agapanthus and which type suits your garden
How to divide and propagate agapanthus for more plants every season
Growing agapanthus indoors as a striking houseplant that actually blooms
Companion plants for agapanthus: what to grow, avoid
Agapanthus wedding bouquets and floral arrangements that feel effortlessly elegant