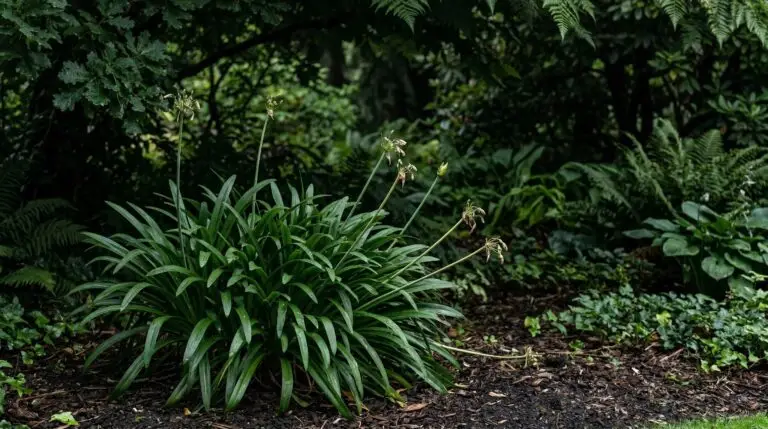
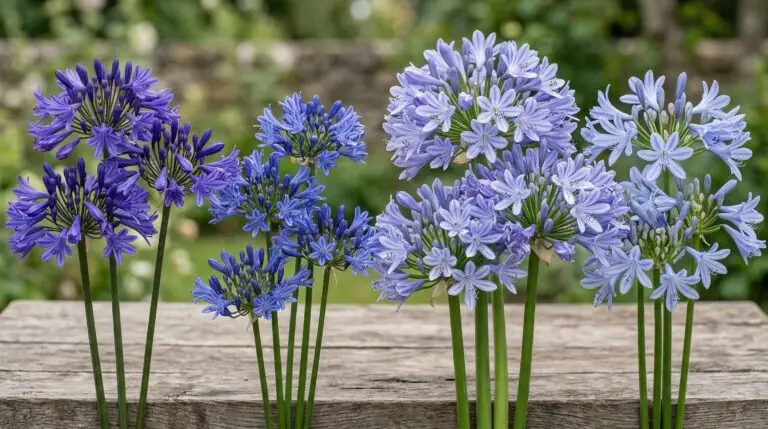
By the time you finish reading this guide, you will understand exactly how an agapanthus plant multiplies beneath the soil and how you can harness that natural process to fill your garden with new plants. Many gardeners look at a massive, blooming clump of agapanthus and feel a mix of admiration and intimidation, wondering how to manage such a dense thicket of foliage. These plants grow by producing side shoots, slowly expanding outward from their original center until they run out of room and nutrients. When left alone for too many years, the center of the clump often becomes woody and stops producing those tall, spherical blue or white blooms. Learning to step in and manage this growth cycle is about keeping your existing plants vigorous and blooming well rather than just getting free plants. We are going to look at how these plants function underground so that the physical steps of propagation make complete sense.
Understanding the root system before you start
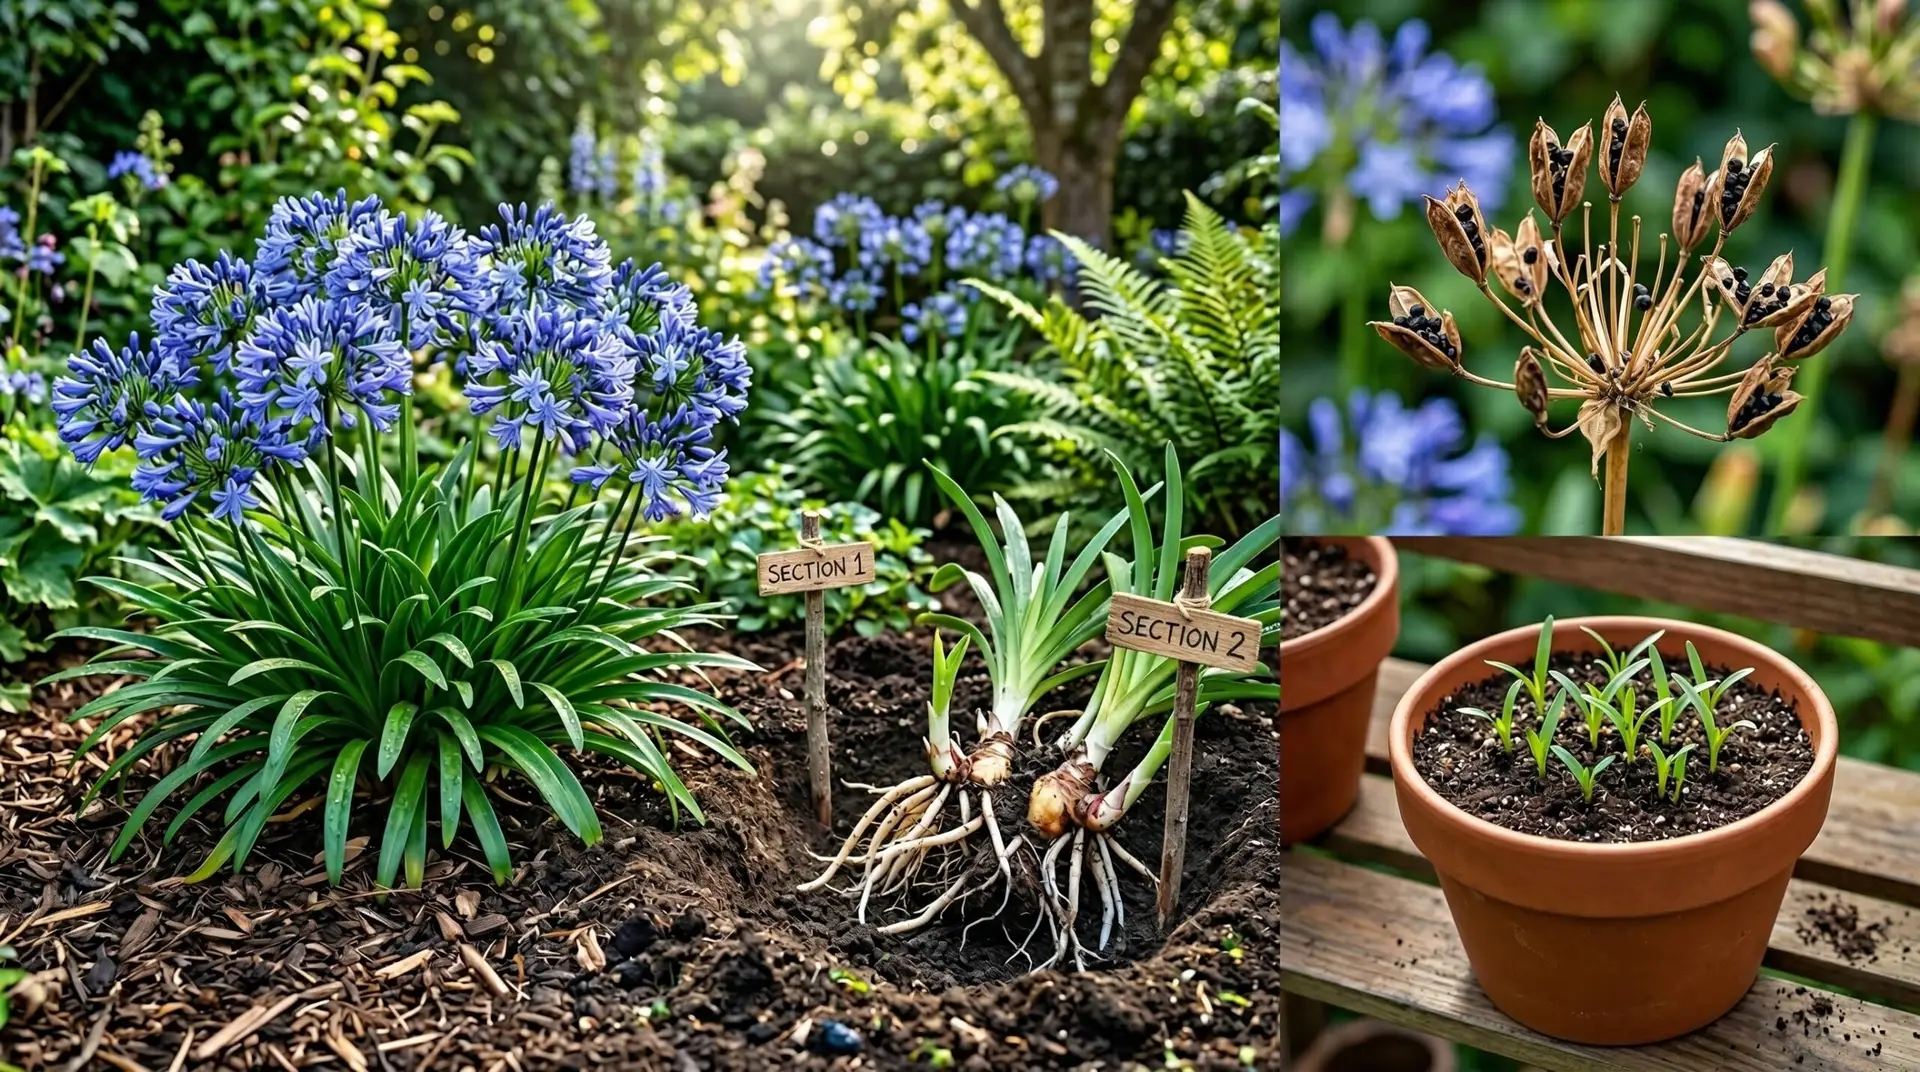
To successfully propagate agapanthus, we first need to look at what is happening beneath the soil surface. Unlike plants with fine, fibrous roots that easily pull apart, agapanthus grows from thick, fleshy underground stems called rhizomes. You can think of these rhizomes as underground storage tanks, holding water and energy to help the plant survive dry periods and push up those massive flower stalks. As the plant matures, the main rhizome produces offsets, which are essentially baby plants attached to the side of the parent. Over time, these offsets grow their own root systems and foliage, creating the tightly packed clumps you see above ground. Because these thick roots are so densely woven together, dividing them requires a bit more force than you might expect. Understanding this tough, interconnected structure helps explain why gentle pulling is rarely enough to separate a mature clump.
The density of these rhizomes is exactly why dividing agapanthus becomes necessary for the long-term health of the plant. As the offsets multiply and pack tightly together, they begin to compete fiercely for water, soil nutrients, and physical space. The roots become so congested that water often runs right off the top of the soil rather than soaking in to reach the deeper roots. This intense competition is the primary reason an older clump will suddenly stop blooming, as the plant simply does not have the resources to support flowers. By stepping in to perform an agapanthus division, you are relieving this congestion and giving each individual plant the space it needs to gather nutrients. You might have seen a similar crowding issue if you grow daylily plants, which also form dense clumps that eventually choke themselves out if left undivided. Breaking up this traffic jam allows the root systems to breathe and function properly again.
The timing and process of dividing agapanthus
The timing of your division project is tied directly to the plant’s natural growth cycle and energy reserves. The ideal time to dig up and separate your plants is in early spring just as new growth begins, or in early autumn after the flowers have faded. Choosing one of these cooler seasons ensures the plant is not trying to support flowers or survive intense summer heat while recovering from root trauma. If you divide in the spring, the plant has the entire growing season to establish new roots before winter arrives. Autumn division works equally well in mild climates, giving the roots time to settle into the warm soil before the plant enters a period of slower winter growth. You want to avoid digging them up in the heat of summer, as the severed roots will struggle to take up enough water to keep the broad leaves hydrated. Working with the seasons rather than against them makes the transition much smoother for your new plants.
When you are ready to begin, the first step is to lift the entire clump out of the ground using a sturdy spade or digging fork. You will want to dig a few inches outside the perimeter of the foliage to avoid slicing through the outer ring of healthy roots. Once the clump is out of the ground, washing the soil away with a hose makes it much easier to see the individual plants and their connecting rhizomes. This is the moment where many beginners feel hesitant, as the root mass often looks like a solid, impenetrable block of white noodles. Do not be afraid to use a sharp knife, a pruning saw, or even two garden forks placed back-to-back to pry the clump apart. Cutting through the thick rhizomes might feel destructive, but a clean cut actually heals much faster than a jagged tear. Just like dividing an overgrown iris patch, you have to be firm and deliberate to separate the individual fans of foliage.
Managing recovery and expectations after division
As you cut the clump apart, you need to decide how large to make your new divisions, which directly impacts how soon they will bloom again. A good rule of thumb is to keep at least three to five fans of foliage together in each new section. A fan is simply one distinct growing point where the leaves emerge from the base in a V-shape. If you break the plant down into single fans, they will survive, but they will likely need two or three years to build up enough energy to produce flowers. Keeping a small cluster of fans intact provides the new division with a larger shared root system and more stored energy from the start. You will want to trim the foliage back by about half its length before replanting, which reduces the amount of water the damaged roots need to supply while they heal. This step might seem counterintuitive since leaves make food for the plant, but reducing moisture loss is the highest priority right after root surgery.
Replanting your new divisions correctly sets the stage for their recovery and future growth. Dig a hole slightly wider than the new root mass and mix some compost into the native soil to improve drainage and provide gentle nutrition. Place the division in the hole so that the point where the leaves meet the roots sits exactly at the soil surface, as planting too deeply can cause the base to rot. Water the newly planted divisions thoroughly to settle the soil around the roots and eliminate any hidden air pockets that could dry them out. For the first few weeks, keep the soil consistently moist but never soggy, allowing the cut rhizomes to callous over and initiate new root growth. It is completely normal for the plants to look a bit droopy or yellowed during this adjustment period while they repair their root systems. This takes a season or two to get a feel for, and learning to read the plant’s recovery signals is an expected part of becoming a confident gardener.
Growing agapanthus from seed for patient gardeners
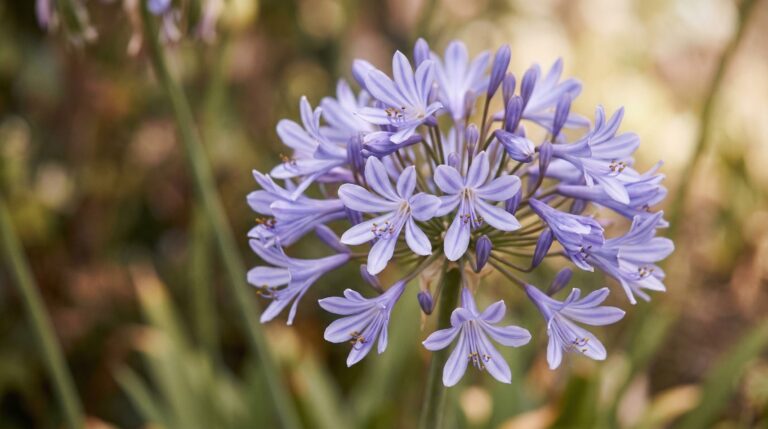
While dividing mature plants is the fastest way to get blooming-size additions for your garden, learning to propagate agapanthus from seed offers a different kind of reward. After the globe-shaped flower heads fade, they develop green seed pods that eventually dry and split open to reveal flat, black seeds. Collecting these seeds and sowing them gives you the chance to grow dozens of new plants at once, though it requires a significant amount of patience. When you grow agapanthus from seed, the resulting plants will not be exact genetic copies of the parent, meaning you might see slight variations in flower color or plant height. This genetic variability is how new varieties are discovered, making seed propagation a fun experiment for those who enjoy the long game of gardening. You can sow the fresh seeds in pots filled with a well-draining seed starting mix, barely covering them with soil since they need light to germinate.
The timeline for seed-grown plants is much longer than for divisions, which is why understanding the process helps set realistic expectations. Germination usually takes three to six weeks if the pots are kept warm and consistently moist. The initial seedlings look like tiny blades of grass and are quite fragile, requiring careful watering to avoid washing them out of the soil. You will need to grow them in pots for at least a full year, slowly stepping up the pot size as their fleshy little root systems develop. It typically takes three to four years for a seed-grown agapanthus to reach maturity and produce its very first flower stalk. Watching a tiny seed transform into a massive, blooming architectural plant requires time, but the reward of raising a plant entirely from scratch is immense.
The core principle to take away from this process is that plant multiplication is just a manipulation of natural survival strategies. Whether you are slicing through tough rhizomes to relieve crowding or sowing fresh seeds to see what variations emerge, you are simply directing the plant’s inherent drive to reproduce. Dividing forces you to get your hands into the root zone and understand how the plant anchors and feeds itself. Seed starting teaches you the slow, steady rhythm of plant development from the very beginning. By mastering both of these methods, you move beyond just maintaining a garden and step into the role of cultivating and shaping its future. Recognizing how plants respond to physical division and environmental cues gives you the confidence to manage almost any clumping perennial in your landscape.
More About Agapanthus
The meaning and symbolism of agapanthus flowers across cultures
Why your agapanthus is not blooming and how to fix it
Evergreen versus deciduous agapanthus and which type suits your garden
Growing agapanthus indoors as a striking houseplant that actually blooms
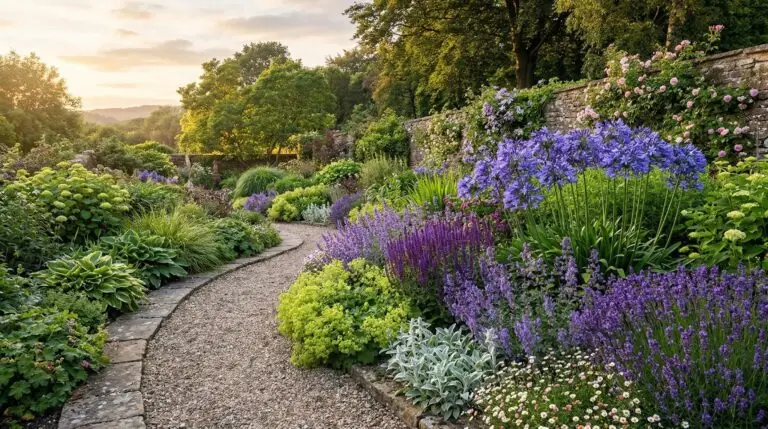
Best companion plants for agapanthus to create a layered garden border
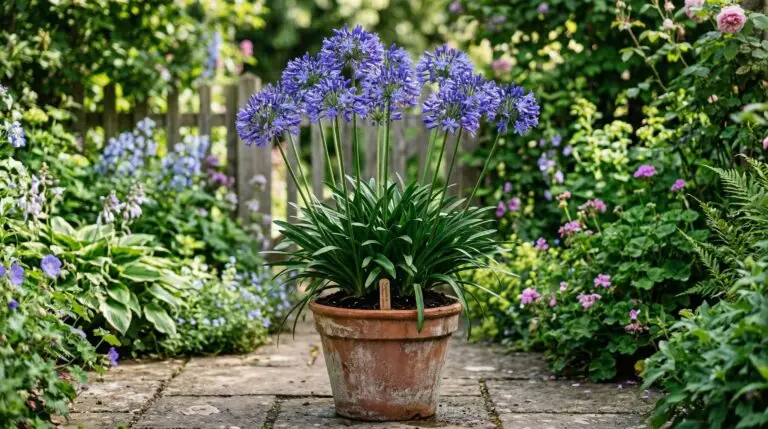
How to grow agapanthus in pots and containers for a spectacular patio display

Agapanthus wedding bouquets and floral arrangements that feel effortlessly elegant