Before you order hundreds of corms, you need to evaluate your growing space and seasonal temperatures. Anemones thrive in cool weather and will quickly shut down when the heat of summer arrives. This means your planting schedule is dictated entirely by your local frost dates and spring warming trends. Growing anemones as cut flowers requires an upfront investment of time during the pre-sprouting phase, which usually happens in late winter or early spring depending on your climate. You will need a cool, dark space to wake the corms up before they ever see the garden soil. If your region experiences very short, hot springs, you will need to start them indoors much earlier to guarantee a long enough harvest window. Evaluate your site to ensure you have a spot that receives full sun during the cool months but has well-draining soil, because these corms will rot if left in standing water.
Selecting varieties and calculating your corm budget
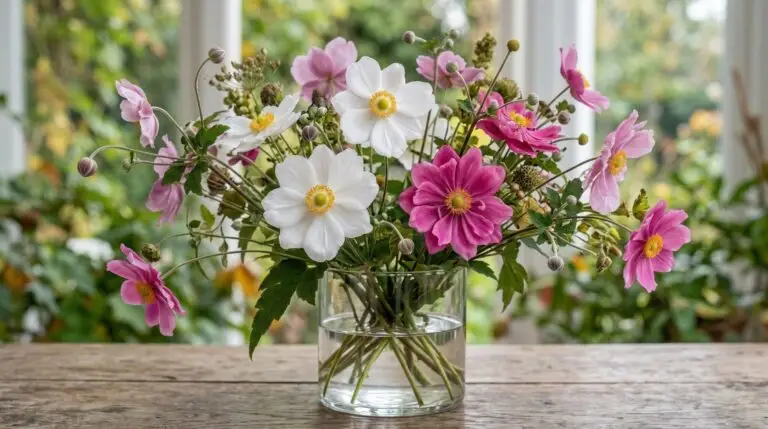
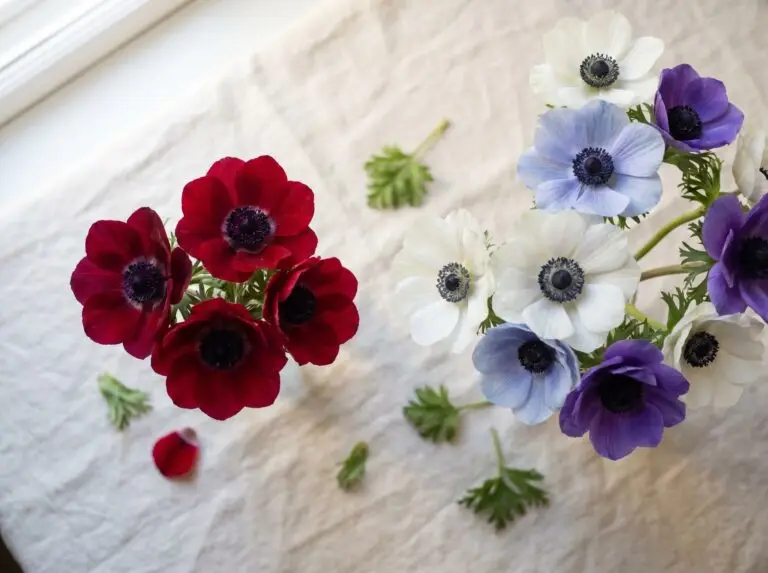
The first decision in your planning process is selecting the right varieties for your arrangement needs and determining how many corms fit your budget. For floral design, you want stems that are long and strong, which makes the Galilee series an excellent choice for cut flower gardens. Galilee anemones consistently produce stems reaching twelve to eighteen inches, making them highly versatile for vase work. The De Caen group is another reliable option, offering single, poppy-like blooms in rich jewel tones that are widely available and generally less expensive. When budgeting, expect to spend about fifty to seventy-five cents per corm if buying in bulk, and plan for at least twenty corms to yield enough simultaneous blooms for a decent arrangement. Much like planning a ranunculus patch, anemones are an investment that pays off in high yields, with a single healthy corm producing up to fifteen flowers over a six-week period. Order your corms in early fall to secure the best colors, even if you do not plan to start them until late winter.
Scheduling the pre-sprouting and planting phases
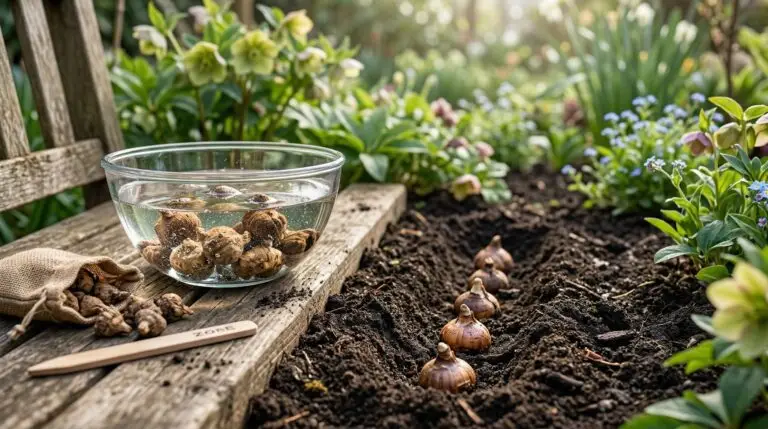
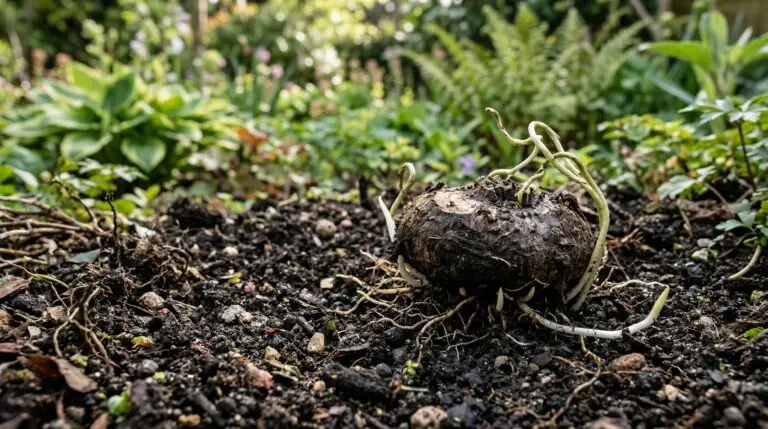
The physical preparation of your anemone corms begins about four to six weeks before your target outdoor planting date. The corms arrive looking like hard, shriveled acorns, and they require a specific hydration process to break dormancy. You will need to soak them in room-temperature water for three to four hours, changing the water once or twice to provide oxygen and prevent bacterial growth. After soaking, place the plumped corms in a shallow tray filled with slightly damp potting soil and store them in a cool space around fifty degrees Fahrenheit for two weeks. During this pre-sprouting phase, you must check the soil moisture every few days to ensure it remains barely damp, as wet soil will cause immediate rot. Once white roots emerge and small green shoots appear, the corms are ready to be planted in their permanent garden beds. If you want a continuous supply of blooms rather than a single flush, you should divide your corms into three batches and start the pre-sprouting process two weeks apart for proper succession planting.
Site maintenance and ongoing care requirements
Once your anemones are in the ground, the maintenance shifts to managing soil moisture and providing adequate nutrition for constant flower production. These plants require a steady supply of water to develop long stems, but the soil must drain freely between waterings. You will need to commit to checking the beds every two to three days, especially if you live in a region with dry spring winds that rapidly deplete topsoil moisture. To support the heavy energy demands of continuous blooming, apply a balanced liquid fertilizer every two weeks starting when the first buds appear deep within the foliage. The time commitment for maintenance is relatively low compared to summer crops, requiring perhaps an hour a week for watering and feeding a standard backyard patch. Weed control is essential during the first month of growth because the low-lying anemone foliage can easily be smothered by aggressive early spring weeds. You might consider planting them in raised beds alongside early snapdragon transplants, which share similar cool-weather preferences and feeding schedules.
Harvesting techniques to maximize anemone vase life
The execution of your harvest determines the ultimate success of growing anemones for cutting, and timing is the most important factor. You must cut anemones when the flower is in the “collar” stage, meaning the petals have colored up but the bloom has not yet opened flat. The fuzzy ring of leaves right below the petals, known as the collar, should be positioned about half an inch below the flower head. If you cut the flowers too early while the buds are still tight and green, they will never open in the vase. Harvesting requires daily attention during the peak bloom period, usually in the early morning before the sun hits the patch and stresses the stems. Use sharp, clean snips to cut the stem at the base, being careful not to damage the emerging buds clustered at the crown of the plant. Immediately place the cut stems into a bucket of cool water to begin the conditioning process before bringing them indoors.
Conditioning stems for professional floral arrangements
Proper post-harvest conditioning is what separates a floppy garden flower from a professional-quality cut stem. Once you bring your harvest indoors, recut the stems at an angle under running water to prevent air bubbles from blocking the vascular tissue. Place the stems in a clean vase filled with cool water and commercial flower food, then let them rest in a dark, cool room for at least four hours before arranging. Anemone vase life typically ranges from seven to ten days if you commit to changing the water and trimming the stems every two days. Unlike a heat-loving dahlia that requires hot water treatments, anemones prefer their water as cold as possible to prevent the stems from turning mushy. You will notice that the stems continue to grow slightly and bend toward the light even after being cut, which adds beautiful movement to floral designs. Keep the finished arrangements away from direct sunlight, heating vents, and ripening fruit to ensure the blooms last their full potential.
To get started with your anemone project this week, begin by taking measurements of your available full-sun garden beds to determine how much space you can dedicate to cool-season flowers. Calculate your square footage and plan to plant the corms about six inches apart, which will give you a clear target number for your order. Research bulb suppliers online and compare prices for the Galilee or De Caen varieties, making sure to note their shipping dates. Purchase a bag of high-quality, well-draining potting soil and locate a cool, dark space in your basement or garage where you can eventually set up your pre-sprouting trays. By securing your corms and preparing your materials now, you will be completely ready to begin the soaking process as soon as your local planting window opens.
More About Anemone
How to plant anemone corms in fall for a spectacular spring flower display
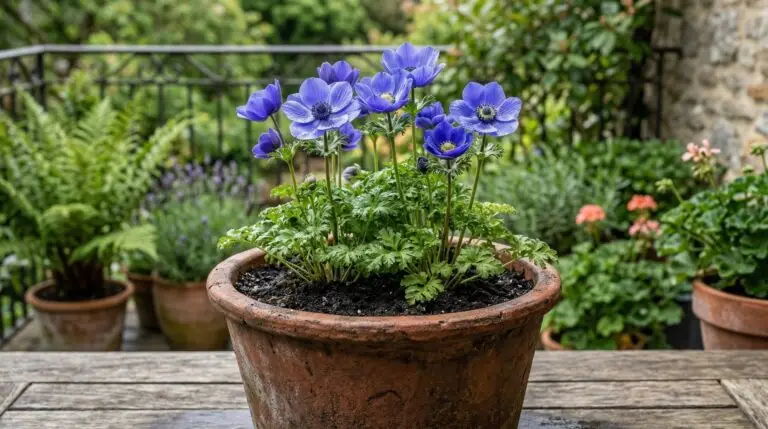
How to grow anemones in containers for a colorful spring balcony garden

Naturalizing anemones in woodland gardens for wild-looking spring carpets

Anemone flower meaning and the mythological story behind the windflower

Anemone and ranunculus planted together for the ultimate spring flower garden
Why your anemone corms did not sprout and how to succeed next time
Anemone meaning, from anticipation and protection to forsaken love
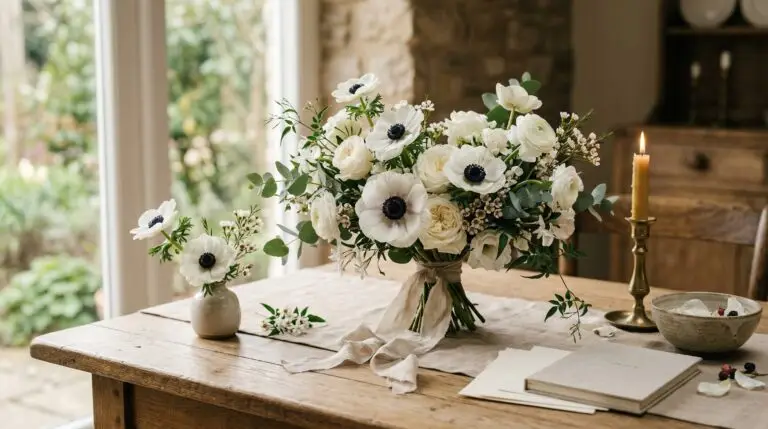
Anemone wedding bouquets that bring effortless romance to any ceremony