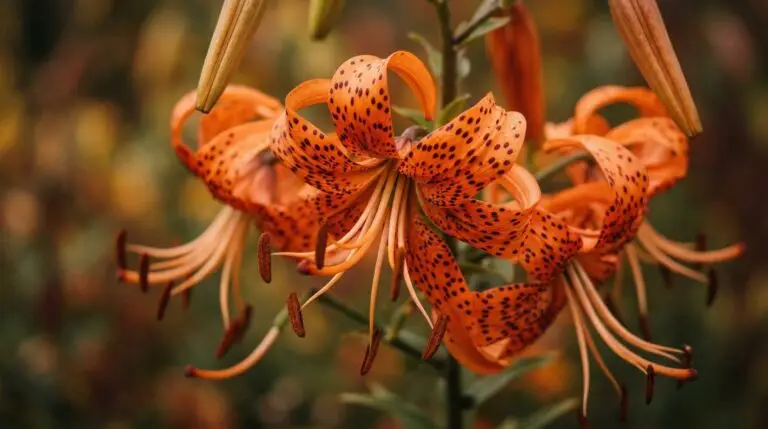
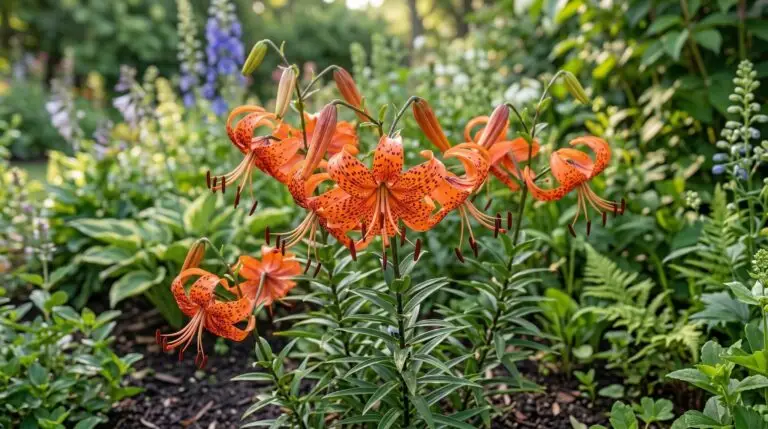
Walk into a garden in late summer and you might notice something unusual clinging to the stems of certain tall, orange-speckled flowers. Unlike most garden plants that rely entirely on underground division or traditional seeds for reproduction, the classic tiger lily has developed an entirely different strategy for spreading itself around. By the time you finish reading this guide, you will understand exactly how to harness this built-in propagation system to multiply your plants without ever digging up the main bulb. This method relies on tiny, dark spheres that form along the stem, offering a fascinating lesson in how plants adapt to ensure their survival. You will learn how to read the plant to know exactly when these structures are ready, how to plant them correctly, and what to expect as they grow.
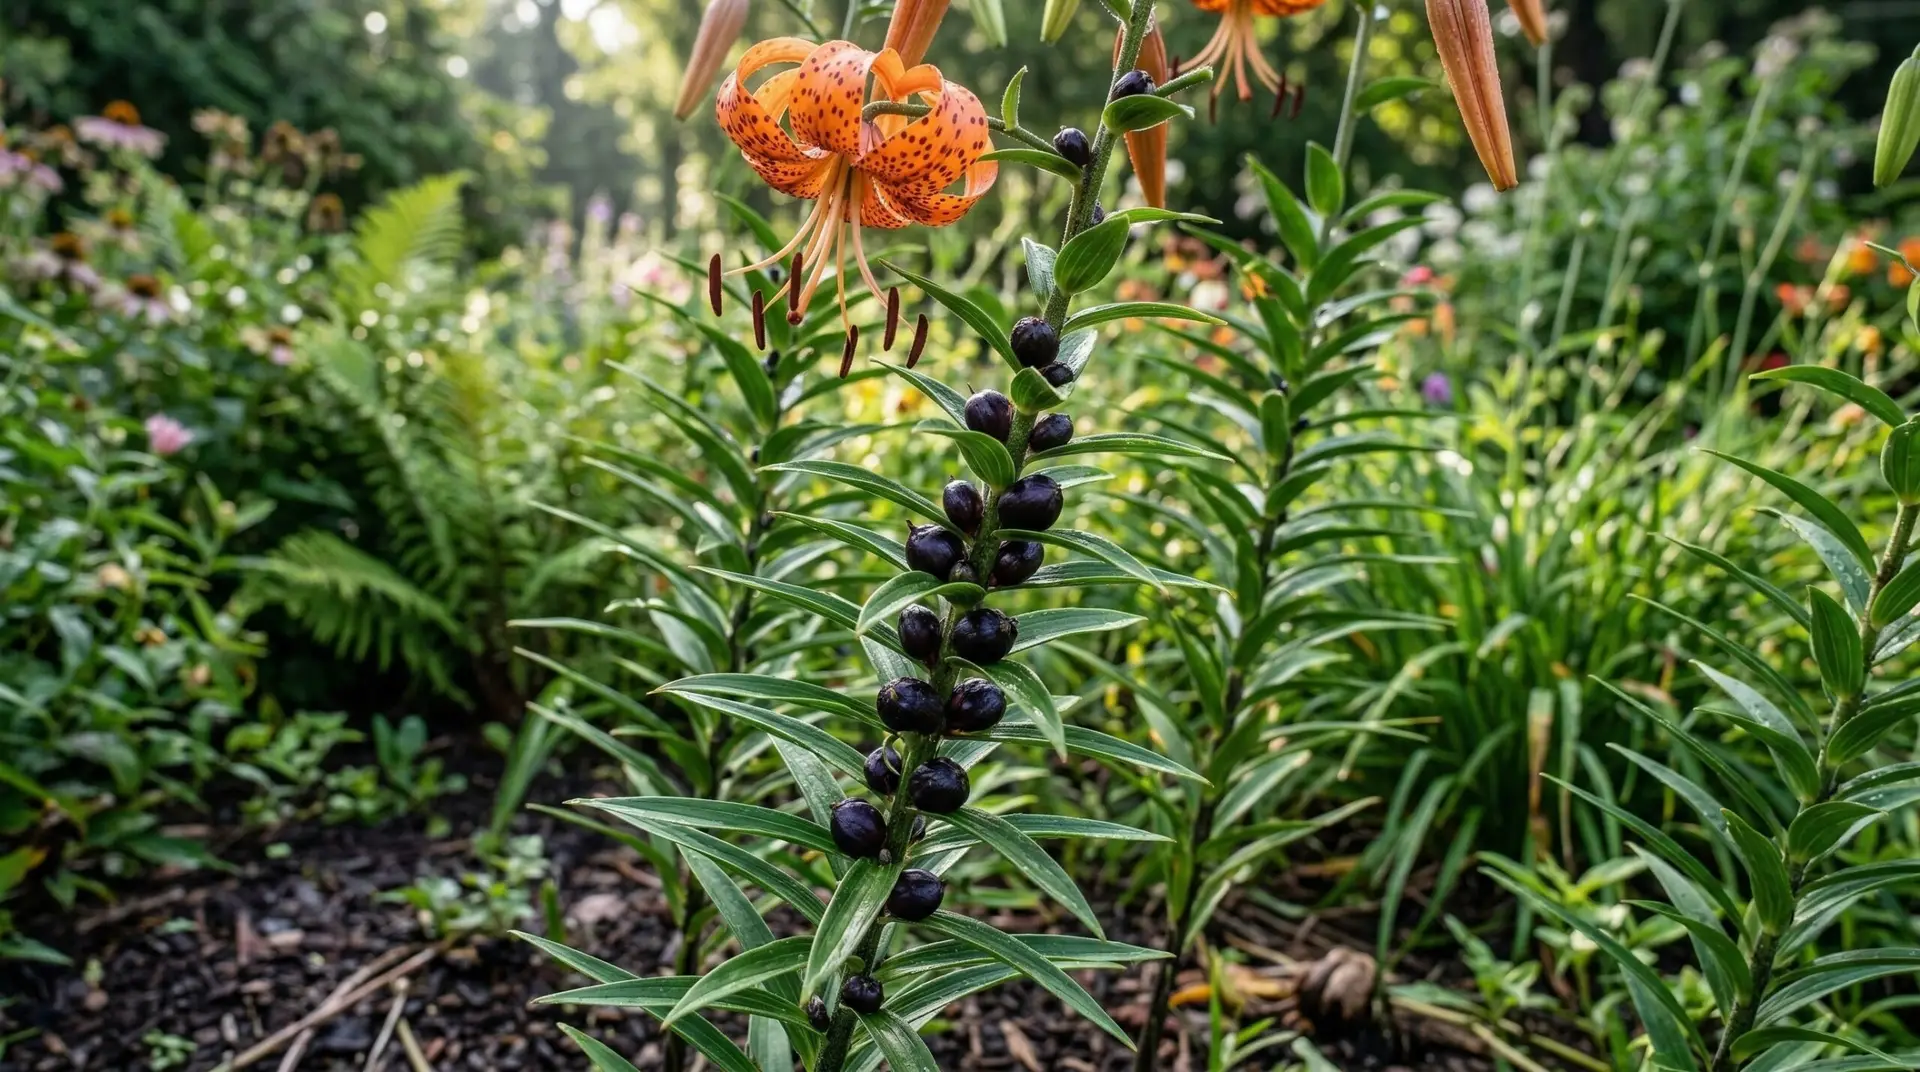
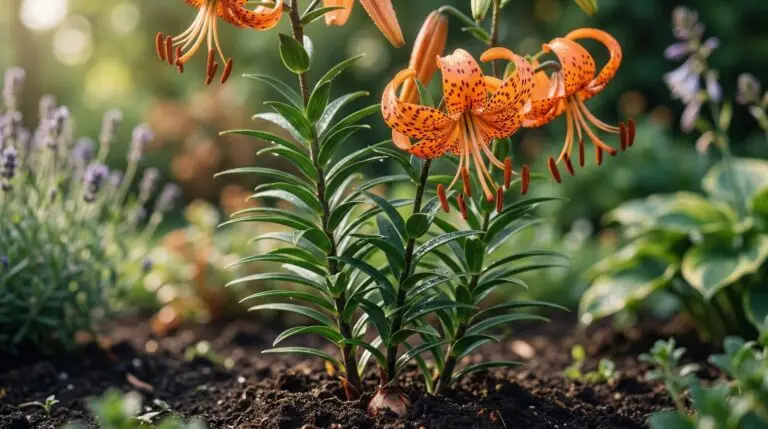
To understand tiger lily propagation, we first need to look closely at the anatomy of the plant itself. If you examine the main stem during the middle of the growing season, you will see small black or dark purple bumps forming right where the leaves attach to the stalk. These little structures are called bulbils, and they are essentially miniature, fully formed bulbs that grow above ground. You might hear people call them seeds, but this is a common point of confusion that we should clear up right away. A true seed is the result of pollination and contains a mix of genetics from two parent plants. A bulbil is a perfect genetic clone of the mother plant, carrying all the exact same traits and characteristics as the tall flower stalk it grew on.
Recognizing when bulbils are ready to collect
Knowing exactly when to harvest your tiger lily bulbils is a matter of observation and gentle touch. As summer progresses into early fall, these dark spheres will swell in size until they look like small, shiny peppercorns resting in the leaf axils. The plant is spending this time pumping energy into these tiny clones, giving them the starch reserves they will need to survive their first winter on their own. You might be tempted to pluck them off as soon as they turn black, but doing so too early deprives the new plant of its vital starter energy. Think of the bulbil as a young plant packing a lunchbox for a long trip; you want to wait until the lunchbox is completely full before sending it on its way.
The actual test for ripeness is incredibly simple and requires no special tools. You simply cup your hand under the leaf and give the dark sphere the gentlest nudge with your thumb. If the bulbil resists or feels firmly attached to the stem, it is telling you that it is still drawing nutrients from the mother plant and needs more time. When they are truly ripe, they will detach and drop into your hand with almost no pressure at all. In fact, if you wait too long, they will naturally detach and fall to the ground on their own, which is exactly how growing tiger lily from bulbils happens in the wild. Gathering them just before they drop allows you to control where the new patch will grow rather than letting them crowd the base of the parent plant.
Preparing the soil and planting the clones
Once you have collected a handful of ripe bulbils, the next step is getting them into the ground so they can begin establishing roots before winter arrives. Because these structures are so small, they require a slightly different approach than planting a full-sized lily bulb that you might purchase at a garden center. A mature bulb has enough stored energy to push a shoot up through several inches of heavy soil, but a tiny bulbil would exhaust itself trying to make that same journey. You need to plant them very shallowly, covering them with no more than half an inch of loose, well-draining soil. If your soil is heavy clay, mixing in some compost is highly recommended because clay holds water tightly against the small clones, which can cause them to rot before they ever sprout.
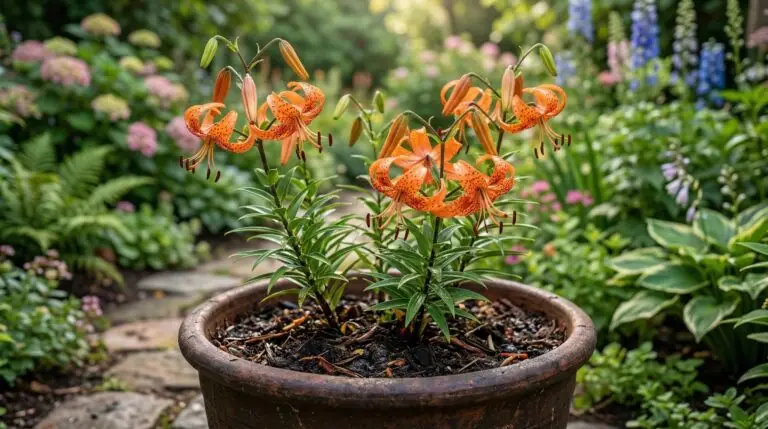
You have a few choices when it comes to the actual planting location, depending on how you like to manage your garden space. Some gardeners prefer to plant them directly in their permanent garden beds, spacing them a few inches apart in a dedicated nursery row. Others prefer to start them in shallow pots filled with potting mix, which makes it easier to keep track of them and protects them from being accidentally weeded out next spring. If you choose the potted route, you will need to sink the pots into the ground over the winter or keep them in an unheated garage, because the bulbils require a period of cold dormancy to trigger their growth cycle. Just like the tuberous roots of a dahlia need specific storage conditions to survive, these tiny clones rely on seasonal temperature changes to tell them when it is time to wake up and grow.
The timeline from sprouting to flowering
The most common frustration beginners face with this method is not understanding the timeline required for a bulbil to become a flowering plant. When spring arrives, you might look for a thick, sturdy stalk to emerge, but that is not what a first-year bulbil produces. Instead, you will see a single, slender leaf that looks very much like a blade of grass pushing up through the soil. This might seem disheartening, but the reason is that the young plant is focusing all its energy downward, building a proper underground bulb rather than trying to support a heavy above-ground stem. This takes a season or two to get a feel for, and that is completely normal for anyone learning how plants develop from their earliest stages.
By the second spring, the underground bulb will have grown large enough to send up a proper, albeit short, stem with several leaves. It is possible that you might get a single small flower during this second year, but the real reward usually comes in year three. At this point, the bulb has achieved mature size and will produce the tall, sturdy stalks and multiple orange blooms you expect from a classic lily. While a three-year wait might sound like a long time, the beauty of this propagation method is that you can harvest new bulbils every single year. Once you start the cycle, you will eventually have a continuous, self-sustaining supply of new plants maturing in your garden season after season.
Ultimately, learning to multiply your plants using this natural method changes the way you look at your garden. You stop seeing a static collection of flowers and start recognizing the constant cycle of renewal happening right on the stems. By understanding exactly how these tiny clones develop, when they are ready to leave the parent plant, and what they need to establish their own roots, you work in harmony with the plant’s natural design. The process requires nothing more than careful observation, a gentle touch, and the patience to let the underground bulbs grow at their own pace. The reward is a completely free, ever-expanding patch of bright summer color that you grew entirely from scratch.
More About Tiger Lilies
Growing tiger lilies in containers for bold orange summer drama on patios

Edible tiger lily buds in Asian cuisine and the centuries-old tradition of cooking with lilies
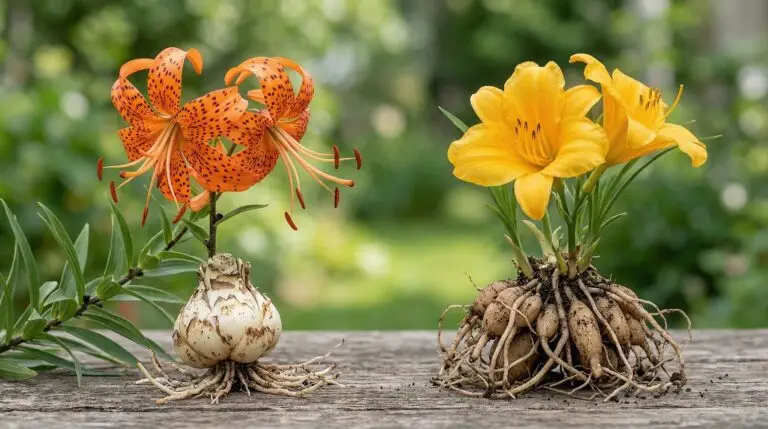
Tiger lilies versus daylilies and the common confusion between these two orange flowers

How to grow tiger lilies for dramatic orange spotted flowers that multiply on their own

Tiger lilies in cottage and farmhouse gardens and why old gardens always have them
Tiger lilies that are toxic to cats and the urgent warning every cat owner needs to know
Warning about tiger lilies near other lilies and the virus they can silently carry

Companion plants for tiger lilies in a naturalized midsummer garden border