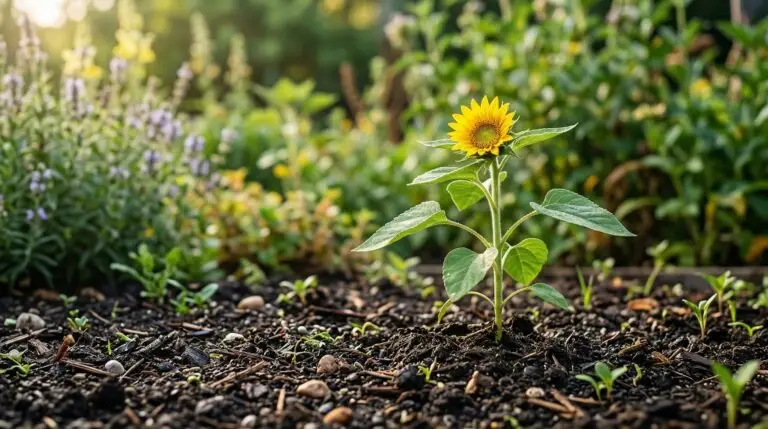
Growing sunflowers brings a massive payoff at the end of the season when those giant, heavy heads bow toward the ground. Harvesting sunflower seeds gives you a tangible reward you can roast for snacking, save for next spring, or share with local wildlife. You will want to know exactly what type of sunflower you planted before you begin this process. Confectionary sunflowers produce the large, striped seeds that are ideal for roasting and eating. Oilseed varieties yield smaller, solid black seeds that have a harder shell and are better suited for bird feed or pressing into oil. Understanding your harvest helps you decide whether to focus your efforts on the kitchen or the garden shed.
The transition from a blooming flower to a seed-producing head happens gradually as daytime temperatures begin to drop and the yellow petals shrivel. You will notice the flower heads becoming incredibly heavy, often causing the stalks to lean or bend under the weight. This is the natural progression of the plant directing all its remaining energy into seed production. Many new gardeners make the mistake of cutting the heads down as soon as the petals fall, but the seeds need much more time attached to the plant to fully develop their kernels. Leaving them on the stalk as long as possible ensures the seeds will be plump and viable rather than flat and empty. You just have to balance this waiting period with the arrival of hungry birds and squirrels who are watching the exact same maturity signs.
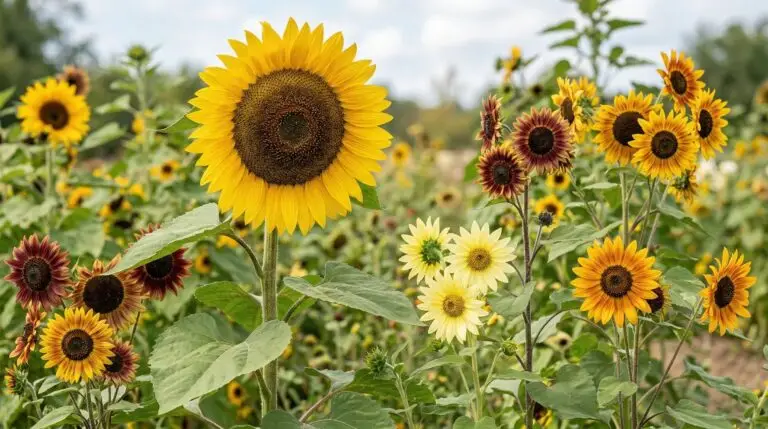
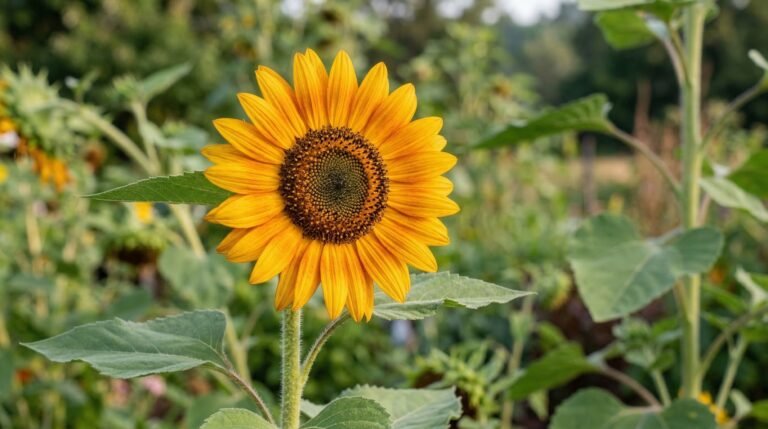
Recognizing when sunflower heads are ready to harvest
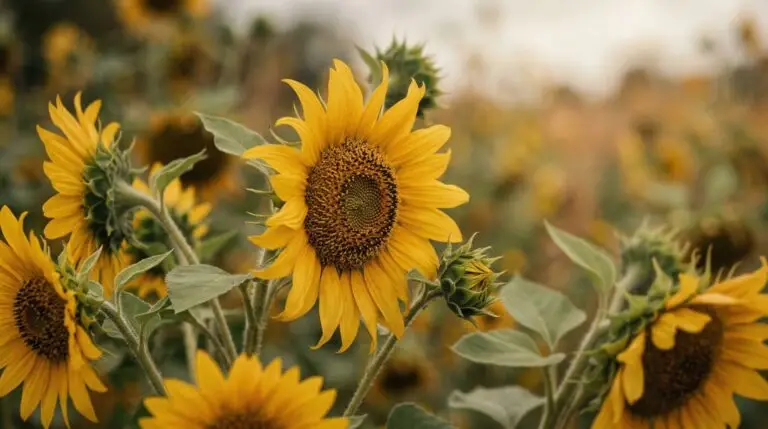
The back of the sunflower head tells you everything you need to know about its maturity. A blooming sunflower has a bright green back, but as the seeds develop, this green base slowly fades to a pale lemon yellow and eventually turns a dry, crispy brown. You should wait until the back is at least yellow and the tiny florets covering the seeds on the front of the head have mostly fallen away or rub off easily. If you look closely at the exposed seeds, they should look swollen and display their characteristic black and white stripes or solid black color. Try pulling a single seed from the outer edge of the disc and cracking it open with your fingernail. If the kernel inside is tiny and surrounded by empty space, the head needs more time on the stalk.
Leaving the heads on the stalk until they are completely brown is ideal for seed development, but this open-air buffet often attracts flocks of birds. You can protect your harvest by covering the maturing heads with brown paper grocery bags once the petals drop and the backs turn yellow. Slip the bag over the entire flower head and secure it loosely around the stem with a piece of twine or a rubber band. The paper breathes enough to prevent moisture buildup while physically blocking birds from plucking the seeds. Do not use plastic bags for this step because they trap condensation and will quickly rot the flower head. You might notice some leaves dying back or the stalk turning brown while the bag is on, which is completely normal as the plant reaches the end of its life cycle.
Cutting and curing the flower heads
Once the backs of the heads are yellow-brown and the seeds are plump, it is time to bring them indoors to finish drying. Grab a sharp pair of pruning shears and cut the stalk about twelve to eighteen inches below the flower head. Leaving a long stem gives you a convenient handle for hanging the heads upside down in a protected location. You need a dry, warm, and well-ventilated space like a garage, an enclosed porch, or a spare room with good airflow. Tie a string around the stem and hang the heads from a rafter or a drying rack, making sure they do not touch each other. If you had paper bags tied over the heads outdoors, you can leave them in place to catch any loose seeds that fall as the plant dries.
The curing process typically takes two to three weeks depending on the humidity in your drying space. You will know the heads are fully dry when the back of the flower is completely brown, brittle, and stiff like heavy cardboard. The seeds themselves will feel hard and will sit loosely in their individual pockets. At this stage, you might notice small caterpillars or weevils crawling out of the flower head. This happens occasionally when insects lay eggs in the flower outdoors, and the dry indoor environment forces them out. Simply brush them away and continue the drying process, as they rarely cause enough damage to ruin a substantial harvest.
Removing the seeds from the dried heads
Extracting the seeds from a completely dry sunflower head is a satisfying task that requires nothing more than your hands and a large container. Lay a clean tarp on the floor or set a wide bucket on a table to catch the falling seeds. Take two dried sunflower heads and rub their faces together firmly over your container. The friction dislodges the seeds easily, sending them raining down into the bucket. If you only have one head to process, you can use a stiff vegetable brush or just your thumbs to push the seeds out of their pockets. Start at the outer rim of the flower and work your way toward the center, as the outer seeds are usually the largest and most mature.
After rubbing the heads clean, you will have a bucket filled with seeds, dried plant debris, and empty seed hulls. You need to clean this mixture before you move on to roasting or storing. Take your bucket outside on a day with a light breeze and slowly pour the seeds into a second bucket set on the ground. The wind will catch the lightweight plant dust and empty shells, blowing them away while the heavier, kernel-filled seeds drop straight down. You may need to pour the seeds back and forth between the buckets a few times to get them completely clean. Sorting through the final batch by hand lets you pick out any remaining damaged seeds or bits of stalk.
Preparing and roasting sunflower seeds for eating
Roasting sunflower seeds at home gives you a fresh, crunchy snack that tastes completely different from store-bought varieties. The secret to getting the salt flavor inside the shell is boiling the seeds in a strong brine before roasting them. Measure your cleaned seeds and place them in a large pot, adding two quarts of water and half a cup of kosher salt for every cup of seeds. Bring this mixture to a rolling boil, then reduce the heat and let it simmer for about an hour and a half. The simmering process softens the tough outer shell just enough to let the salty water penetrate to the kernel inside. If you prefer unsalted seeds, you can skip the boiling step entirely and move straight to the roasting pan.
Drain the simmered seeds in a colander and spread them out in a single layer on paper towels to absorb the excess surface moisture. You want the shells to be mostly dry before they go into the oven so they roast rather than steam. Preheat your oven to three hundred degrees Fahrenheit and spread the dried seeds evenly across a large, ungreased baking sheet. Roast them for thirty to forty minutes, pulling the pan out every ten minutes to stir the seeds and prevent them from burning on the bottom. You will know they are done when the shells feel crisp and a test seed cracks open easily to reveal a lightly toasted brown kernel. Let the roasted seeds cool completely on the baking sheet before transferring them to an airtight glass jar for storage.
Saving seeds for planting and feeding wildlife
Setting aside a portion of your harvest for sunflower seed saving ensures you have adapted, vigorous plants for next year’s garden. You should always select seeds from your largest, healthiest, and earliest-blooming flowers rather than saving seeds randomly from the bucket. Look for the biggest, most perfectly formed seeds from the outer rings of the flower head. Make sure these seeds are completely air-dried without any boiling or roasting, as heat destroys the embryo inside. Store your planting seeds in a simple paper envelope kept in a cool, dark, and dry place like a closet shelf or a sealed glass jar in the refrigerator. When spring arrives, these seeds will be ready to sow alongside your cosmos for a tall, textured back border.
The seeds that do not make the cut for roasting or saving are still highly useful for your backyard ecosystem. Small, flat, or slightly damaged seeds make excellent winter food for cardinals, chickadees, and finches. You can also save the entire dried flower head intact and simply wire it directly to a fence post or tree branch when the snow flies. The birds will cling to the rough texture of the dried head and pick the seeds out naturally, just as they would in the wild. You can even scatter some of the extra seeds in a dedicated wildlife patch next to a bed of marigolds to keep pests busy and away from your main vegetable garden. Watching the birds flock to the very heads you grew from tiny seeds brings the entire gardening season to a satisfying close.
More About Sunflower
Why sunflowers follow the sun and the fascinating science of heliotropism
Sunflower flower meaning and why this golden bloom represents adoration and loyalty
Dwarf sunflowers for containers and small gardens that still bring big sunshine energy
Sunflower companion plants: what to grow and what to avoid
Best sunflower varieties from single-stem giants to branching bouquet types
Growing sunflowers with children for the easiest and most exciting garden project ever
Pollen-free sunflowers for cutting gardens and allergy-friendly bouquet arrangements

Creating a sunflower field effect in your backyard for the ultimate summer photo backdrop