Moth orchids bring months of color to a room, but eventually, the bark or moss they live in breaks down and suffocates their roots. Knowing when to start the process of repotting an orchid is just as important as knowing how to do it. You should wait until the plant has finished blooming and the last flowers have naturally dropped off the spike. Spring or early summer is usually the best time to tackle this task because the plant is entering a phase of active growth. If you wait until daytime temperatures consistently stay above sixty degrees, the orchid will have the energy to recover quickly from the disturbance. You might notice roots pushing themselves up and over the edge of the current pot, or the potting material might look like dark, crumbly soil rather than distinct chunks. These are clear signals that the plant needs fresh material to breathe and thrive.
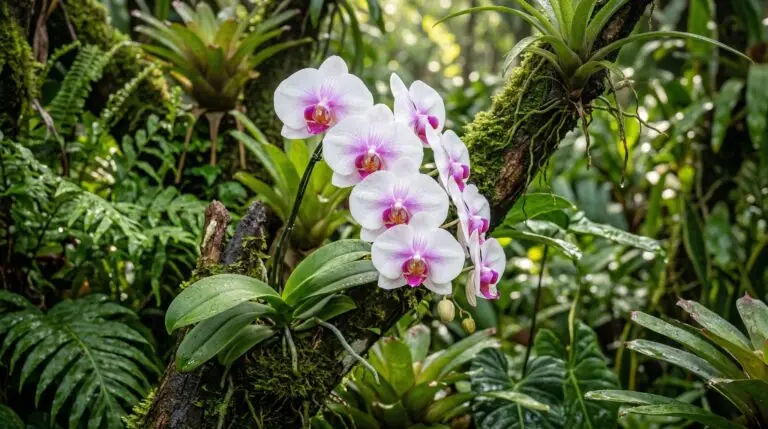
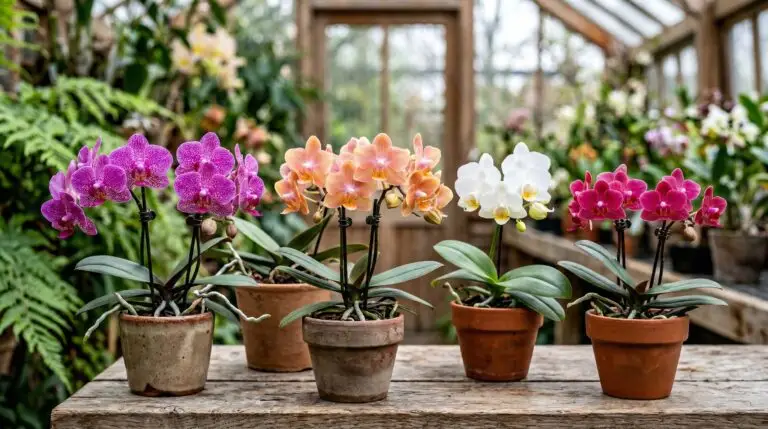
Before you pull the plant from its container, you need to gather your supplies and prepare a suitable environment. Moth orchids are epiphytes that grow clinging to tree branches in nature, meaning their roots need constant air circulation to survive. If you place them in standard houseplant soil, the roots will rot within weeks because the soil holds too much water and blocks out oxygen. You need a dedicated orchid potting mix, which usually consists of coarse fir bark, perlite, and perhaps a little sphagnum moss to retain a bit of moisture. Get a clean pair of pruning snips or scissors and wipe the blades with rubbing alcohol to prevent spreading any fungal or bacterial infections to your plant. You will also need a new clear plastic orchid pot with plenty of drainage holes or slits along the sides. A clear pot allows you to monitor root health and moisture levels easily, taking the guesswork out of watering your orchids later on.
Preparing the new environment and orchid potting mix
Fresh bark straight from the bag is extremely dry and will repel water, which can leave your newly potted orchid dehydrated. To prevent this, place your orchid potting mix in a bucket and cover it with warm water for an hour or two before you begin. While the bark is soaking, you can select the right size container for your plant. Orchids like to be snug in their containers, so you should only move up one pot size if the root mass is completely overflowing. If you choose a pot that is too large, the excess bark will stay wet for too long and cause the roots in the center to rot. A pot that is just one inch wider in diameter than the current one is usually perfect. Once the bark has finished soaking, drain the excess water completely so the mix is damp but not dripping wet.
Taking the orchid out of its old pot requires a gentle touch to avoid snapping the rigid roots. It helps to water the orchid thoroughly an hour before you plan to unpot it, as wet roots are much more flexible and less likely to break. Gently squeeze the sides of the old plastic pot to loosen the grip the roots have on the plastic. Grasp the plant at the base of the leaves and pull upward with a steady, slow motion until the root ball slides free. Do not worry if a few root tips snap during this process, as minor damage is expected and the plant will recover. Once the plant is out, use your fingers to carefully tease away the old, degraded potting material from the center of the root mass. You can gently rinse the roots under room temperature tap water to wash away stubborn bits of old decomposed bark.
Removing dead material and protecting aerial roots
With the root system completely exposed and washed clean, you can easily inspect the health of the plant and remove any decaying tissue. Healthy moth orchid roots are firm to the touch and usually appear silvery-green or pale yellow if they have been growing deep inside the pot away from light. Dead roots will feel squishy, hollow, or papery, and they may be dark brown or black. Using your sterilized snips, cut away all the dead, mushy roots right at the point where the healthy tissue ends. If you leave rotting roots attached to the plant, the decay will spread into the fresh bark and eventually infect the healthy roots. Take your time working through the root mass, cutting carefully to avoid nicking the plump, firm roots. If you happen to cut a healthy root by mistake, just leave it alone and let the cut end dry in the air for a few minutes before proceeding.
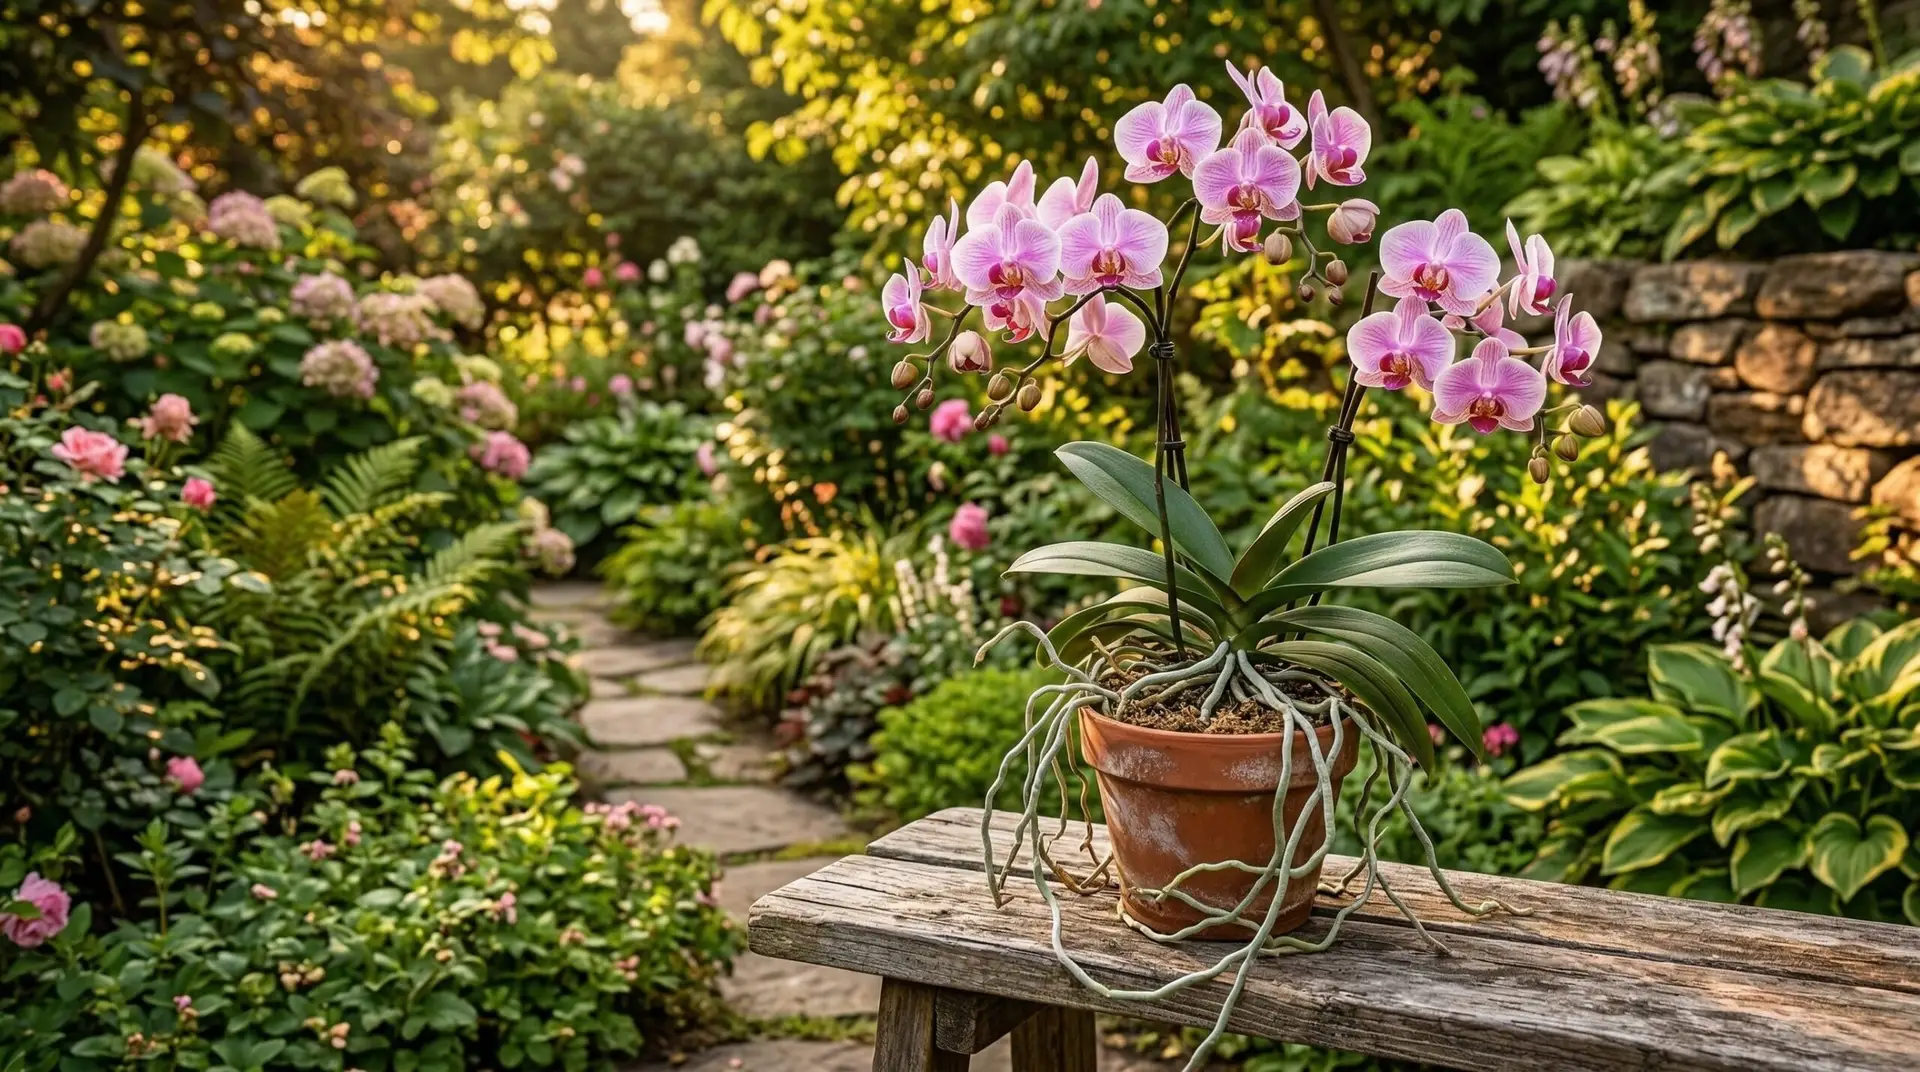
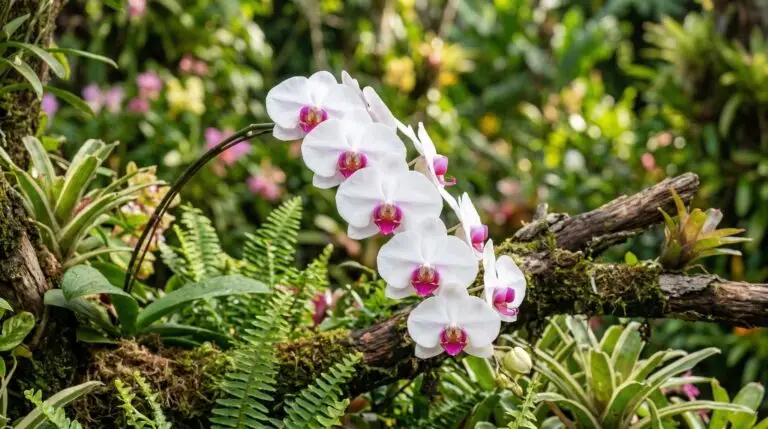
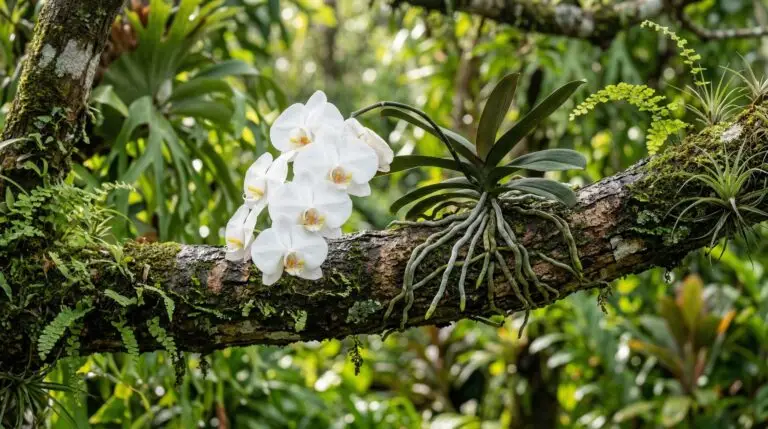
Moth orchids often grow long, silvery roots that reach out into the air rather than digging down into the pot. These aerial roots are perfectly normal and gather moisture from the humid air in their native habitat. When following any reliable orchid repotting guide, you will learn that you should never force these stiff aerial roots down into the new pot. If a root grew in the air, it has adapted to that dry environment and will quickly rot if suddenly buried in damp bark. Gather the lower roots that were previously in the pot and gently twist the plant as you lower it into the new container. This twisting motion helps the roots spiral naturally into the available space without snapping. Position the plant so the base of the lowest leaves sits just level with the rim of the new pot.
Filling the pot and managing the recovery period
Holding the plant steady with one hand, use your other hand to scoop the damp bark mix into the spaces around the roots. You want to fill the voids without packing the material down too tightly, as the roots still need plenty of air pockets. Tap the side of the pot firmly against your work surface several times as you add the bark. The vibration from tapping will help the loose pieces of bark settle into the gaps between the roots in the center of the pot. Use your fingers to gently press the top pieces of bark down just enough to secure the plant. If the orchid wobbles easily when you let go, add a little more mix around the base to stabilize it. A wobbly plant will struggle to establish new roots because the friction of movement damages the delicate green growing tips.
After the orchid is settled in its fresh bark, place it back in its usual spot with bright, indirect light. Because you soaked the bark and rinsed the roots, you do not need to water the plant again for at least a week. During this recovery period, the plant needs time to heal any microscopic cuts on its roots before being exposed to heavy moisture. You might notice the bottommost leaves looking slightly soft or wrinkled over the next few weeks, which is a normal stress response to the disturbance. Just like when you care for an Oncidium orchid, patience is required while the plant adjusts to its newly aerated environment. Resume your normal watering schedule once the top inch of the bark feels completely dry to the touch. Within a month or two, you should see bright green root tips emerging and pushing their way into the fresh mix, signaling that your orchid is healthy and ready to grow.
More About Moth Orchid
Growing orchids in bathrooms and why humidity-loving phalaenopsis thrive near showers
Why your orchid is not blooming and the simple temperature trick that triggers new flowers
Orchid arrangements and centerpieces that make any room feel luxurious and elegant

Orchid meaning, by colour and tradition, honestly explained
Best moth orchid varieties and the incredible range of phalaenopsis colors and patterns
How to care for moth orchids so they bloom again and again for years
Watering orchids correctly and the ice cube myth versus what actually works
Orchid roots growing out of the pot and why aerial roots are a sign of a healthy plant
