By the time you finish reading, you will understand exactly how a single mature catmint plant can be multiplied into dozens of new, healthy plants to fill your garden or share with neighbors. Plant propagation often feels like a magic trick reserved for professional growers, but it is actually a straightforward biological process that anyone can encourage. When we propagate a plant, we are simply taking advantage of its natural survival mechanisms and giving it the right environment to regenerate missing parts. Catmint is an incredibly forgiving plant to learn these skills on because it responds quickly to both root division and stem cuttings. You will learn to read the plant’s growth cycle to know exactly when and how to multiply it successfully.
Understanding how catmint grows and spreads
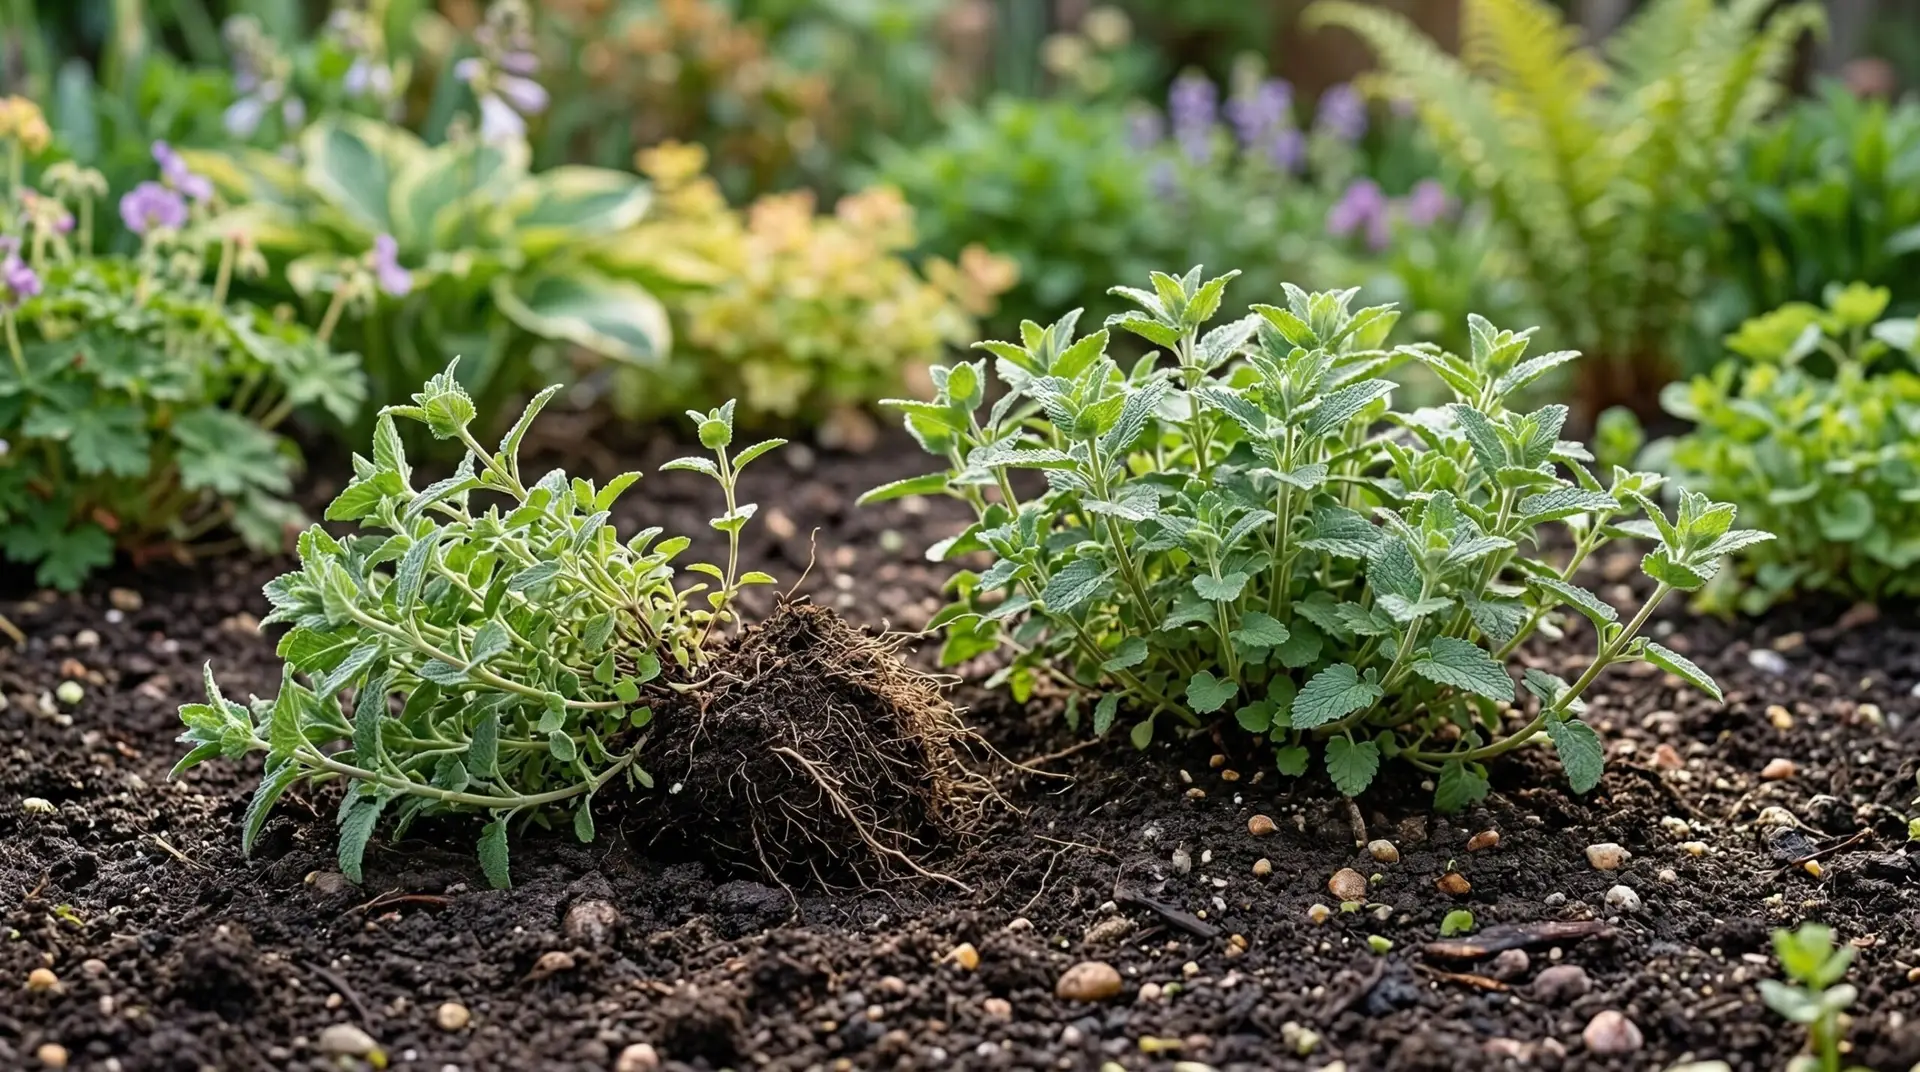
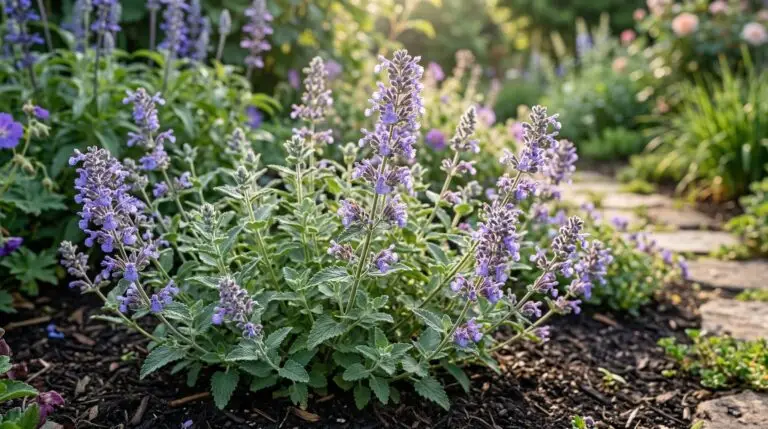
To understand catmint propagation, it helps to look at how the plant naturally develops over time. Catmint grows from a central crown, which is the thick base where the stems meet the root system. As the plant ages, this crown gradually expands outward, growing wider each season and sometimes dying out slightly in the very center. Because this wide crown is made up of many individual shoots that all have their own connection to the root system below, it can be physically separated into smaller, independent plants. This method of dividing catmint is the fastest way to get a large, blooming plant, because you are starting with a fully formed root system and mature stems.
The second way the plant grows is through rapid stem elongation in the late spring and early summer. The stems of catmint are lined with small bumps called nodes, which are the points where leaves attach to the main stem. These nodes contain specialized, undifferentiated cells that can become either new leaf tissue or new root tissue, depending on the signals they receive from their environment. When we take catmint cuttings, we are burying these nodes in moist soil to trick those adaptable cells into growing roots instead of leaves. Understanding this node biology is the foundation of almost all stem propagation, and once you master it with catmint, you can apply the exact same concept to many other garden plants.
Dividing established plants in early spring
The most reliable time to divide a mature catmint plant is in early spring, just as the first green shoots begin to emerge from the dormant crown. We choose this specific window because the plant has spent the entire winter storing energy in its root system, and the weather is still cool and damp. If you try to divide a plant in the heat of summer, the severed roots will struggle to take up enough water to support the massive amount of foliage above ground. By acting in early spring, the root system only has to support a few tiny leaves, giving the newly divided plants plenty of time to establish themselves before the stressful summer heat arrives.
To begin the process, you will use a sharp spade to dig a wide circle around the perimeter of the plant, lifting the entire root ball out of the ground at once. Once the plant is out of the soil, you can use that same spade or a sharp garden knife to slice right through the center of the crown. Think of this process like slicing a pie, cutting the large circle into halves or quarters depending on how big the original plant was. Do not worry about being overly gentle, because these plants have tough, resilient root systems that recover quickly from this kind of mechanical separation. As long as each slice of the crown has several healthy green shoots on top and a solid mass of roots attached to the bottom, it will grow into a full plant.
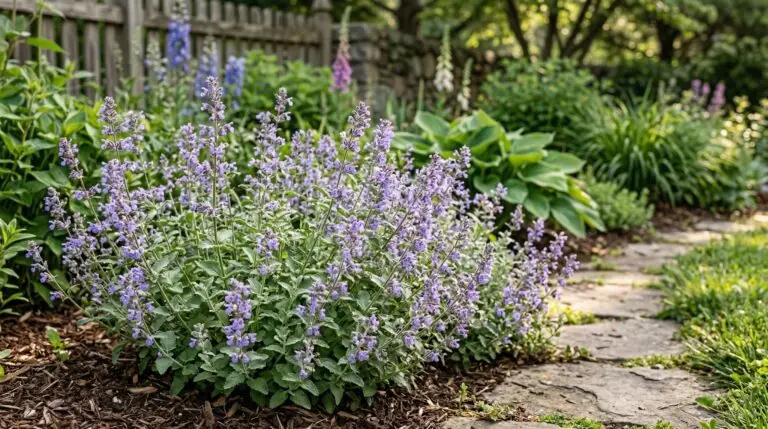
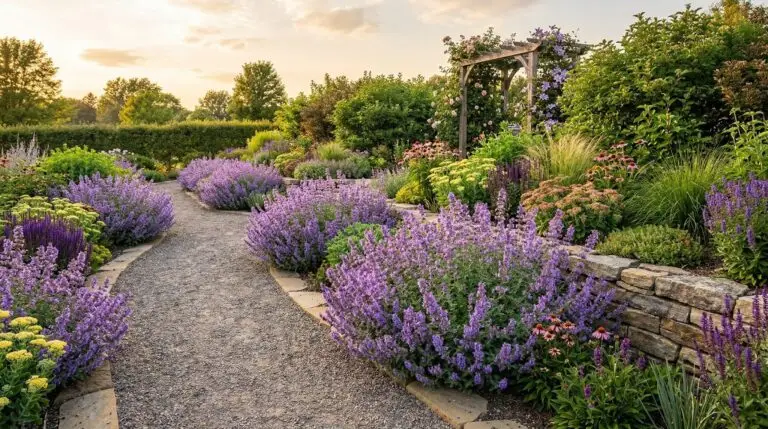
Replant these new sections immediately at the exact same depth they were growing previously, taking care not to bury the green shoots. Water the newly planted divisions deeply, which serves the dual purpose of hydrating the roots and washing the soil down into any air pockets left around the root ball. Because a large catmint plant can easily yield four or five new plants, this is an excellent time to pot up the extras and pass them along to other gardeners. These spring divisions will grow rapidly and often bloom in their very first year, making wonderful border companions if you plant them alongside lavender or other sun-loving perennials.
Taking stem cuttings for early summer propagation
If you want to create dozens of plants at once, or if you want to propagate a plant without digging it up, rooting softwood cuttings is your best approach. The ideal time for this method is in early summer when the plant is putting on a surge of fresh, flexible green growth. We call these softwood cuttings because the stems are still soft and pliable, having not yet developed the hard, woody exterior that comes later in the season. These young stems are actively growing and full of natural rooting hormones, which gives them a very high rooting success rate compared to older, stiffer stems.
To take a proper cutting, find a healthy stem that has not yet produced a flower bud and use clean scissors to snip off a section about four to six inches long. Look closely at the stem you just removed and identify the nodes, which are the joints where the leaves emerge. You will want to make your final, clean cut just a fraction of an inch below the lowest node on your stem piece. You must then gently strip away the leaves from the bottom half of the cutting, leaving only the top few leaves intact. We remove these lower leaves because any foliage buried in the soil will simply rot, and we want to expose the bare nodes where the new roots will eventually form.
It might seem contradictory to remove healthy leaves when the plant needs energy, but a cutting without roots cannot absorb enough water to keep a large number of leaves hydrated. By reducing the leaf surface area, we slow down the rate of water loss through evaporation, allowing the cutting to survive while it works on building a new root system. This balance between leaving enough foliage for photosynthesis and removing enough to prevent dehydration takes a season or two to get a feel for, and that is completely normal. You will use this exact same preparation method if you ever decide to take cuttings from blue salvia or similar herbaceous perennials.
Creating the right environment for roots to form
Once your cuttings are prepared, they need to be placed in a rooting medium that provides both constant moisture and plenty of oxygen. Plain garden soil is generally too dense and holds too much water, which will suffocate the delicate new roots and cause the stems to rot. Instead, use a lightweight mixture of standard potting soil heavily amended with perlite or coarse sand to ensure water drains away quickly. Stick the bare lower half of each cutting into this moistened mix, making sure that at least one or two of the leafless nodes are completely buried beneath the surface.
The final step is managing the humidity around the leaves until the roots develop, which usually takes about three to four weeks. Think of your cuttings as patients in recovery that need a protected environment, much like a miniature greenhouse. You can achieve this by placing a clear plastic bag loosely over the pot, propping it up with a few sticks so the plastic does not touch the leaves directly. Keep the pot in a bright spot that receives indirect light, as direct sunlight will quickly cook the unrooted cuttings inside their plastic enclosure. Check the soil every few days to ensure it remains lightly moist, and gently tug on the stems after a few weeks to feel for the resistance that indicates roots have formed.
The core principle to take away from this process is that plant propagation is not about forcing a plant to do something unnatural. Whether you are dividing a mature root ball in the cool spring air or coaxing a soft summer stem to push out new roots, you are simply guiding the plant’s own biological programming. By understanding that roots need stored energy to support leaves, and that stem nodes contain the adaptable cells needed for new growth, you can provide the exact conditions required for success. Once you grasp these fundamental concepts, multiplying your favorite garden plants becomes a predictable and deeply rewarding part of your seasonal gardening routine.
More About Catmint
Catmint versus lavender and which fragrant purple perennial works better in your garden
Catmint as the ultimate deer-resistant and drought-tolerant perennial for easy gardens
Designing a low-water perennial border with catmint as the anchor plant

How to shear back catmint for a second flush of blooms and a tidy appearance

How to use catmint as a flowering ground cover that chokes out weeds
Catmint versus catnip and why they are different plants with different garden uses
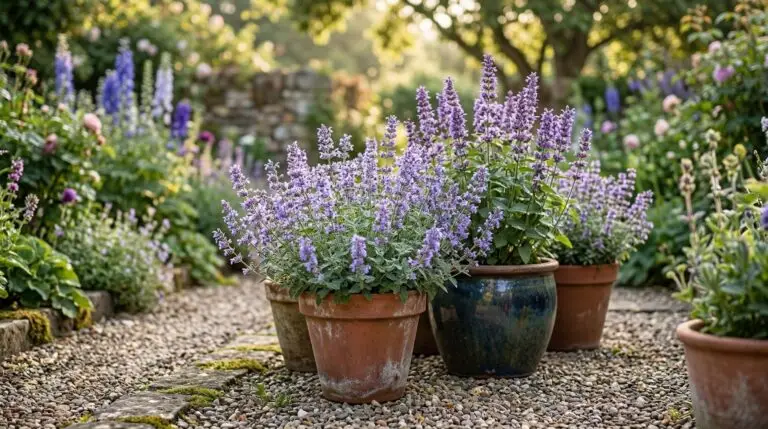
Growing catmint in containers for a fragrant pollinator-friendly balcony
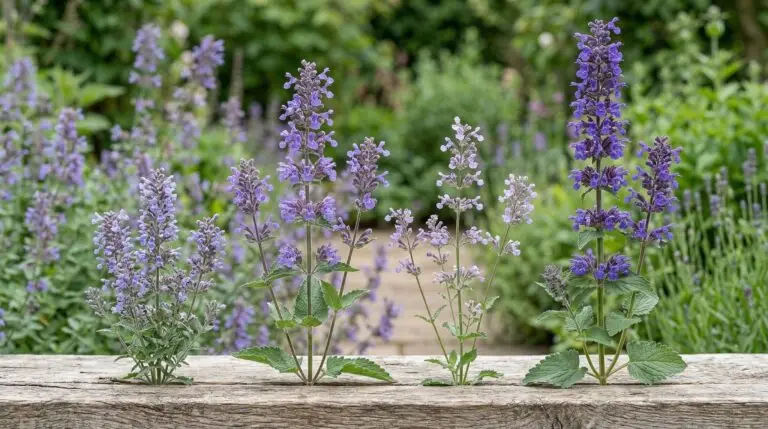
Best catmint varieties from compact Walker’s Low to towering Six Hills Giant