True lilies of the genus Lilium represent a distinct botanical group that requires specific care to thrive in the home garden. I have spent decades observing these plants push through the spring soil, and their structural anatomy dictates exactly how we must treat them. Many gardeners group any bell-shaped summer bloom into this category, but true lilies grow from a scaly, non-tunicate bulb rather than fleshy roots or tubers. This means the bulb lacks a papery outer skin to protect it from drying out, making prompt planting and careful soil management essential. Understanding the physical structure of these plants is the first step in successful lily care, as their requirements differ vastly from other common garden plants that share their name. You cannot treat a true lily like a standard perennial and expect it to survive its first winter.
Distinguishing true lilies from common namesakes
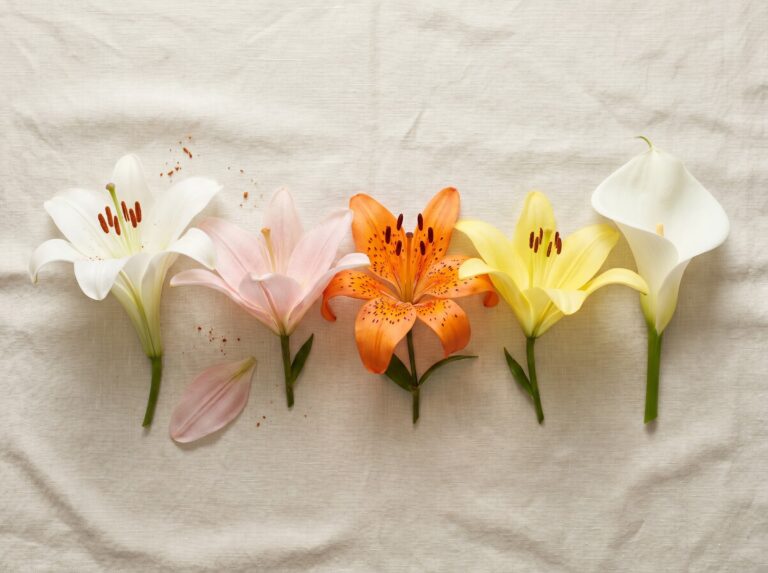
The horticultural world is full of plants that borrow the lily name without sharing its genetic lineage or cultural needs. A daylily belongs to the genus Hemerocallis and grows from a mass of thick, fleshy roots that tolerate poor soil and drought with ease. Similarly, a calla lily is actually a member of the Araceae family, growing from a rhizome, which is a modified subterranean plant stem that thrives in high moisture. True lilies belong exclusively to the genus Lilium and possess a highly specific root system divided into two parts. They produce basal roots at the bottom of the bulb that pull water and nutrients from deep in the soil, and stem roots that emerge just above the bulb to anchor the tall stalk and absorb surface nutrients. This dual root system is the primary reason why growing lilies successfully depends heavily on proper planting depth and soil structure. Treating a true lily bulb like a daylily root mass will result in immediate failure.
Site selection and soil preparation
The old horticultural adage for Lilium care dictates that these plants prefer their heads in the sun and their feet in the shade. You need a planting site that receives six to eight hours of direct sunlight daily to ensure strong, straight stems that can support the weight of the blooms. If the light is too weak, the stems will lean toward the sun and eventually snap under their own weight. The soil itself must offer immediate drainage while retaining enough moisture to keep the basal roots hydrated. Heavy clay soils are fatal to lily bulbs because standing water causes the fleshy scales to rot within a matter of weeks. You can improve clay soils by incorporating coarse sand and well-rotted compost to a depth of at least twelve inches before planting. Most Asiatic hybrids tolerate a neutral to slightly alkaline pH, while Oriental hybrids prefer slightly acidic soil in the 6.0 to 6.5 range.
Planting depth and bulb placement
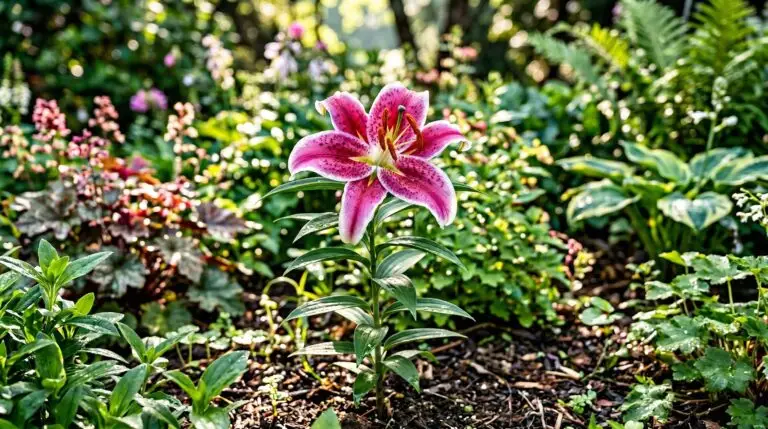
Because most true lilies are stem-rooting, you must plant them much deeper than you might expect. A reliable rule of thumb is to dig a hole that is three times the height of the bulb itself. If you have a bulb that measures two inches tall, the bottom of your planting hole should be six inches below the soil surface. This depth provides the necessary space for those critical stem roots to develop and gives the tall stalks enough structural support to stand upright in the wind. Certain heritage varieties like tiger lilies are particularly vigorous and will multiply rapidly if given adequate space, so you should space all bulbs at least eight to twelve inches apart. Proper spacing allows for adequate air circulation between the mature stalks, which prevents fungal diseases like Botrytis blight from taking hold during humid summer weather. When placing the bulb in the hole, make sure the pointed end faces upward and spread the existing basal roots gently over a small mound of loose soil.
Feeding and seasonal maintenance
Lilies expend an enormous amount of energy producing their large blooms and require consistent nutrition throughout the growing season. You should apply a balanced, slow-release fertilizer with a 10-10-10 NPK ratio just as the shoots emerge from the soil in early spring. A second application of a high-phosphorus fertilizer just before the buds open will support flower development and help the bulb store energy for the following year. Watering should be deep and infrequent, providing about one inch of moisture per week directly to the soil level. Overhead watering wets the foliage and creates a breeding ground for fungal spores, so a soaker hose or careful hand watering is always the better approach. Mulching the soil surface with shredded bark or compost helps regulate the soil temperature, keeping those shallow stem roots cool during the intense heat of July and August.
After the flowers fade, your maintenance routine shifts from supporting the bloom to protecting the bulb. You must remove the spent flowers by snapping off the seed pods at the top of the stalk, a process known as deadheading. Allowing the plant to produce seeds drains energy that the plant should direct back into the bulb for next year’s growth. However, you must leave the green stem and all its leaves completely intact until they turn yellow and die back naturally in the late autumn. The foliage acts as a solar panel, photosynthesizing and packing starches into the bulb scales to ensure winter survival. Once the stalk is entirely brown and brittle, you can cut it down to the soil line and top-dress the area with an inch of fresh compost to give your lilies a quiet, nutrient-rich start for the next spring.
More About Lily
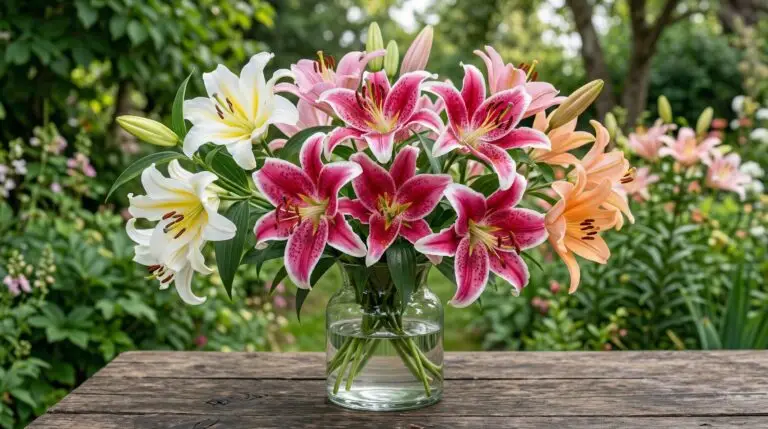
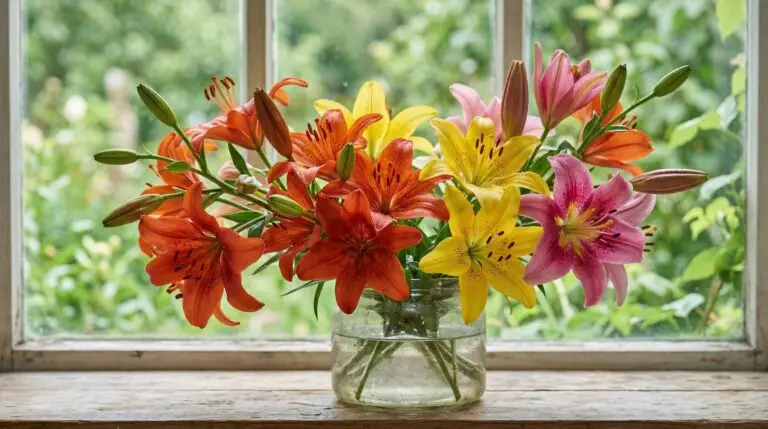
Lilies as magnificent cut flowers and how to arrange them without staining everything
Oriental lilies for intoxicating fragrance that fills the garden on summer evenings

Planting lilies in layers with spring bulbs for a succession of blooms from March to August

Companion plants for lilies that support tall stems and extend the garden season

Lilies in wedding flowers and the timeless elegance of white Casablanca arrangements
The red lily beetle invasion and how to protect your lilies from this destructive pest
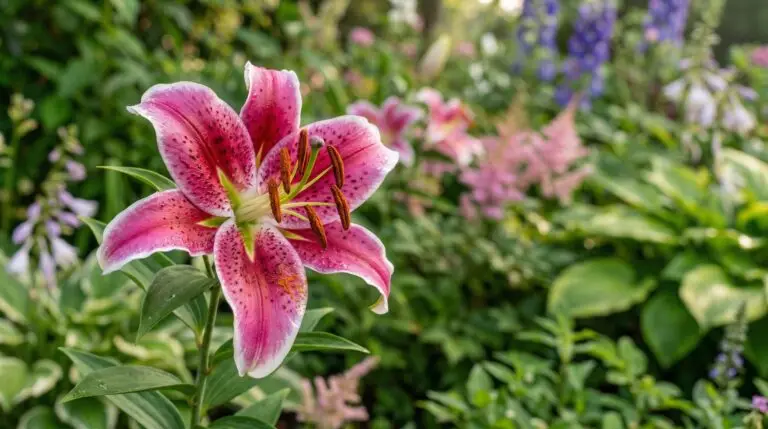
Best lily varieties from elegant Oriental Stargazer to towering Orienpet tree lilies
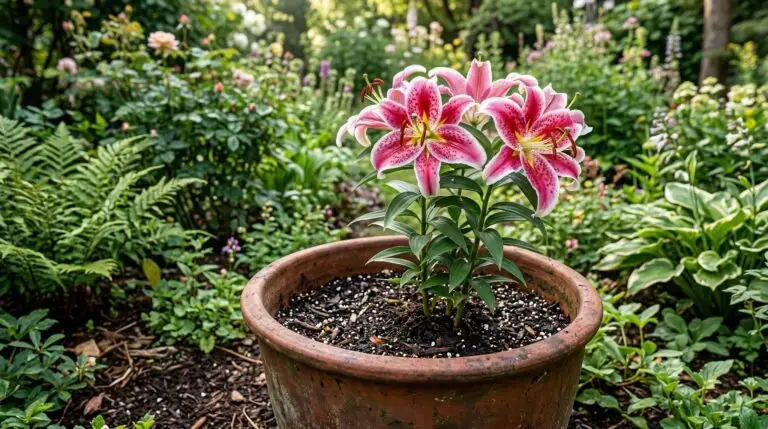
Growing lilies in containers for balcony and patio gardens with dramatic height