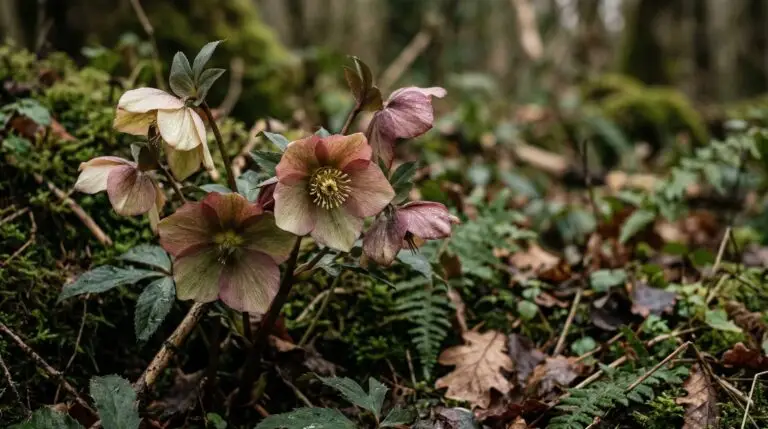
Hellebores are prized for their tough, leathery foliage that persists through the coldest months of the year. By the time late winter arrives, those once-glossy leaves usually look battered, flattened by snow, and scorched by freezing winds. Leaving this old foliage in place creates two distinct problems for your garden display. First, the tattered leaves physically cover the crown of the plant, hiding the delicate new flower buds that are trying to push through the soil. Second, overwintering leaves frequently harbor fungal spores, particularly black spot, which eagerly spread to the fresh growth as temperatures warm. Taking the time to perform a thorough hellebore foliage removal solves both issues at once. You give the plant a fresh start, eliminate a major source of disease, and ensure the blossoms are completely visible when they open.
Timing the cleanup and preparing your tools
The timing for this cleanup depends entirely on the specific weather patterns in your garden rather than a fixed calendar date. You should plan to tackle this chore in late winter or very early spring, right around the time you see the first snowdrop pushing through the frosty soil. The goal is to catch the plant just as the new flower stalks are beginning to emerge from the central crown, while they are still short and tightly clustered. If you wait too long and allow the new flower stems to grow several inches tall, the job becomes significantly more difficult. Navigating sharp tools around tall, brittle flower stalks almost guarantees you will accidentally snip off a few of the new blooms. Getting in early while the new growth is barely an inch tall gives you plenty of clearance to work quickly and safely.
Before you head out to the garden, you need to gather a few basic supplies to make the job safe and efficient. A pair of sharp bypass pruners is the best tool for this task, as the thick, fibrous stems of older leaves require a clean, slicing cut rather than a crushing motion. You will also need a rag and a small bottle of rubbing alcohol to wipe down your blades between every single plant. This sterilization step is a mandatory part of hellebore winter care, because the sap can easily transfer fungal diseases or viruses from a sick plant to a healthy one. Finally, make sure you wear a sturdy pair of gardening gloves and long sleeves while you work. Hellebore sap contains compounds that cause mild to severe skin irritation, and you will be handling dozens of cut stems during the process.
Executing the annual hellebore haircut
When you approach the plant, you will see a dense mound of sprawling green, brown, or spotted leaves collapsing outward from the center. Use one hand to gather a section of these old leaves and gently pull them upward to expose the base of the plant. Trace the thick stems all the way down to where they meet the central crown, and make your cut about an inch or two above the soil line. You want to practice complete hellebore pruning, removing every single old leaf, even the ones that still look relatively green and healthy. Leaving a few green leaves might seem like a good idea for photosynthesis, but they will inevitably degrade as the season progresses and detract from the clean look of the new flowers. Work your way around the entire perimeter of the plant until the crown is completely exposed and only the tiny new buds remain.
As you clear away the old growth, you might notice dark black or brown spots on the stems and leaves you are removing. This is a very common fungal issue, and it is exactly why these leaves need to leave the garden entirely rather than breaking down in place. Gather all the trimmed foliage into a yard waste bag or a bucket destined for the municipal trash. You should never put old hellebore leaves into your home compost bin, because typical backyard compost piles do not reach high enough temperatures to kill off the fungal spores. While cutting, you might accidentally nick one of the tiny new flower buds emerging from the crown. That is perfectly normal and will not harm the overall health of the plant, though it is a good reminder to slow down and watch your blade placement closely.
Post-cleanup care and spring emergence
Once the old foliage is completely cleared away, the bare ground around the plant provides an excellent opportunity to improve the soil. Spread a two-inch layer of rich organic compost or well-rotted leaf mold in a wide ring around the base of the plant. You must be careful to keep this mulch material pulled a few inches away from the actual crown, because burying the growing points traps moisture and encourages crown rot. This fresh layer of organic matter slowly feeds the plant as spring rains wash the nutrients down into the root zone. This is also the perfect time to clean up the soil around neighboring spring bulbs, making sure the ground is clear for daffodils and other early bloomers that share the same garden beds. The dark, rich compost provides a beautiful contrasting backdrop that makes the pale new flower stalks stand out clearly.
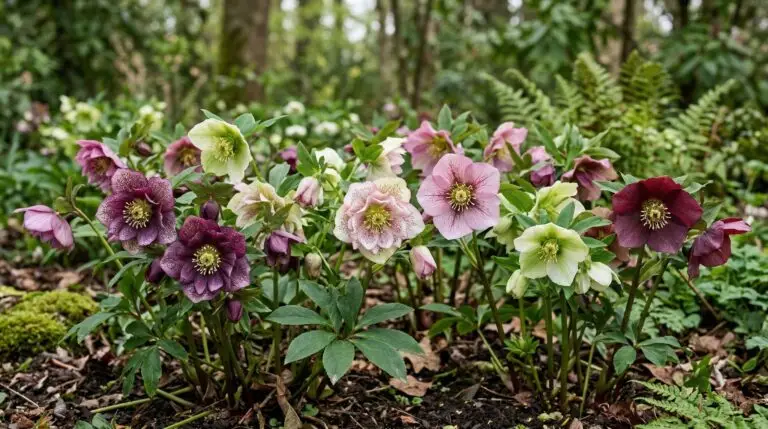
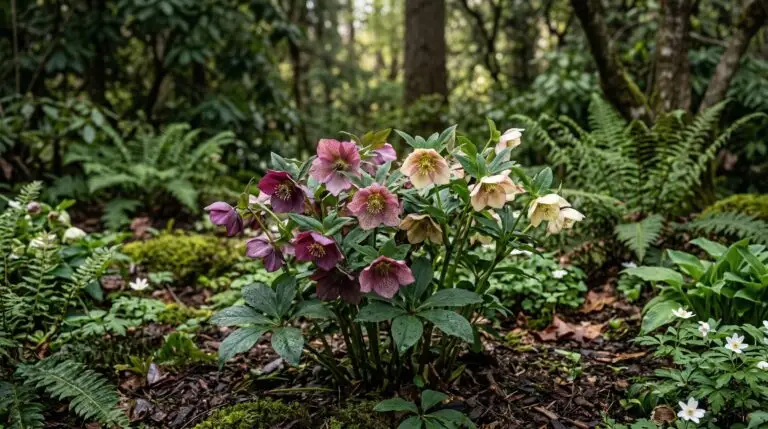
With the old leaves gone and the soil refreshed, the plant is fully prepared to put on its late winter display. Over the next few weeks, you will watch the thick, fleshy flower stalks rise straight up from the bare earth, completely unobstructed by tattered foliage. These stalks eventually unfurl their nodding, cup-shaped blossoms, which often remain colorful and attractive for two months or more. Shortly after the flowers open, you will see the tightly furled spikes of new leaves pushing up from the crown to replace the ones you removed. By the time the flowers finally begin to fade and drop their seeds, a fresh, pristine mound of glossy green foliage will have completely grown in to fuel the plant for the rest of the year. Taking the time to perform this simple cleanup ensures your plants remain healthy, vigorous, and strong season after season.
More About Hellebore
Why hellebore flowers face downward and how to display their hidden beauty
Best hellebore varieties from single-color classics to double-flowered showstoppers
Hellebore flower meaning and the dark legends surrounding the Christmas rose
How to grow hellebores for elegant flowers that bloom in the dead of winter
Hellebores in containers for winter interest on patios and doorsteps
Hellebore companion plants for a shade garden that has color from January to May
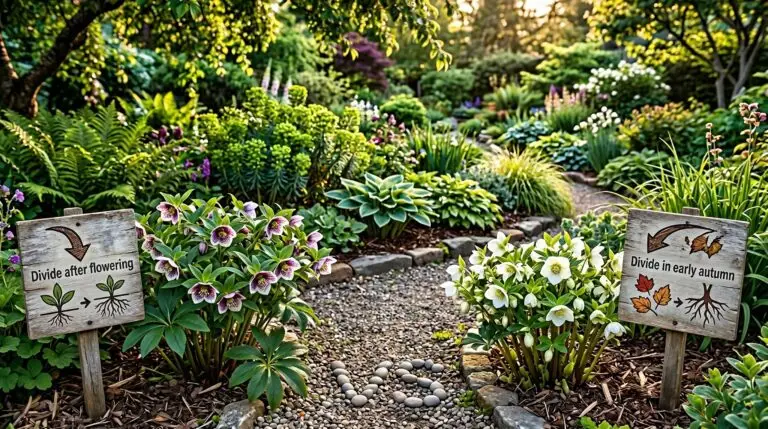
Dividing hellebores and the right time to split mature clumps without killing them