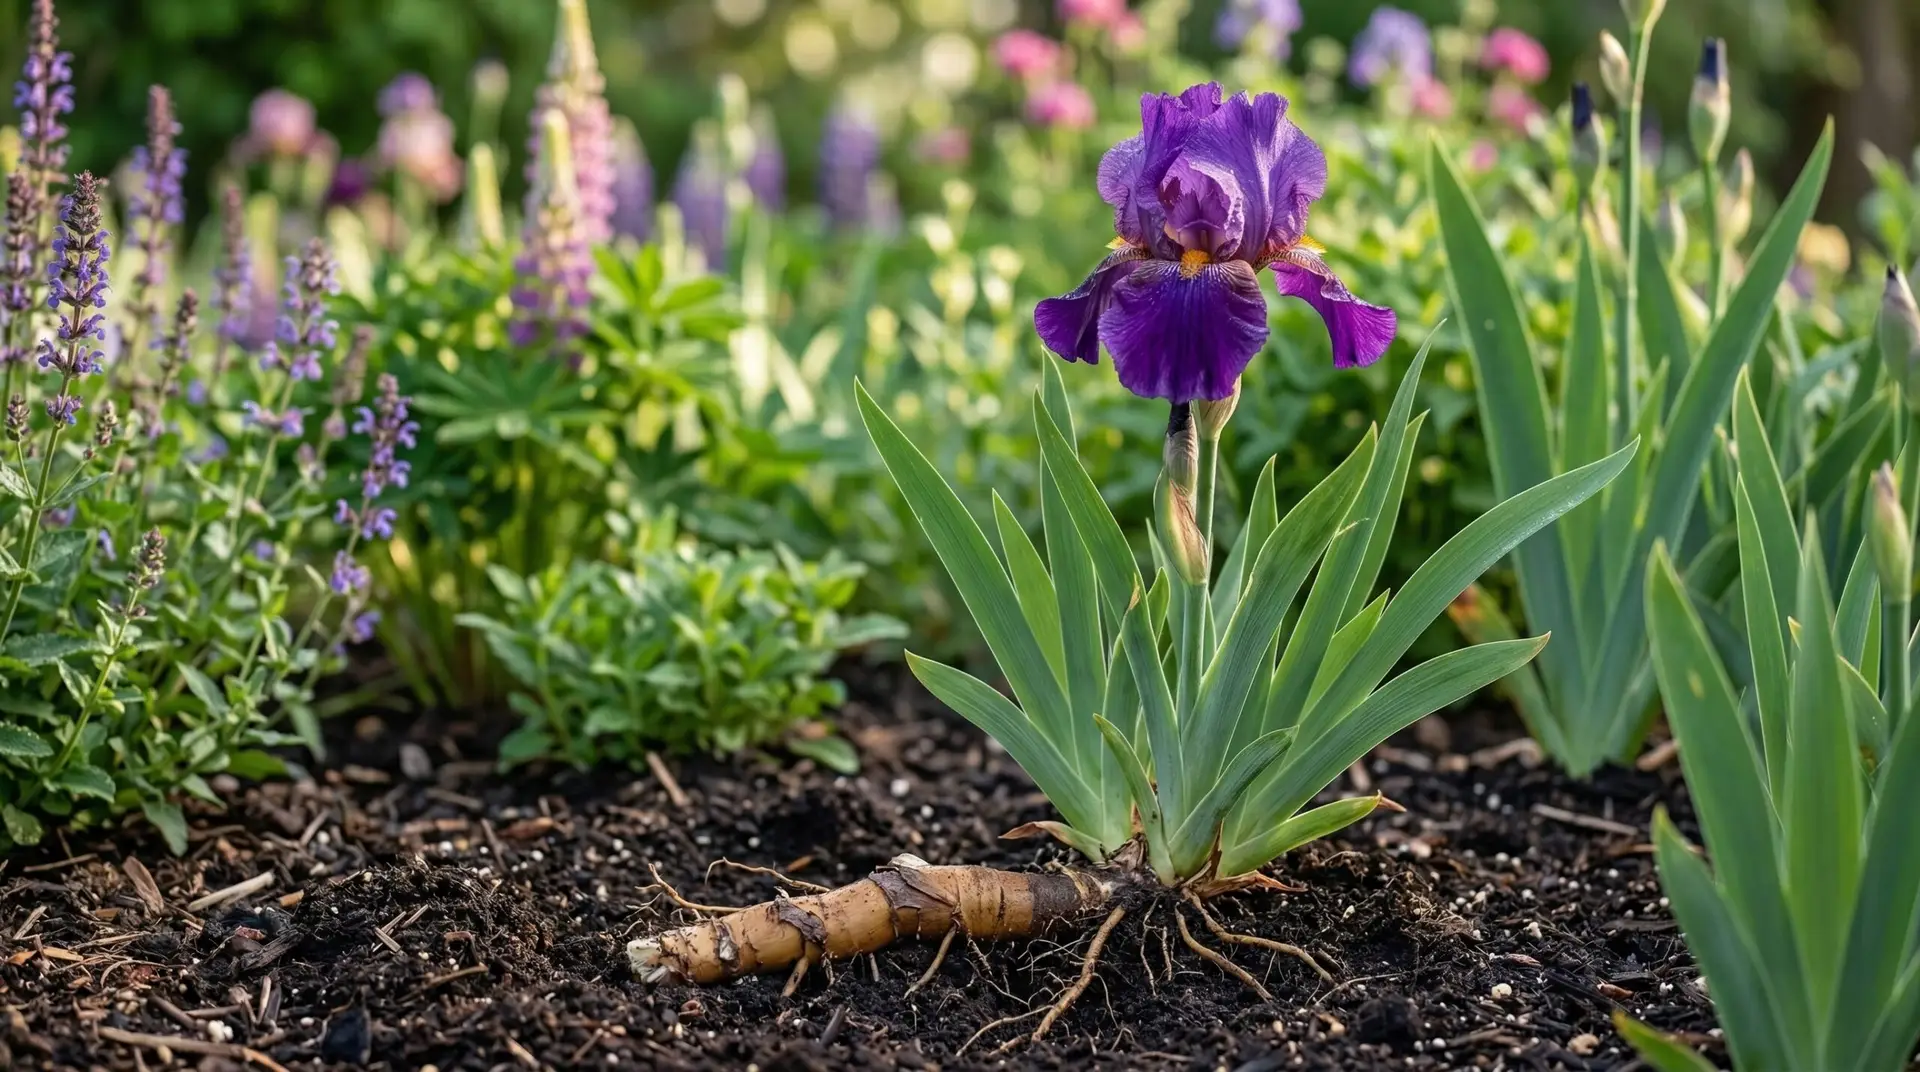
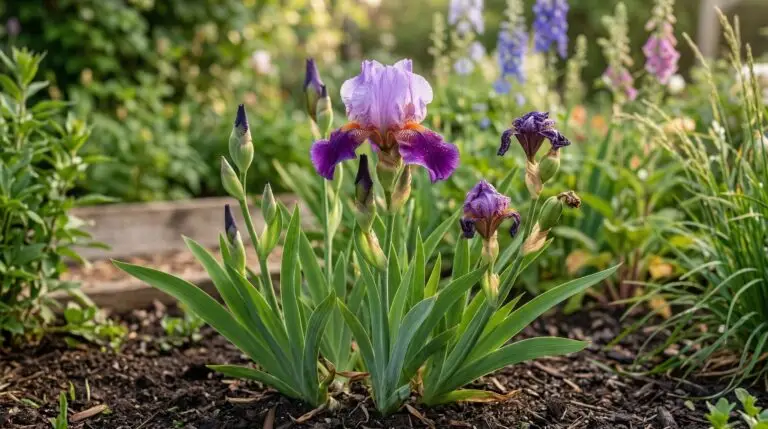
Growing a healthy patch of iris starts with understanding that you are not planting a typical bulb or seed. These plants grow from thick, fleshy structures called rhizomes, which look a bit like knobby potatoes with roots hanging down from one side and a fan of leaves emerging from the other. When you are planting bearded iris, you are essentially establishing a creeping stem that prefers to rest right at the surface of the earth. Understanding this anatomy is the foundation of getting them to thrive, because burying them like a standard tulip bulb will almost certainly lead to rot. You want to set up an environment where the roots can dig deep for water and nutrients while the rhizome itself stays dry and bakes in the sun. Taking the time to prepare the planting site correctly ensures your plants will multiply and return reliably year after year.
The ideal window for planting bearded iris rhizomes opens in late summer and continues through early fall, depending on your local climate. You want to get them into the ground when the intense heat of midsummer has passed but well before the ground freezes. This timing gives the roots several weeks to anchor themselves into the soil before winter arrives, preventing the freeze and thaw cycles from heaving the shallowly planted rhizomes right back out of the dirt. If you try to plant them in the spring, the plants will spend all their energy trying to establish roots rather than producing flowers, and you will likely lose a full season of growth. Getting them settled in late summer aligns perfectly with their natural dormancy period, making the transition much easier on the plant.
Choosing the right location and preparing the soil
Finding the right spot in your garden is the most important decision you will make for these plants. Bearded irises require full sun, meaning they need at least six hours of direct, unobstructed sunlight every single day. The sun does more than just fuel photosynthesis for the leaves; it literally bakes the top of the exposed rhizome, which helps the plant produce flowers and prevents fungal diseases. If you plant them in the shade of a tree or a taller shrub, the foliage may grow, but the plants will refuse to bloom and the rhizomes will slowly weaken. You also need to evaluate the soil drainage in your chosen spot by digging a shallow hole with your garden trowel and filling it with water. If the water sits in the hole for more than an hour, the soil is too heavy and holds too much moisture, which will cause the fleshy rhizomes to turn to mush.
When you find a sunny location with soil that drains well, you can begin preparing the planting bed. Use a garden fork or a sturdy shovel to loosen the soil to a depth of about ten to twelve inches, giving the new roots an easy path to grow downward. If your soil leans toward heavy clay, mixing in a generous amount of coarse sand or small gravel can improve the drainage significantly. Avoid mixing heavy amounts of rich compost or high-nitrogen fertilizers directly into the planting area, as too much nitrogen encourages soft, floppy leaf growth at the expense of flowers and increases the risk of rot. You might consider placing them near other sun-loving perennials like the daylily, which shares similar drainage requirements and offers a complementary leaf texture. Just make sure any neighboring plants will not grow tall enough to cast shade over the iris beds later in the season.
Positioning and planting bearded iris rhizomes
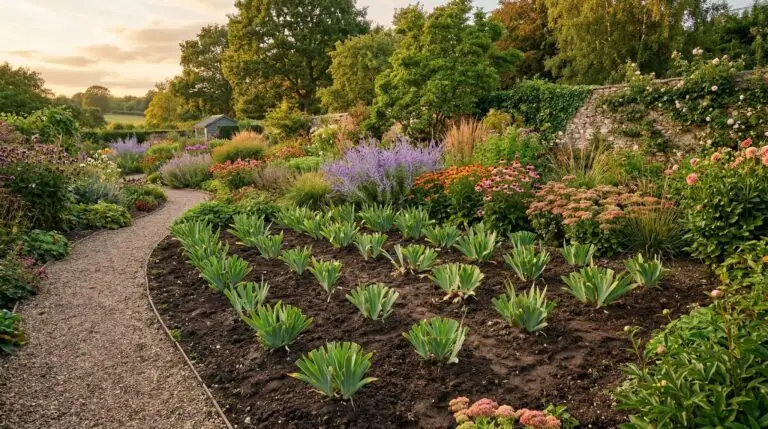
The physical act of planting the rhizome requires a specific technique to keep the top exposed while burying the roots. Start by digging a shallow hole about four inches deep and ten inches across. In the center of this hole, use your hands or a trowel to build a small mound of loose soil, creating a miniature hill inside the depression. Take your rhizome and place it directly on top of this mound, letting the long, stringy roots drape down the sides into the deeper parts of the hole. This method ensures the roots are heading straight down into the soil where they belong, while the main body of the rhizome rests securely at the proper elevation. You can then gently push soil back into the hole, covering the roots completely while leaving the top surface of the rhizome visible above the dirt.
As you place multiple plants, you need to think about how they will grow and multiply over the coming years. Space each rhizome about twelve to eighteen inches apart to allow plenty of room for air circulation and future expansion. Pay close attention to the direction the leaf fan is pointing, because the rhizome will grow and produce new offshoots from the opposite end. If you plant the rhizome with the leafy fan facing the center of your garden bed, the new growth will march outward toward the edges over time. Many gardeners like to plant them in groups of three, arranging the rhizomes in a triangle with the leafy fans facing outward and the bare ends pointing toward each other. This arrangement prevents the plants from crowding each other too quickly and creates a solid block of color when they eventually bloom.
Watering, settling, and early care
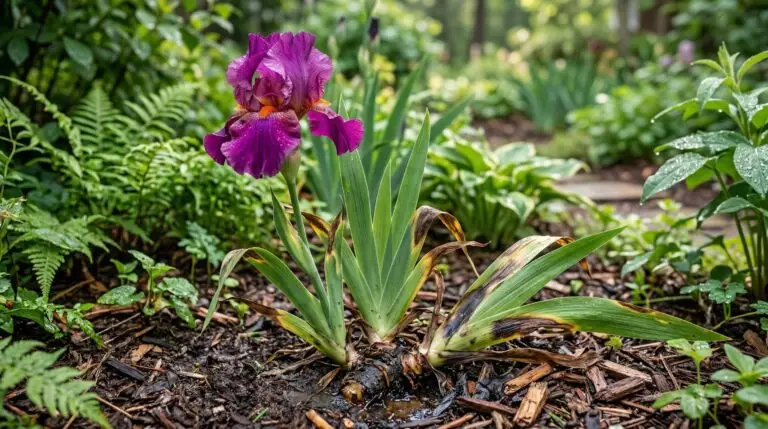
Once you have your iris rhizomes positioned and the roots buried, give the area a thorough watering to settle the soil and eliminate any air pockets around the roots. You want to dampen the soil deeply, but you must avoid turning the bed into a muddy swamp. After this initial soaking, hold off on watering again until the top two inches of soil feel completely dry to the touch. The rhizomes store a significant amount of water and nutrients, so they are highly resilient to dry spells but incredibly vulnerable to overwatering. During this settling period, you might notice the outer leaves of the fan turning brown or looking slightly shriveled. That is completely normal as the plant redirects its energy downward to establish a new root system, and you can simply snip off the dead tips with clean garden shears to keep the bed looking tidy.
As the weather cools and you begin preparing your garden for winter, you must resist the urge to bury your newly planted rhizomes under a thick layer of mulch. Most garden plants appreciate a heavy blanket of wood chips or shredded leaves to protect them from the cold, but covering a bearded iris rhizome traps moisture against the surface and invites rot over the winter months. If you live in a climate with severe, snowless winters that cause deep ground freezing, you can lay down a very light, breathable covering of pine boughs or clean straw just after the ground freezes solid. This temporary covering is only meant to keep the ground temperature stable and prevent frost heaving, rather than to keep the plant warm. You must remember to remove this protective layer promptly in the early spring as soon as the snow melts and the ground begins to thaw, allowing the sun to reach the rhizomes once again.
What to expect in the first growing season
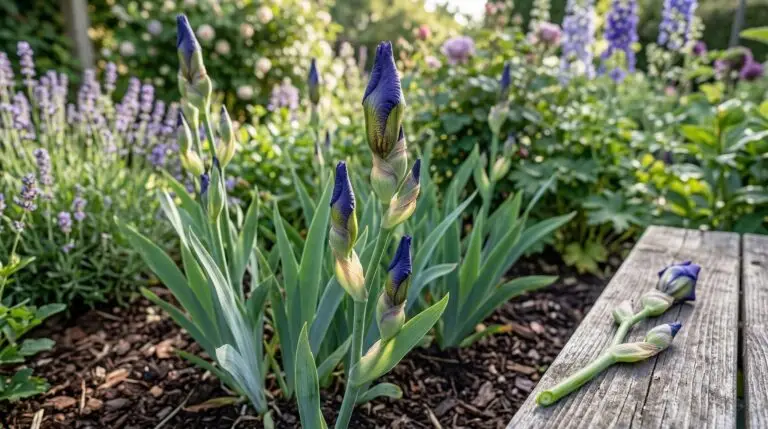
When the weather warms and daytime temperatures consistently stay above sixty degrees, you will see fresh green growth pushing up from the center of the fans. Learning how to plant iris correctly pays off as these new leaves thicken and stand tall, signaling that the root system successfully took hold over the winter. During this first spring, you should manage your expectations regarding the flower show. Some newly planted rhizomes will produce a sturdy stalk and bloom reliably in their first season, while others may only produce foliage as they focus entirely on vegetative growth and multiplying. If your plants skip blooming in the first year, it is a sign that they are building the necessary energy reserves for a massive display the following spring.
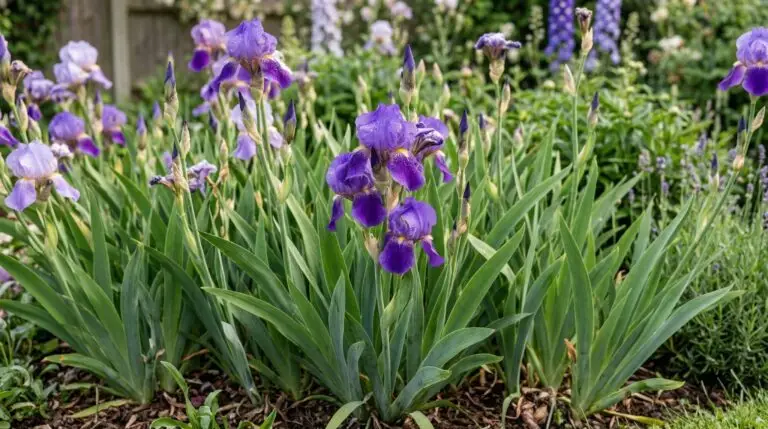
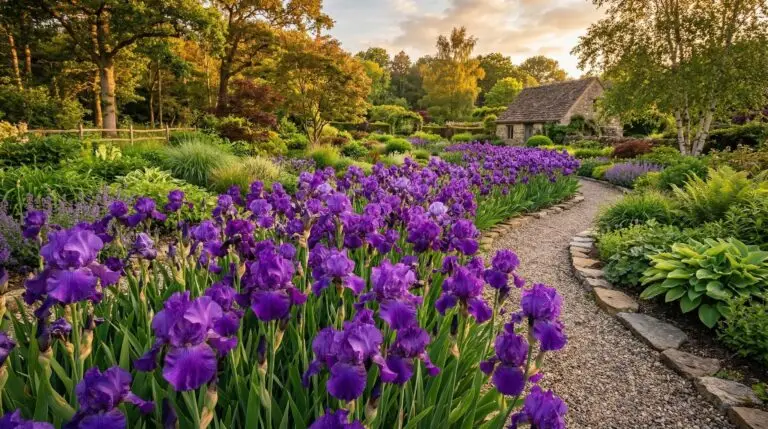
By late spring, whether they bloom or not, your plants should look firmly anchored and healthy. You will likely notice small bumps or entirely new miniature fans forming along the sides of the original rhizome, which are the offsets that will eventually become independent flowering plants. Keep the area free of weeds that might block the sunlight, and continue to let the soil dry out between waterings. As long as the rhizomes remain firm to the touch and exposed to the baking sun, you have successfully established a perennial bed that will thrive for years. Following these planting principles ensures your garden will soon be filled with strong, upright stems and the classic, ruffled flowers that make these plants a permanent favorite.
More About Bearded Iris
Why bearded iris stops blooming and the six most common causes
Tall bearded iris versus dwarf bearded iris and choosing the right size for your garden
How to identify and prevent iris borer the most destructive bearded iris pest
How to grow bearded iris in hot southern climates where summer heat is intense
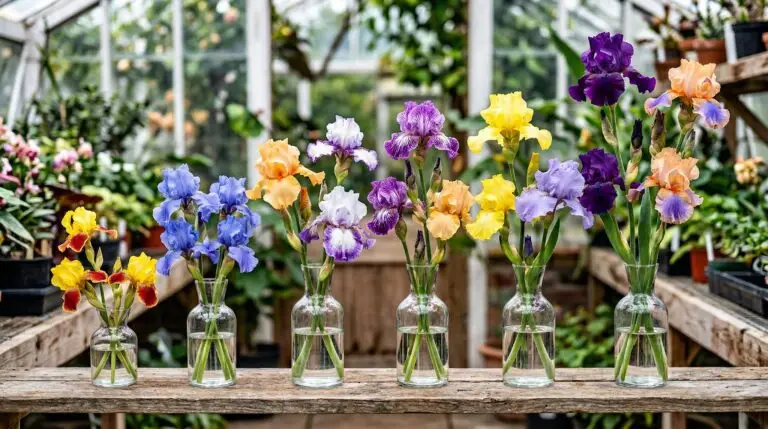
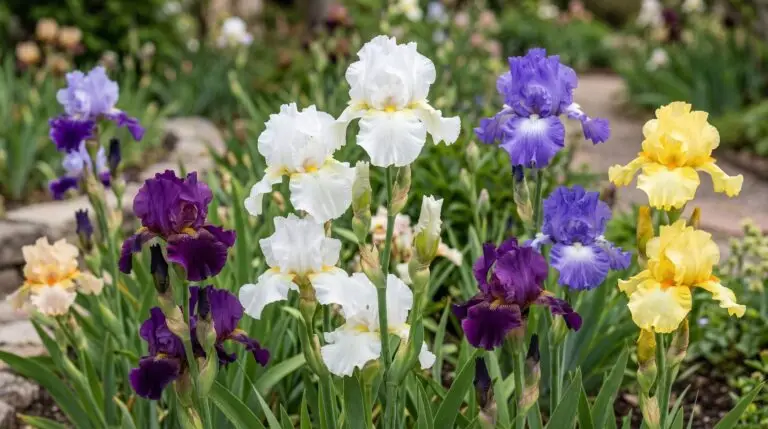
Bearded iris color combinations and how to design a rainbow iris bed
Reblooming bearded iris varieties that flower twice in a single growing season
Dividing bearded iris in summer for healthier plants and more blooms next spring
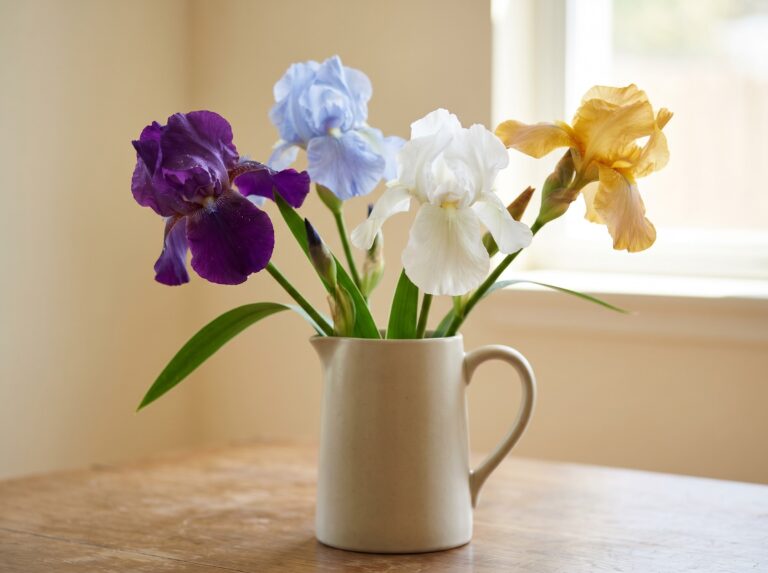
Using bearded iris as cut flowers for elegant spring bouquets and arrangements