Irises are incredibly resilient plants that can thrive for decades, but they eventually reach a point where they need a little help to keep blooming well. Most common garden irises grow from thick, fleshy stems called rhizomes that creep horizontally right at the soil surface. Unlike true bulbs that stay contained in one spot, these rhizomes multiply year after year, branching out and crowding each other. As the clump expands over three to five years, the plants begin to compete fiercely for water, nutrients, and sunlight. When the center of the clump becomes too dense, the original rhizomes die off and leave a bare spot surrounded by a tight ring of newer growth. You might notice your plants producing fewer flowers than they used to, or you might see a tangled mess of roots pushing entirely out of the ground. Dividing irises is the only practical way to relieve this congestion, rejuvenate the plant, and encourage a strong display of flowers for the following season. Taking the time to dig up, separate, and replant these sections gives the roots room to breathe and helps the plant direct its energy into producing blooms rather than fighting for space.
Recognizing when to divide iris plants
The timing for this project is specific and depends heavily on the growth cycle of the plant rather than a strict calendar date. The best window for dividing irises opens in late summer, usually about six to eight weeks after the last flowers have faded. By this point in the season, the plant has finished its active blooming phase and has stored enough energy in the rhizome to survive the transplanting process. Waiting until late summer also gives the newly separated plants enough time to establish fresh roots before the ground freezes in winter. If you attempt this task in the spring, you will interrupt the blooming cycle and likely sacrifice your flowers for the entire year. You will know it is time to divide your plants when you see rhizomes stacking on top of each other like a pile of logs, or when the foliage looks smaller and thinner than usual. You might also notice companion plants like a daylily encroaching on the bed, which makes a cool, cloudy late-summer day the perfect opportunity to reorganize the entire area.
Lifting and inspecting the root system
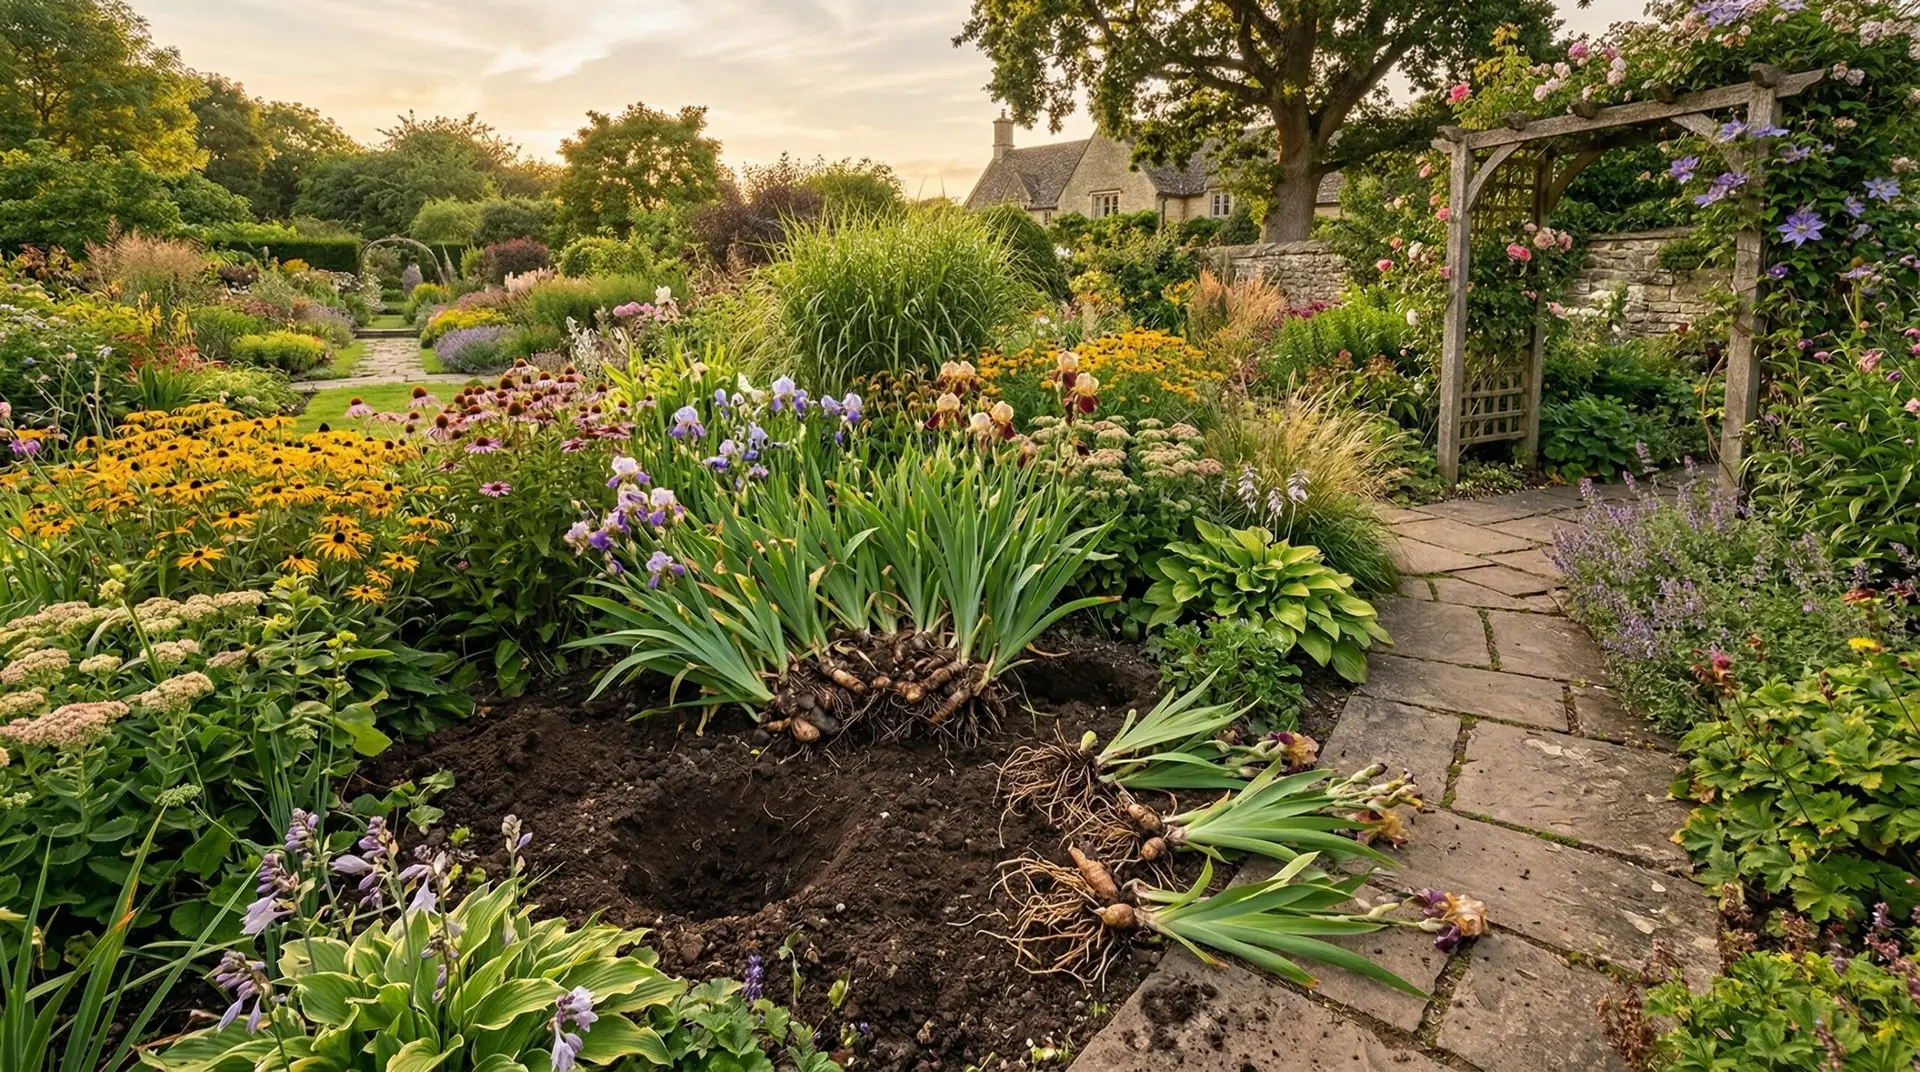
Getting the plants out of the ground requires a bit of care to avoid slicing through the healthy sections hidden beneath the soil. A sturdy garden fork works much better than a shovel for this task because the tines can slide under the root mass and lift it without cutting the fleshy rhizomes. Push the fork into the soil a few inches away from the outer edge of the clump and gently pry upward to loosen the long roots. Once the clump is loose, pull the entire mass out of the ground and lay it on a tarp or a patch of grass. The root system will likely be caked in dirt, making it difficult to see what you are working with or where the natural division points are. Use a garden hose to wash away the soil completely so you can clearly examine the rhizomes and the stringy roots attached to the bottom. This washing step is highly practical because it exposes any signs of disease or pest damage, such as small holes caused by the iris borer or mushy spots that indicate soft rot. If you encounter soft rot, which usually has a distinctly foul smell, you must cut away the mushy parts entirely to save the healthy tissue.
Trimming the fans and preparing the rhizomes
With the clump washed clean, you can start breaking it apart into individual sections for replanting. You will see large, dark, woody rhizomes in the center with no leaves attached, and these old sections should be discarded because they will never bloom again. Snap or cut the younger, leaf-bearing rhizomes off the sides of the old center using a clean, sharp knife. Inspect each of these new pieces carefully, keeping only the firm, healthy ones that have a fan of leaves and a good set of roots. Once you have your healthy divisions, you need to trim the foliage down to about six inches in height, cutting the leaves at an angle to create an inverted V shape. Trimming the fan reduces the surface area of the leaves, which prevents the plant from losing too much moisture while it tries to grow new roots. It also keeps the autumn winds from catching the tall leaves and rocking the newly planted rhizome out of the soil before it can anchor itself. After cutting, let the prepared rhizomes sit in the shade for a few hours so the fresh cuts can dry and form a protective callus against soil moisture.
Transplanting iris divisions at the proper depth
The final step is getting the prepared divisions back into the ground in a way that sets them up for long-term health and stability. Irises require excellent drainage, and planting them in soil that stays wet will quickly lead to rot and plant death. If your soil is heavy clay, you will need to mix in compost or coarse sand to improve the drainage before you begin replanting. When creating the new planting hole, dig a shallow depression and build a small, firm mound of soil right in the center. Place the rhizome directly on top of this mound and drape the stringy roots down the sides into the deeper part of the hole. For a bearded iris, the top of the rhizome must remain exposed to the sun and air, looking like a little potato resting halfway out of the soil. Space the new plants twelve to eighteen inches apart, pointing the leafy fans in the same direction, and cover the roots firmly with soil while leaving the top ridge of the rhizome visible. Water the area thoroughly to settle the dirt and eliminate air pockets, which will allow the roots to dig deep into the soil and prepare the plant to push up fresh green growth when spring arrives.
More About Irises
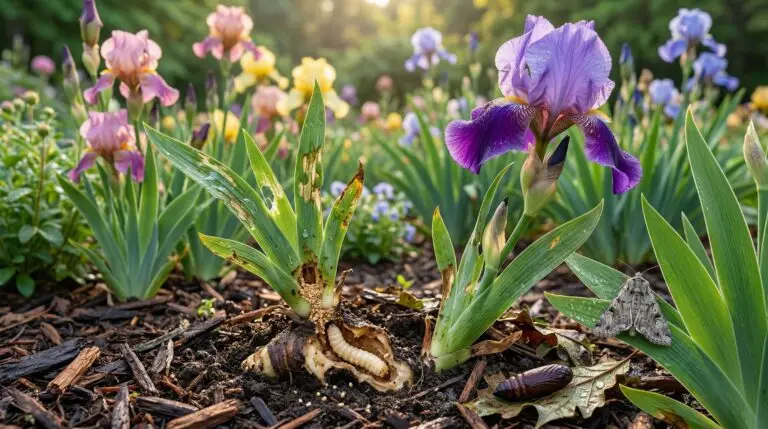
Iris problems from borers to rot and keeping your iris collection healthy
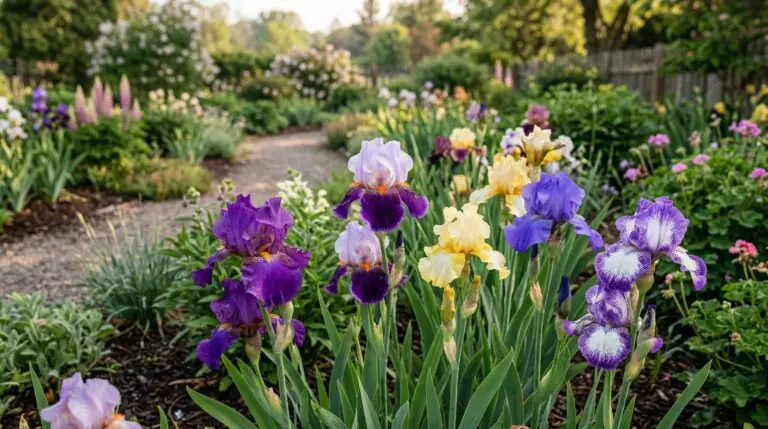
How to grow irises for elegant sword-leaved plants and flowers in every color of the rainbow
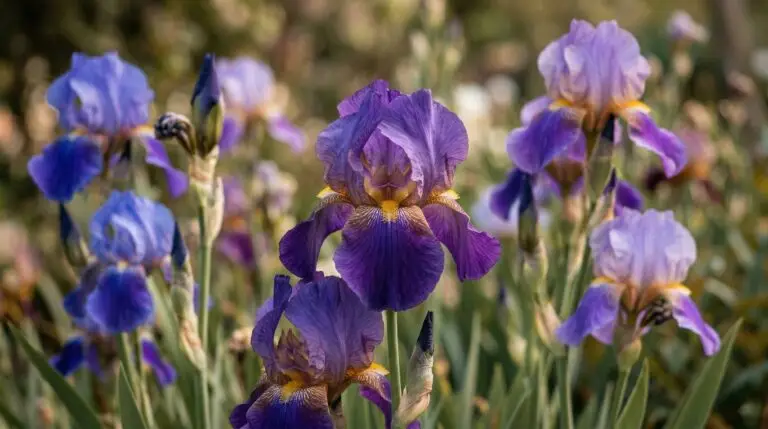
Iris flower meaning and why the rainbow goddess gave this flower its name
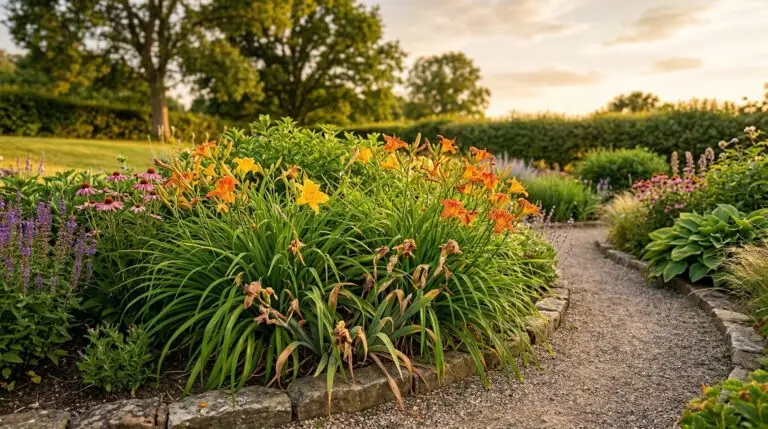
Iris companion plants: what to grow and what to avoid
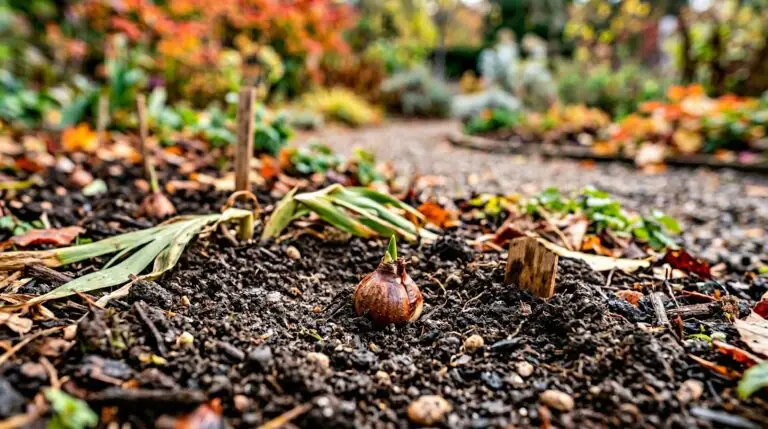
Dutch iris bulbs for spring cutting gardens and the easiest iris to grow in bouquets
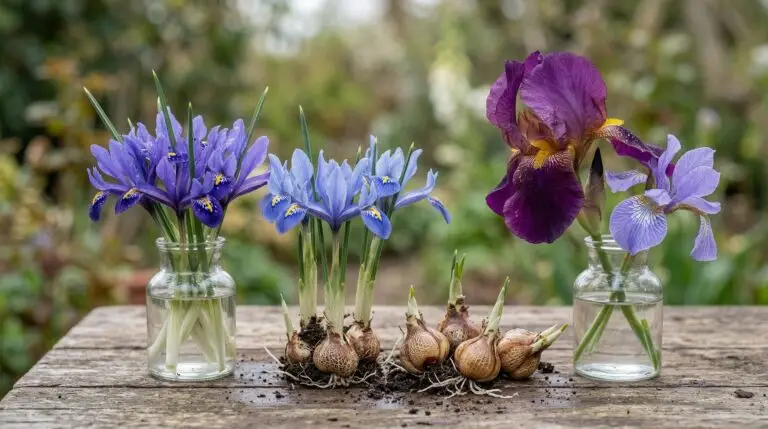
Miniature and dwarf iris for rock gardens and early spring color at ground level
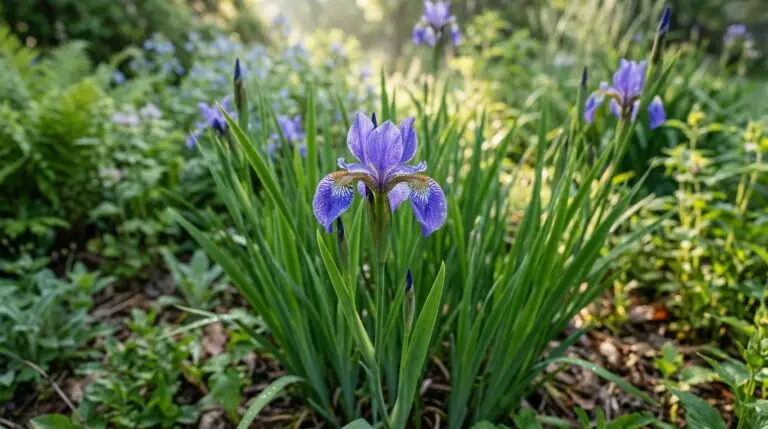
Louisiana iris for southern gardens and warm humid climates where bearded iris fails
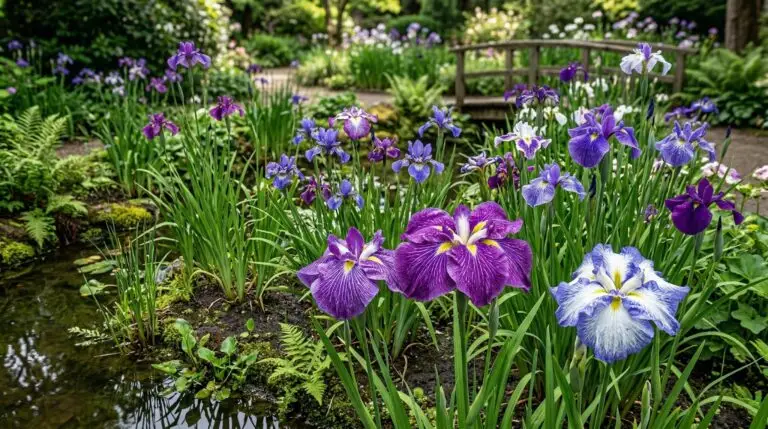
Japanese iris for dramatic waterside blooms with the largest flowers in the iris world