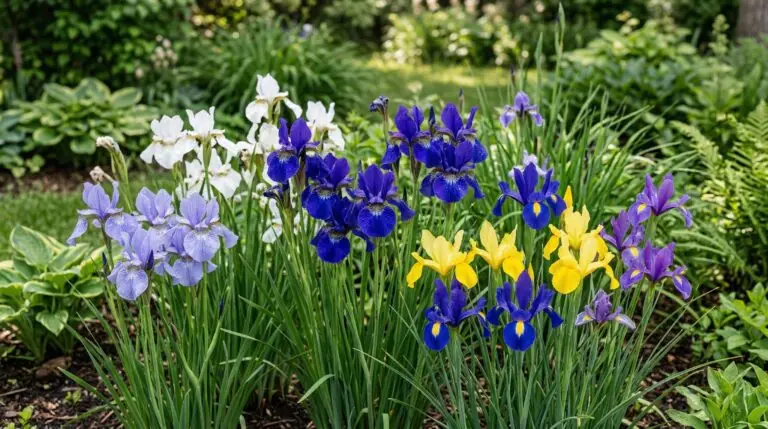
Most gardeners start growing irises because the blooms are spectacular, but they eventually end up here because they found a foul-smelling, mushy mess where a solid root used to be. You walk out to your garden in early summer expecting tall flower stalks, only to find the leaves collapsing at the base and a stench that resembles rotting onions. This is the classic signature of iris borer damage followed by bacterial soft rot, and it is the single biggest frustration for anyone growing these plants. When your plants start falling over or turning to mush, it is easy to assume you need to throw everything away and start over. The reality is that these problems are entirely manageable once you understand how the pests and diseases operate together. You can save your current plants and prevent the cycle from repeating next year by changing a few basic habits.
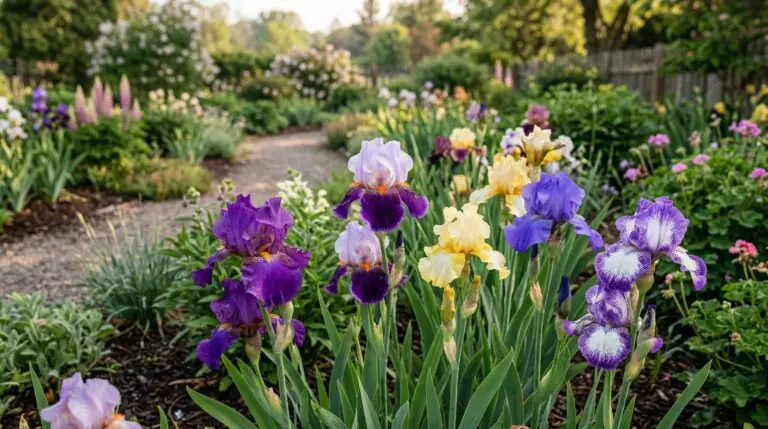
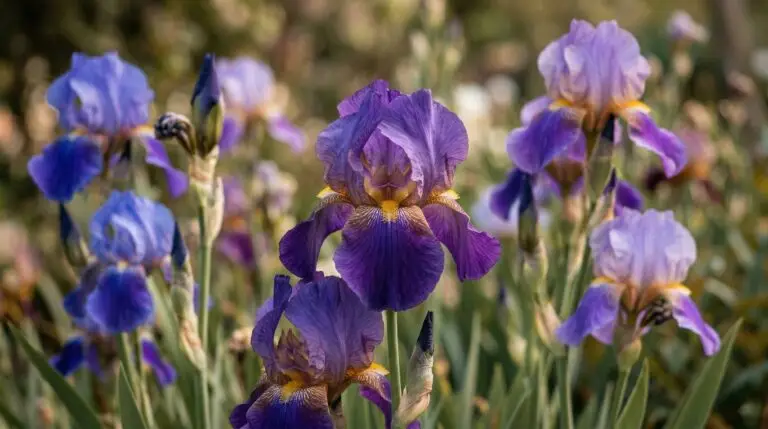
The trouble usually begins with the Bearded Iris, which is highly susceptible to both borers and rot because its thick, fleshy rhizomes sit right at the soil surface. People often see the leaves looking a bit ragged in the spring and ignore it, assuming it is just weather damage or a minor bug issue. By the time the entire fan of leaves falls flat on the ground in July, the damage is already severe and happening entirely underground. Understanding the connection between the chewing insects above ground and the rotting tissue below ground is the only way to break this cycle. If you only try to treat the rot without stopping the insect that caused the wound, you will be fighting a losing battle every single season. You have to address both the pest and the environment to keep the collection healthy.
Dealing with the iris borer lifecycle
The iris borer is the root cause of almost every major disaster in an iris bed. The cycle actually begins in the fall when a dull brown moth lays clusters of eggs on old, dead iris leaves and nearby debris. These eggs sit there all winter, waiting for the weather to warm up in early spring. When the temperatures rise, tiny caterpillars hatch and immediately crawl up the fresh, new iris shoots. They chew tiny pinholes in the leaves and then burrow inside the leaf tissue, mining their way downward toward the soil. If you look closely at your plants in May, you will often see jagged, water-soaked edges on the leaves where the caterpillars have been feeding.
Stopping the borer requires catching the caterpillars while they are still inside the leaves, long before they reach the rhizome. When you see those jagged edges or slimy trails on the foliage in spring, you can actually pinch the leaf between your thumb and forefinger and slide it down to squish the caterpillar inside. If you wait until the caterpillar reaches the base of the plant, it will chew a large hole straight into the rhizome and grow to nearly two inches long, hollowing out the root from the inside. Once the borer is inside the rhizome, you have to physically dig up the plant, cut the rhizome open, and remove the fat pinkish caterpillar. Chemical controls are difficult because the insect is protected inside the plant tissue for almost its entire life. The most effective control is strictly mechanical, relying on your eyes and hands early in the season to stop the downward migration.
Fixing bacterial soft rot before it spreads
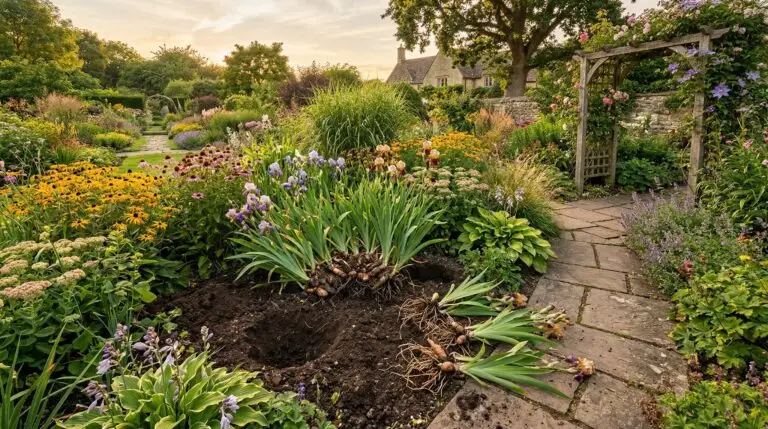
Bacterial soft rot is the secondary infection that usually finishes the job the borer started. When the borer chews a hole into the rhizome, it creates an open wound that invites soil bacteria inside, especially during wet, humid weather. The bacteria multiply rapidly in the fleshy tissue, turning the solid rhizome into a foul, yellowish mush that smells completely awful. You might also trigger soft rot yourself if you plant the rhizomes too deep or cover them with heavy mulch, which traps moisture against the plant tissue. Irises need their rhizomes exposed to the sun and air to stay dry and hard. When you bury them like regular bulbs, the soil moisture suffocates the tissue and causes the exact same rotting problem even without a borer present.
Rescuing a plant from bacterial soft rot is entirely possible if you act as soon as you notice the problem. You need to dig up the entire affected clump and wash all the soil off with a garden hose so you can see exactly what you are dealing with. Take a sharp, clean knife and cut away every single piece of mushy, discolored tissue until you reach firm, white, healthy plant material. Do not leave even a tiny speck of rot behind, or the bacteria will continue to spread. After cutting, dip the healthy remaining pieces in a solution of one part household bleach to nine parts water to sterilize the wounds. Leave the treated rhizomes sitting out in the hot sun for a few days to dry and form a tough callus over the cuts before you replant them in a fresh, well-draining spot. Do not skip this drying period, as putting a fresh cut directly back into damp soil will just restart the rotting process.
Managing fungal leaf spot
Fungal leaf spot is another highly common issue that looks terrible but is far less destructive than borers or rot. You will recognize it by the small brown spots with distinct yellow halos that appear on the upper halves of the leaves, usually starting after a period of heavy spring rain. As the fungus spreads, the spots merge together, causing the entire top half of the leaf to turn brown and die back prematurely. While this disease rarely kills the plant outright, it destroys the appearance of your garden and reduces the amount of energy the plant can store for next year’s bloom. The fungus thrives on moisture left sitting on the leaves, which is why overhead watering with a sprinkler is the fastest way to encourage an outbreak. Watering at the base of the plants and ensuring good air circulation between clumps will dramatically reduce the severity of leaf spot.
Treating leaf spot is mostly about aggressive sanitation and changing the environment around the plants. As soon as you see spotted leaves, cut them off below the infected area and throw them in the trash, not the compost pile. You want to remove the fungal spores from the area completely so they cannot splash onto neighboring plants during the next rainstorm. If you have a severe, recurring problem every year, you can apply a copper-based fungicide in the early spring as the new shoots emerge, but this is a preventive measure, not a cure. The fungicide will not heal leaves that are already spotted, so you have to apply it before the symptoms appear. Keeping the weeds pulled and giving the plants plenty of breathing room is usually enough to keep leaf spot under control without resorting to sprays.
Choosing resistant varieties and companion plants
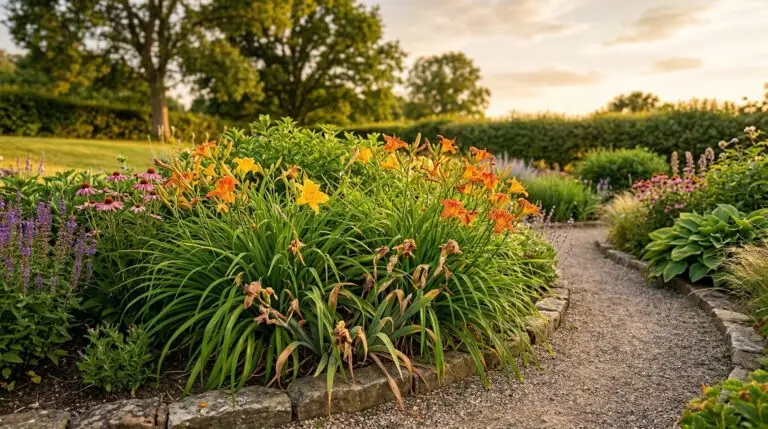
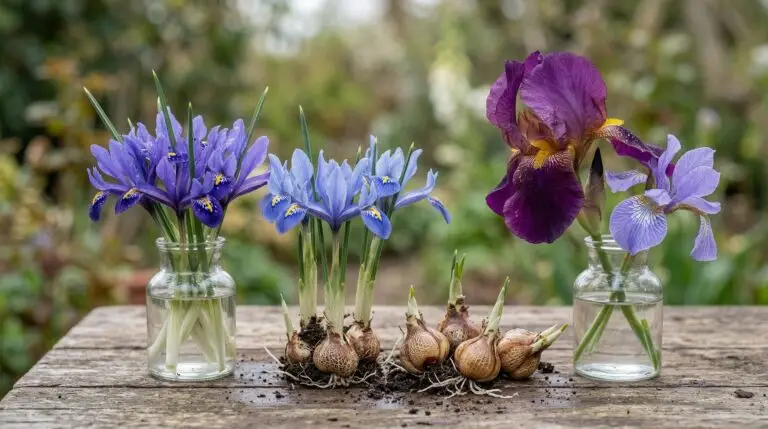
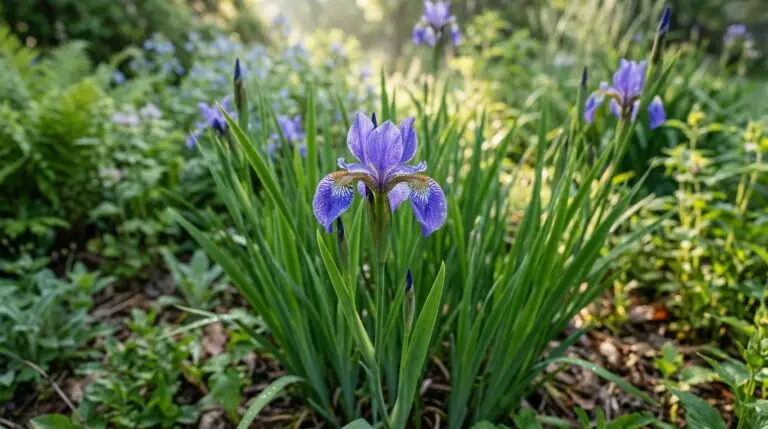
If you are entirely exhausted by the constant battle with borers and rot, you might want to adjust what types of irises you grow. Siberian irises are a fantastic alternative because they have fibrous root systems rather than thick, fleshy rhizomes. The iris borer has zero interest in Siberian irises, and their root structure makes them completely immune to bacterial soft rot. You can plant them in the same garden beds, and they will thrive without the intensive monitoring required by the bearded varieties. Mixing different types of resilient perennials into your beds also helps prevent massive pest outbreaks by breaking up the all-you-can-eat buffet. A Daylily planted nearby will tolerate similar sun conditions while acting as a physical barrier that slows down the spread of pests between your vulnerable iris clumps.
The single most useful piece of advice for any iris grower is to become obsessed with fall cleanup. Because the borer moth lays its eggs on dead foliage in the autumn, and fungal spores overwinter on that exact same debris, leaving dead leaves in your garden is a guarantee of trouble next spring. After the first hard frost kills back the foliage, cut every single iris leaf down to about two inches above the rhizome. Rake up all the clippings, dead leaves, and nearby weeds, and remove them from your property completely. By stripping the bed bare in November, you throw away the borer eggs and the disease spores before they ever have a chance to attack your plants. This one simple chore takes an hour in the fall, but it eliminates ninety percent of the problems you would otherwise face the following summer.
More About Irises
How to grow irises for elegant sword-leaved plants and flowers in every color of the rainbow
Dividing and transplanting irises at the right time for healthy plants and more blooms
Iris flower meaning and why the rainbow goddess gave this flower its name
Companion plants for irises that extend the beauty after iris bloom season ends
Dutch iris bulbs for spring cutting gardens and the easiest iris to grow in bouquets
Miniature and dwarf iris for rock gardens and early spring color at ground level
Louisiana iris for southern gardens and warm humid climates where bearded iris fails

Japanese iris for dramatic waterside blooms with the largest flowers in the iris world