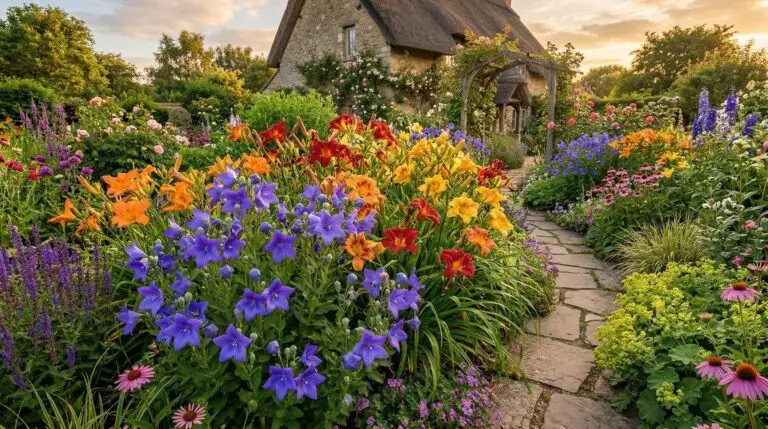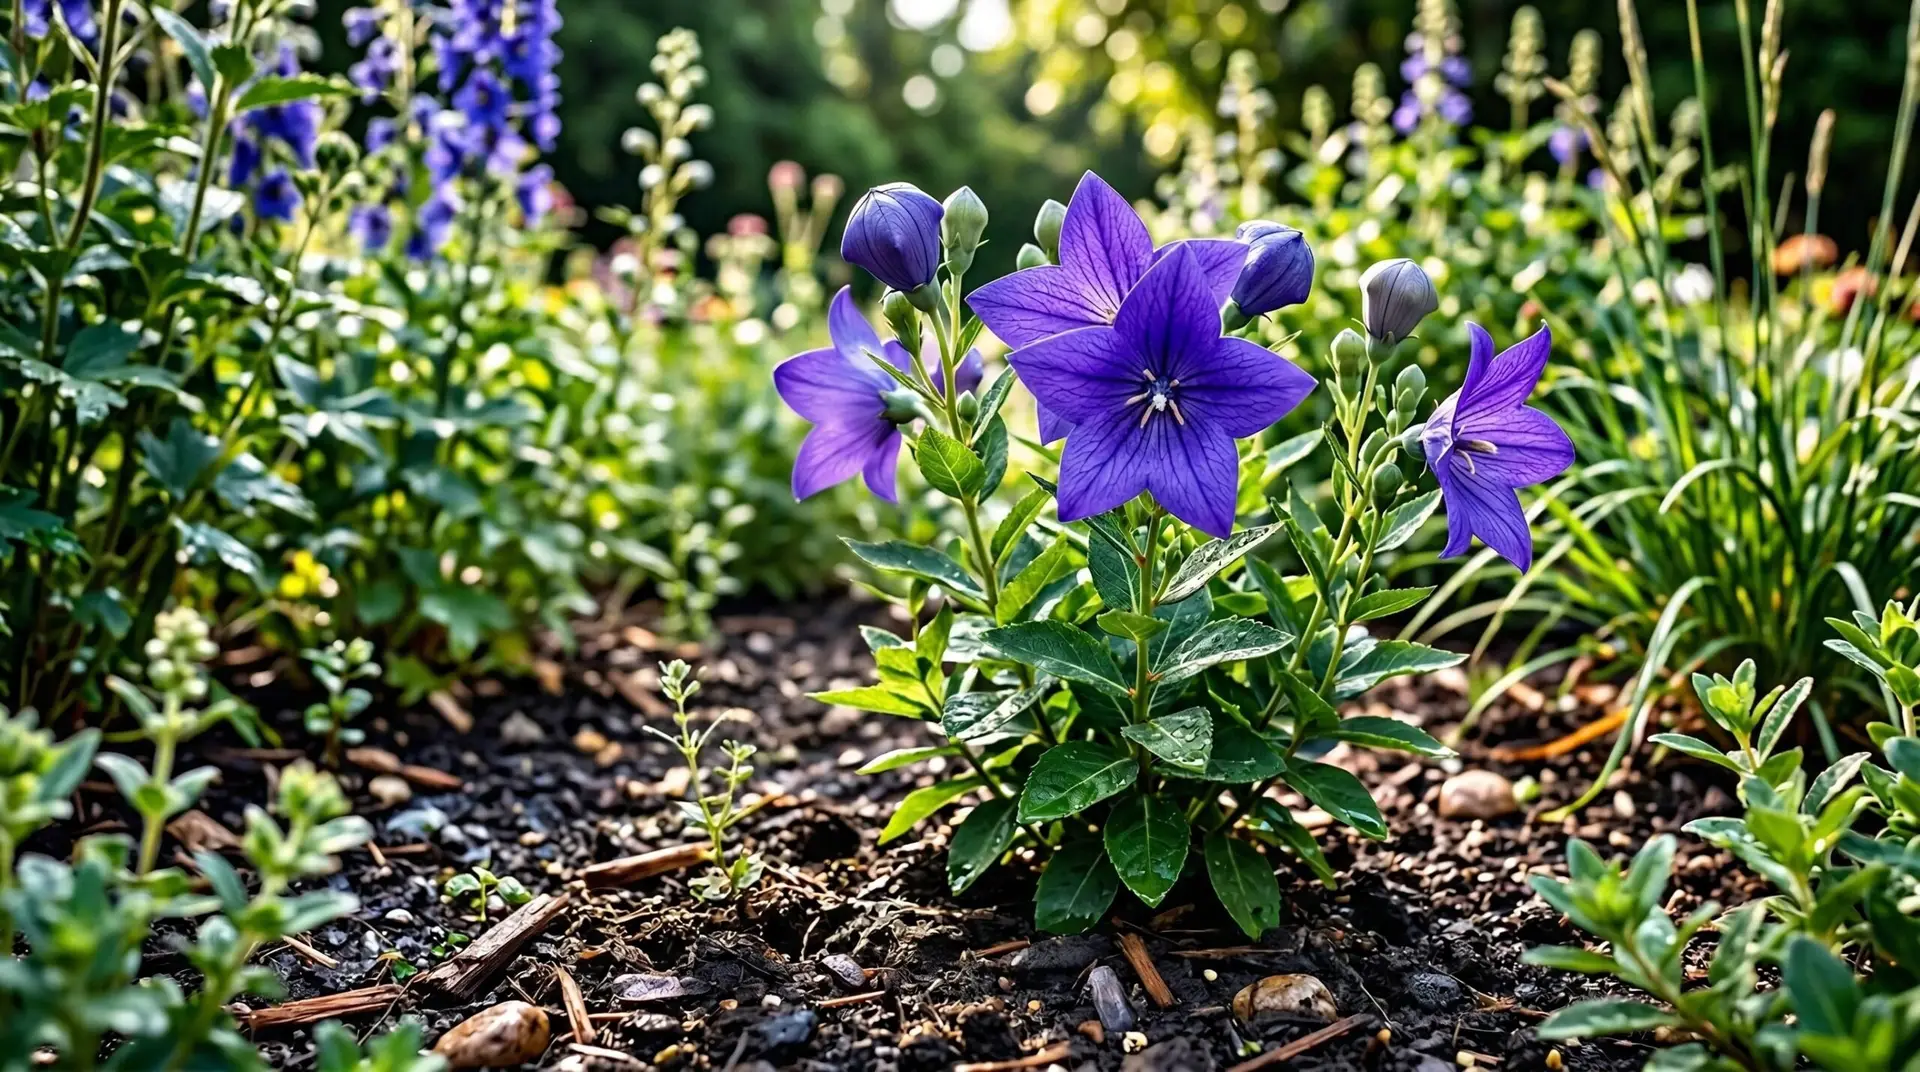
Growing a balloon flower from seed is an exercise in delayed gratification that pays off with decades of reliable summer color. These resilient perennials are closely related to the familiar bellflower, sharing the same star-shaped open blooms but adding a highly entertaining stage of bud development. Before the petals open, they fuse together into a hollow, inflated sphere that looks exactly like a tiny hot air balloon. When you start these plants from seed, you are establishing a deep-rooted perennial that will live in your garden for many years. Understanding how they grow from a tiny speck of a seed into a robust clump of foliage will help you avoid common mistakes along the way.
Many gardeners are accustomed to starting fast-growing annuals that bloom just a few weeks after sprouting. Growing platycodon requires a different mindset because the plant spends its entire first year building an extensive underground root system. The seeds themselves are very small and require specific light conditions to break their dormancy. If you treat them like a typical vegetable seed by burying them deep in heavy potting soil, they will simply rot in the damp earth. By controlling their early environment indoors, you give these tiny seeds the exact conditions they need to successfully germinate and grow strong enough to face the outdoor elements.
Starting seeds indoors for the best germination rates
The process begins indoors about six to eight weeks before your last expected spring frost. You will need a standard plastic seed tray, a clear plastic humidity dome, and a bag of sterile seed-starting mix. You must use a dedicated seed-starting mix rather than standard potting soil for this task. Potting soil contains large chunks of bark and compost that hold too much water and can easily smother tiny seedlings. A sterile, fine-textured mix provides the perfect balance of moisture retention and aeration, giving the delicate new roots a safe medium to explore. Fill your seed trays to the top and tamp the soil down gently to create a flat, even surface for sowing.
Balloon flower seeds need direct exposure to light to trigger germination. You must press the seeds firmly onto the surface of the moist soil mix, making sure you do not cover them with any additional dirt. Because the seeds are sitting completely exposed on the surface, top-watering with a watering can will easily wash them away or bury them too deeply. Instead, you should bottom-water your trays by pouring water into the solid bottom tray and letting the soil wick the moisture upward. Place the clear plastic dome over the tray to trap the humidity and position the setup under bright grow lights. At normal room temperatures, you will see tiny green sprouts emerge in two to three weeks.
Transitioning seedlings to the outdoor garden
Once your seedlings develop two or three sets of true leaves and daytime temperatures consistently stay above 60F, they are ready to begin the transition outdoors. This process is called hardening off, and it prevents the tender indoor plants from going into shock when exposed to direct sun and wind. Start by placing the trays in a sheltered, shady spot outdoors for just two hours on the first day. Gradually increase their time outside and their exposure to direct sunlight over the course of a week. If you rush this step, you might notice white, papery patches developing on the leaves. That indicates sunburn, and while the plant can recover, it will significantly slow down the overall growth rate.
While the seedlings are hardening off, you can prepare their permanent home in the garden. Balloon flowers perform best in a spot that receives full sun to partial shade, but the absolute most critical factor is soil drainage. Similar to many species of campanula, these plants absolutely despise sitting in wet, heavy clay. You can test your soil drainage by digging a hole ten inches deep, filling it with water, and timing how long it takes to empty. If the water takes more than a few hours to drain away, you need to amend the area with coarse sand and compost or choose a different, elevated location. Poorly drained soil will cause the plant’s thick roots to turn to mush and rot away during wet winter months.
Planting carefully to protect the delicate root system
As your balloon flowers grow, they quickly develop a thick, fleshy taproot that resembles a small white carrot. This taproot is the secret to their long-term drought tolerance, but it also means they strongly resent being dug up and moved later in life. You must choose their planting location carefully because they will likely stay in that exact spot for a decade or more. When it is time to transplant the hardened-off seedlings, dig a hole just slightly wider and deeper than the root mass in your seed tray. Squeeze the bottom of the plastic cell to gently push the seedling out, taking great care not to pull on the fragile stem.
Place the seedling into the hole so that the top of its soil block sits perfectly level with the surrounding garden soil. Planting them too deeply will encourage stem rot, while planting them too high will expose the sensitive crown to drying winds. Backfill the hole gently with your native soil and use your hands to press down lightly around the base of the plant. Water the area deeply right after planting to settle the loose dirt and collapse any hidden air pockets around the taproot. You might see the seedlings droop slightly during their first afternoon in the garden. This mild wilting is a normal response to transplanting, and the plants will perk up overnight as they draw in moisture.
Navigating the first year and the slow spring return
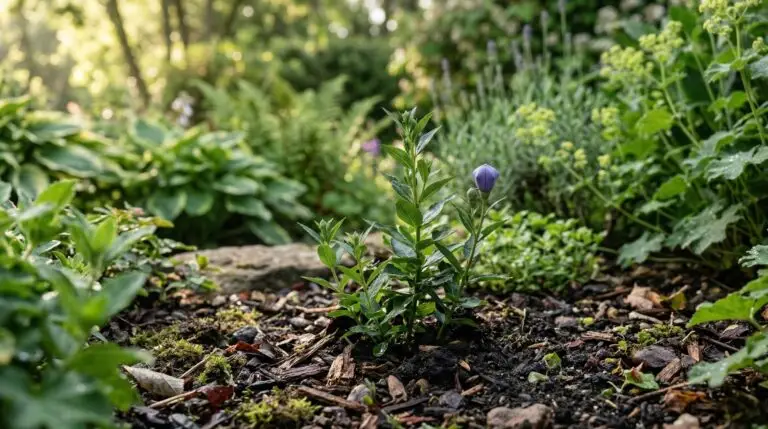
Proper balloon flower care requires adjusting your expectations for the first growing season. Like many perennial members of the bellflower family, the plants will focus almost all of their metabolic energy on driving that taproot deeper into the earth throughout that first summer. You will see a modest clump of green foliage develop, but you should not expect a massive floral display right away. A few plants might produce one or two small flowers late in the summer, but many will remain entirely vegetative until their second year. Keep the soil consistently moist but never soggy during this establishment phase, and resist the urge to apply heavy synthetic fertilizers to force them to bloom.
When autumn arrives and temperatures drop, the green foliage will turn yellow and eventually die back to the ground. This is an important moment for the gardener, as you must physically mark the exact location of your balloon flowers before the stems disappear completely. You can use a wooden stake, a metal plant tag, or a ring of stones to identify the spot. Platycodon is notoriously slow to break dormancy in the spring, often remaining completely hidden underground for weeks after other perennials have sprouted. If you fail to mark their location, you will likely assume the plant died and accidentally slice through the crown with a trowel while planting something else. Trust that the fleshy taproot is resting safely below the frost line, waiting for the soil to thoroughly warm up.
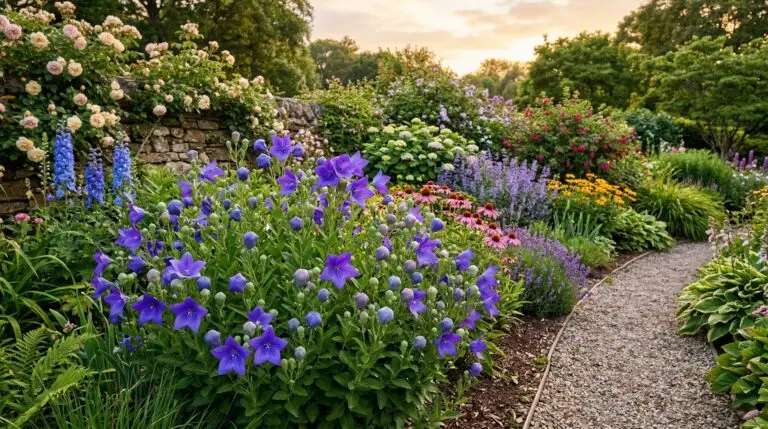
The true reward for your patience arrives in the second summer and continues for years to come. Once the soil warms sufficiently in late spring, sturdy stems will push through the earth and quickly form a dense, upright clump of blue-green foliage. By mid-summer, the tips of these stems will swell into the tightly sealed, inflated spheres that make this plant so beloved. You will get to watch the daily progression as the hollow balloons expand, stretch, and finally burst open into five-pointed, star-shaped blossoms. This reliable cycle of late spring emergence and colorful mid-summer flowering proves that the careful work of starting these long-lived perennials from seed is well worth the effort.
More About Balloon Flower
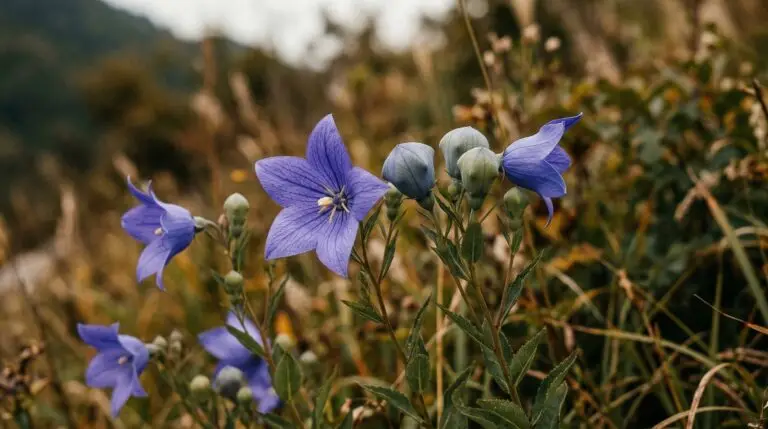
Balloon flower meaning in Korean and Japanese culture and garden traditions
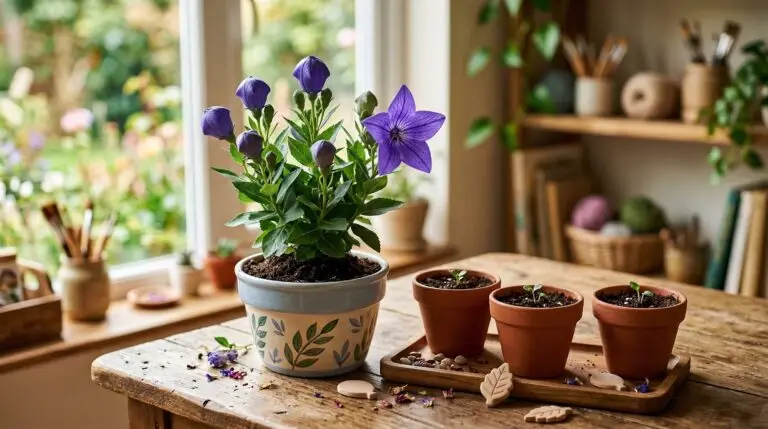
Balloon flowers in children’s gardens and why kids love watching the buds pop open
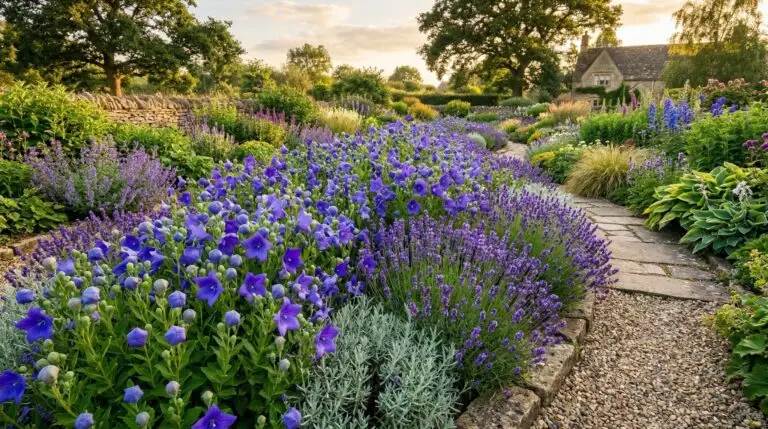
Designing a blue and purple perennial garden with balloon flowers as the star
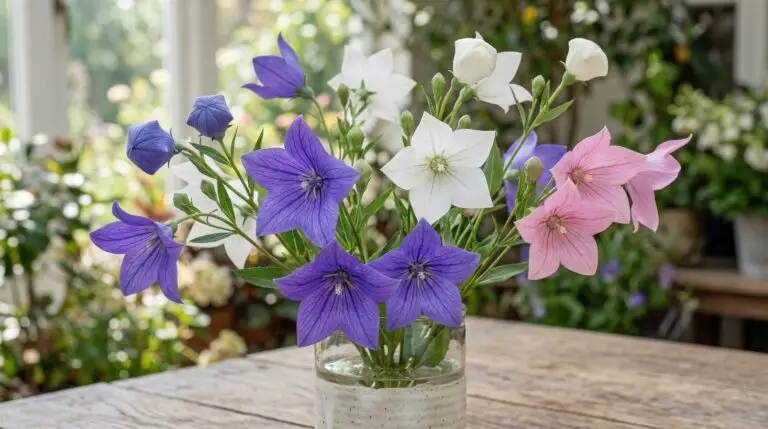
Best balloon flower varieties including double blooms and dwarf forms for small gardens
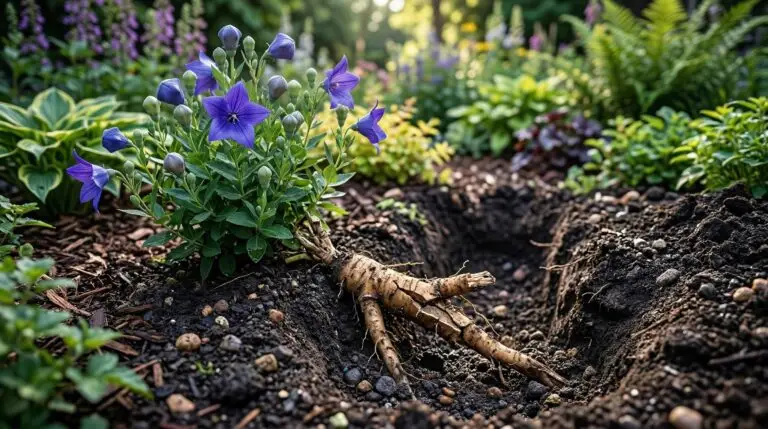
Dividing and transplanting balloon flowers without killing the deep taproot
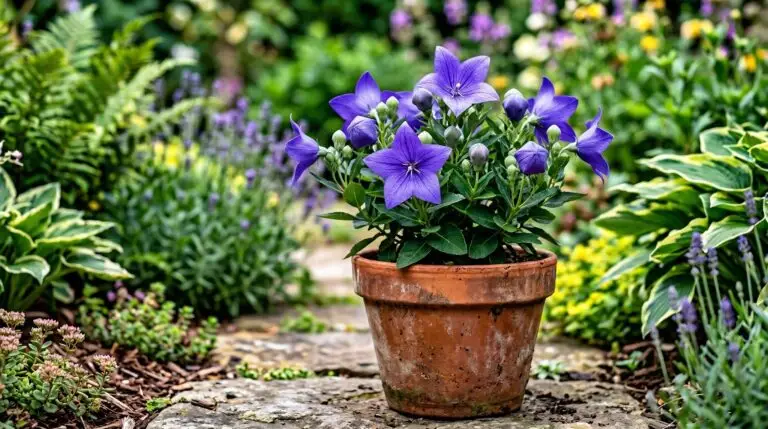
Growing balloon flowers in containers for a whimsical patio garden display
How to deadhead balloon flowers to keep them blooming through late summer
Why balloon flowers are late to emerge in spring and how to avoid digging them up